


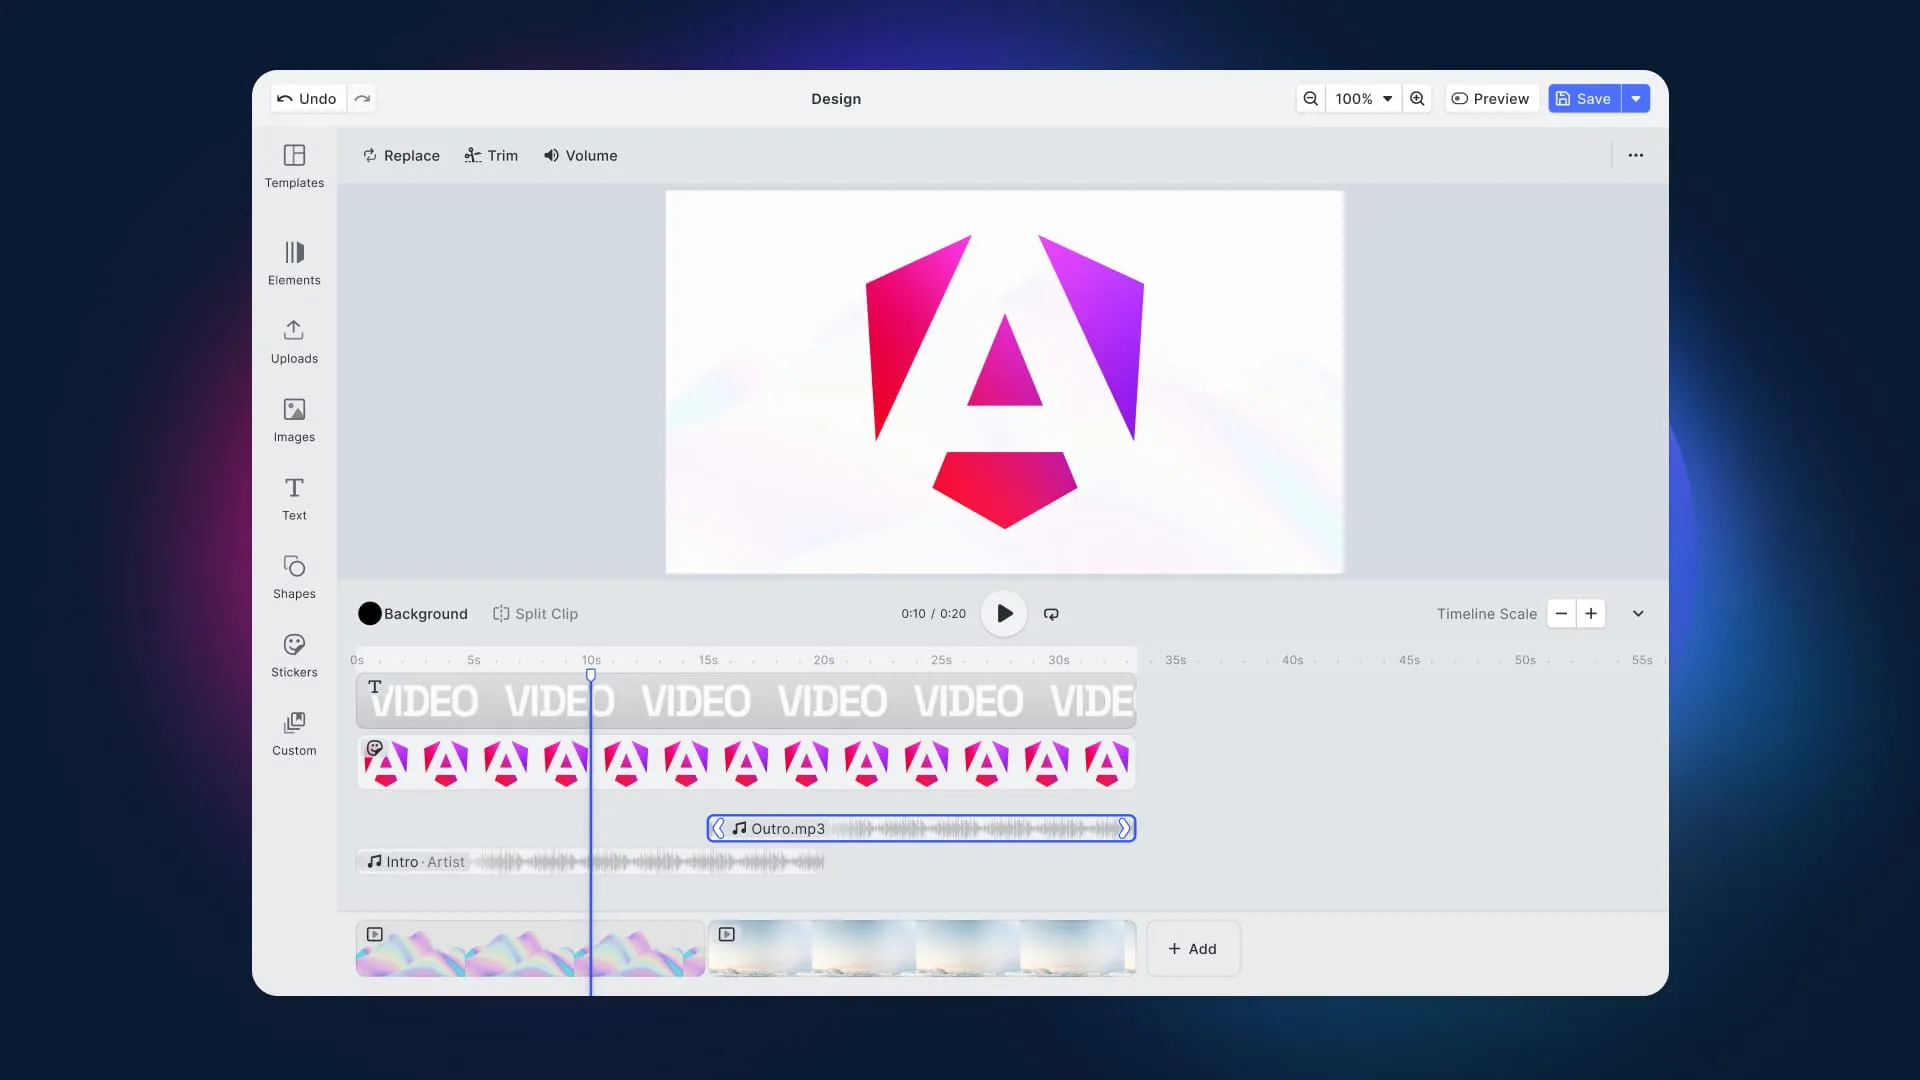
Learn how to integrate IMG.LY’s video editor for Angular into your web application.
People who trim and caption clips daily in TikTok or CapCut expect the same inside your product. When they cannot, they export, edit elsewhere, and upload again. Each round trip is a chance to abandon the task, and every asset that leaves your system stops being one you can template or keep on brand.
This guide covers adding a video editor to an Angular app with CreativeEditor SDK (CE.SDK): the component wiring, the timeline and export APIs underneath, and the customization points you will reach for once it runs.
Updated September 2026.
Check browser support before you scope the work
CE.SDK’s video features encode and decode in the browser through the WebCodecs API. That is what makes client-side MP4 export possible without a render backend, and it is also the constraint. Chrome and Edge 114 or newer support both video editing and export, and so does Safari 26 or newer. Firefox 130 or newer can edit video but cannot export it, because it does not ship the H.264 and AAC encoders the export needs. Chrome on Linux usually lacks those encoders as well, so exports can fail there. Chrome on Android and iOS and Safari on iOS do not support video editing yet, and other Chromium-based browsers such as Opera, Arc, and Brave may work but are not officially supported.
Design and photo editing work in more browsers. If a meaningful share of your users are on Firefox, mobile, or older Safari versions, plan a fallback now rather than in QA. cesdk.utils.supportsVideoDecode() and await cesdk.utils.supportsVideoEncode() check support in code, and the browser support page has the details.
How to set up a video editor in Angular
CE.SDK ships an Angular component, just like it does for React and Vue. Import CreativeEditor from the /angular entry point, give it a config object and an init function, and it creates the editor when the view is ready and disposes of it when your component is destroyed.
Requirements
- Node.js 22.22.3+, 24.15+, or 26+, which the Angular CLI requires. Download Node.js if needed.
- An Angular project. If you do not have one, install the CLI with
npm install -g @angular/cli, runng new my-angular-video-editor, and answer its prompts. - A CE.SDK license key, optional to start and needed for production. Start a free trial to get one.
Step 1: Install CE.SDK
Install the SDK together with the background removal plugin that the editor configuration below uses:
npm install @cesdk/cesdk-js@1.82.0 @imgly/plugin-background-removal-web@1.82.0 onnxruntime-web@1.21.0Step 2: Add the video editor configuration
The editor’s dock, inspector, timeline controls, and asset libraries come from an editor configuration. The Angular video editor starter kit ships it as source files, so copy them into your project:
npx degit imgly/starterkit-video-editor-ts-web/src/imgly#release-1.82.0 src/app/imglyThe release-1.82.0 tag matches the SDK version from Step 1. You change the editor by editing these files.
Step 3: Generate the component
ng generate component video-editorThis creates video-editor.ts, video-editor.html, and video-editor.css, plus a test file, in src/app/video-editor/.
Step 4: Wire up the editor
Open src/app/video-editor/video-editor.ts and add the editor configuration and the init function:
// src/app/video-editor/video-editor.ts
import { Component } from '@angular/core';
import type CreativeEditorSDK from '@cesdk/cesdk-js';
import {
  CreativeEditor,
  type CreativeEditorError,
} from '@cesdk/cesdk-js/angular';
import { initVideoEditor } from '../imgly';

@Component({
  selector: 'app-video-editor',
  imports: [CreativeEditor],
  templateUrl: './video-editor.html',
  styleUrl: './video-editor.css',
})
export class VideoEditor {
  config = {
    userId: 'YOUR_USER_ID', // optional, for MAU tracking
  };

  init = async (cesdk: CreativeEditorSDK) => {
    // Video editor UI, asset libraries and plugins from the starter kit
    await initVideoEditor(cesdk);

    // Open an empty video scene
    await cesdk.actions.run('scene.create');
  };

  onError = (error: CreativeEditorError) => {
    console.error('[CE.SDK]', error.message, error.cause);
  };
}
You do not need a CE.SDK license key to try it: without one the editor runs in evaluation mode and exports carry a watermark. Start a free trial to get one and set it as license in the config.
Then use the component in video-editor.html:
<creative-editor
  [config]="config"
  [init]="init"
  [onError]="onError"
  width="100vw"
  height="100vh"
/>
A few details are worth knowing here.
initVideoEditor applies the configuration and adds the asset libraries, including demo clips and music, upload sources, and background removal. In production, swap the demo sources in src/app/imgly/index.ts for your own.
cesdk.actions.run('scene.create') opens an empty scene. Since CE.SDK 1.72 deprecated the design and video scene modes, every new scene supports video. Older examples that call createVideoScene() or addDemoAssetSources() still work, but both are deprecated. One caveat: the iOS and Android SDKs do not yet support scenes without a mode, so if you share scenes with mobile apps, read the v1.72 migration guide first.
The configuration also runs editor.checkBrowserSupport, which shows a blocking message in browsers that cannot decode video and a dismissible warning in browsers that cannot export it. Since CE.SDK 1.72, the editor no longer runs this check on its own, so keep that call if you replace the configuration.
The editor loads its engine assets from the IMG.LY CDN, which is meant for development. For production, serve the assets from your own servers.
If anything inside init throws, the component catches the error and passes it to onError. Without that binding, the error never reaches the console, which is why the template binds it.
Step 5: Use the component
// src/app/app.ts
import { Component } from '@angular/core';
import { VideoEditor } from './video-editor/video-editor';

@Component({
  selector: 'app-root',
  imports: [VideoEditor],
  templateUrl: './app.html',
  styleUrl: './app.css',
})
export class App {}
And replace the contents of app.html with:
<app-video-editor />The copied configuration needs one change on the 1.82.0 release. Both ng serve and ng build stop with a TS2345 error on features/videoCaptionsEnabled in src/app/imgly/config/settings.ts, because the engine uses that setting to enable captions but the 1.82.0 type definitions do not list it yet, and Angular type-checks the copied files. Cast the key and value on that line to keep captions enabled:
engine.editor.setSetting(
  'features/videoCaptionsEnabled' as never,
  true as never
);
Also add body { margin: 0; } to src/styles.css, so the full-width editor does not overflow the page.
Run ng serve. You should get a full editor with a timeline: trimming, splitting, text overlays, audio tracks, filters, and transitions. Compare against the interactive demo.
Before you run ng build, raise the bundle budget. CE.SDK is larger than the default budget of a new Angular app, so the production build fails with a “bundle initial exceeded maximum budget” error. In angular.json, change the initial budget under configurations.production the way the CE.SDK starter kit does:
"budgets": [
  {
    "type": "initial",
    "maximumWarning": "3MB",
    "maximumError": "5MB"
  },
  {
    "type": "anyComponentStyle",
    "maximumWarning": "4kB",
    "maximumError": "8kB"
  }
]
Two more things that bite
Relative asset URLs resolve against the CDN. Because config.baseURL defaults to IMG.LY’s CDN, a relative URI like /videos/intro.mp4 resolves there rather than against your own origin. Make local asset paths absolute before handing them to the engine.
Server-side rendering needs a boundary. The editor is browser-only. If your app uses server-side rendering, wrap the component in a @defer block, which renders only its placeholder on the server:
@defer {
<app-video-editor />
} @placeholder {
<p>Loading editor...</p>
}
Let an agent do the integration
If you work in an AI-assisted editor, Agent Skills for CE.SDK load CE.SDK’s current documentation and conventions into Claude Code, Codex, and similar tools, so the code you get back matches the current API instead of a remembered one. There is also an MCP server for live lookup during a session. Background in Introducing IMG.LY Agent Skills.
Building compositions in code
The default UI covers user-facing editing. For templates, automation, or a custom interface, go through cesdk.engine, for example inside init.
Scene and page
A page owns a timeline. Its duration comes from the clips you put on it, and that is the duration of the export.
const engine = cesdk.engine;

const scene = engine.scene.create();

const page = engine.block.create('page');
engine.block.appendChild(scene, page);
engine.block.setWidth(page, 1280);
engine.block.setHeight(page, 720);
Clips and tracks
Video is not its own block type. A graphic block with a video fill gets you the same positioning and animation APIs as any other element. The background track keeps children playing back to back, recalculates offsets when durations change, and sets the page duration. The timeline shows every track on the page, including ones you create yourself.
const clip1 = engine.block.create('graphic');
engine.block.setShape(clip1, engine.block.createShape('rect'));

const fill1 = engine.block.createFill('video');
engine.block.setString(
  fill1,
  'fill/video/fileURI',
  'https://cdn.img.ly/assets/demo/v4/ly.img.video/videos/pexels-drone-footage-of-a-surfer-barrelling-a-wave-12715991.mp4'
);
engine.block.setFill(clip1, fill1);

const clip2 = engine.block.create('graphic');
engine.block.setShape(clip2, engine.block.createShape('rect'));

const fill2 = engine.block.createFill('video');
engine.block.setString(
  fill2,
  'fill/video/fileURI',
  'https://cdn.img.ly/assets/demo/v4/ly.img.video/videos/pexels-taryn-elliott-7108793.mp4'
);
engine.block.setFill(clip2, fill2);

engine.block.moveToBackgroundTrack(clip1);

const track = engine.block.getBackgroundTrack();
if (track === null) throw new Error('No background track');
engine.block.setDuration(clip1, 10); // set it before clip2 joins

engine.block.moveToBackgroundTrack(clip2); // the track shifts it to 10s

engine.block.fillParent(track);
Size the children rather than the track. A track takes its dimensions from what it holds, and moveToBackgroundTrack creates the background track the first time you call it. getBackgroundTrack is typed as nullable, so TypeScript needs the check above before the id is used.
Trim and audio
Blocks default to 5 seconds. Longer clips get cut off, shorter ones stop at their end unless you call engine.block.setLooping(fill, true). Trim APIs need duration metadata, so load the resource first.
await engine.block.forceLoadAVResource(fill1);
engine.block.setTrimOffset(fill1, 1);
engine.block.setTrimLength(fill1, 10);
engine.block.setMuted(fill1, true);

const audio = engine.block.create('audio');
engine.block.appendChild(page, audio);
engine.block.setString(
  audio,
  'audio/fileURI',
  'https://cdn.img.ly/assets/demo/v4/ly.img.audio/audios/far_from_home.m4a'
);
engine.block.setVolume(audio, 0.7);
engine.block.setTimeOffset(audio, 2);
Skipping forceLoadAVResource is a common bug: the trim calls throw The video has not been loaded yet., the onError output receives it, and every line after it is skipped, so the mute and the audio block never run either.
Export to MP4
Encoding runs in a background worker, so the editor stays responsive. The scene freezes at the start of the export, so later edits will not appear in the output.
const exportPage = engine.scene.getCurrentPage();
if (!exportPage) throw new Error('No page to export');

const blob = await engine.block.exportVideo(exportPage, {
  mimeType: 'video/mp4',
  videoBitrate: 'Auto', // bounded bitrate, recommended in the browser
  onProgress: (rendered, encoded, total) => {
    this.progress.set(Math.round((encoded / total) * 100));
  },
});

const anchor = document.createElement('a');
anchor.href = URL.createObjectURL(blob);
anchor.download = 'export.mp4';
anchor.click();
Declare progress = signal(0) on your component, adding signal to the @angular/core import, and read progress() in the template, and you have a progress bar. New Angular components use OnPush change detection by default, so a signal is what keeps the view in sync. Encoding a long composition takes time, and an unexplained wait reads as a hang.
engine.block.exportAudio(page, { mimeType: 'audio/wav' }), still marked experimental in the SDK types, extracts just the audio, which is useful for transcription and captioning. On that note, caption presets and transitions are both worth exploring once the basics work.
Full reference: the create and edit videos guide and the timeline editor docs.
Customizing the editor
- Component order. Add, remove, and reorder UI elements with
setComponentOrder({ in: location }, order)across locations such as'ly.img.dock','ly.img.canvas.menu', and'ly.img.inspector.bar'. - Roles. CE.SDK supports roles, which bundle global settings and scopes. Switching role applies that role’s defaults, and you can adjust individual scopes for specific workflows.
- Theming.
cesdk.ui.setTheme()for light, dark, or system, or build a custom theme with CSS custom properties. See the theming demo. - Export options. Control which formats users can export, plus quality and dimensions.
- Asset libraries. Serve media from your own backend or connect a third-party source.
- Localization. Override and extend every string with full i18n support.
Package reusable customizations as a plugin. Background removal and vectorization ship that way.
Where an Angular video editor pays off
Marketing outreach. Personalized video at volume beats a cold email, and text variables plus localization make per-recipient variants a data problem rather than an editing one.
E-learning. Instructors record, trim, and caption in the browser and build a template library instead of one-off files. Plugins can add quizzes and polls.
Social publishing. Templates, an audio library, and configurable animations, then export per platform aspect ratio.
E-commerce. Short product videos give shoppers a clearer look at what they are buying. Templates plus product data generate variations at catalog scale without a designer per SKU.
Creative automation. Define templates once, then feed them from your data to produce campaign variants. Combined with A/B testing, teams ship several cuts and keep the one that performs.
Next steps
Start from the Angular video editor starter kit, which is a working project rather than a snippet, or try the demo first.
Building the same thing elsewhere? We have equivalent guides for React and Vue.js, plus a broader JavaScript video editing guide on the underlying browser technology. Still comparing options? See our breakdown of the leading video editing SDKs.
Questions about your use case? Talk to us.
FAQ
Does CE.SDK have an Angular component? Yes. Import CreativeEditor from @cesdk/cesdk-js/angular. It is a standalone component that creates the editor when the view is ready and disposes of it when your component is destroyed.
Why does ng build fail after adding CE.SDK? A new Angular app fails the build when the initial bundle passes 1 MB, and CE.SDK is larger than that. Raise the initial budget in angular.json, for example to a 3 MB warning and a 5 MB error, as the CE.SDK starter kit does.
Can I use CE.SDK with Angular server-side rendering? Yes, as long as the editor only renders in the browser. Wrap the component in a @defer block, which renders only its placeholder on the server.