


Updated September 2026.
What is Creative Automation?
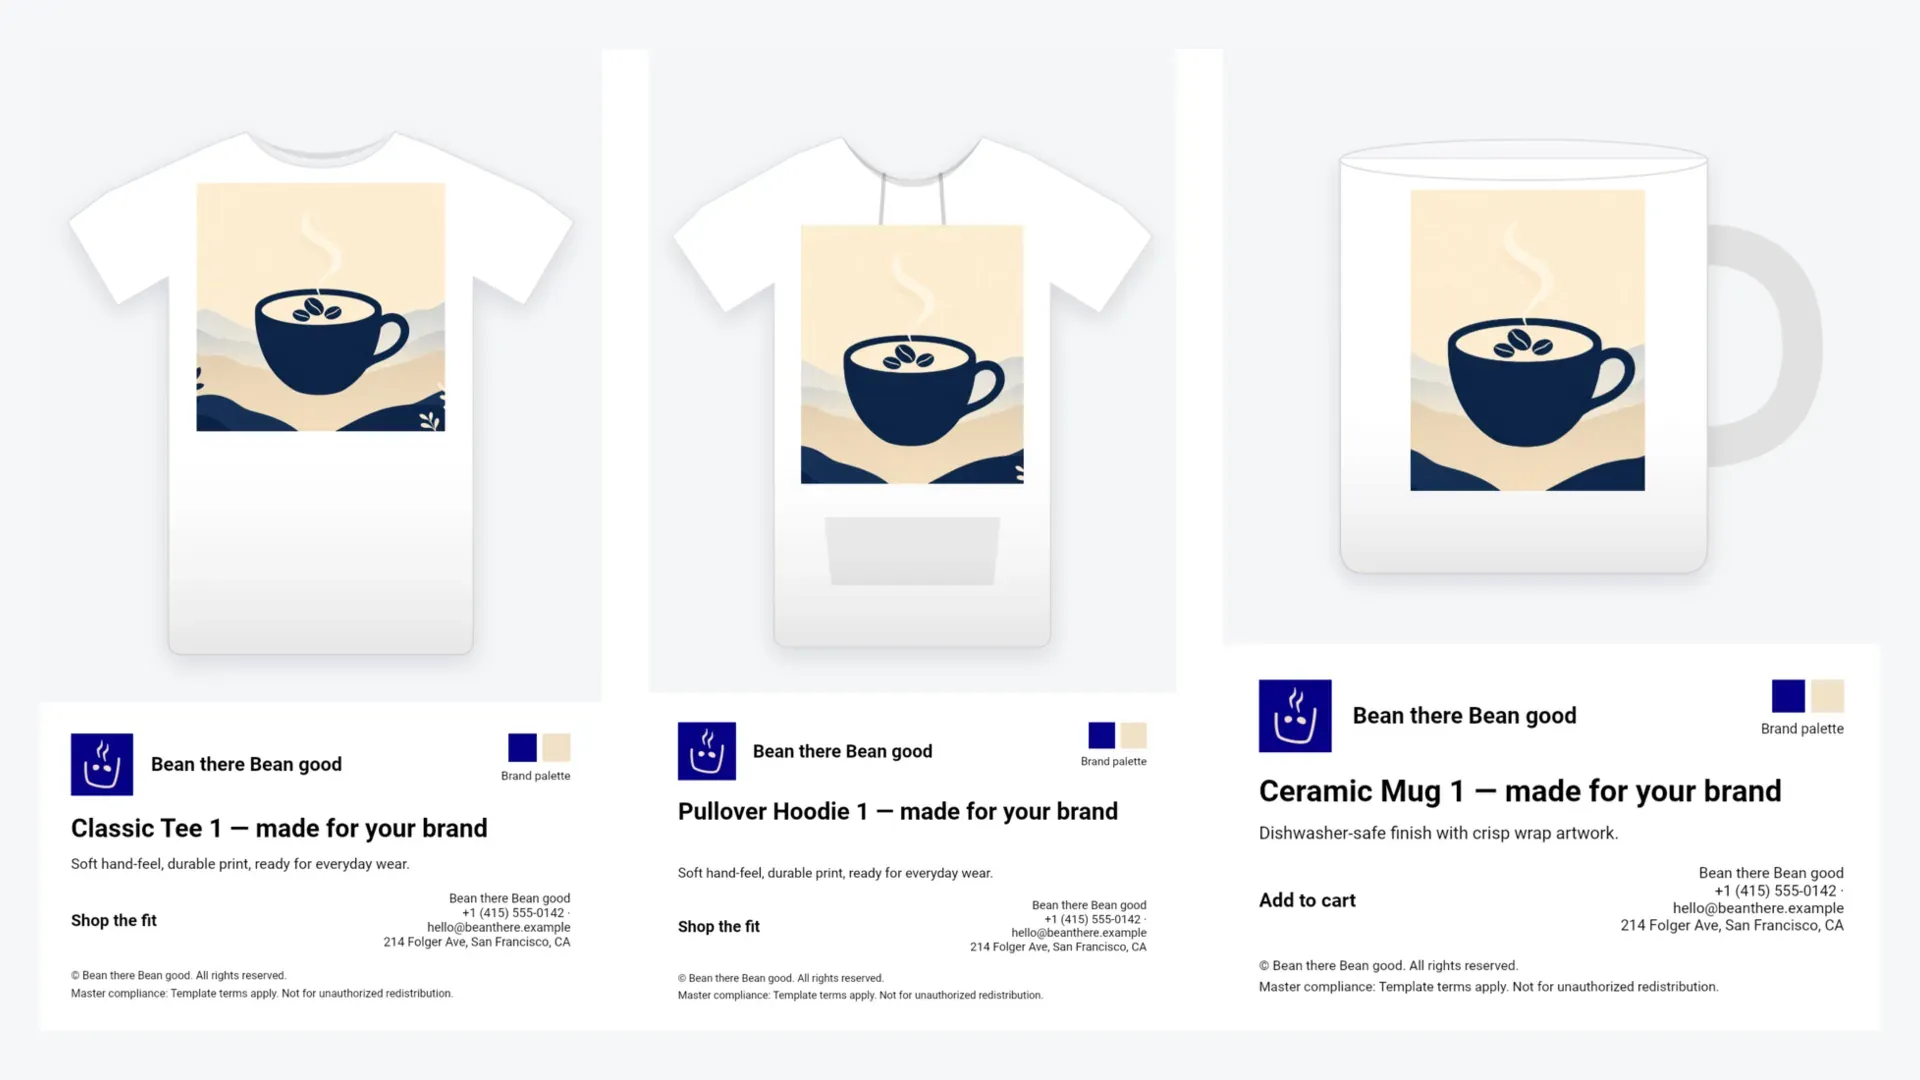
Creative Automation is the process of generating visual content, images, videos, designs, programmatically, often in response to structured inputs like product data, user attributes, or campaign parameters.
Instead of designing each asset manually, creative automation enables you to define templates and rules that the system uses to produce content at scale.
This approach accelerates production workflows and enables personalization at scale, multivariate testing, and omni-channel consistency without stretching design resources.
Creative Automation & Generative AI
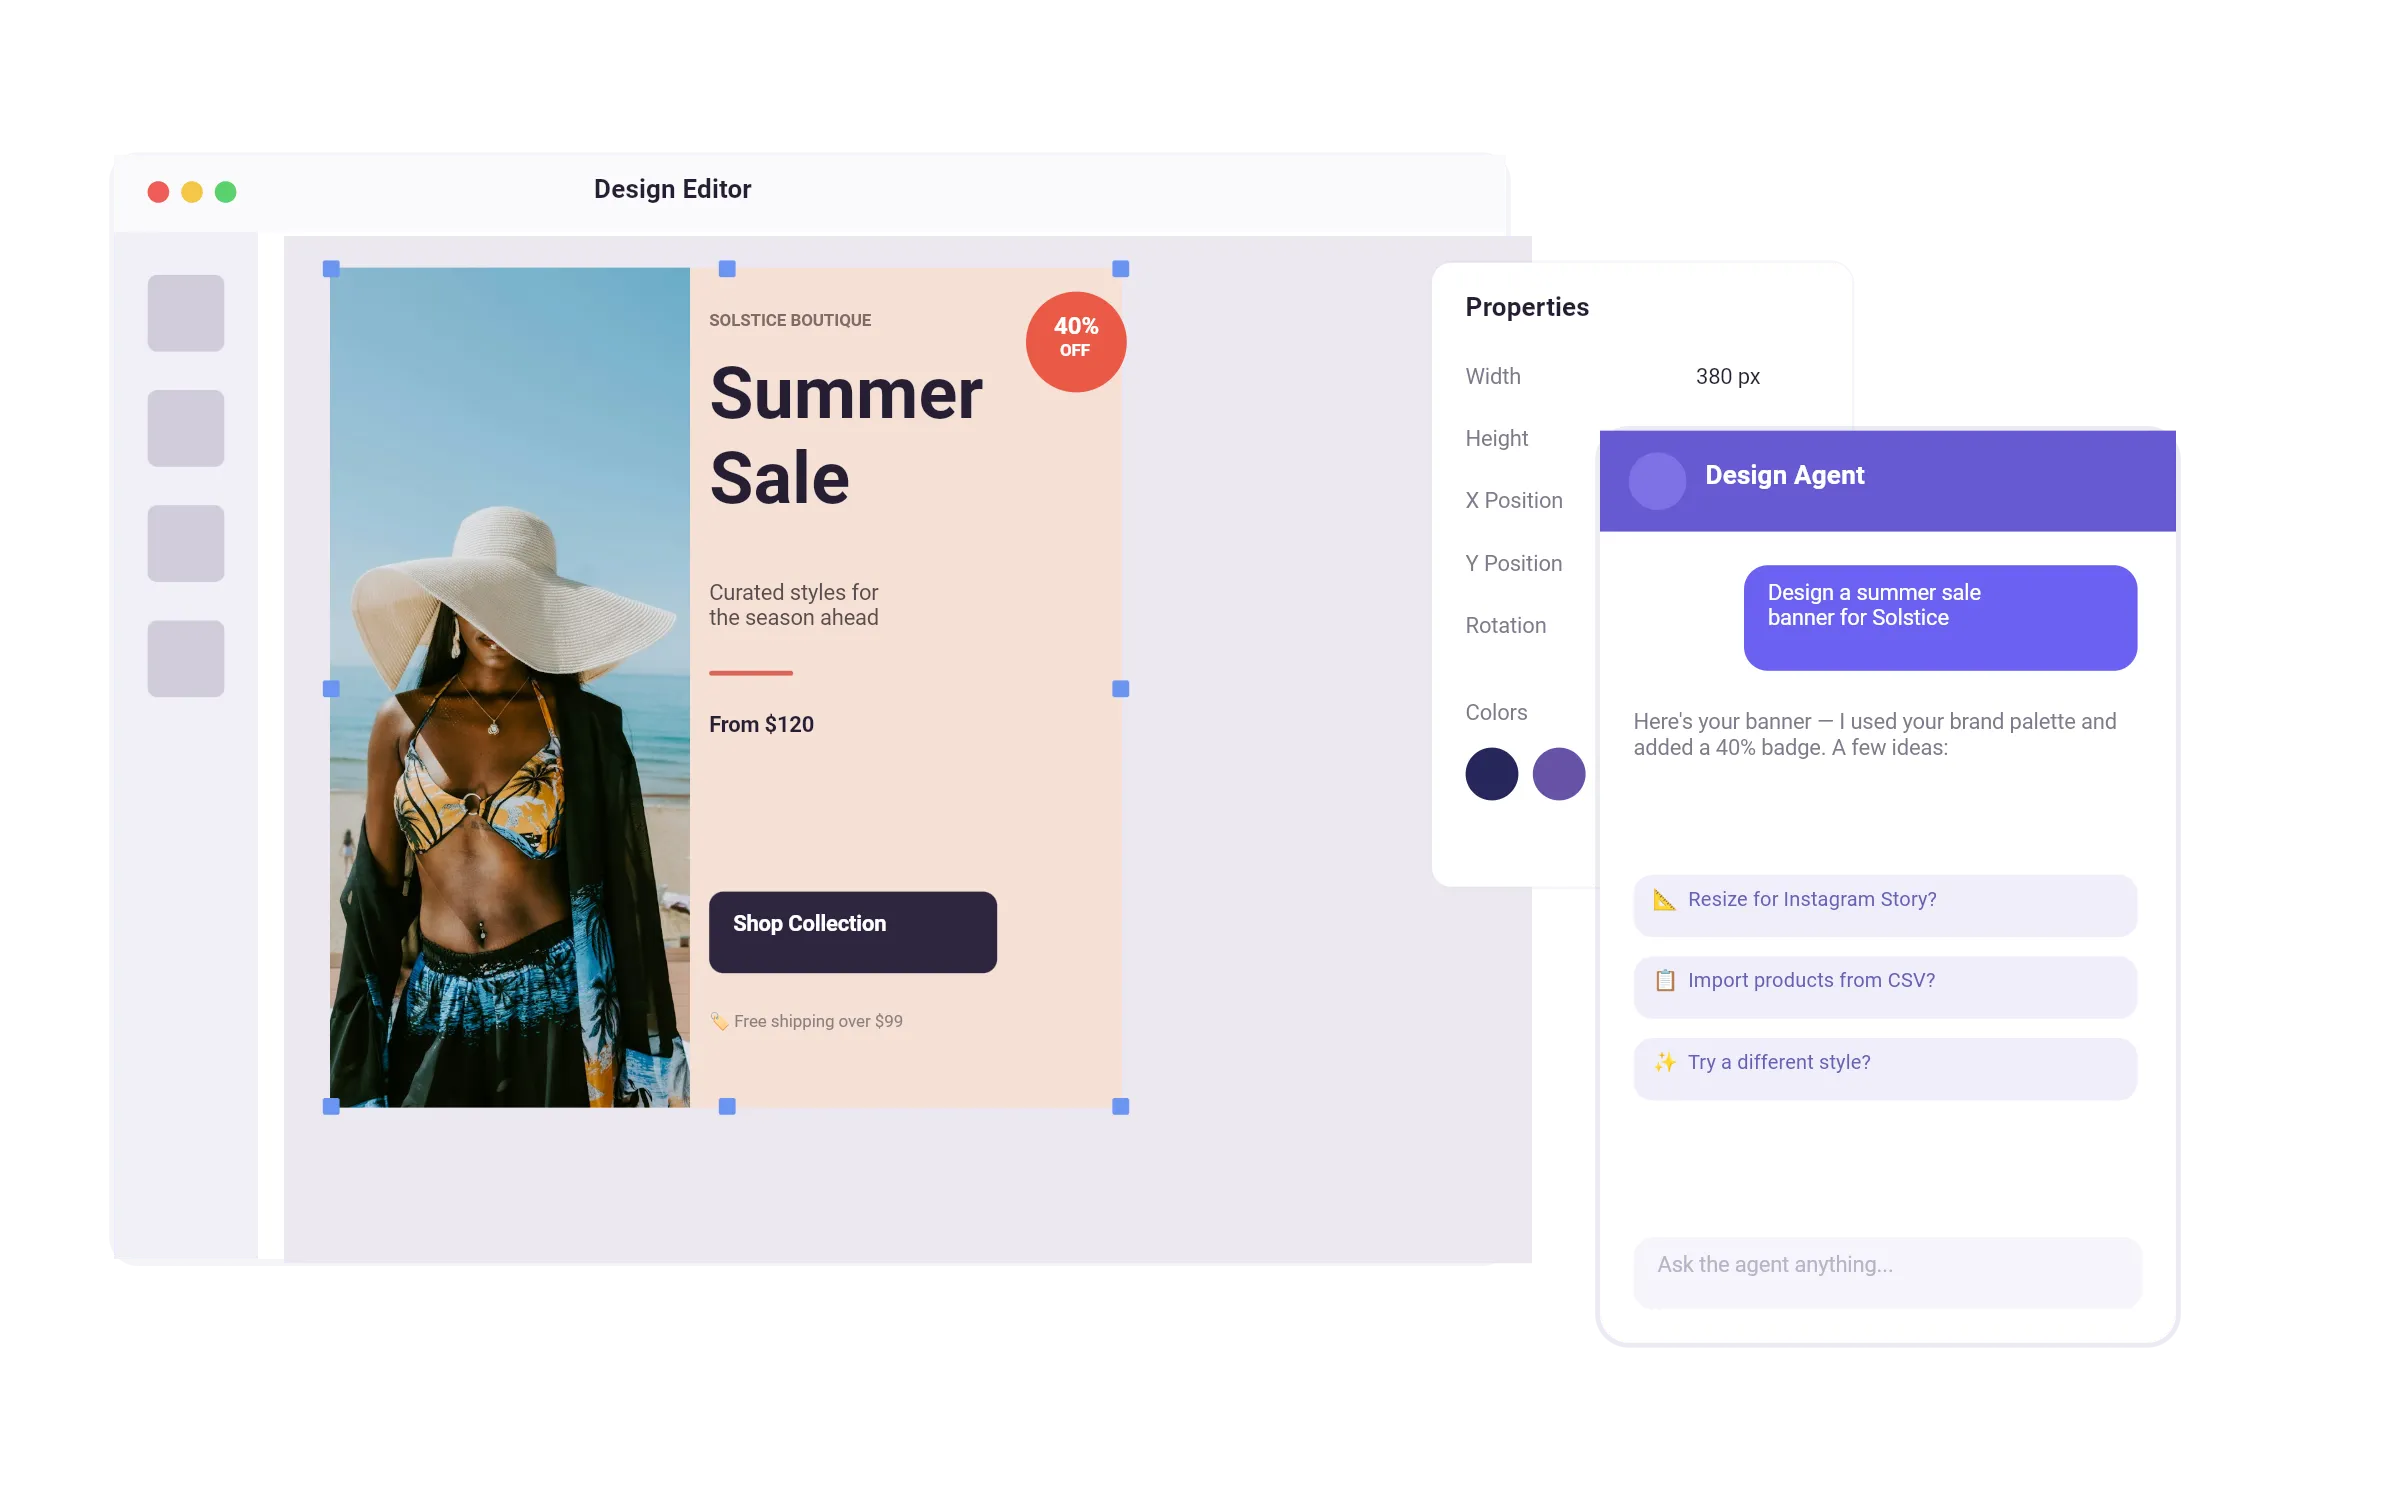
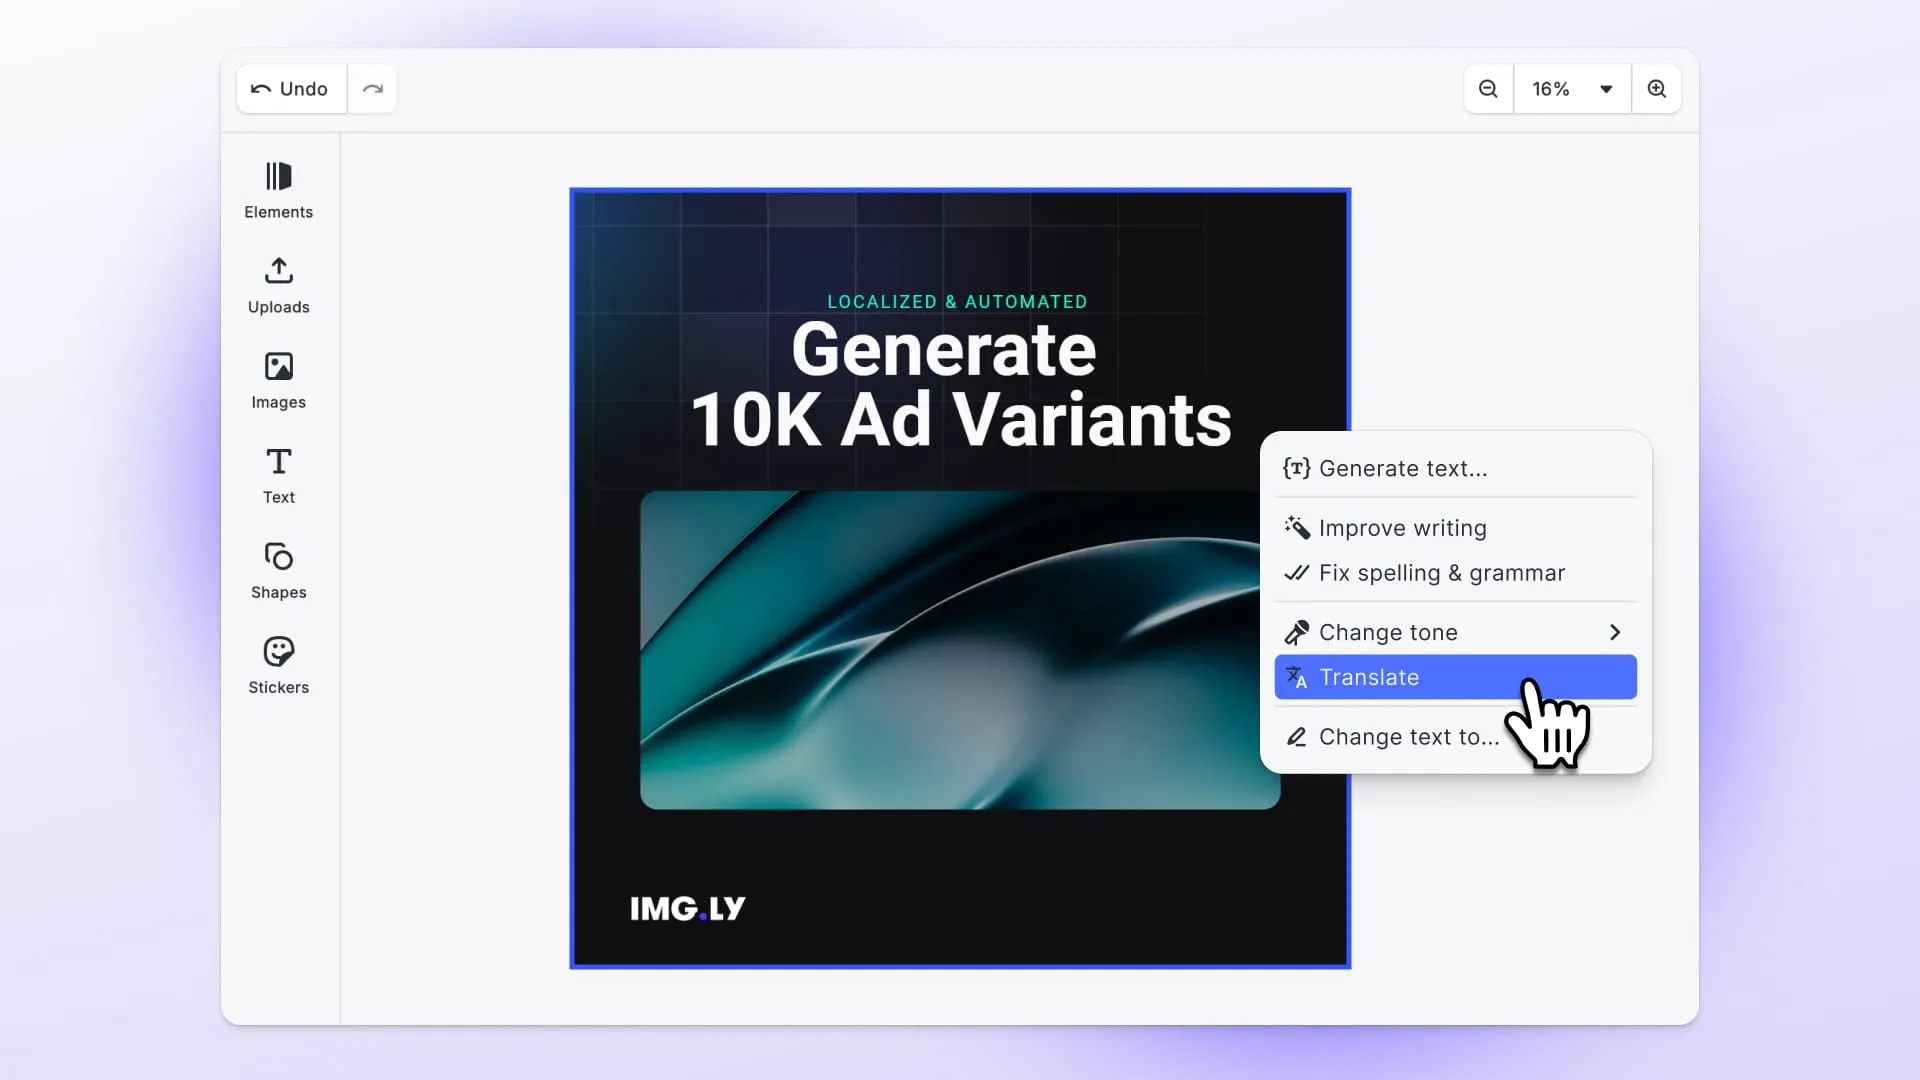
Of course, you cannot talk about creative automation in this day and age without also discussing the role of generative AI. Gen AI introduces intelligent content generation into the pipeline making it easy to generate headlines, product descriptions and entire design elements like illustrations, videos or voiceovers and background music.
When paired with a robust editing and rendering engine like CE.SDK, generative AI becomes even more powerful. A design editor that sits at the intersection between the human decision maker and raw AI generated creatives ensures that those creatives can be curated, refined and deployed in an orderly fashion. This usually works by employing design templates that provide extension points for dynamic data through variables and placeholders and that AI generated content can be merged into for a brand-safe final creative.
Our customer Omneky provides an excellent example of how these components can be orchestrated for maximum efficiency and productivity. Omneky is an ad tech platform that uses generative AI to automatically generate creatives and ad copy for a company based on their product and positioning, these are then parsed into editable layers in CE.SDK, so customers can adjust the messaging, fonts, and layout before an ad goes live. Omneky generates, tests, and launches those ads across Meta, Google, LinkedIn, TikTok, and other channels. This is a prime example of how to combine creative automation and editors to tame the chaotic fountain of AI creatives.
How CE.SDK Enables Creative Automation
Let us get into the meat and potatoes of creative automation and sketch out the requirements of a creative automation solution and a worked example with CE.SDK. IMG.LY’s CreativeEditor SDK (CE.SDK) offers both a user interface for design-time flexibility and a graphics processing engine API for runtime automation.
Design Once, Automate Everywhere
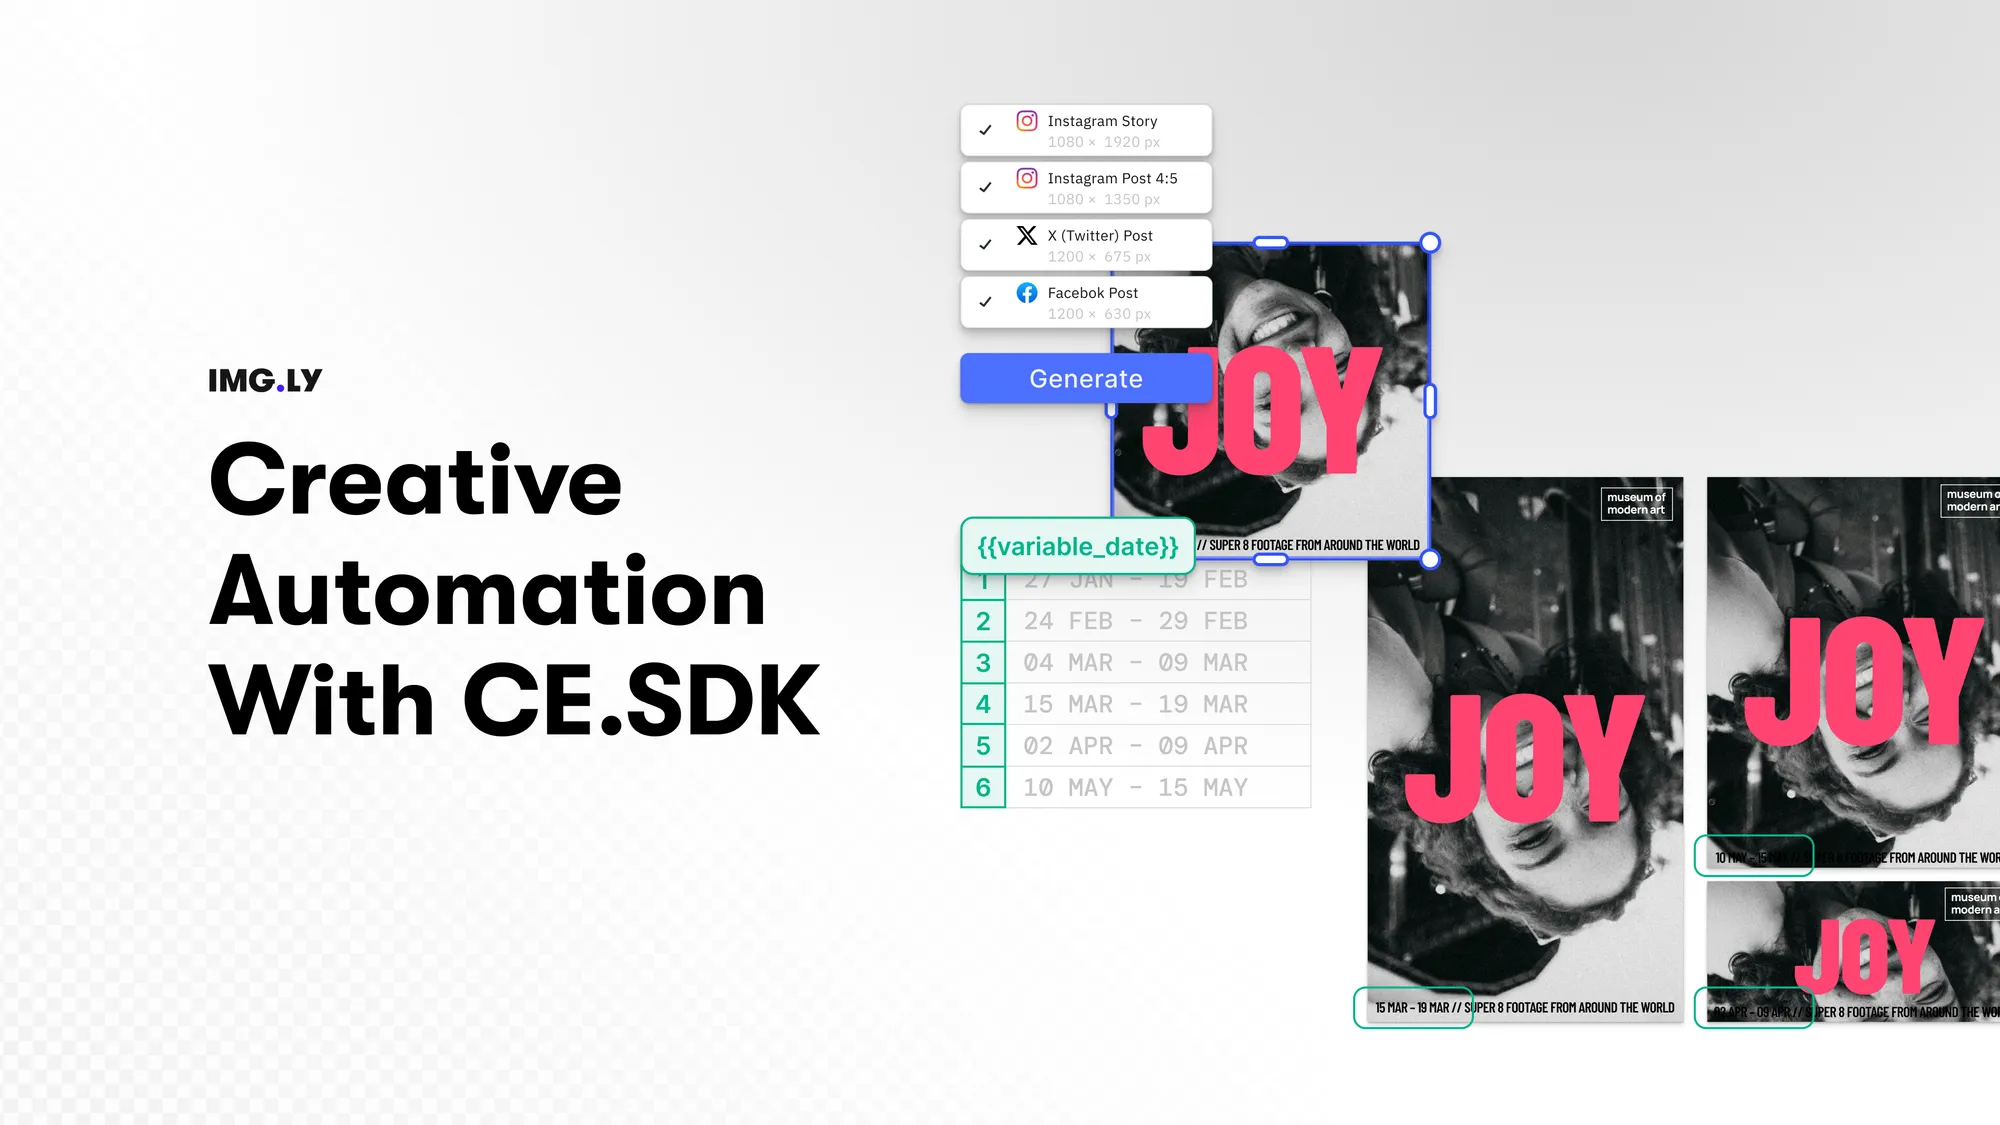
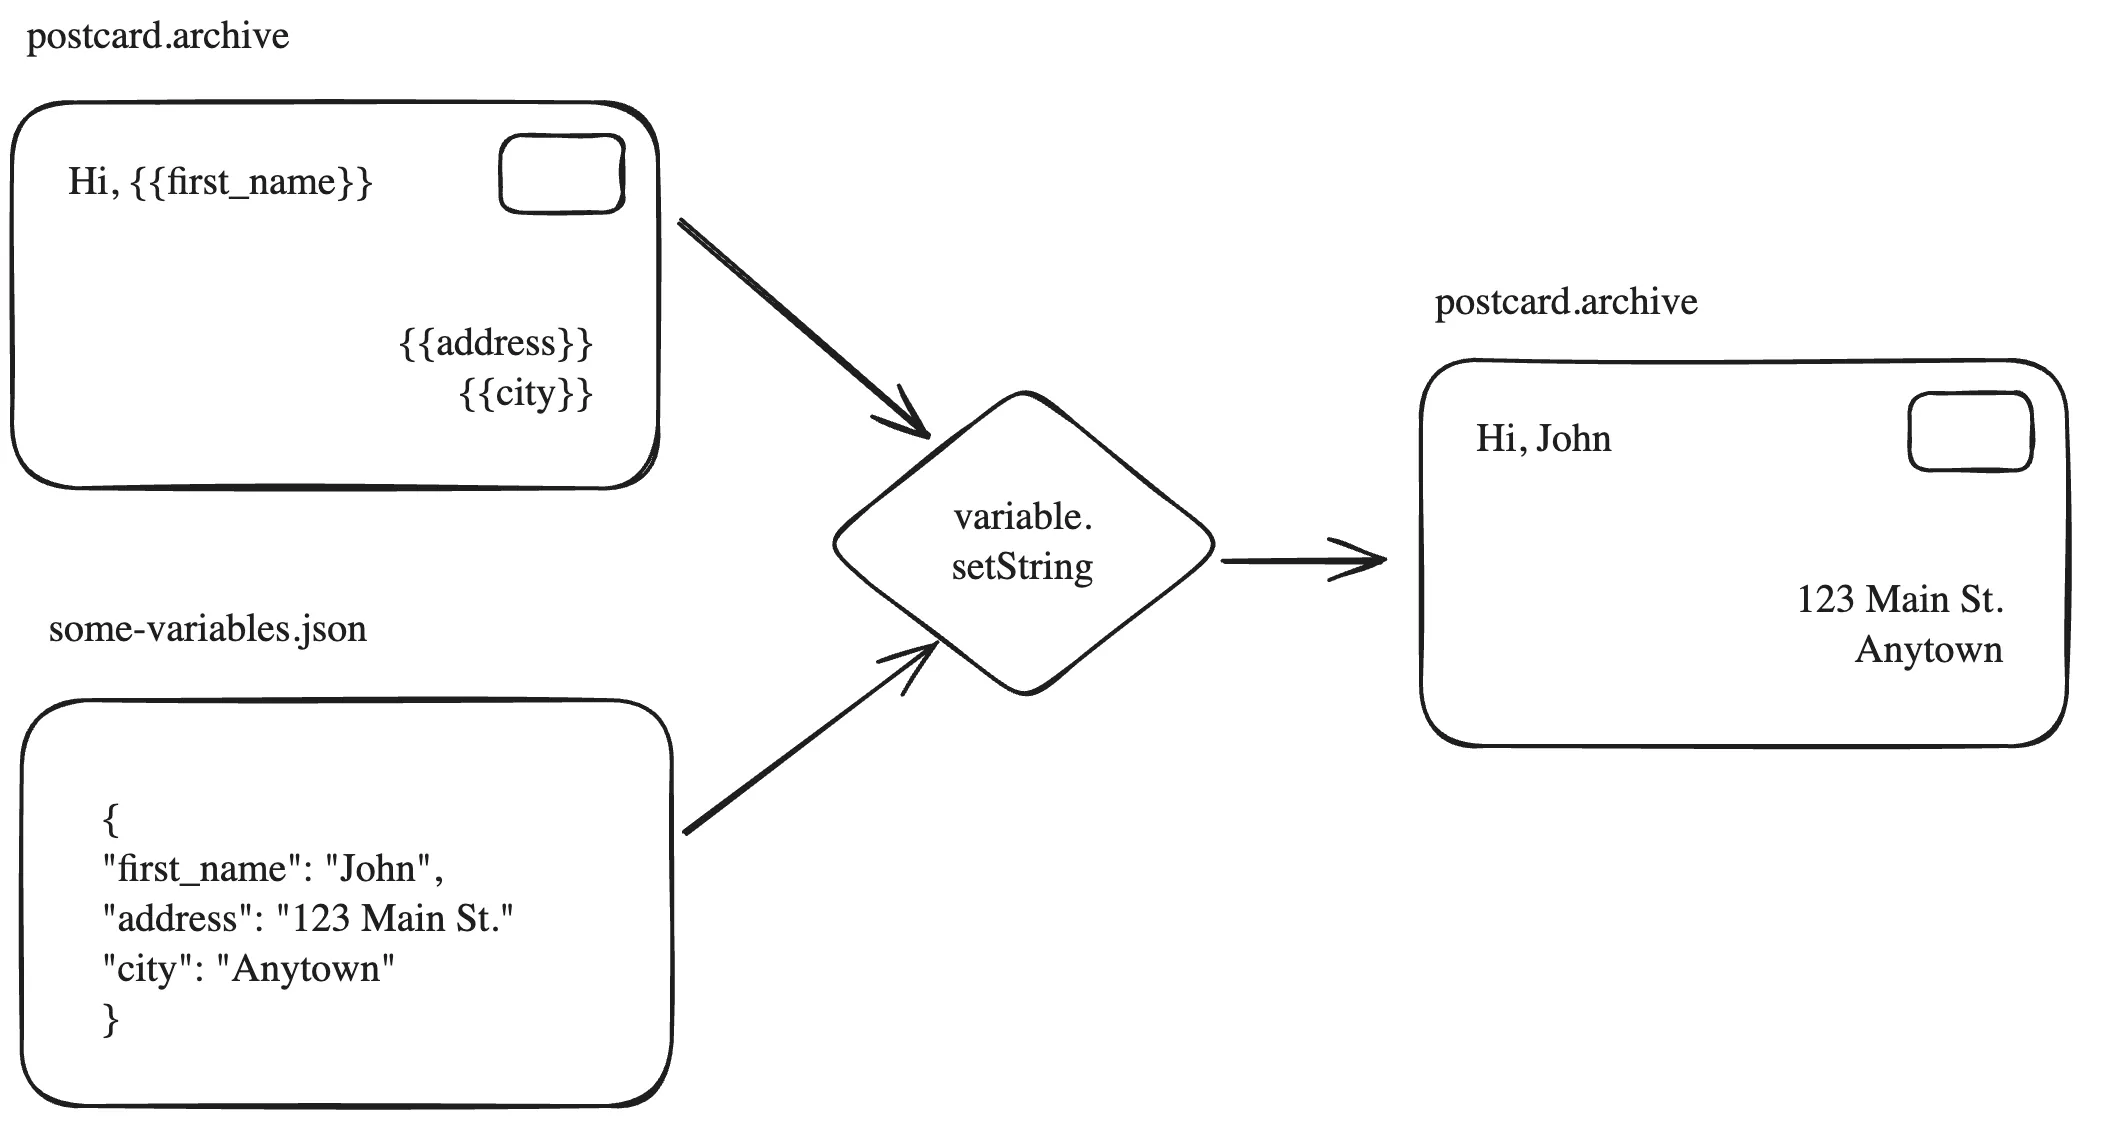
With CE.SDK, you create design templates that define placeholders, variables, and lockable design elements. These templates ensure brand consistency while allowing dynamic content generation. Whether you’re building social ads, team cards, or product visuals, the structure remains stable while the content varies. The diagram below illustrates these components using a classical mail merge example. The user creates a design template within the editor and defines certain variables like first_name and address, a data source of address data can now be merged with this template using the engine API: engine.variable.setString to create an individualized postcard for every data point in the set:
Under the Hood: CE.SDK Architecture
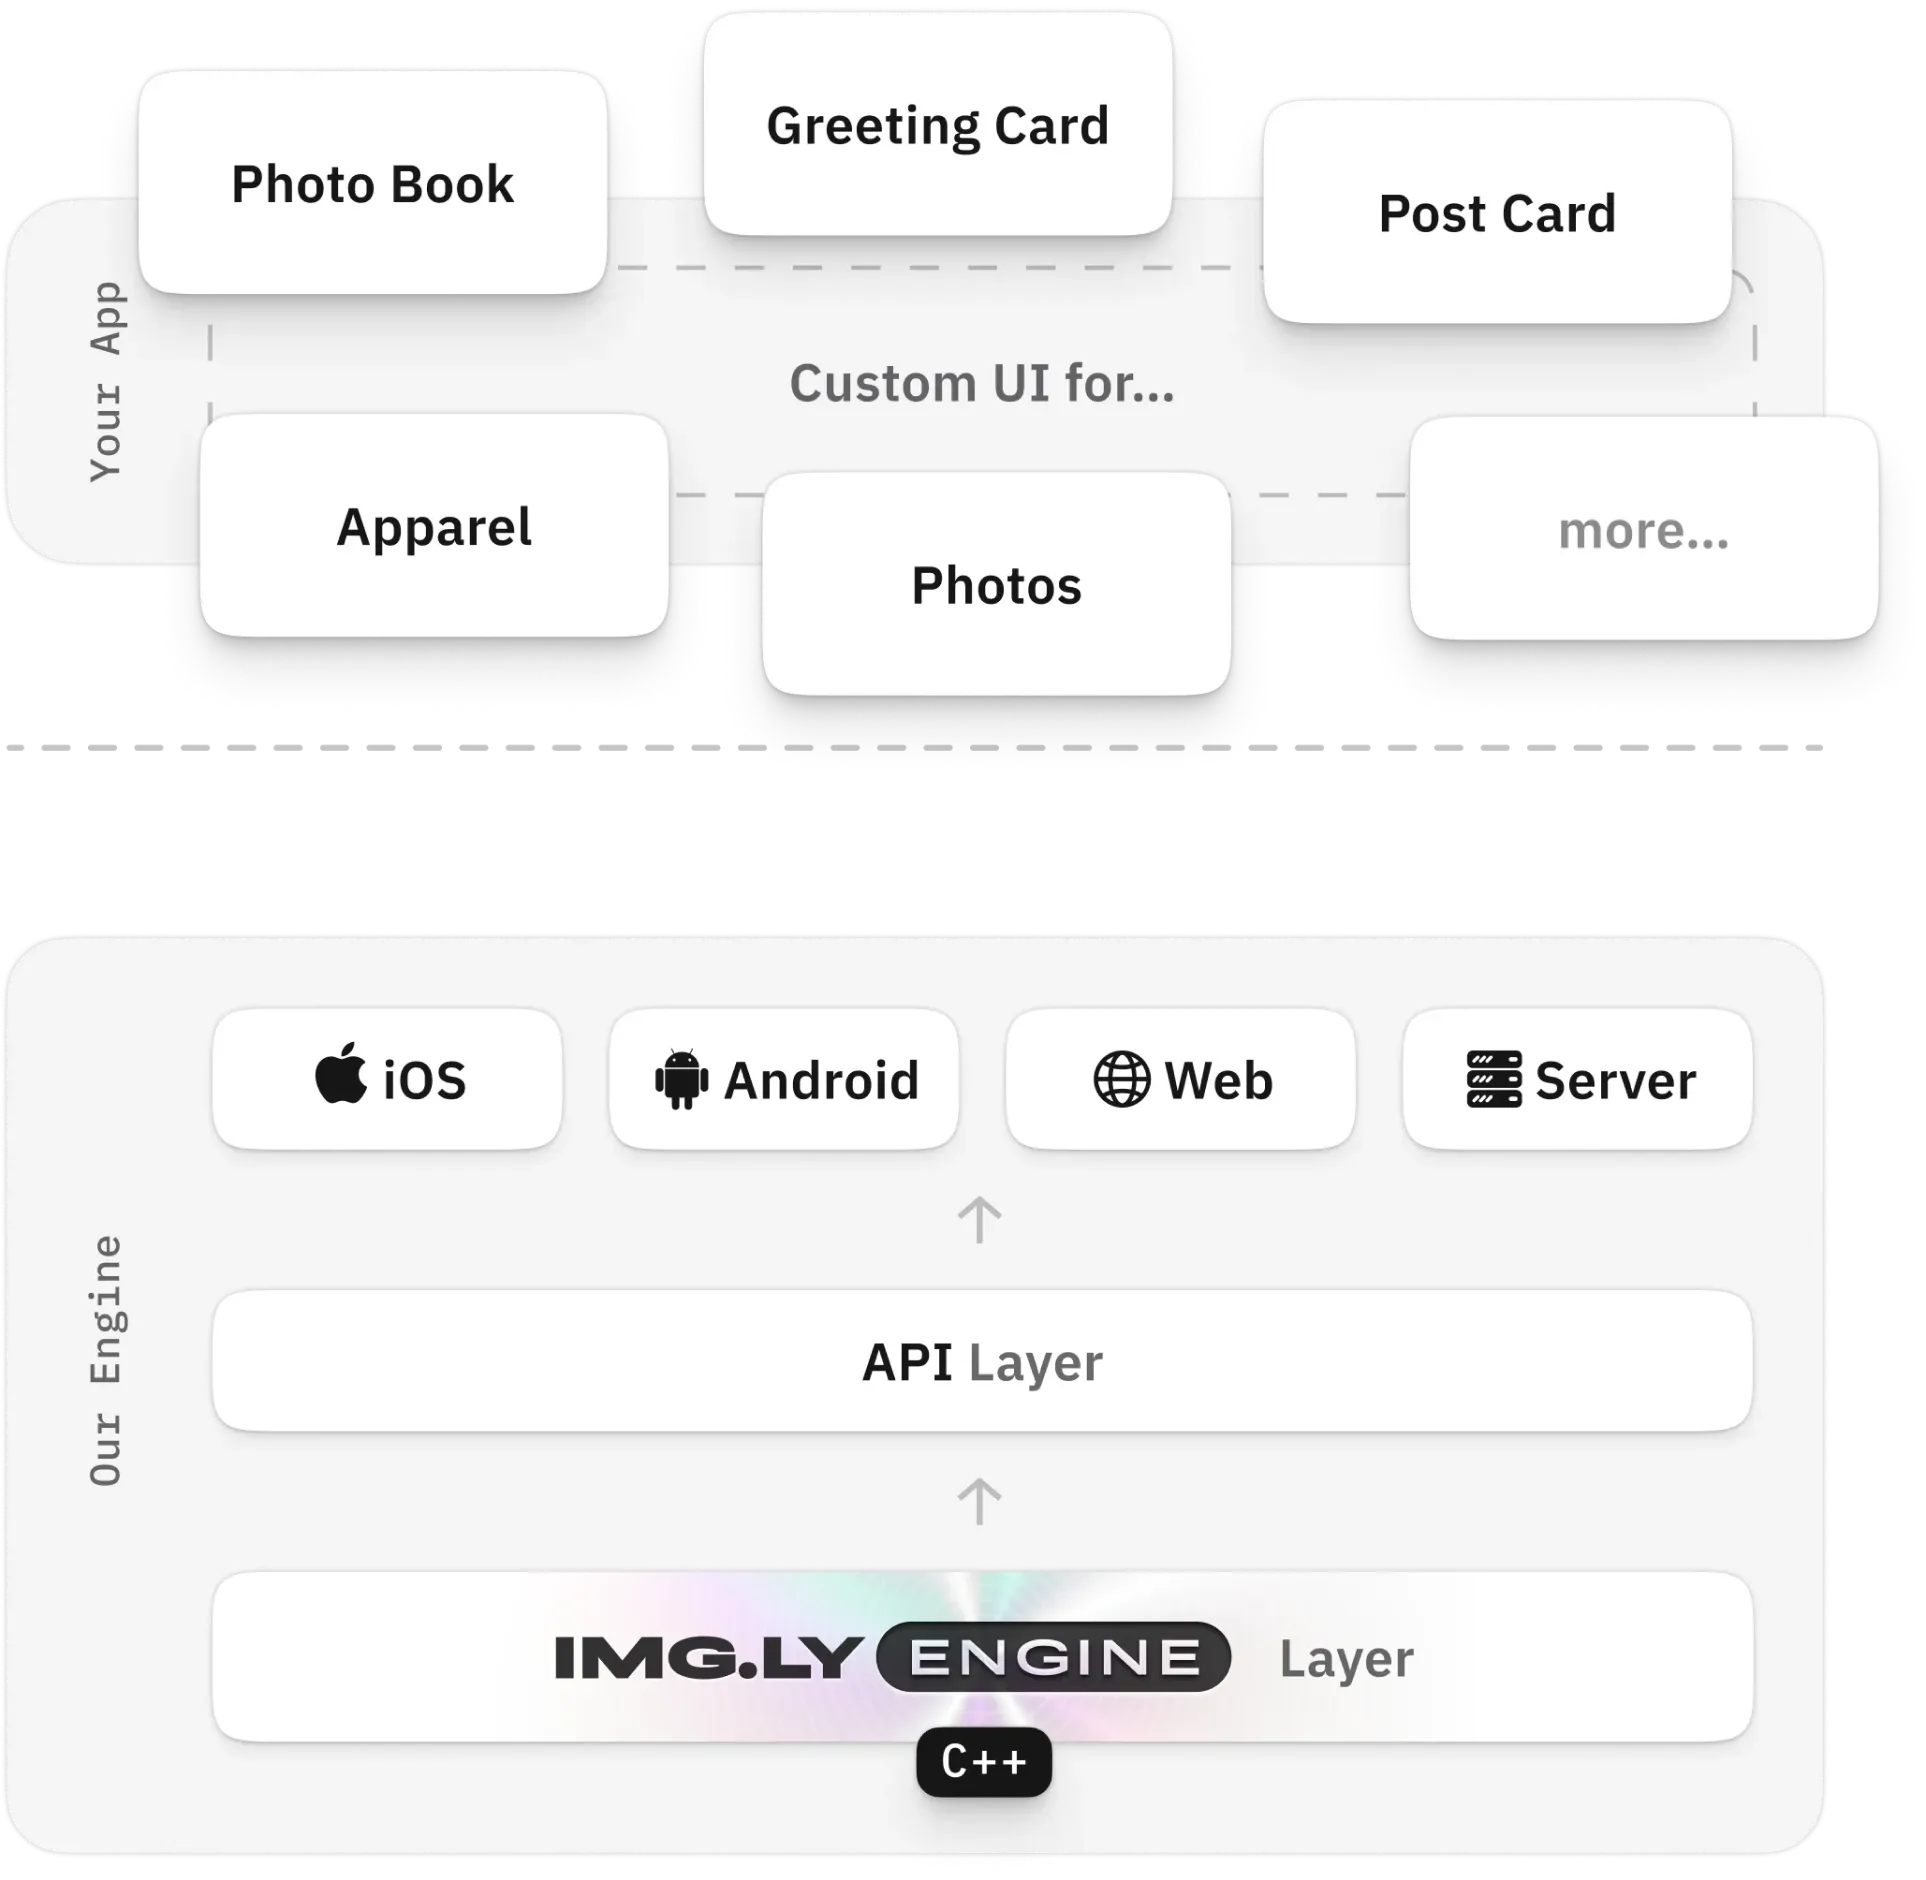
In order to fully understand how to implement creative automation workflows with CE.SDK we need a basic mental model of its architecture. CE.SDK is built on two distinct layers, giving you total flexibility and control.
The UI Layer is the customizable frontend allowing users to design and edit different media types from photos, design compositions such as collages, videos or mixed media.
The Engine Layer exposes the Creative Engine, CE.SDK’s core rendering and editing engine, through an API. The architecture of CE.SDK is built around a layered approach that separates concerns while ensuring cross-platform consistency:
- Engine Core (C++): At the foundation lies the Creative Engine, a high-performance rendering and editing core written in C++. This is where all processing, layouting, and rendering logic happens, guaranteeing precision and fidelity.
- API Layer: On top of the core sits the API Layer, which exposes the engine’s capabilities in a consistent, high-level interface. This abstraction allows developers to focus on creative logic without dealing directly with low-level rendering details.
- Cross-Platform Targets: The same engine and API are cross-compiled to iOS, Android, Web, and server environments, ensuring that rendering results remain identical regardless of platform. This uniformity is critical for automation workflows, where assets may be produced or consumed across multiple devices and services.
- Headless Mode: Beyond powering interactive UIs, the engine can also be run headlessly. In this mode, CE.SDK operates without a frontend, enabling automated scenarios such as bulk rendering of images or videos, dynamic template generation, and data-driven personalization at scale. On a server the package depends on the output you need:
@cesdk/nodecovers images and PDF, while video export needs either@cesdk/node-nativeor the CE.SDK Renderer, our GPU-accelerated Linux rendering tool, which runs on your own servers.
This modular architecture ensures that whether you are building a custom editing UI or running automated creative workflows on the server, every output is backed by the same reliable, cross-platform engine.
How to Integrate Creative Automation into Your Workflow
Step 1: Integrate CE.SDK
Even if you don’t plan to use the CE.SDK UI for end users, you still need to spin it up locally or within internal tooling to create templates. Let’s install CE.SDK and configure it to the advanced UI, in Creator mode.
CE.SDK by default comes with two UI flavors. The design or default UI config exposes all the essentials for productive design editing by most users, ideal for adapting templates. An advanced UI adds fine grained editing controls and the ability to define placeholder elements and control what users can change.
The “Creator” role allows setting constraints on template elements, while the “Adopter” role is focused on adapting these elements.
- Creator: Set constraints and manage template settings.
- Adopter: Edit elements within the bounds set by the Creator.
For other setups, see our getting started guides, and explore the entire demo here.
You can find the complete demo, including the podcast template used below, in the automatic design generation starter kit.
Configuring CE.SDK for Template Creation
The editor’s panels come from the design editor starter kit’s configuration, so install CE.SDK with the packages that configuration uses and copy it into your project first:
npm install @cesdk/cesdk-js@1.82.0 @imgly/plugin-background-removal-web@1.82.0 onnxruntime-web@1.21.0
npx degit imgly/starterkit-design-editor-ts-web/src/imgly#release-1.82.0 src/imgly
Below is a sample configuration. Notice how we set role: 'Creator' and switch to the advanced view to unlock template authoring features. We also register a saveScene action to export complete template archives. These include all necessary resources (images, fonts, stickers, etc.) in a self-contained package. Archives are what you’ll deliver to adopters or use for data-driven automation later.
import CreativeEditorSDK from '@cesdk/cesdk-js';
import { initDesignEditor } from './imgly';

const cesdk = await CreativeEditorSDK.create('#cesdk_container', {
  role: 'Creator',
});
await initDesignEditor(cesdk);

// Open an empty scene to author the template in
await cesdk.actions.run('scene.create');

cesdk.ui.setTheme('dark');
cesdk.ui.setView('advanced');
cesdk.ui.setPanelPosition('//ly.img.panel/inspector', 'right');
cesdk.engine.editor.setSetting('dock/hideLabels', true);
cesdk.engine.editor.setSetting('dock/iconSize', 'normal');

// Register after initDesignEditor, which registers its own 'saveScene'
cesdk.actions.register('saveScene', async () => {
  const blob = await cesdk.engine.scene.saveToArchive();
  const formData = new FormData();
  formData.append('file', blob, 'template.imgly');
  await fetch('/upload', { method: 'POST', body: formData });
});
You do not need a CE.SDK license key to try it: without one the editor runs in evaluation mode and exports carry a watermark. Start a free trial to get one and set it as license in the config.
Step 2: Build Smart Templates
With CE.SDK running in Creator mode, we can now define editable templates. These templates can include:
- Named blocks → Easy-to-reference design regions (e.g.,
PodcastCover,PodcastBadge). - Variables → Text placeholders enclosed in double curly braces (e.g.,
{{Message}},{{PodcastName}}).
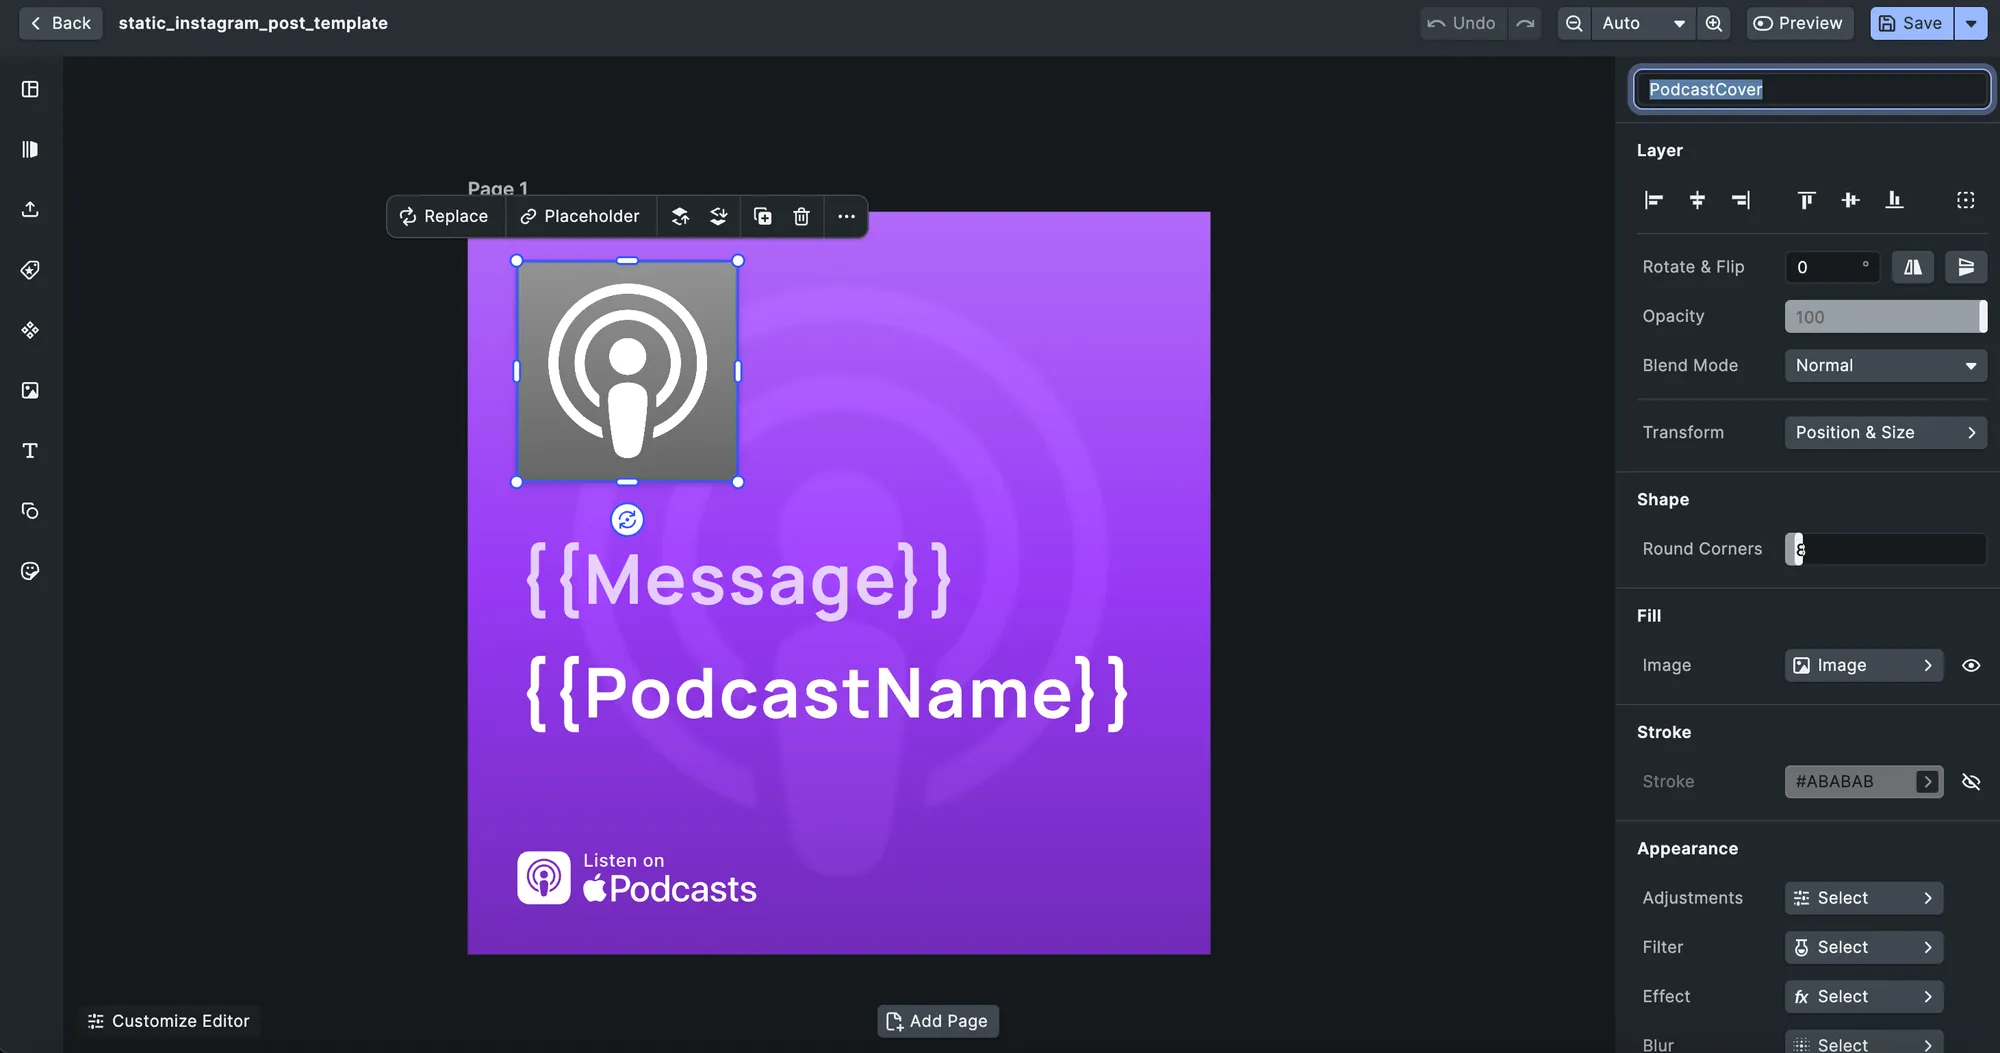
For example, here’s a podcast cover template with two text variables and named blocks. The variables make it possible to inject data programmatically later.
Podcast template:
- Variables: {{Message}}, {{PodcastName}}
- Named blocks: PodcastCover, PodcastBadge, Message & Name
Since we’re in Creator mode, we can also enforce brand constraints, for instance, locking background colors, logos, or fonts so that adopters (or automated processes) don’t accidentally override brand-critical assets.
Step 3: Automate Asset Creation
Once you have a template, the next step is automation. Using the headless Creative Engine, you can:
- Populate placeholders with external data (e.g., from APIs).
- Swap images, update text variables, or adjust styling dynamically.
- Export the results at scale into formats like PNG, PDF, or even video.
Example: Dynamic Podcast Covers
In this demo, we connect to the Apple iTunes API to fetch podcast data. Whenever a podcast is selected (or user input changes), our fillTemplate function updates the CE.SDK scene. It receives the podcast, the message, the background color and a helper that resolves asset URLs.
Key concepts:
- Blocks API → Query template blocks by name (
engine.block.findByName('PodcastBadge')) and update their fills. - Fills → Blocks can have images, solid colors, gradients, or videos. For podcast artwork, we set
imageFileURI. - Variables API → Set text variables directly (
engine.variable.setString('Message', 'Hello World')).
export function fillTemplate(
  engine,
  page,
  { podcast, message, backgroundColor, assetUrl }
) {
  const { r, g, b } = backgroundColor;
  engine.block.setColor(page, 'fill/solid/color', { r, g, b, a: 1 });

  if (podcast) {
    for (const coverBlock of engine.block.findByName('PodcastCover')) {
      engine.block.setString(
        engine.block.getFill(coverBlock),
        'fill/image/imageFileURI',
        podcast.artworkUrl600
      );
    }
  }

  // Linearize sRGB before weighting, the same way the starter kit does
  const [R, G, B] = [r, g, b].map((i) =>
    i <= 0.04045 ? i / 12.92 : ((i + 0.055) / 1.055) ** 2.4
  );
  const luminance = 0.299 * R + 0.587 * G + 0.114 * B;
  const theme = luminance > 0.38 ? 'light' : 'dark';

  const [badgeBlock] = engine.block.findByName('PodcastBadge');
  if (badgeBlock) {
    engine.block.setString(
      engine.block.getFill(badgeBlock),
      'fill/image/imageFileURI',
      assetUrl(`/podcast-badge-${theme === 'light' ? 'black' : 'white'}.png`)
    );
  }

  // set text variables
  engine.variable.setString('Message', message || '');
  engine.variable.setString(
    'PodcastName',
    podcast ? podcast.collectionName : ''
  );

  // set text colors based on background theme
  // Text ranges count each {{variable}} as one character: {{Message}} is 0..1
  const [messageBlock] = engine.block.findByName('Message & Name');
  if (messageBlock) {
    const rgb = theme === 'dark' ? { r: 1, g: 1, b: 1 } : { r: 0, g: 0, b: 0 };
    engine.block.setTextColor(messageBlock, { ...rgb, a: 0.75 }, 0, 1);
    engine.block.setTextColor(messageBlock, { ...rgb, a: 1.0 }, 1);
  }
}
Exporting the filled page is one more call:
const png = await engine.block.export(page, { mimeType: 'image/png' });At this point, you’ve created a data-driven creative automation pipeline:
- Templates authored with placeholders and constraints.
- Dynamic population of text and image fields via external data.
- Export to high-quality assets at scale.
This workflow is the foundation for personalized marketing campaigns, automated content production, and AI-driven design pipelines with CE.SDK.
Creative Automation delivers speed, and also scalability, consistency and customization. IMG.LY’s CE.SDK gives you the tools to build powerful, flexible automation workflows tailored to your brand and users.
Start your free trial today and integrate content automation into your application.
FAQ
What is creative automation? Generating design assets from a template plus data, rather than having someone lay out each one. You define the design once with the variable parts marked, then feed it names, prices, images or copy and get finished assets back. It is the difference between designing 500 ad variants and designing one that produces 500.
How does CE.SDK handle creative automation? Through the same engine that powers the editor. Templates carry named blocks and text variables, and the engine API lets you find those blocks by name and set their contents in code. Because the editor and the automation run on one engine, a template a designer builds interactively is the template your backend fills, without a translation step between them.
Can CE.SDK generate assets without a user interface?
Yes. The engine runs headless, so you can render from a template on a server with no editor on screen. Pick the package by output: @cesdk/node renders images and PDF, and video export needs either @cesdk/node-native or the CE.SDK Renderer. The usual pattern is that designers build templates in the editor and a backend job renders the variants, which is why the same template format has to work in both places.
How do you populate a template programmatically?
Find the blocks you want to change and set their properties. engine.block.findByName returns the blocks carrying a given name, engine.block.getFill gets the fill to point at a new image, and engine.variable.setString sets the text variables the template declares. The code in this guide shows the pattern end to end.
What is the difference between named blocks and text variables? A named block is a design element you locate and modify, such as an image placeholder you swap the artwork on. A text variable is a placeholder inside a text block, written as {{Name}}, that you set by name. Use named blocks when you are replacing content, variables when you are filling in words.
Do I need separate tools for editing and automation? Not with CE.SDK, and that is most of the argument for it. The alternative is a design tool for humans and a rendering pipeline for machines, kept in sync by hand, where a template change in one has to be reproduced in the other. Running both on one engine removes that class of problem.