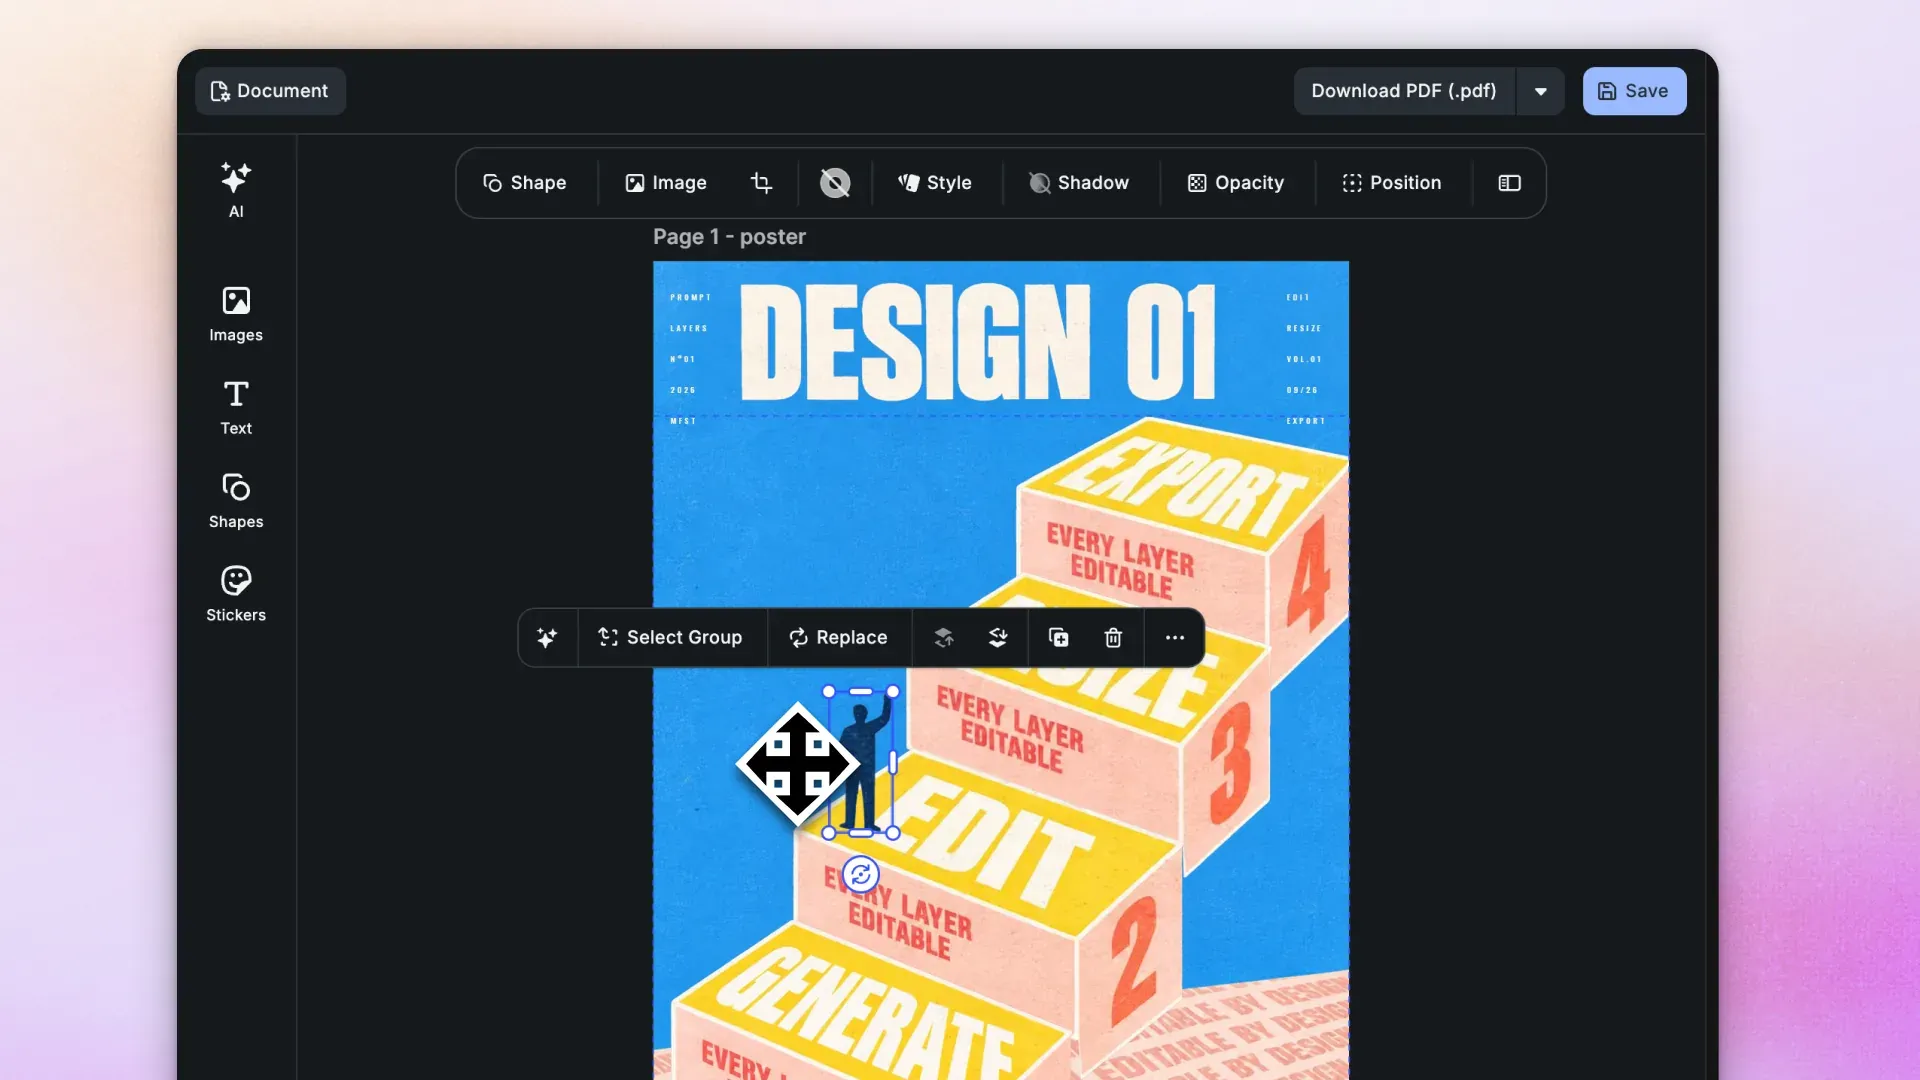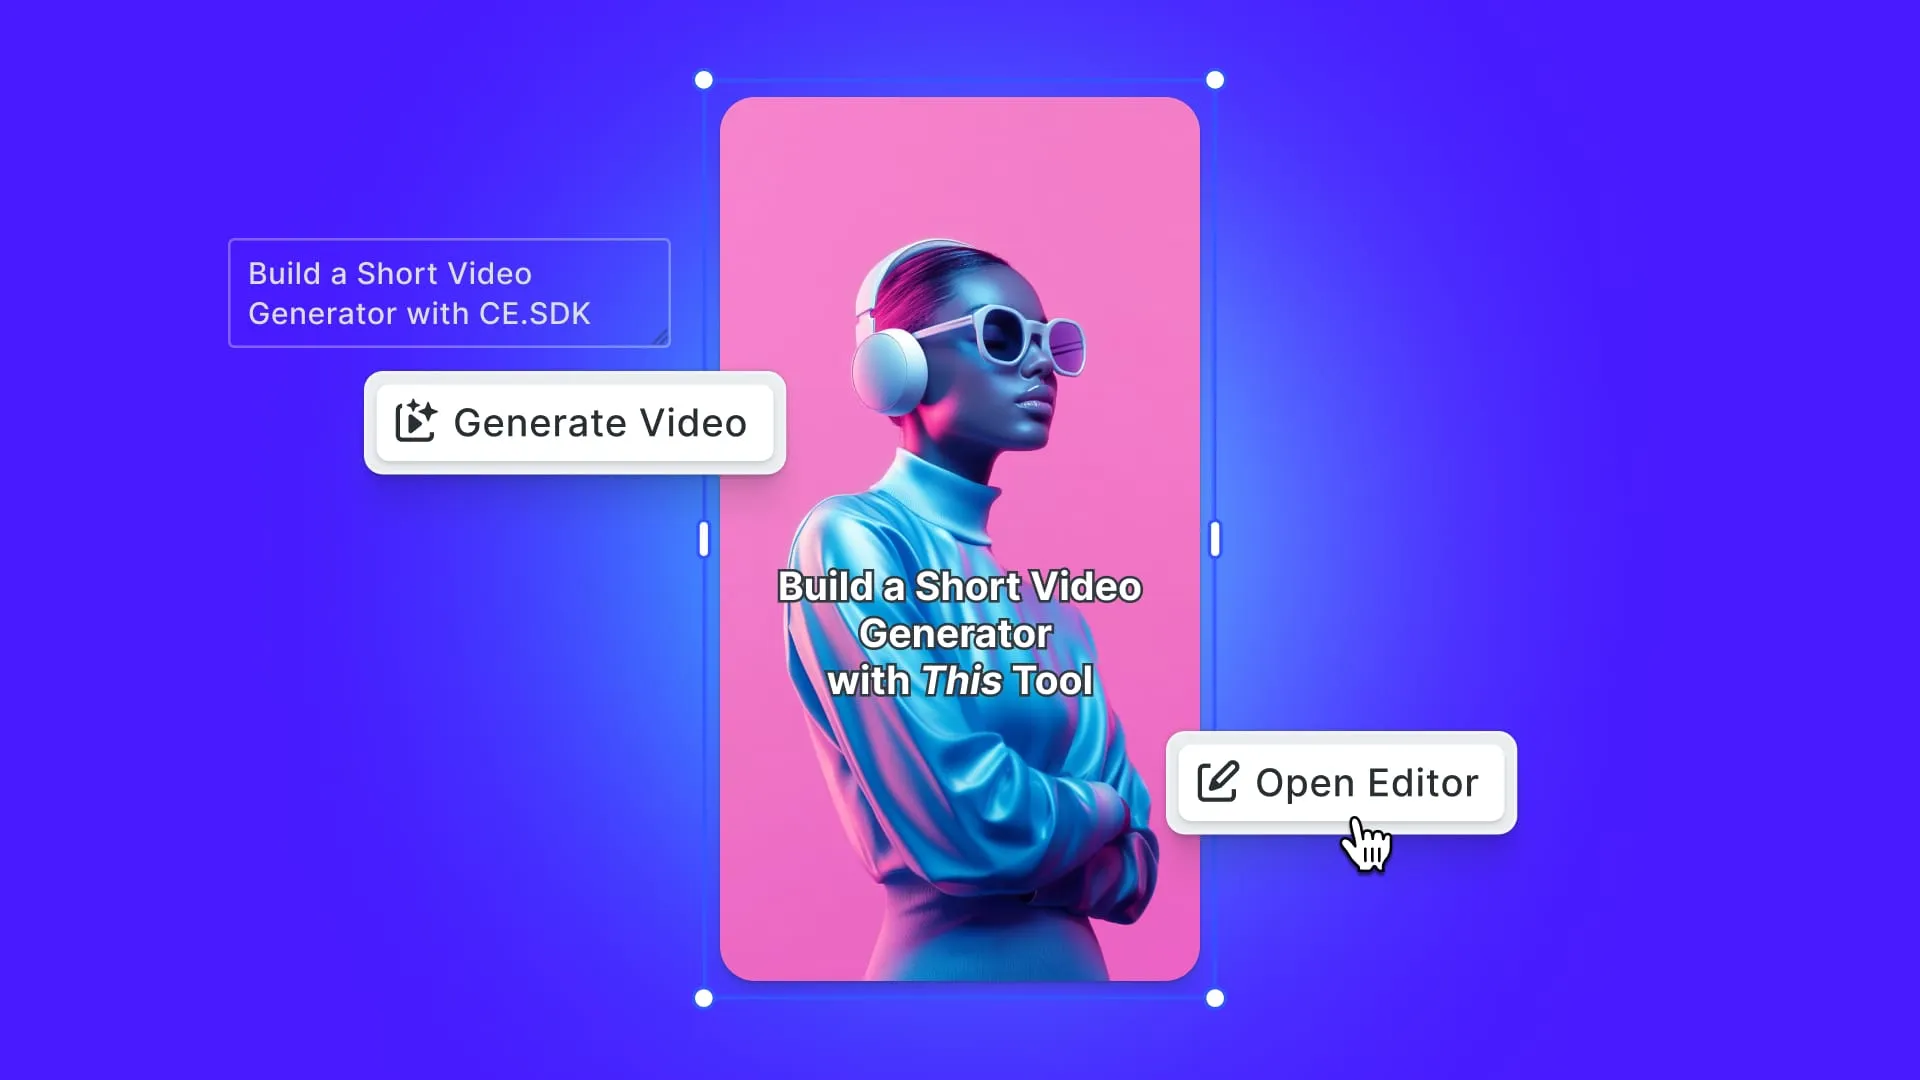


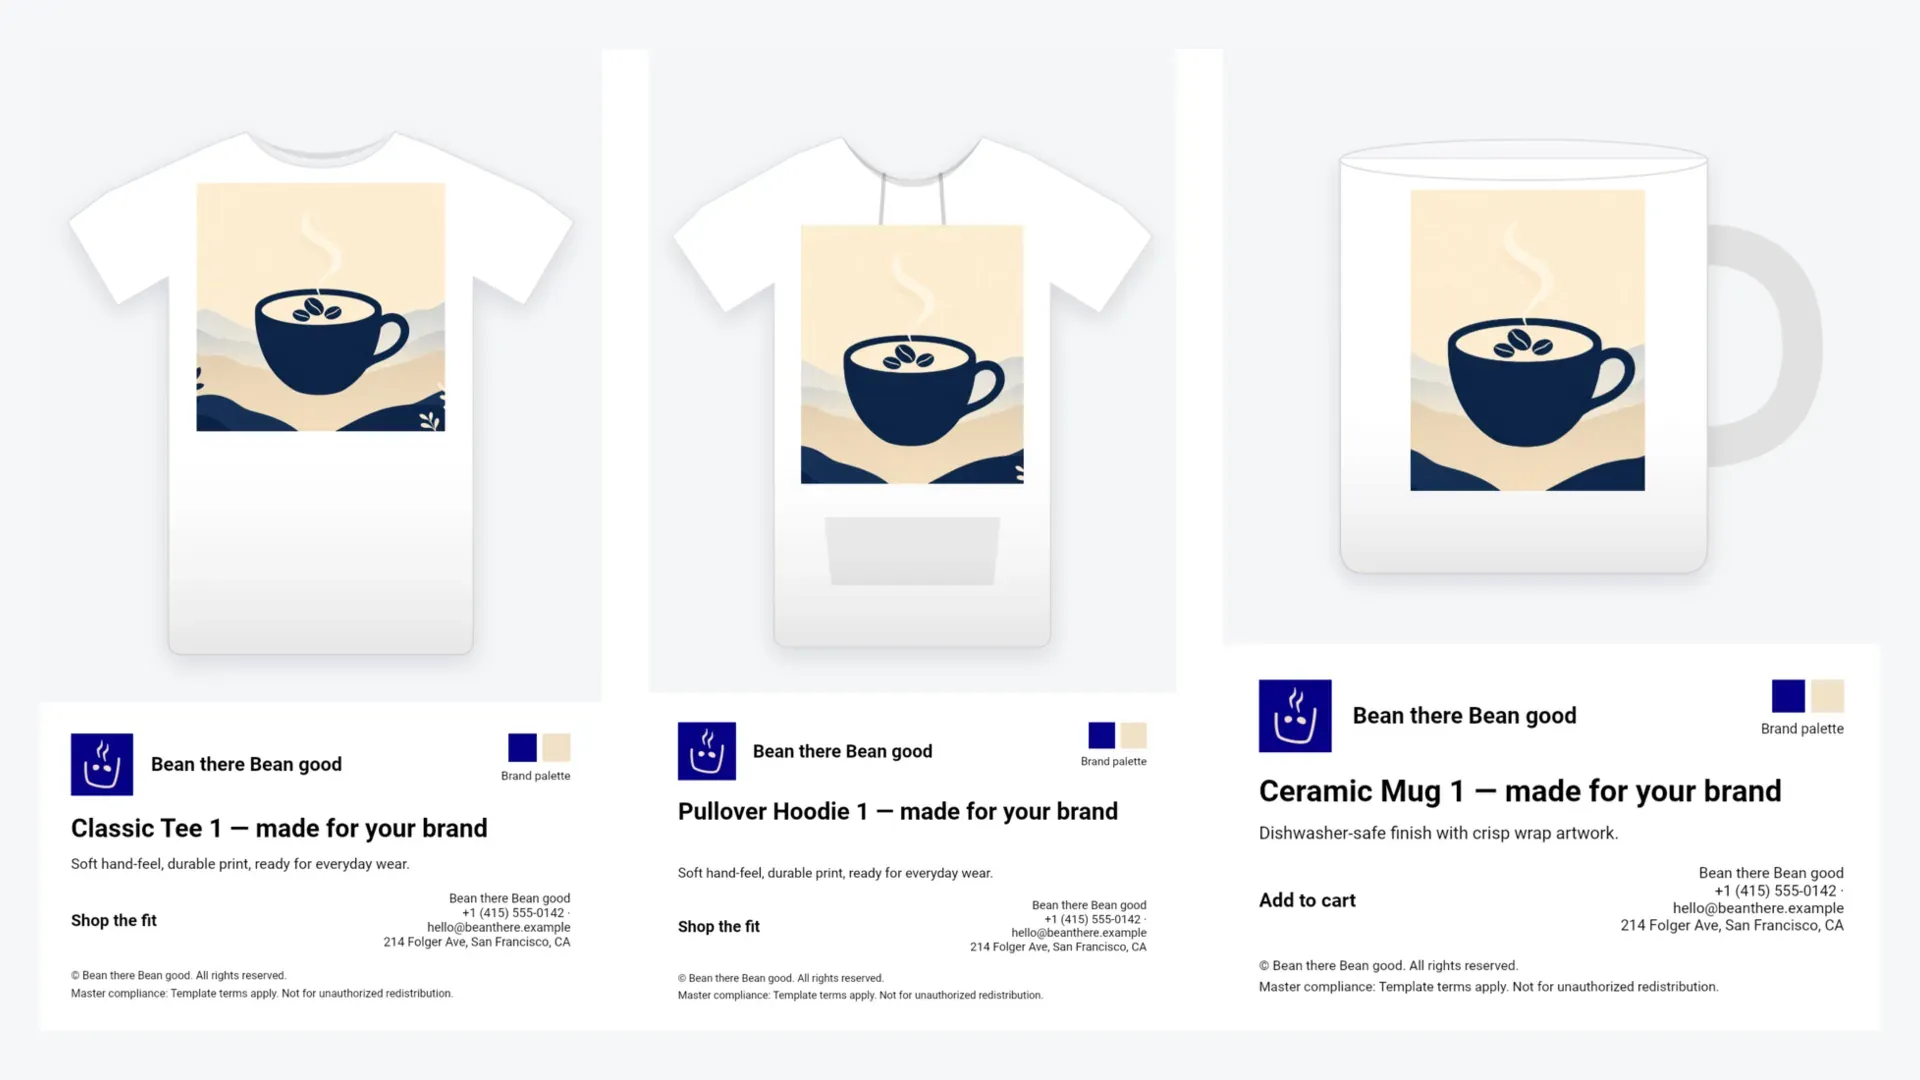
What You Will Build: A Swag Catalog Rendered From One Master Template
After completing this tutorial, you will end with a working swag catalog: one locked master, three customer brands, fifty SKUs, and a batch job that writes a mockup plus a DPI-sized print plate for every print area. Pick a customer, render the catalog, change the master compliance line, and watch every mockup pick up the new line on the next run. This tutorial is meant for engineers and product managers at merchandise, franchise, dealer, or agency platforms that still copy one template per customer.
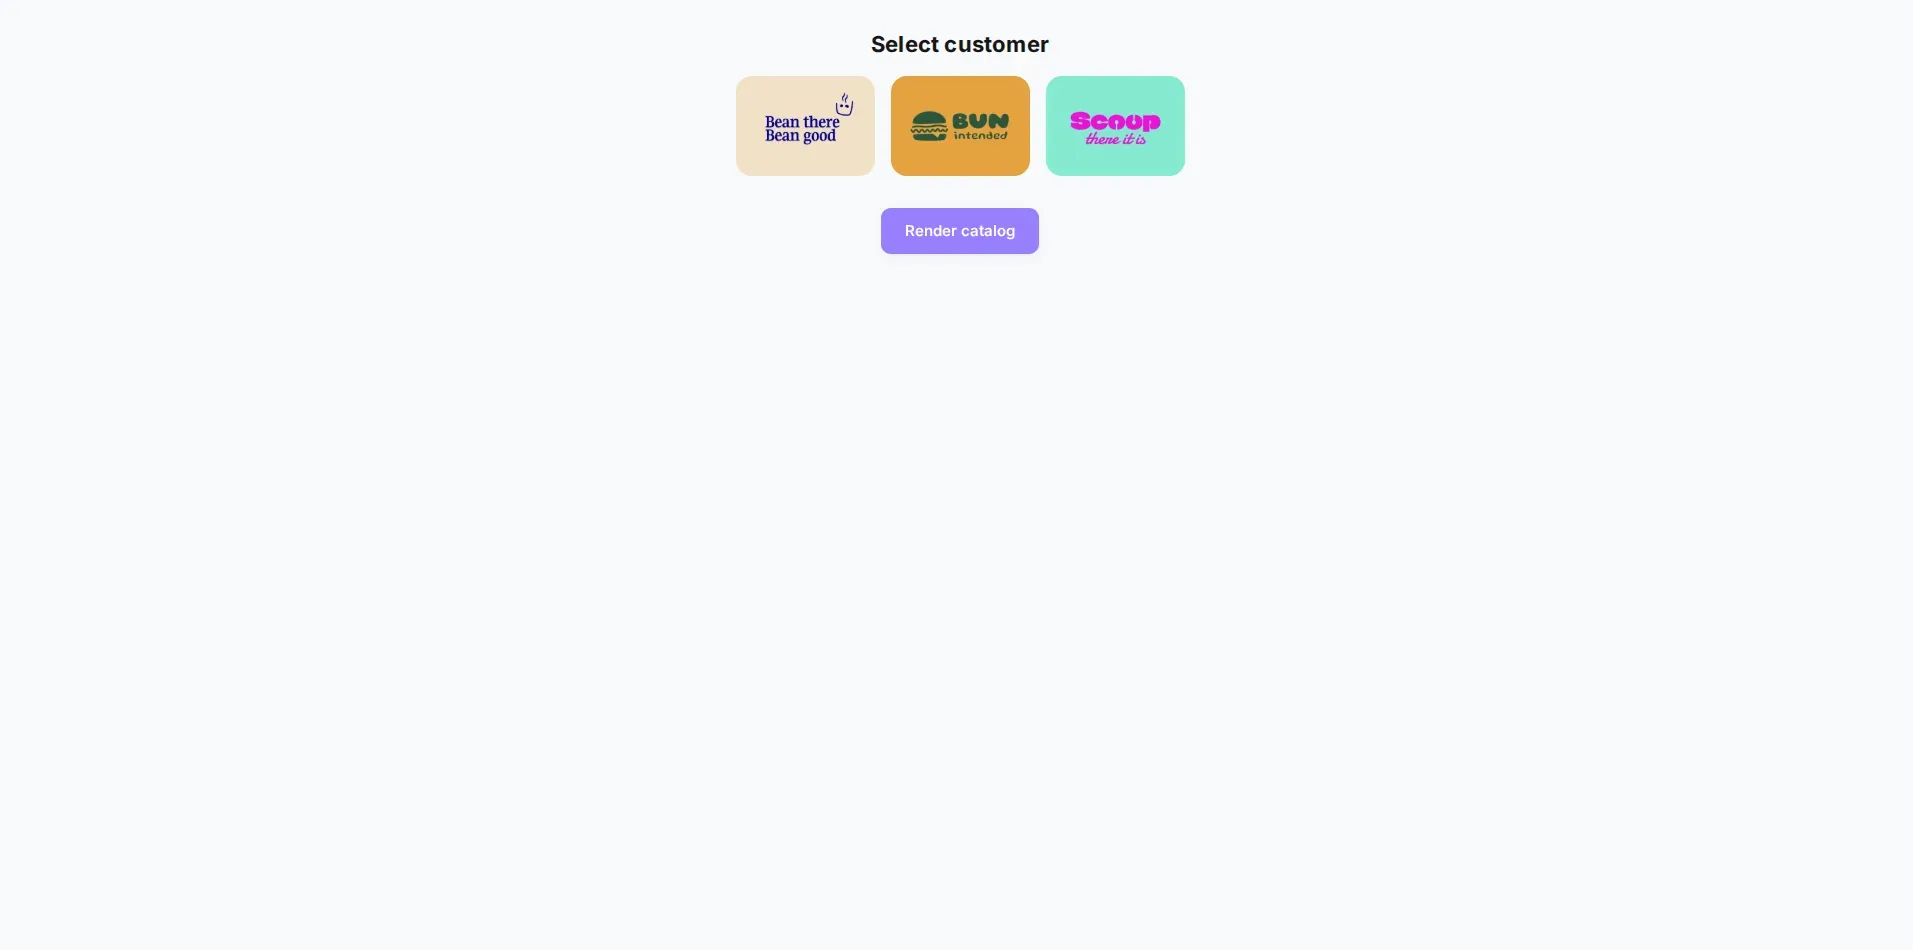
The reference app is the cesdk-template-inheritance repository. Clone it, set a CE.SDK license in .env, and run npm run dev as described in the README. Alternatively, the live demo is at labs.imgly.dev/p/2aqtwedr_template-inheritance.
Why Per-Customer Template Copies Stop Scaling
If you run a merchandise or direct mail platform, the bottleneck is rarely demand, but prepress. Most incoming customer logos and art files aren’t ready for print: wrong resolution, no safe area, colors that clash with a locked brand palette. Consequently, graphic designers spend their week fixing that artwork instead of building your next campaign. Customers feel the same problem from the other side: they can self-serve an email in Canva, then wait on a graphics team to turn a logo into a postcard, a tee plate, or a dealer kit that actually clears DPI, safe area, and brand locks.
Duplicating one template per customer doesn’t fix any of this. Rather, it spreads manual work: Every new brand is another copy to prep by hand; every master change (a legal line, a lock, a layout tweak) becomes a separate edit on every copy in the set, instead of one change that re-renders everywhere. At a few hundred SKUs, that manual editing is what actually slows down the next batch of print-ready files.
Template Scaling Approaches Compared: Copies, Parameterized HTML, Headless Template API, Inheritance
Representatives are used to fill the middle two columns: Handlebars + Puppeteer for parameterized HTML/SVG, and Abyssale for a headless template API. They stand in for those approaches, not the only tools in each class.
| Copy templates per customer | Parameterized HTML or SVG templates | Headless template API | Template inheritance in a scene format (this article) | |
|---|---|---|---|---|
| Master change propagates | No (edit every copy) | Yes, if one shared template feeds every render | Yes, if generations reuse the same template/design id | Yes (re-resolve and re-render) |
| Per-customer overrides | Yes (whole file) | Yes (slots / CSS variables) | Yes (payload / element fields) | Yes (customer JSON + artwork) |
| Per-product artwork locations | Manual per copy | Manual: CSS/@page or separate templates per SKU | Yes when the API supports per-format layout (e.g. Abyssale template_format_names) | Yes (artworkLocation + pageSize in catalog) |
| Non-designer can edit a variant | Rarely (design tool required) | Yes if forms map into template variables; editing the HTML/SVG needs a developer | Yes when the vendor ships a form or payload editor (e.g. Abyssale Quick Generation) | Yes for brand fields and adopter text scopes |
| Print-ready output | Depends on the design tool | Paper size/margins via headless PDF export (e.g. Puppeteer page.pdf); typically no CMYK/bleed/printer DPI in that API | Yes when the API documents print PDFs (e.g. Abyssale: mm/in, DPI, bleed/safe, CMYK; printer import Alpha) | Yes: print.png at pageSize × DPI |
| Preview at design time | Yes in the design tool | Browser preview of the HTML/SVG | Yes when the vendor provides an editor or live preview | Demo UI + mockup PNGs |
| Batch render | Scripted exports if you build them | Scripted (e.g. headless Chromium) | Native batch/generate APIs | Headless CE.SDK Node batch |
| Storage per customer | Full template per customer | Template + parameter rows | Template + parameter rows | Master once + small customer JSON |
| What you have to build | Process and file hygiene | Template language + mapper | API integration + data model | Master builder, overrides, catalog, resolver, batch |
| What breaks when the master changes | Silent drift across copies | Shared template refresh; renamed slots/keys stop resolving | Next generate uses the current template; integrations break if layer/field names change | Customer brand data stays; layout and compliance refresh |
Sources (checked 2026-09-23): Handlebars, Puppeteer PDFOptions, Abyssale print import, Abyssale print PDF generation. Spot-check: Abyssale documents bleed_size / safe_size, dpi, and CMYK tokens on printer designs; multi-format print PDF generation supports crop marks and color profiles.
Copying or a simple HTML pipeline is enough when you have few brands and no print plate to ship. However, inheritance is preferable when one locked master must drive both marketing mockups and physical print plates across many SKUs without editing a file per customer.
Step 1: Build the Master Template With Brand-Level Locks
The master is generated from TypeScript so a layout change is a readable diff, not a hand-edited scene blob. Run npm run build:master. No license is required for this step. The script only writes templates/master.json; it does not render images.
scripts/build-master.ts declares the variables customers may override, the blocks adopters may edit, and the blocks that stay locked:
// scripts/build-master.ts
const OVERRIDE_VARIABLES = [
  'brandName',
  'logoUri',
  'primaryColor',
  'secondaryColor',
  'contactName',
  'contactPhone',
  'contactEmail',
  'contactAddress',
  'legalDisclaimer',
] as const;

const ADOPTER_EDITABLE_TEXT = ['Headline', 'Body', 'CTA'] as const;

const LOCKED_BLOCKS = [
  'BrandLogo',
  'BrandName',
  'BrandPrimarySwatch',
  'BrandSecondarySwatch',
  'BrandPaletteLabel',
  'ContactBlock',
  'LegalLine',
  'MasterCompliance',
] as const;

const PLACEHOLDER_BLOCKS = ['HeroImage'] as const;
The generated templates/master.json stores masterOnly.complianceText, the override allow list, and the scene string. For your own case, change the page size constants, locked block list, or compliance string in the builder, regenerate, and re-render.
Step 2: Add Per-Customer Overrides (Logo, Palette, Contact, Brand Artwork)
Each file under templates/customers/ extends the master and carries only brand data. In this repo, that includes the printed artwork: change it once and every product for that brand uses the new art. Campaign copy (headline, body, cta) and master compliance stay forbidden on the customer file.
// templates/customers/bean-there-bean-good.json
{
  "id": "bean-there-bean-good",
  "name": "Bean there Bean good",
  "extends": "../master.json",
  "artwork": {
    "uri": "/images/minimalist-bean.png",
    "width": 1280,
    "height": 720
  },
  "variables": {
    "brandName": "Bean there Bean good",
    "logoUri": "/images/logo-bean.png",
    "primaryColor": "#050087",
    "secondaryColor": "#F1E1C7",
    "contactName": "Bean there Bean good",
    "contactPhone": "+1 (415) 555-0142",
    "contactEmail": "hello@beanthere.example",
    "contactAddress": "214 Folger Ave, San Francisco, CA",
    "legalDisclaimer": "© Bean there Bean good. All rights reserved."
  }
}
Customers are discovered at runtime. In the browser, src/app/customer-catalog.ts loads every JSON file with import.meta.glob. On Node, scripts/lib/customers-node.ts reads the same folder. Drop a new file in, restart the demo, and the picker lists it.
src/customer-override.ts writes the allowed variables, places brand artwork on the HeroImage placeholder, and sets logo and palette swatches:
// src/customer-override.ts
const artwork = resolveCustomerArtwork(customer);
replaceImageByName(
  engine,
  'HeroImage',
  {
    uri: resolve(artwork.uri),
    width: artwork.width,
    height: artwork.height,
  },
  { required: true }
);
For your own case, keep compliance and campaign copy out of this layer. Put brand print art on the customer and SKU geometry on the product.
Step 3: Define Artwork Locations for Every Product in the Catalog
catalog/products.json holds fifty SKUs. Each area has a physical pageSize (inches in this demo) and an artworkLocation in mockup image pixels. Products supply campaign copy. They do not supply brand artwork. Three examples from the catalog:
Apparel (tshirt-01, front; the product also defines a back area):
// catalog/products.json (tshirt-01 / front)
{
  "id": "front",
  "label": "Front",
  "pageSize": { "width": 12, "height": 12 },
  "artworkLocation": {
    "x": 227,
    "y": 194,
    "width": 360,
    "height": 360,
    "unit": "px",
    "coordinateSpace": "mockup"
  }
}
Drinkware (mug-01, wrap):
// catalog/products.json (mug-01 / wrap)
{
  "id": "wrap",
  "label": "Wrap",
  "pageSize": { "width": 3.5, "height": 4.5 },
  "artworkLocation": {
    "x": 240,
    "y": 180,
    "width": 300,
    "height": 386,
    "unit": "px",
    "coordinateSpace": "mockup"
  }
}
Flat print (poster-01, face):
// catalog/products.json (poster-01 / face)
{
  "id": "face",
  "label": "Face",
  "pageSize": { "width": 18, "height": 24 },
  "artworkLocation": {
    "x": 45,
    "y": 60,
    "width": 810,
    "height": 1080,
    "unit": "px",
    "coordinateSpace": "mockup"
  }
}
Campaign fields on the same products look like this (tee example):
// catalog/products.json (tshirt-01 campaign fields)
{
  "headline": "Classic Tee 1 — made for your brand",
  "body": "Soft hand-feel, durable print, ready for everyday wear.",
  "cta": "Shop the fit"
}
Measure artworkLocation against your mockup PNG dimensions so the plate lands on the garment, not in the margin.
Step 4: Resolve Master, Customer and Product Into One Scene
resolveScene in src/resolve.ts loads the master named by extends, applies master-only compliance, applies the customer brand (including artwork), re-applies compliance so a stray customer key cannot win, applies product copy, then lays out print or mockup mode.
// src/resolve.ts
export async function resolveScene(
  engine: CreativeEngine,
  options: ResolveOptions
): Promise<ResolvedScene> {
  const customer = resolveCustomerArg(options.customer);
  const product = resolveProduct(options.product);
  const area = resolveArea(product, options.areaId);
  const color = resolveColor(product, options.colorId);
  const resolveAssetPath = options.resolveAssetPath ?? defaultResolveAssetPath;
  const mode: ResolveMode = options.mode ?? 'mockup';
  const dpi = options.dpi ?? DEFAULT_DPI;

  const master = resolveMasterTemplate(customer);
  await engine.scene.loadFromString(master.sceneString!);
  applyDocumentTypeface(engine, {
    spec: master.typeface ?? DEFAULT_TYPEFACE,
    resolveAssetPath,
  });
  applyMasterOnlyFields(engine, master);

  applyCustomerOverride(engine, customer, {
    resolveAssetPath,
    allowedVariables: master.overrideVariables,
  });
  applyMasterOnlyFields(engine, master);

  applyProductLayer(engine, product);

  const pixelSize =
    mode === 'print'
      ? (() => {
          const size = printPixelSize(product, area, dpi);
          applyPrintLayout(engine, master, size, dpi);
          return size;
        })()
      : applyMockupComposition(engine, area, color, { resolveAssetPath });

  const sceneString = await engine.scene.saveToString();
  return {
    sceneString,
    customer,
    product,
    area,
    color,
    artworkLocation: area.artworkLocation,
    mode,
    pixelSize,
    ...(mode === 'print' ? { dpi } : {}),
  };
}
Inheritance chain as text:
master (locks + compliance)
  -> customer (logo, palette, contact, legal, printed artwork)
    -> product (headline/body/cta, pageSize, artworkLocation)
      -> export print @ pageSize x DPI
      -> export mockup @ mockup photo + caption band
Step 5: Batch Render Mockups and Print Files for the Whole Catalog
The CLI entry is scripts/render-catalog.ts. It calls the same core path as the Vite POST /api/render-catalog handler.
npm run render:catalog -- --customer bean-there-bean-goodTesting runs marked 70,097 ms, 69,188 ms, and 69,025 ms (median 69,188 ms) at 150 DPI, each writing 50 products, 65 print areas, and 130 PNGs (print.png + mockup.png per area).
Nonetheless, for day-to-day checks in which you don’t need to run the full catalog, the CLI accepts --limit <n> (first n products only) and --areas first|all (one print area per product, or every area). Likewise, the demo UI accepts the same limit as a query string, for example /?limit=2. A smoke run with that URL reported 2 products · 4 areas · 8 images · 5.2 s in the results’ header. Publish throughput numbers only from full runs you actually timed; use the limit flags to iterate on master or customer changes without waiting for all 130 PNGs.
npm run render:catalog -- --customer bean-there-bean-good --limit 3 --areas firstOutput layout:
output/catalog/<customer-id>/<product-id>/<area-id>/
  print.png
  mockup.png
  resolved.json
output/catalog/<customer-id>/manifest.json
Print plates use physical size times DPI (for example a 12×12 in front at 150 DPI exports at 1800×1800). Mockups place that artwork inside artworkLocation on the product photo and keep brand chrome in a caption band under the photo.

Step 6: Change the Master and Re-Render
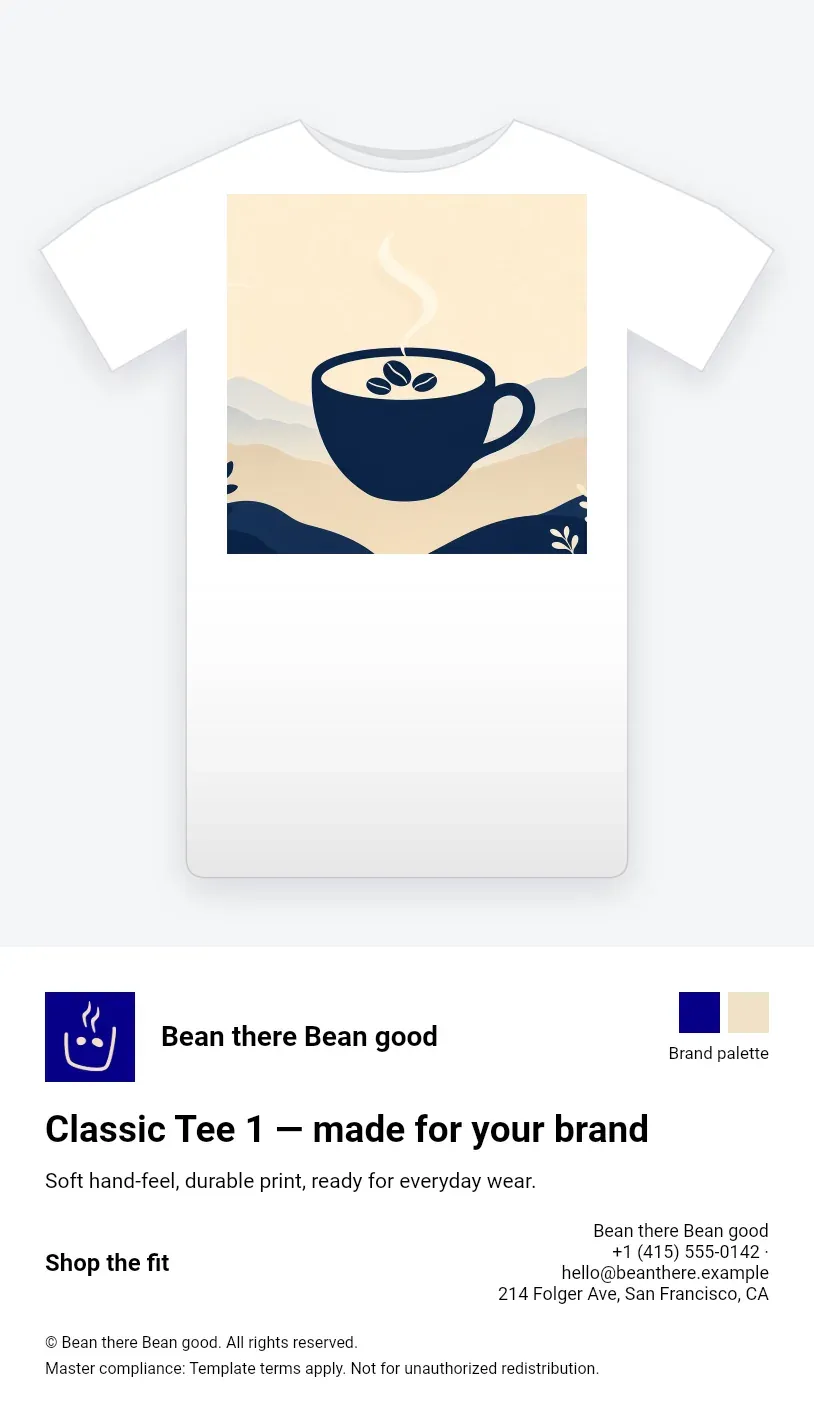
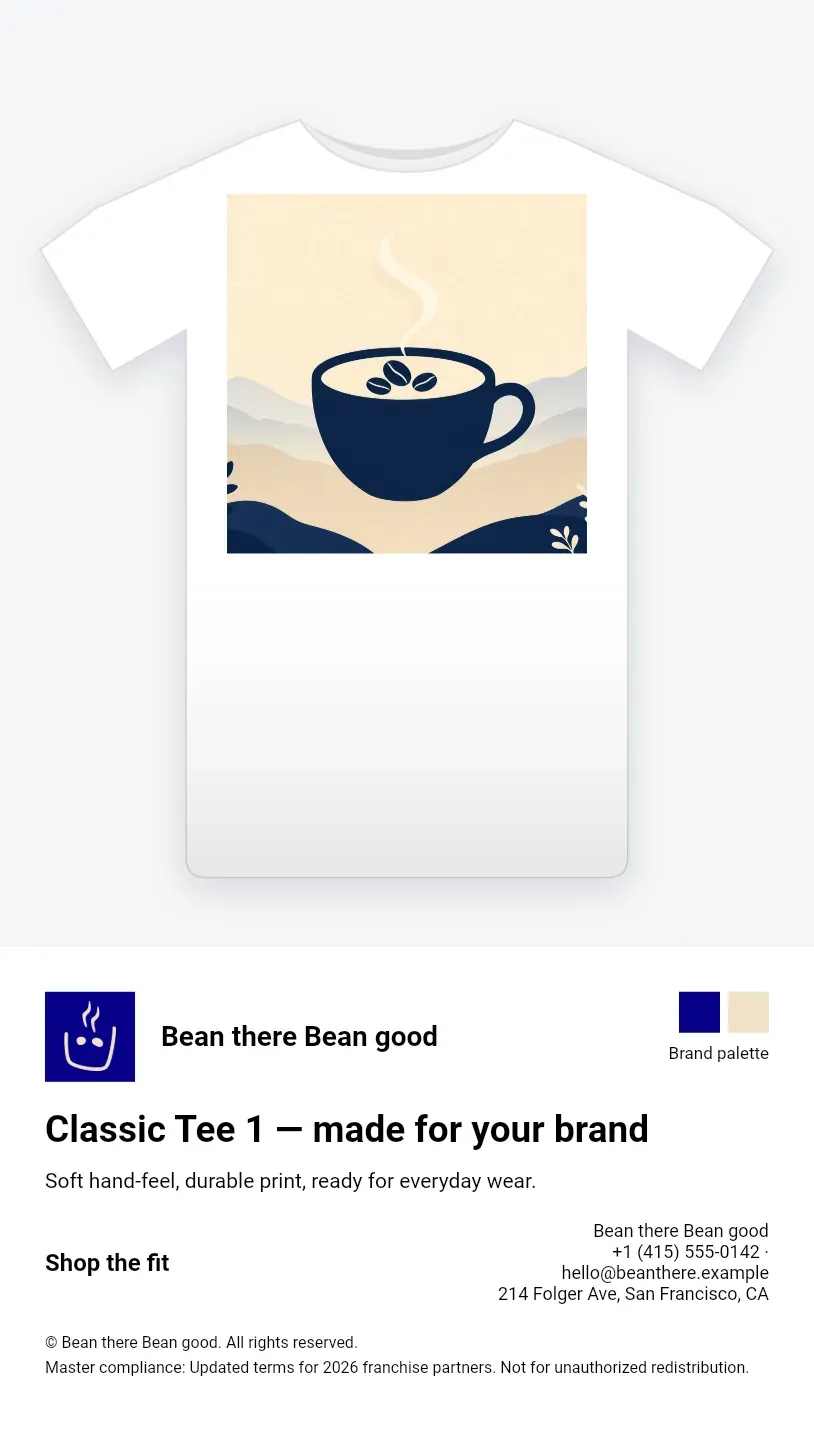
Edit masterOnly.complianceText in templates/master.json (or change it in scripts/build-master.ts and regenerate). Customer logos and artwork will stay put. Compliance is applied from the master after the customer overlay:
// src/resolve.ts
export function applyMasterOnlyFields(
  engine: CreativeEngine,
  master: MasterTemplateDoc
): void {
  const complianceText =
    master.masterOnly?.complianceText ??
    'Master compliance: Template terms apply. Not for unauthorized redistribution.';

  engine.variable.setString('masterCompliance', complianceText);
  engine.block.replaceText(
    requireBlock(engine, 'MasterCompliance'),
    complianceText
  );
}
Before (default master line on the mockup caption):
After changing the master line to the 2026 franchise wording at the bottom and re-rendering one product:
How to Verify: 50 Mockups From One Logo Upload
- Set
CESDK_LICENSEorVITE_CESDK_LICENSEin.env(never commit the key). - Run
npm run devand open the demo in the browser. - Select a customer and click Render catalog.
- Confirm the results header counts products, areas, images, and elapsed time. For a short check use
/?limit=2(this demo reported 2 products · 4 areas · 8 images · 5.2s). For a publishable full-catalog number, use the timed runs in Step 5. - Open
output/catalog/<customer-id>/and confirm 50 product folders and two PNGs per area after a full run. - Spot-check
print.pngagainstpageSize × DPI(Classic Tee front: 1800×1800 at 150 DPI). - Repeat the Step 6 compliance edit and confirm mockup captions update without editing customer files.
When Copying Templates Is Faster Than Inheritance
A single dealer needs one tee for a trade show next week, and they will never touch the rest of your catalog. Duplicate the scene, drop their logo, ship the plate. Wiring a master, overrides, and a resolver for that job costs more than the print.
Your output is web banners only, and the team already owns a Handlebars or similar HTML pipeline that feeds headless Chromium. Keep it. A scene master and print geometry buy you nothing if nothing hits a press.
Two customers need different block trees, not different fills: one wants a full-bleed photo with a footer bar, the other wants a split layout and a QR block the first design never had. A shared master will fight every render. Give them separate masters, or keep copying until the layouts actually converge.
FAQ: Template Inheritance and Batch Rendering
What happens to a customer’s edits when the master changes?
Brand fields in the customer JSON stay. Layout, locks, and masterOnly.complianceText come from the master on the next resolve. Re-render to refresh outputs. Customer artwork does not reset unless you change the customer file.
Can a customer override more than logo and colors?
Yes: logo, palette, contact, legal, and printed artwork. No: headline, body, cta, and compliance fields. src/customer-override.ts throws if those forbidden keys appear under variables.
How do I add a product to the catalog?
Append an object to catalog/products.json with pageSize, artworkLocation, mockup image paths, and campaign copy. Re-run the batch. Keep brand artwork on the customer file.
Can the customer preview before batch rendering?
The Vite demo renders the same headless path as the CLI and shows mockup and print tiles. For an in-editor preview, load the resolved scene in CE.SDK UI with adopter scopes; this reference app focuses on batch output.
How long does a 300-product render take?
This demo measures 50 products / 65 areas / 130 images in about 69.2 s at 150 DPI (median of three consecutive runs on the machine used for this article). A linear estimate for 300 products at the same area density is roughly six times longer. Treat that as an estimate, not a benchmark. Measure on your hardware before you publish a number.
Can I run this on a schedule or on an event?
Yes. Call npm run render:catalog -- --customer <id> from cron, CI, or a worker that receives a webhook when a logo is uploaded. Pass a customer object into resolveScene when the brand is created at runtime and is not yet a file on disk.
Glossary: Template Terms
Master template. The locked base scene and metadata that every customer extends. Built in scripts/build-master.ts, stored as templates/master.json.
Override. A customer JSON that supplies brand variables and artwork while pointing at a master through extends.
Artwork location. The rectangle on the mockup photo where the print sits, in mockup pixels (artworkLocation).
Page size. The physical print size for a plate (pageSize in the product’s designUnit, inches here).
Placeholder. A block adopters may replace or crop. In this master, HeroImage holds the brand artwork that prints.
Variable. A named string in the scene ({{brandName}}, {{headline}}, and so on) filled at resolve time.
Creator role. The role that configures locks, placeholders, and layout on the master.
Adopter role. The role that may edit allowed text and the artwork placeholder without touching locked brand chrome.
Batch render. Headless export of many scenes in one job (scripts/render-catalog.ts via @cesdk/node).
Next Steps
This repo proves the inheritance merge and a batch path to mockups plus DPI-sized print PNGs. It is not a production merchandise or direct mail stack yet. Brands still enter as JSON under templates/customers/ (or an ad-hoc object you build in code), not through a customer-facing artwork intake with resolution or safe-area checks. Plates are raster PNGs at pageSize × DPI; the demo does not run bleed, CMYK, or PDF/X preflight. The UI is an internal catalog picker, not a storefront upload flow your non-technical customers would use.
Take the pattern into your product when those gaps are on your roadmap. Start from the cesdk-template-inheritance repository or the live demo, the CE.SDK templates overview, and a trial key via the CE.SDK licensing docs and IMG.LY pricing.