Text
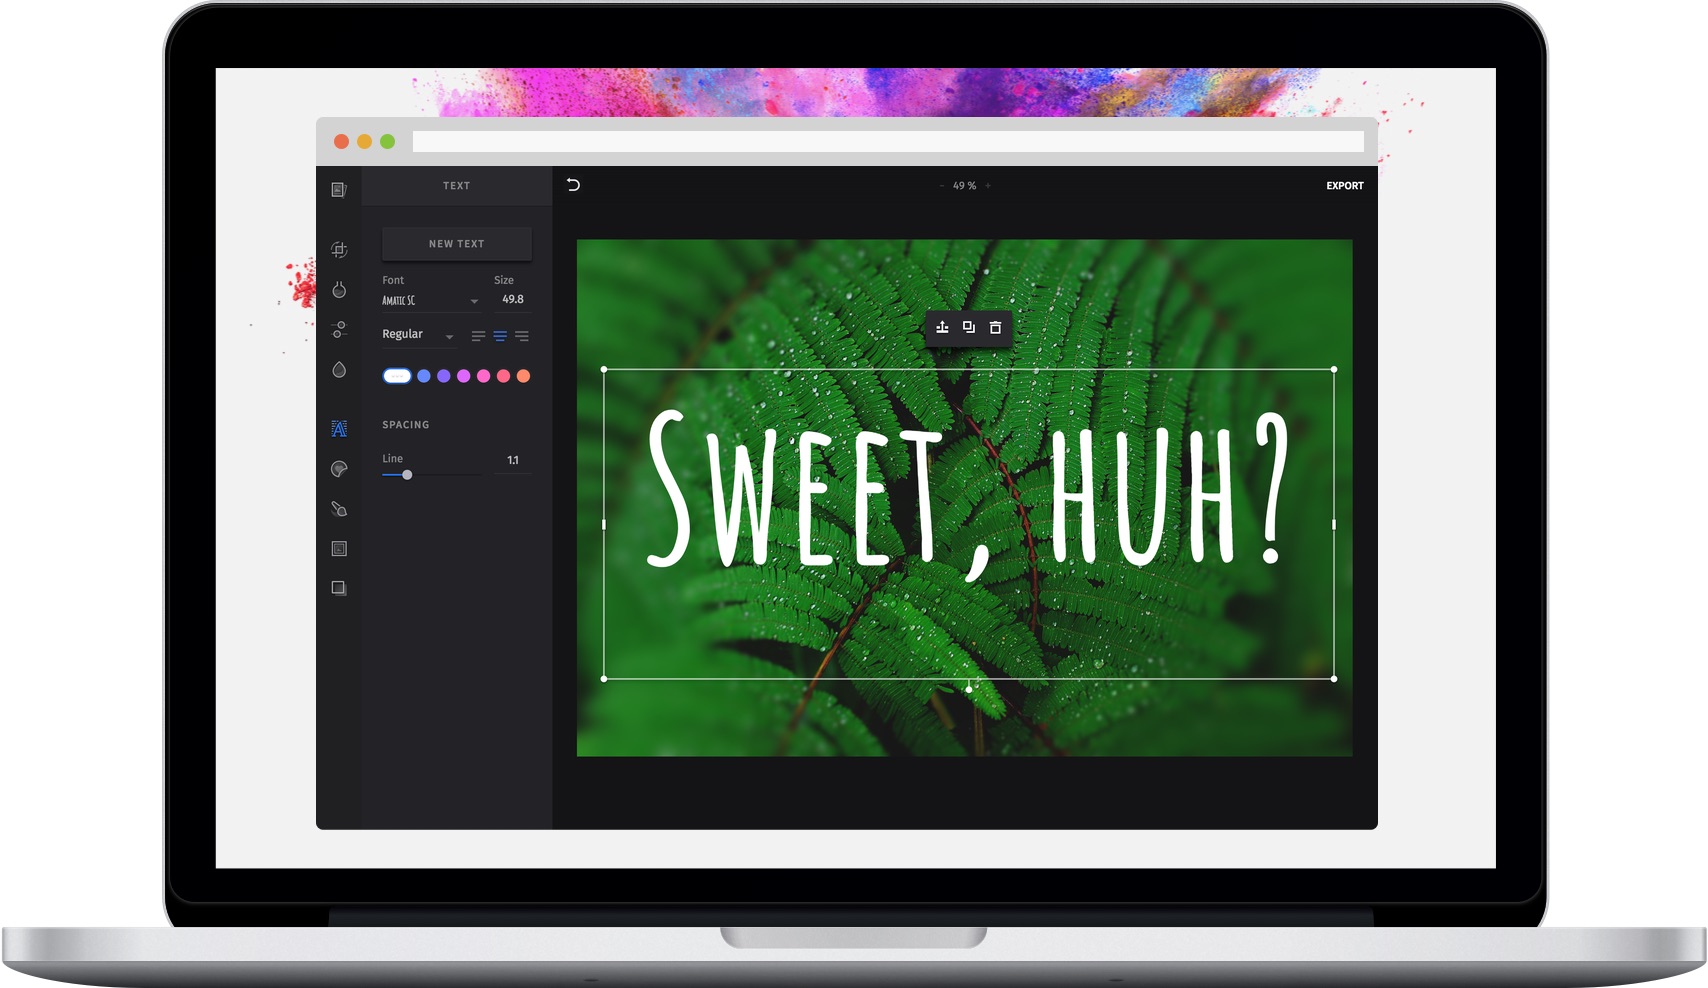
A picture says more than a thousand words, however sometimes it still takes a few more. The robust text feature of the PhotoEditor SDK provides all necessary functions for quickly adding text to any picture or creative. The corresponding font library can easily be exchanged, reduced, or expanded.
Adding custom fonts#
You can add custom fonts by passing them using the fonts option.
If replaceFonts is set to true, all default fonts are removed. If it is set to false, your additional fonts are appended.
Text Metrics
Due to the lack of support for font measurement and precise layouting, the SDK relies on font metrics from the fonts used in the editor. These are provided for all default fonts and can be easily added along with your custom fonts.
WARNING: If you do not provide font metrics for your custom font, the SDK will issue a warning during load and you may experience cut off or jumping text. To quickly collect the required metrics, we recommend the Opentype Font Inspector. Just upload your font file and extract unitsPerEm from the Font Header table, as well as ascender and descender from the Horizontal Header Table.
Adding system fonts#
You can simply add system fonts by specifying their font family, which you would also use in CSS, and the variations in which the font should be available.
const editor = new PhotoEditorSDK.UI.DesktopUI({editor: {controlsOptions: {text: {fonts: [{fontFamily: 'Comic Sans MS', // The font family namevariations: [{identifier: 'comicsans_regular',textMetrics: {// For best rendering, you'll need to determine the metrics manuallyunitsPerEm: 1000,ascender: 1026,descender: -432,},},{identifier: 'comicsans_bold',fontWeight: 'bold',textMetrics: {// ...},},],},],},},},});
Adding google fonts#
The fonts option also allows you to add custom fonts from Google Fonts. To do this, add the variation's provider option and set it to google. This will cause the UI to pre-load the font from Google Fonts.
const editor = new PhotoEditorSDK.UI.DesktopUI({editor: {controlsOptions: {text: {fonts: [{fontFamily: 'Shrikhand', // The font family name, defined by Google Fontsvariations: [{identifier: 'shrikhand',provider: 'google', // This loads the font from Google FontstextMetrics: {// For best rendering, you'll need to determine the metrics manuallyunitsPerEm: 1000,ascender: 1026,descender: -432,},},],},],},},},});
Adding web fonts#
The fonts option also allows you to add custom web fonts. To do this, set the variaton's provider option to file and specify a filePath. If the filePath is relative, it will be fetched from the assets/ directory. We recommend adding the web fonts as .woff files, which have the widest browser support.
const editor = new PhotoEditorSDK.UI.DesktopUI({editor: {controlsOptions: {text: {fonts: [{fontFamily: 'Custom Font', // The font family name, defined by you. Can be anything.variations: [{identifier: 'custom_font', // A unique identifier for this fontprovider: 'file',filePath: 'fonts/Custom-Font.woff',textMetrics: {unitsPerEm: 2048,ascender: 500,descender: -400,},},],},],},},},});
Specifying the available fonts#
Per default, all existing font variations (including your own) are available to the user. To make only specific fonts available to the user, use the availableVariations option.
const editor = new PhotoEditorSDK.UI.DesktopUI({editor: {controlsOptions: {text: {availableVariations: ['imgly_font_aleo_bold','imgly_font_amaticsc','custom_font',],},},},});
Rotation snapping (ReactUI)#
Note: The following options only apply to the ReactUI. Our DesktopUI offers significantly more snapping configuration options for both rotation and position, which you can find here.
Our UI allows the user to freely rotate texts, which is nice, but it can be hard to hit the right rotation (e.g. exactly 90 degrees). To fix this, we added a customizable snapping feature that can be configured using the snapRotation and snapRotationTolerance options:
const editor = new PhotoEditorSDK.UI.ReactUI({editor: {controlsOptions: {text: {// This value defines at what degrees rotation snapping should happensnapRotation: 90,// This value defines at what degrees *around* the `snapRotation` value snapping should happensnapRotationTolerance: 5,},},},});