CreativeEditor SDK is a Javascript library for creating and editing videos directly in a browser.
This CE.SDK configuration is highly customizable and extendible and offers a well-rounded suite of video editing features such as splitting, cropping and composing clips on a timeline.
Launch Web Demo View on GitHubKey Capabilities#
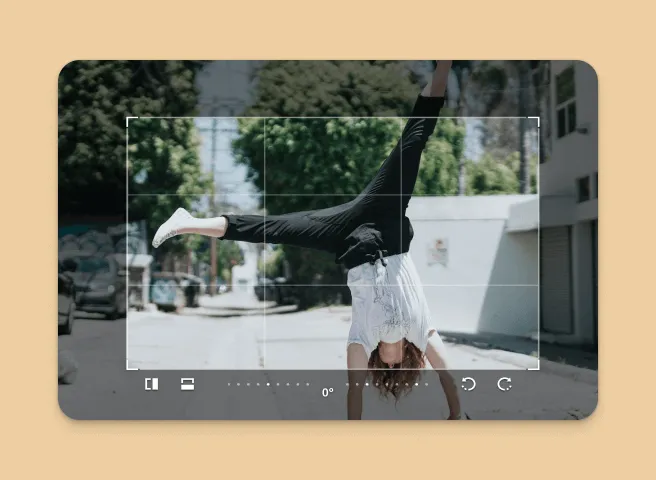
Transform
Crop, flip, and rotate video operations.
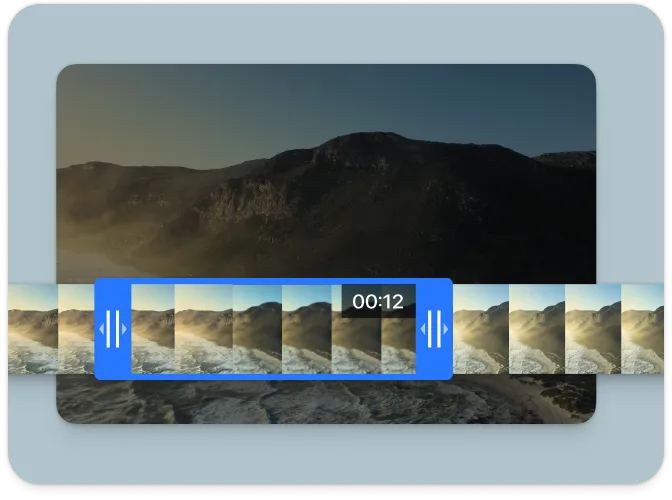
Trim & Split
Set start and end time and split videos.
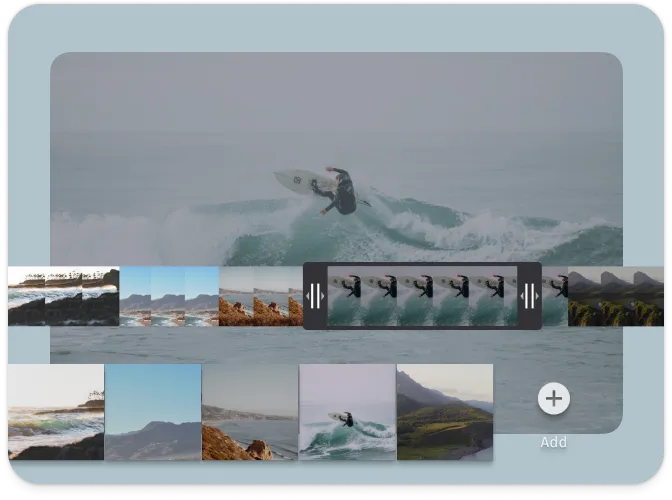
Merge Videos
Pick, edit and merge several video clips into a single sequence.
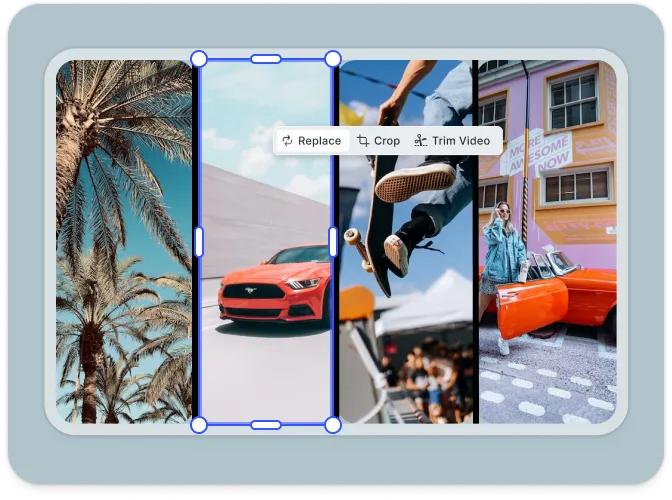
Video Collage
Arrange multiple clips on a single page.
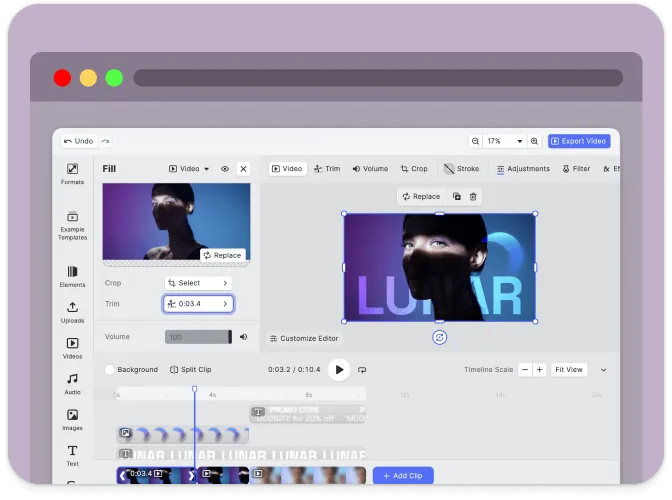
Client-Side Processing
All video editing operations are performed by our engine in the browser.
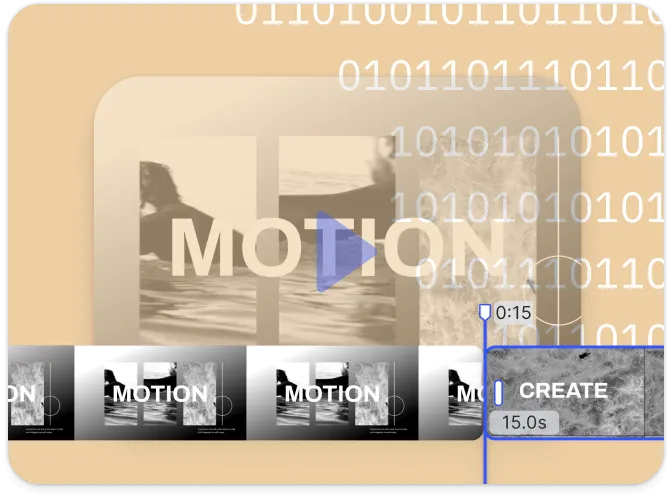
Headless & Automation
Programmatically edit videos inside the browser.
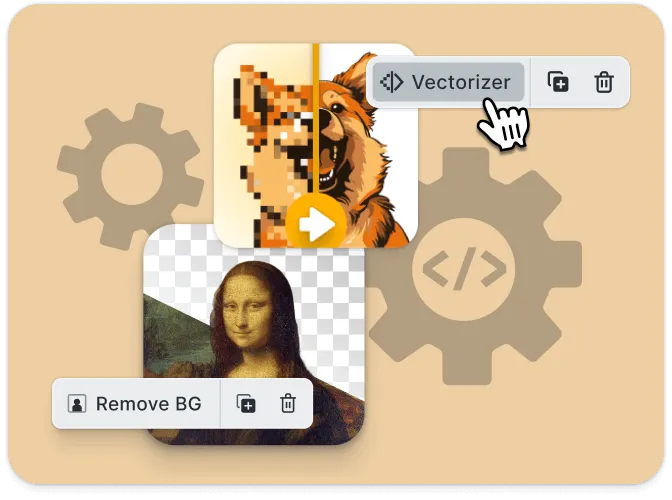
Extendible
Easily add functionality using the plugins & engine API.
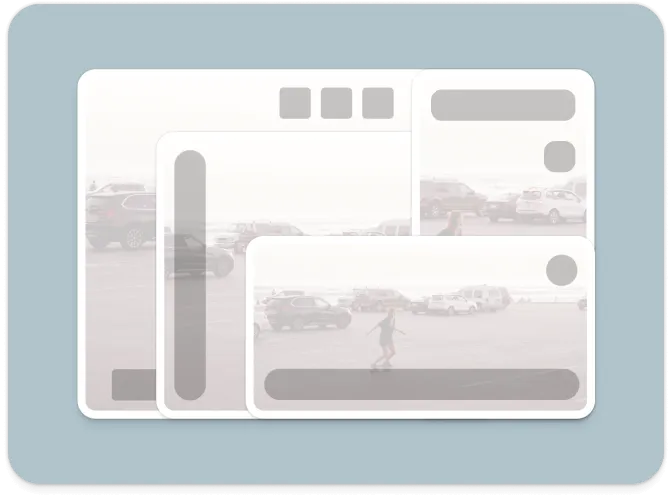
Customizable UI
Build Custom UIs.
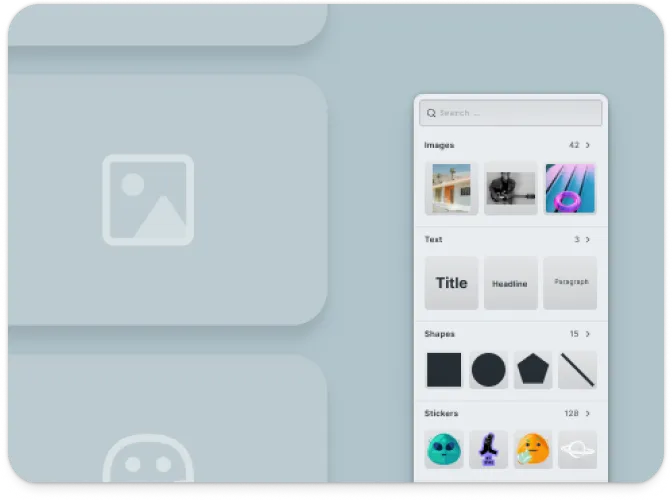
Asset Libraries
Add custom assets for filters, stickers, images and videos.
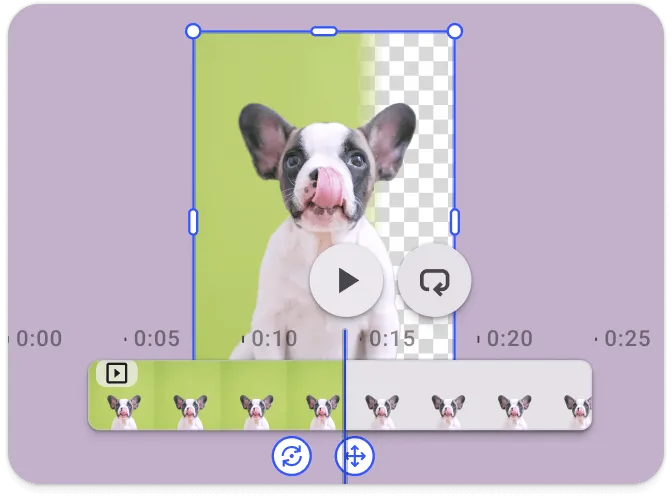
Green Screen
Utilize chroma keying for background removal.
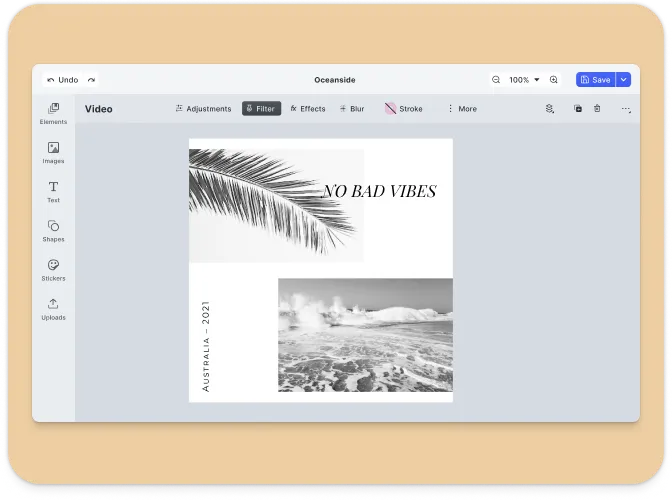
Templating
Create role based design templates with placeholders and text variables.
What is the Video Editor Solution?#
The Video Editor is a prebuilt solution powered by the CreativeEditor SDK (CE.SDK) that enables fast integration of high-performance video editing into web, mobile, and desktop applications. It’s designed to help your users create professional-grade videos—from short social clips to long-form stories—directly within your app.
Skip building a video editor from scratch. This fully client-side solution provides a solid foundation with an extensible UI and a robust engine API to power video editing in any use case.
Browser Support#
Video editing mode relies on modern web codecs, which are currently only available in the latest versions of Google Chrome, Microsoft Edge, or other Chromium-based browsers.
Supported File Types#
IMG.LY’s Creative Editor SDK enables you to load, edit, and save MP4 files directly in the browser without server dependencies.
Importing Media#
| Category | Supported Formats |
|---|---|
| Images | .png, .jpeg, .jpg, .gif, .webp, .svg, .bmp |
| Video | .mp4 (H.264/AVC, H.265/HEVC), .mov (H.264/AVC, H.265/HEVC), .webm (VP8, VP9, AV1) |
| Audio | .mp3, .m4a, .mp4 (AAC or MP3), .mov (AAC or MP3) |
Exporting Media#
| Category | Supported Formats |
|---|---|
| Images | .png (with transparency), .jpeg, .webp, .tga |
| Video | .mp4 (H.264 or H.265 on supported platforms with limited transparency support) |
.pdf (supports underlayer printing and spot colors) | |
| Scene | .scene (description of the scene without any assets) |
| Archive | .zip (fully self-contained archive that bundles the .scene file with all assets) |
Importing Templates#
| Format | Description |
|---|---|
.idml | InDesign |
.psd | Photoshop |
.scene | CE.SDK Native |
For detailed information, see the full file format support list.
Getting Started#
If you’re ready to start integrating CE.SDK into your Vue.js application, check out the CE.SDK Getting Started guide. In order to configure the editor for a video editing use case consult our video editor UI showcase and its reference implementation.
Understanding CE.SDK Architecture & API#
The following sections outline the fundamentals of CE.SDK’s video editor user interface and its technical architecture and APIs. CE.SDK architecture is designed to facilitate the creation, manipulation, and rendering of complex designs. At a high level, it consists of two main components: the CreativeEngine and the CreativeEditor UI. The following is an overview of these components and how they are reflected at the API level.
If you are already familiar with CE.SDK and want to get started integrating CE.SDK video editor check out our “Getting Started” guide or jump ahead to the “Essential Guides” section.
CreativeEditor Video UI#
CE.SDK’s video UI is designed to facilitate intuitive manipulation and creation of a range of video-based designs.
The following are the key locations in the editor UI and extension points for your Ui customizations:
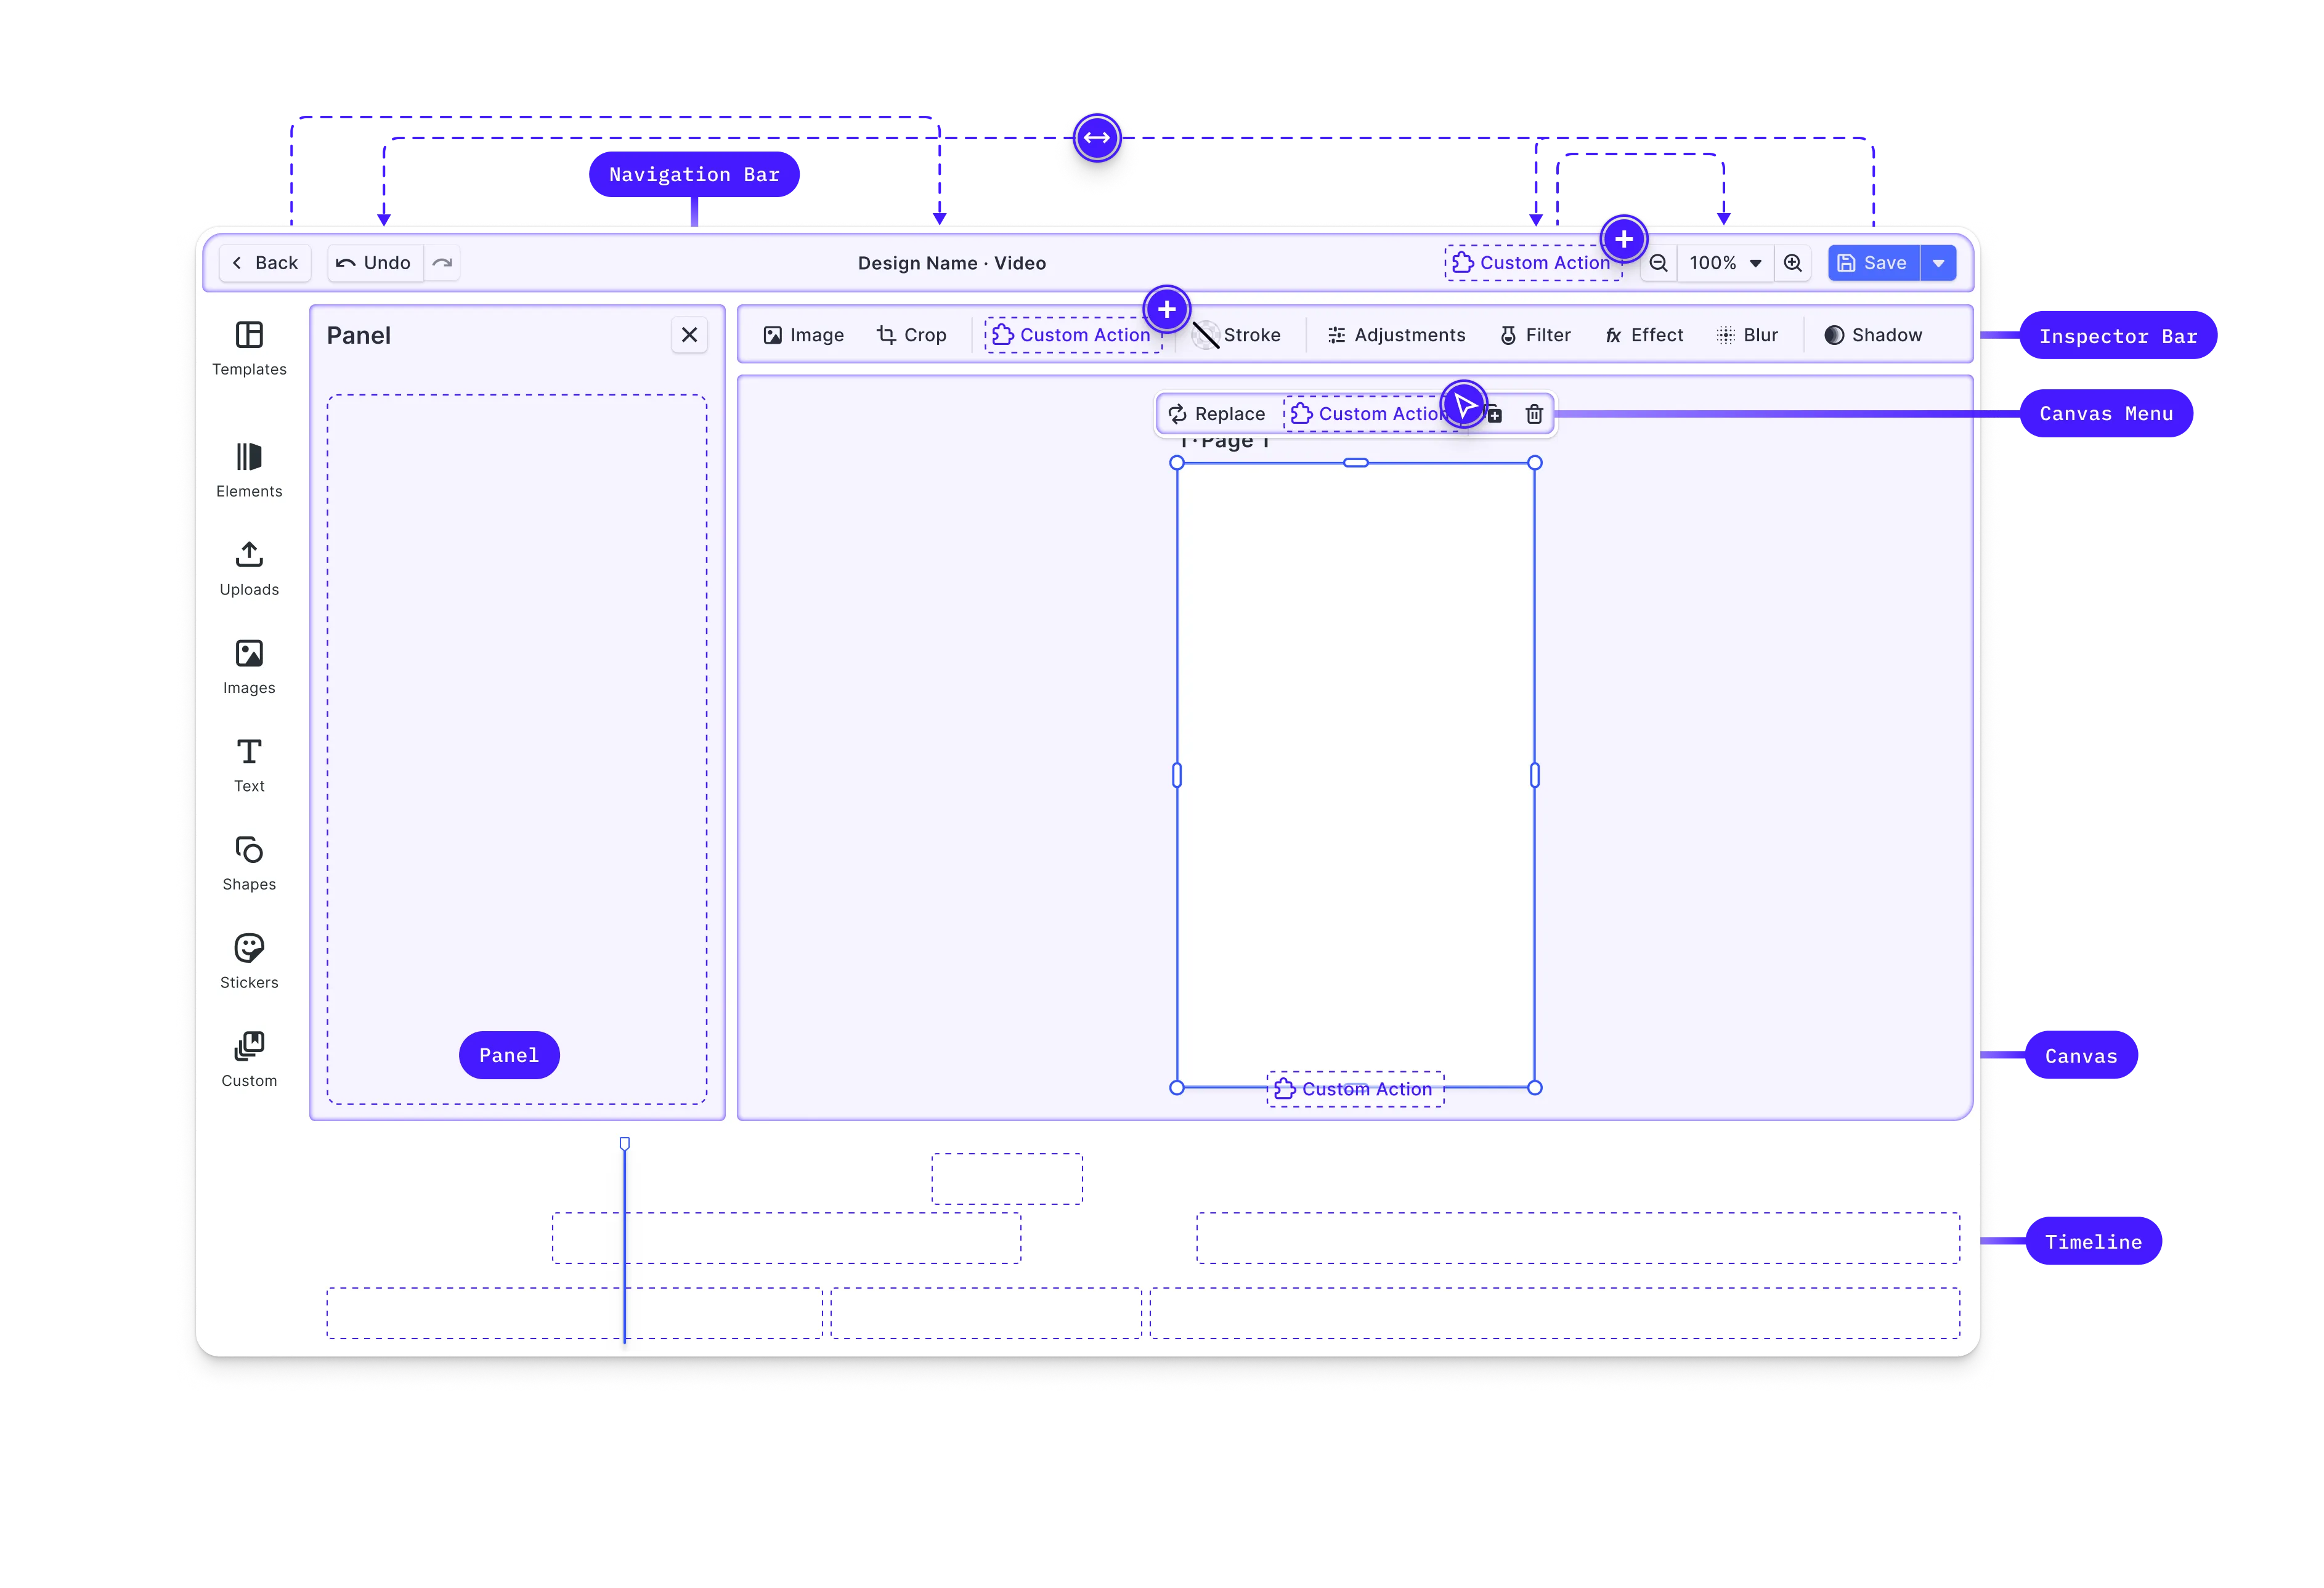
- Canvas: The core interaction area for design content, controlled by the Creative Engine.
- Dock: The primary entry point for user interactions not directly related to the selected block. It is primarily, though not exclusively, used to open panels with asset libraries or add elements to the canvas. Learn how to add demo videos in the dock.
- Canvas Menu: Provides block-specific settings and actions such as deletion or duplication.
- Inspector Bar: Main location for block-specific functionality. Any action or setting available for the currently selected block that does not appear in the canvas menu will be shown here.
- Navigation Bar: For actions affecting browser navigation and global scene effects such as zoom or undo/redo.
- Canvas Bar: For actions affecting the canvas or scene as a whole such as adding pages. This is an alternative place for actions such as zoom or redo/undo.
- Timeline: The timeline is the main control for video editing. It is here that clips and audio strips can be positioned in time.
CreativeEngine#
The CreativeEngine is the core of CE.SDK, responsible for handling the rendering and manipulation of designs. It can be used independently (headless mode) or integrated with the CreativeEditor UI. The CreativeEngine provides several APIs to interact with and manipulate scenes. A scene is the visual context or environment within the CreativeEditor SDK where blocks (elements) are created, manipulated, and rendered.
Key Features:#
- Scene Management:
- Create, load, save, and modify scenes.
- Control the zoom and camera position within scenes.
- Block Manipulation:
- Blocks are the basic building units of a scene, representing elements like shapes, images, and text.
- APIs to create, modify, and manage blocks.
- Properties of blocks (e.g., color, position, size) can be queried and set using specific methods.
- Asset Management:
- Manage assets like images, videos, and fonts.
- Load assets from URLs or local sources.
- Variable Management:
- Define and manipulate variables within scenes.
- Useful for template-based designs where dynamic content is required.
- Event Handling:
- Subscribe to events related to block creation, updates, and destruction.
- Manage user interactions and state changes.
API Overview#
The APIs of CE.SDK are grouped into several categories, reflecting different aspects of scene management and manipulation.
Scene API :- Creating and Loading
Scenes: jsx engine.scene.create(); engine.scene.loadFromURL(url);
- Zoom Control:
engine.scene.setZoomLevel(1.0);engine.scene.zoomToBlock(blockId);
Block API :- Creating Blocks: jsx const block = engine.block.create('shapes/star');
-
Setting Properties:
engine.block.setColor(blockId, 'fill/color', { r: 1, g: 0, b: 0, a: 1 });engine.block.setString(blockId, 'text/content', 'Hello World'); -
Querying Properties:
const color = engine.block.getColor(blockId, 'fill/color');const text = engine.block.getString(blockId, 'text/content');
Variable API :
Variables allow dynamic content within scenes to programmatically create
variations of a design. - Managing Variables: jsx engine.variable.setString('myVariable', 'value'); const value = engine.variable.getString('myVariable');
Asset API :- Managing Assets:
engine.asset.add('image', 'https://example.com/image.png');Event API :- Subscribing to Events:
// Subscribe to scene changesengine.scene.onActiveChanged(() => { const newActiveScene = engine.scene.get();});Example Usage#
Here is a simple example of initializing the CreativeEngine and creating a video scene with a text block:
import CreativeEngine from 'https://cdn.img.ly/packages/imgly/cesdk-engine/1.59.0/index.js';
const config = {  baseURL:    'https://cdn.img.ly/packages/imgly/cesdk-engine/1.59.0/assets',};
CreativeEngine.init(config).then(async engine => {  // Create a new scene  await engine.scene.createVideo();
  // Add a text block  const textBlock = engine.block.create('text');  engine.block.setString(textBlock, 'text/content', 'Hello, CE.SDK!');
  // Set the color of the text  engine.block.setColor(textBlock, 'fill/color', { r: 0, g: 0, b: 0, a: 1 });
  // Attach the engine canvas to the DOM  document.getElementById('cesdk_container').append(engine.element);});
This example demonstrates how to initialize the CreativeEngine, create a scene, add a text block, and set its properties. The flexibility of the APIs allows for extensive customization and automation of design workflows. To learn more about how to power your own UI or creative workflows with the CreativeEngine have a look at the engine guides.
Customization Options#
CE.SDK provides extensive customization options to adapt the UI to various use cases. These options range from simple configuration changes to more advanced customizations involving callbacks and custom elements.
Basic Customizations#
-
Configuration Object: When initializing the CreativeEditor, you can pass a configuration object that defines basic settings such as the base URL for assets, the language, theme, and license key.
const config = {baseURL:'https://cdn.img.ly/packages/imgly/cesdk-engine/1.59.0/assets',license: 'your-license-key',theme: 'light',}; -
Localization: Customize the language and labels used in the editor to support different locales.
const config = {};CreativeEditorSDK.create('#cesdk_container', config).then(async cesdk => {cesdk.i18n.setLocale('en');cesdk.i18n.setTranslations({en: {variables: {my_custom_variable: {label: 'Custom Label',},},},});// existing code}); -
Custom Asset Sources: Serve custom video or image assets from a remote URL.
UI Customization Options#
-
Theme: Choose between predefined themes such as ‘dark’ or ‘light’.
const config = {theme: 'dark',}; -
UI Components: Enable or disable specific UI components based on your requirements.
const config = {ui: {elements: {toolbar: true,inspector: false,},},};
Advanced Customizations#
Learn more about extending editor functionality and customizing its UI to your use case by consulting our in-depth customization guide. Here is an overview of the APIs and components available to you.
Order APIs#
Customization of the web editor’s components and their order within these locations is managed through specific Order APIs, allowing the addition, removal, or reordering of elements.
Each location has its own Order API, e.g., setDockOrder, setCanvasMenuOrder, setInspectorBarOrder, setNavigationBarOrder, and setCanvasBarOrder.
Layout Components#
CE.SDK provides special components for layout control, such as ly.img.separator for separating groups of components and ly.img.spacer for adding space between components.
Registration of New Components#
Custom components can be registered and integrated into the web editor using builder components like buttons, dropdowns, and inputs. These components can replace default ones or introduce new functionalities, deeply integrating custom logic into the editor.
Feature API#
The Feature API enables conditional display and functionality of components based on the current context, allowing for dynamic customization. For example, you can hide certain buttons for specific block types.
Plugins#
You can customize the CE.SDK web editor during its initialization using the APIs outlined above. For many use cases, this will be adequate. However, there are times when you might want to encapsulate functionality for reuse. This is where plugins become useful. Follow our guide on building your own plugins to learn more or check out one of the plugins we built using this api:
Background Removal: Adds a button to the canvas menu to remove image backgrounds. Vectorizer: Adds a button to the canvas menu to quickly vectorize a graphic.
Framework Support#
CreativeEditor SDK’s video editing library is compatible with any Javascript including, React, Angular, Vue.js, Svelte, Blazor, Next.js, Typescript. It is also compatible with desktop and server-side technologies such as electron, PHP, Laravel and Rails.
Ready to get started?
With a free trial and pricing that fits your needs, it's easy to find the best solution for your product.
500M+


