Border Frames
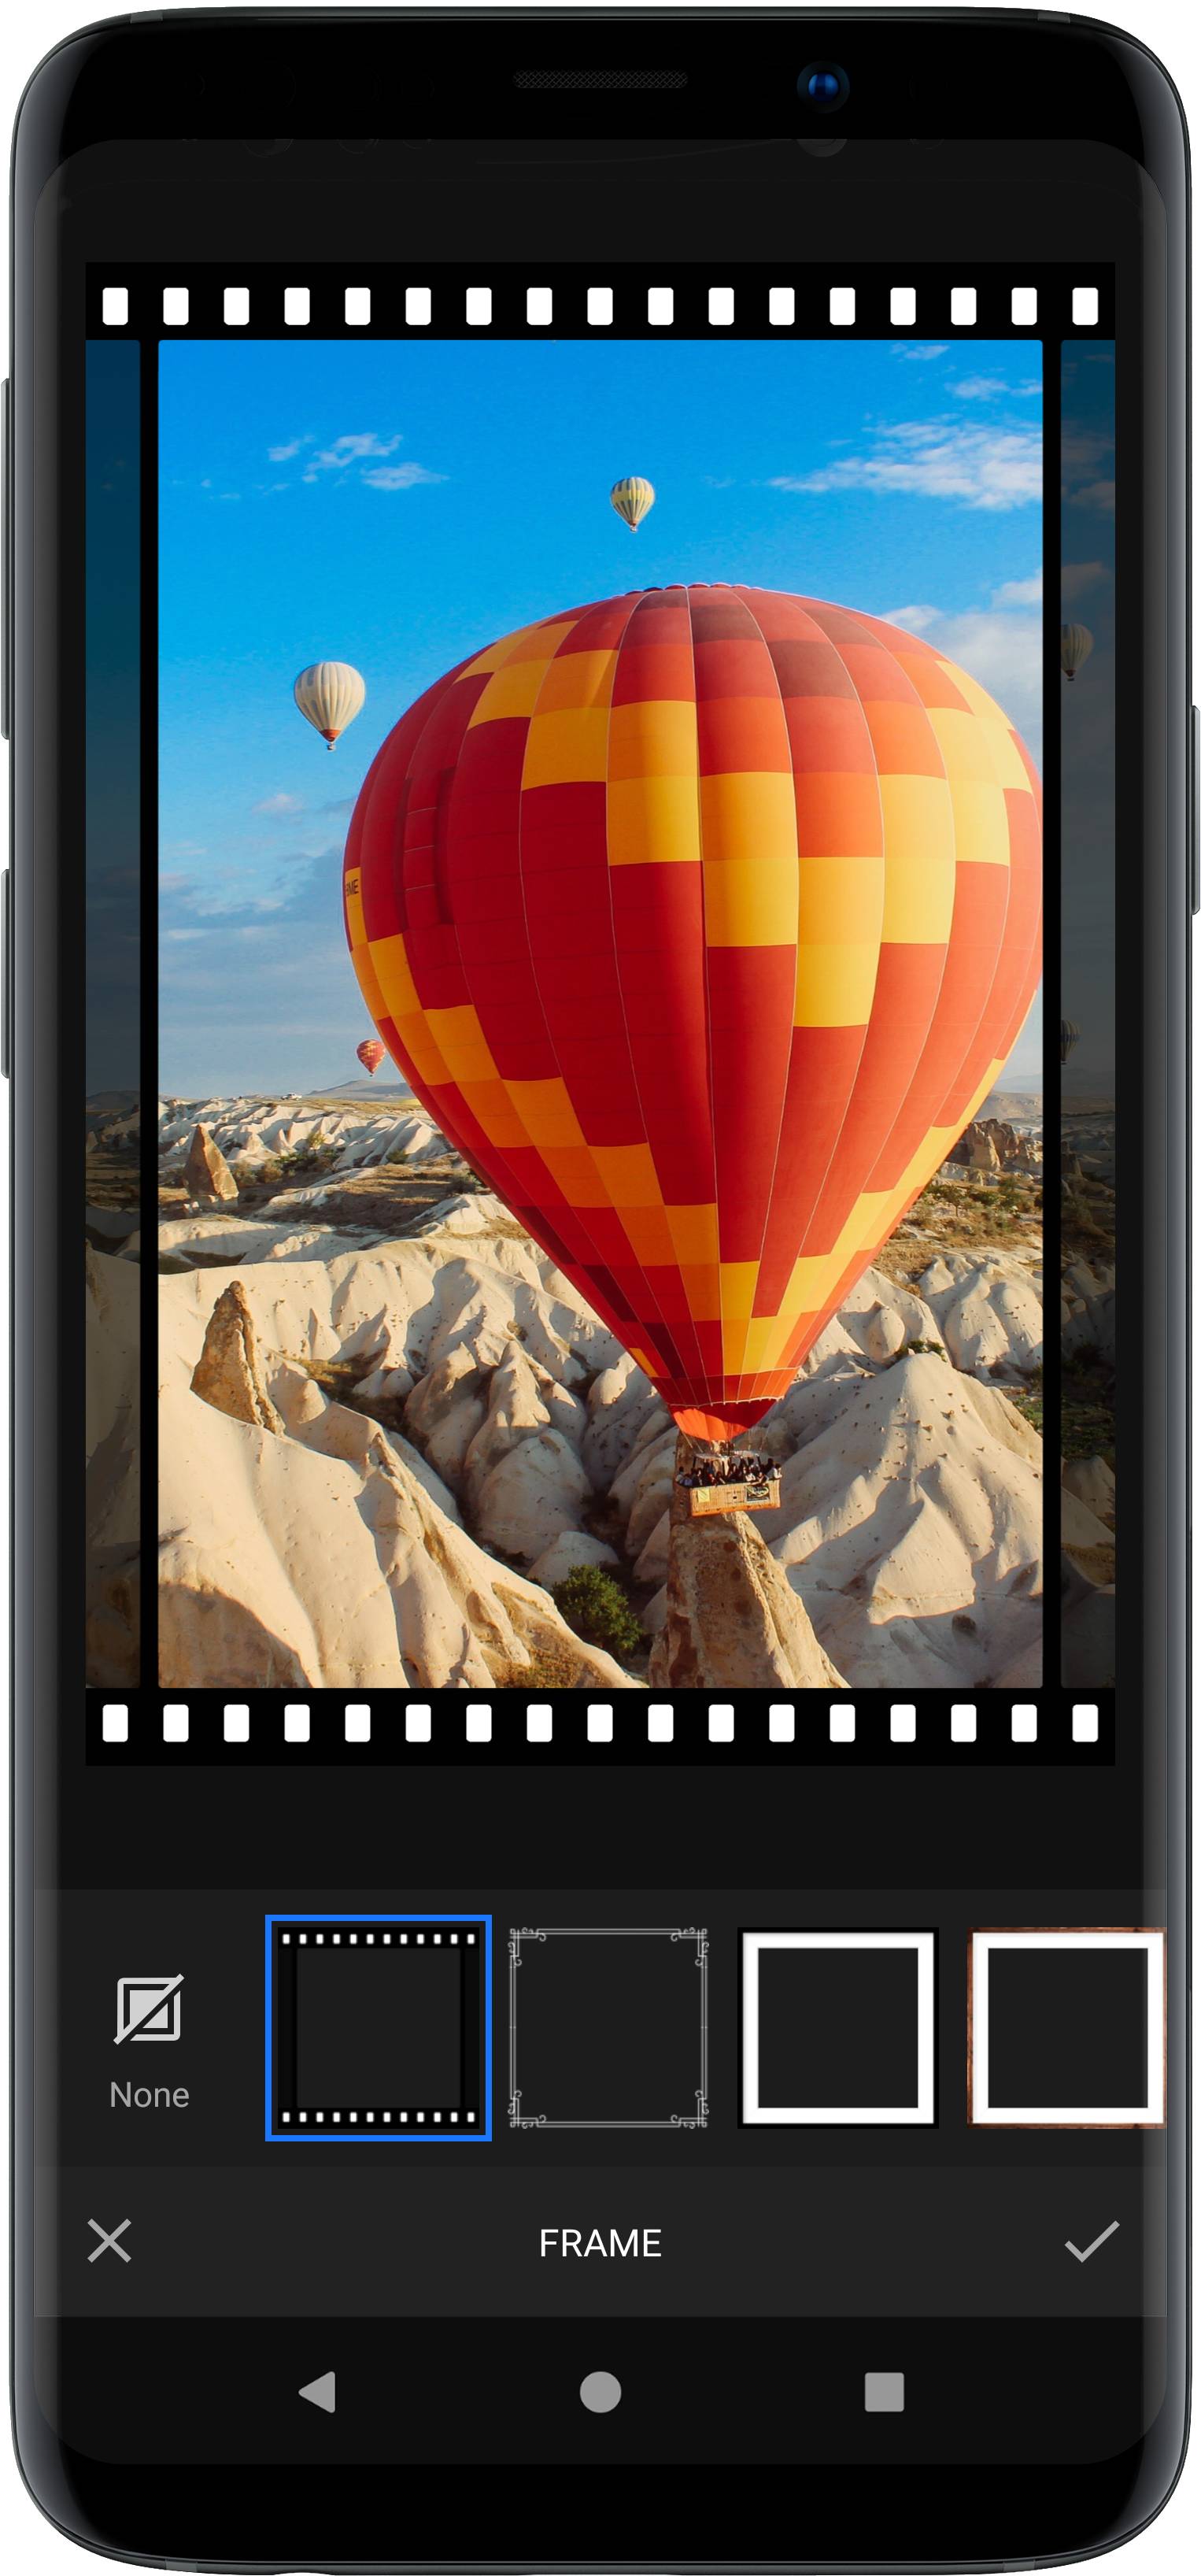
VideoEditor SDK includes a versatile frame tool that works with any given video size or ratio and provides two distinct options to apply frames.
The tool is implemented in the FrameToolPanel class and backend settings are implemented in the FrameSettings class.
It can be configured using the UiConfigFrame class as described in the configuration section.
NOTE: Frame tool requires the
ui:framemodule. Refer to our documentation on how to include the module in your project.
Static frames#
These frames hold several versions of the assets, i.e. one for each supported ratio. During the rendering process, the best fitting asset will be selected and used by the backend. Also, the tolerance can be used to determine how close the ratio of the asset has to be to the current video aspect ratio. Setting a higher tolerance can lead to a deformation of the frame asset since it will be simply scaled to match the video dimensions.
In the frame tool UI, only static frames with a matching asset for the current video aspect ratio will be listed. The static frames can be used for complex and irregular creatives.
Dynamic frames#
These frames work perfectly for creatives with repeatable or stretchable areas. To realize these, we abandoned the 9-patch standard and replaced it with a novel and even more flexible 12-patch layout.
Dynamic frames consist of four groups. Each group has a start, middle and end image. The start and end images are optional,
and for the middle image there are two modes, FrameTileMode.Repeat and FrameTileMode.Stretch. These determine whether the asset should be stretched over the area,
or if they should be repeated to fill up space. If the middle asset is set to mode FrameTileMode.Repeat the images will be made to fit the width of the section.
In some cases, this results in the individual tiles being compressed or stretched a small amount, to fit only complete assets and avoid cutting the tiles.
The four groups can be laid out in two ways. Horizontal inside and vertical inside, see the images below.
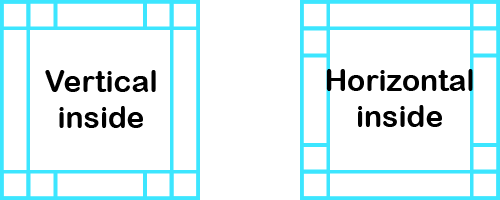
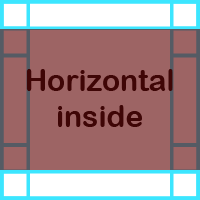
The idea behind the naming is, that if you imagine a box that covers the right and left groups and the top and bottom groups surrounding it, the horizontal box is inside the groups, as illustrated by the following image.
Finally, let's have a look at a real-world example.
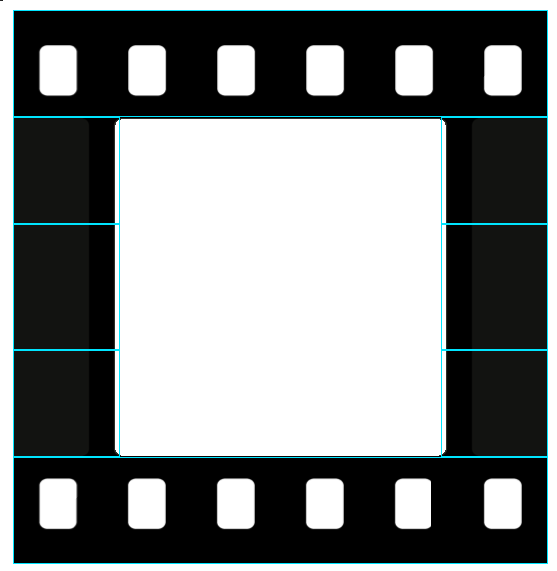
The layout mode is horizontal inside. The top and bottom groups just have a middle image, containing the film strip pattern. The left and right groups consist of a stretched border texture, and a start and end image to create a nice transition between the two sides of the film strip.
Creating frames#
Every frame is represented by an instance of a FrameAsset class. By default, VideoEditor SDK includes all frames if you include the assets:frame-basic module in your project.
The collection of default FrameAssets can be obtained using SettingsList.config.getAssetMap(FrameAsset::class).
The collection of default filter items added to the UI can be obtained using SettingsList[UiConfigFrame::class].frameList.
To add a custom frame, create an instance of FrameAsset and add it to the AssetConfig. For more details, take a look at the add frames section.