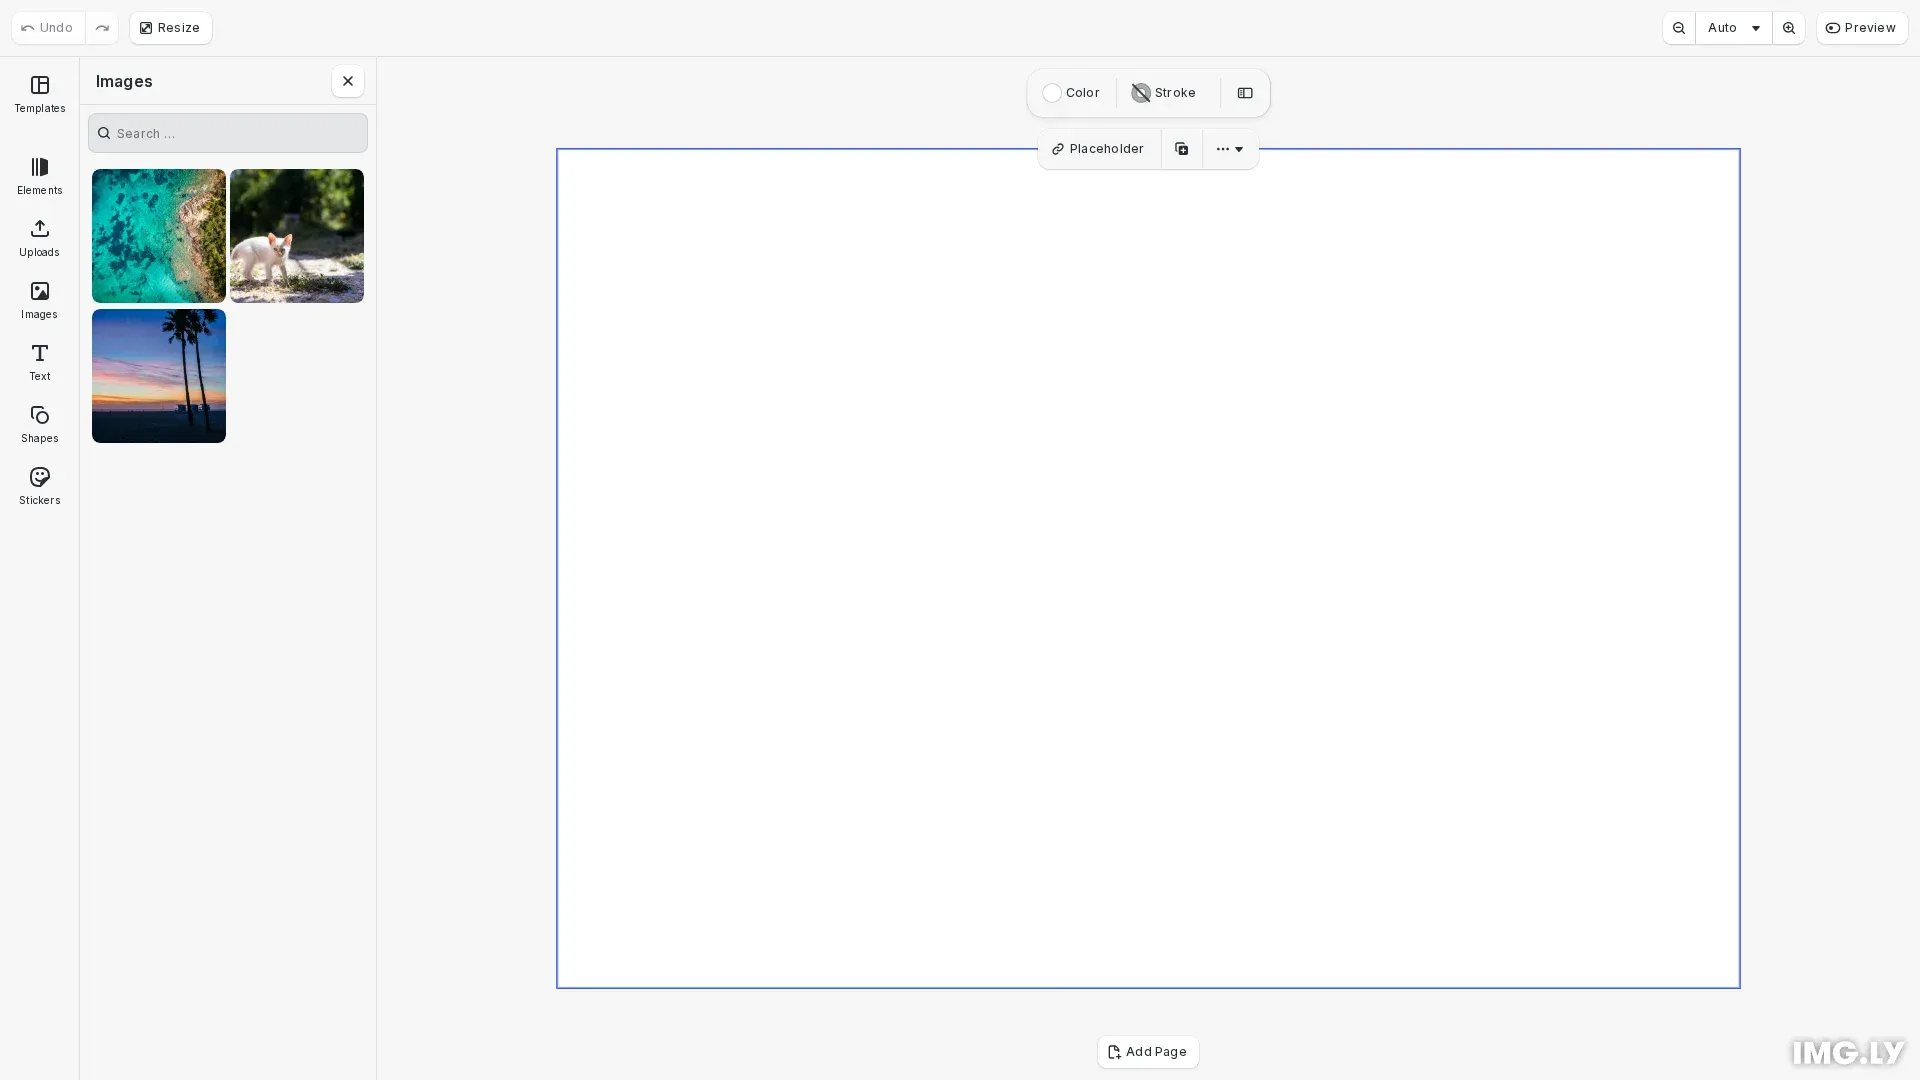
Learn how to refresh asset sources when external changes occur outside CE.SDK.

CE.SDK automatically refreshes the asset library for built-in operations like uploads and deletions. However, when assets are modified outside of CE.SDK—through a custom CMS, cloud storage, or third-party upload widget—the asset panel won’t reflect these changes automatically. Use engine.asset.assetSourceContentsChanged() to notify the engine and trigger a refresh.
This guide covers when manual refresh is needed, how to trigger refreshes programmatically, and integration patterns for external upload widgets.
When to Use Asset Refresh#
CE.SDK handles asset refresh automatically for built-in operations. Manual refresh is required when external systems modify asset source content.
Automatic refresh (no action needed):
- Uploads using built-in sources like
ly.img.upload.* - Deletions through default upload handlers
- Modifications made through CE.SDK’s asset APIs
Manual refresh required:
- External uploads via third-party widgets (Cloudinary, Dropzone)
- Backend modifications through CMS or API updates
- Sync with external storage (S3, Azure Blob)
- Real-time collaboration when another user adds assets
Registering a Custom Asset Source#
Before refreshing assets, you need a custom asset source that fetches from your external system. The findAssets method queries your external data store each time the panel needs to display assets.
// Register a custom asset source that fetches from an external system// This source will need manual refresh when external changes occurengine.asset.addSource({  id: 'cloudinary-images',  async findAssets(queryData): Promise<AssetsQueryResult> {    // Fetch current assets from external data store    const filteredAssets = externalAssets.filter(      (asset) =>        !queryData.query ||        asset.name.toLowerCase().includes(queryData.query.toLowerCase())    );
    return {      assets: filteredAssets.map((asset) => ({        id: asset.id,        label: asset.name,        meta: {          uri: asset.url,          thumbUri: asset.url,          blockType: '//ly.img.ubq/graphic'        }      })),      total: filteredAssets.length,      currentPage: queryData.page,      nextPage: undefined    };  }});
This custom source fetches assets from an external data store (simulating Cloudinary, S3, or a CMS). When the external store changes, the asset panel won’t update until you call assetSourceContentsChanged().
Refreshing After External Uploads#
When users upload files through a third-party widget, call assetSourceContentsChanged() in the success callback. This notifies CE.SDK that the source contents have changed and triggers a re-fetch.
// Simulate an external upload widget (e.g., Cloudinary upload widget)// In a real application, this would be triggered by the widget's success callbackconst simulateExternalUpload = () => {  // Add a new asset to the external store  const newAsset = {    id: `cloud-${Date.now()}`,    url: 'https://img.ly/static/ubq_samples/sample_3.jpg',    name: `Uploaded Image ${externalAssets.length + 1}`  };  externalAssets.push(newAsset);
  // Notify CE.SDK that the source contents have changed  engine.asset.assetSourceContentsChanged('cloudinary-images');
  console.log('External upload complete, asset library refreshed');};
The key is calling assetSourceContentsChanged('cloudinary-images') after the external upload completes. This tells CE.SDK to call findAssets() again, which fetches the updated asset list from your external store.
Refreshing After External Modifications#
When your backend modifies asset metadata—renaming files, updating tags, or changing thumbnails—call assetSourceContentsChanged() to sync the asset panel.
// Simulate backend modifications (e.g., CMS updates, API changes)const simulateExternalModification = () => {  // Modify assets in the external store  if (externalAssets.length > 0) {    externalAssets[0] = {      ...externalAssets[0],      name: `Modified: ${externalAssets[0].name}`    };  }
  // Refresh the asset library to reflect changes  engine.asset.assetSourceContentsChanged('cloudinary-images');
  console.log('External modification complete, asset library refreshed');};
Any modification to assets in your external store requires a refresh. Without calling assetSourceContentsChanged(), the asset panel displays stale data until the user navigates away and returns.
Refreshing After External Deletions#
When assets are deleted from your external system, call assetSourceContentsChanged() to remove them from the asset panel.
// Simulate asset deletion from external systemconst simulateExternalDeletion = () => {  // Remove the last asset from the external store  if (externalAssets.length > 2) {    const removed = externalAssets.pop();    console.log(`Removed asset: ${removed?.name}`);
    // Refresh the asset library to reflect the deletion    engine.asset.assetSourceContentsChanged('cloudinary-images');
    console.log('External deletion complete, asset library refreshed');  }};
The refresh ensures deleted assets no longer appear in the panel. If you skip this step, users may try to use assets that no longer exist.
Integration Patterns#
Third-Party Upload Widget#
Integrate with upload widgets like Cloudinary by calling assetSourceContentsChanged() in the success callback:
const widget = cloudinary.createUploadWidget( { cloudName: 'my-cloud' }, (error, result) => { if (result.event === 'success') { engine.asset.assetSourceContentsChanged('cloudinary-images'); } });WebSocket Updates#
For real-time sync with backend changes:
socket.on('assets:changed', (sourceId) => { engine.asset.assetSourceContentsChanged(sourceId);});Polling for Changes#
If your backend doesn’t support real-time notifications:
setInterval(() => { engine.asset.assetSourceContentsChanged('my-source');}, 30000); // Refresh every 30 secondsTroubleshooting#
Assets not updating:
Verify the source ID passed to assetSourceContentsChanged() matches the ID used when registering the source with addSource(). Source IDs are case-sensitive.
Refresh not triggering:
Ensure you call assetSourceContentsChanged() after the external operation completes. If called before the upload finishes, findAssets() may return stale data.
Stale assets displayed:
Check that your findAssets implementation fetches fresh data on each call. Avoid caching responses unless you invalidate the cache when calling assetSourceContentsChanged().
Asset panel not visible:
The refresh only affects visible panels. If the asset panel is closed, the refresh queues until the user reopens it.
API Reference#
| Method | Category | Purpose |
|---|---|---|
engine.asset.assetSourceContentsChanged(sourceID) | Asset API | Notify engine that asset source contents changed |
engine.asset.addSource(source) | Asset API | Register custom asset source |
engine.asset.findAssets(sourceID, query) | Asset API | Query assets from a source |