This guide walks you through integrating the CE.SDK into a new UIKit-based iOS project. With just a few setup steps, you’ll be able to add robust image and video editing features to your app using the CE.SDK.
Requirements#
To work with the SDK, you’ll need:
- A Mac running a recent version of Xcode.
- A valid CE.SDK license key (Get a free trial).
Creating a new Xcode Project#
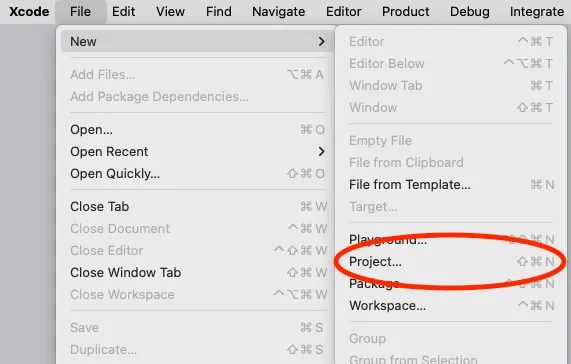
1. Launch Xcode and use the File menu to select New -> Project....
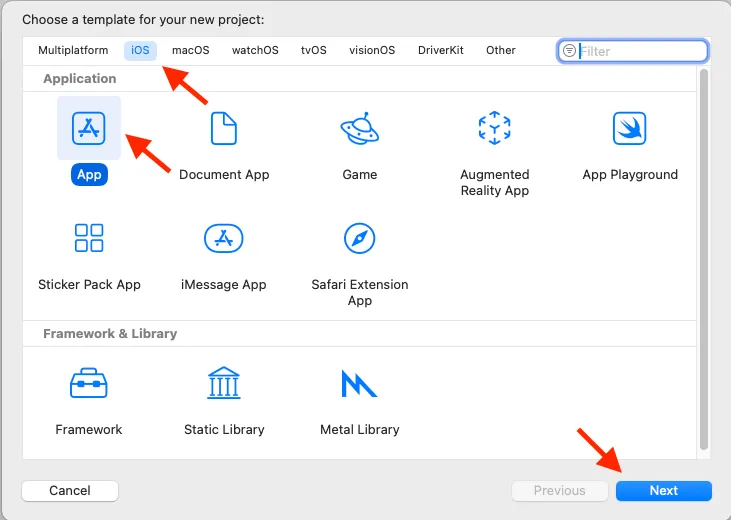
2. Ensure that the iOS tab is selected and the App template is highlighted and click Next.
3. Enter a name for your app and an identifier for your organization. These will be combined to be the bundle id of your app. As a combination, they must be unique. A team is not required to deploy your app to the simulator. Then click Next.
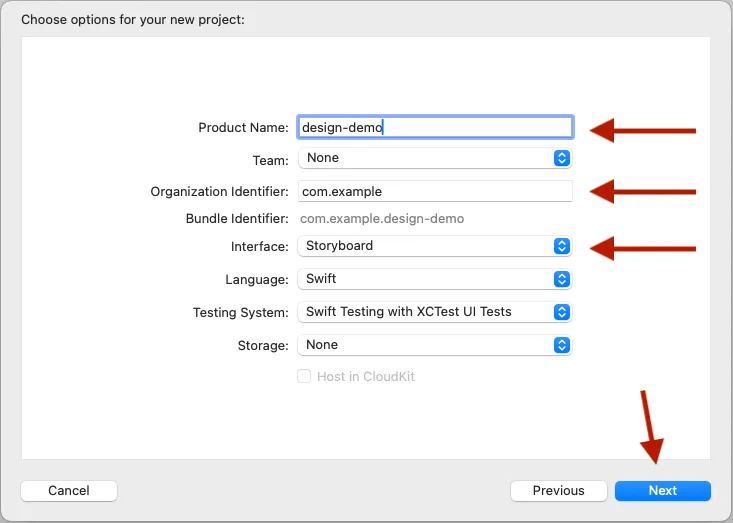
Make sure Interface is set to Storyboard and Language is set to Swift. While the CE.SDK is written in SwiftUI, it works seamlessly in UIKit projects by embedding it in a
UIHostingController.
When you want to run on a physical device, you’ll need to add a team. Learn how to set up teams at Apple’s help site.
4. Choose a location on your computer to save the project and click Create.
Add the CE.SDK Swift package#
1. With your new application open, use the File menu to select Add Package Dependencies....

2. Copy the package URL and add it to the Search field at the top right of the modal.
https://github.com/imgly/IMGLYUI-swift
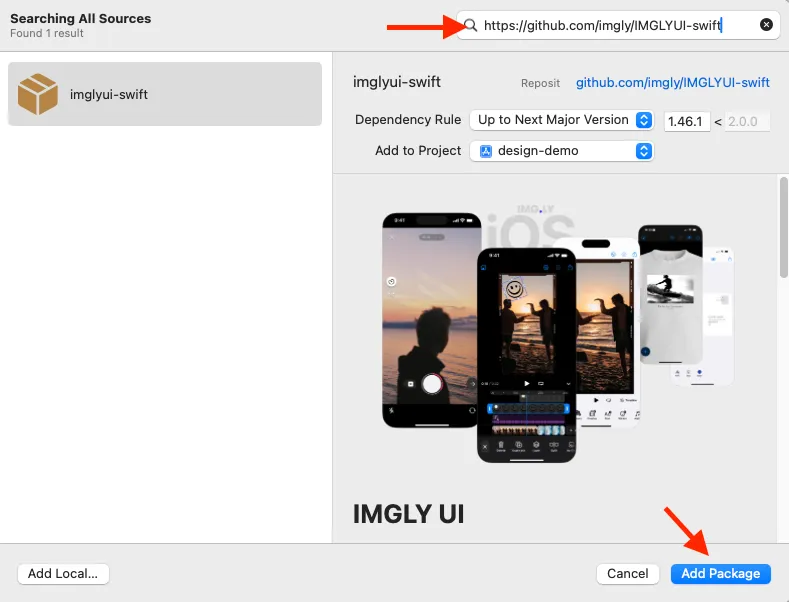
3. Once you see the IMGLY UI package in the window, click Add Package.
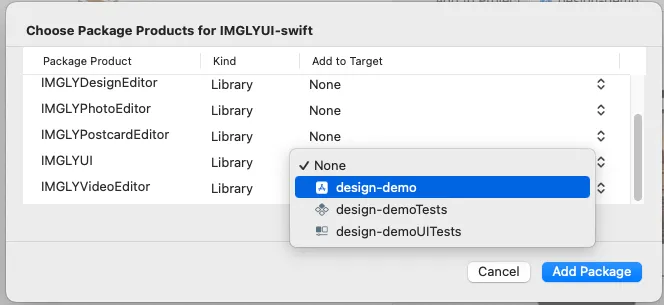
4. After downloading the package and its dependencies, you’ll be presented with a list of libraries. For this demo choose the IMGLYUI library to add to your project target. This adds all of the capabilities of the SDK to your project. In a production app, you would select only those libraries that contain the functions you want to help conserve app space.
Add Code to Use the CE.SDK#
1. Open the ViewController swift file of your app. This demo will use the “Design Editor” features of the SDK, so below the line that reads import UIKit add these lines:
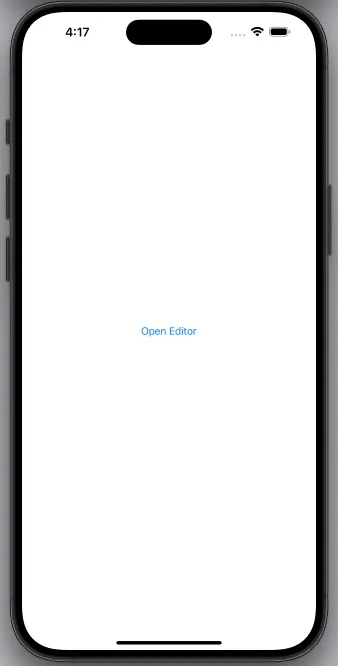
import IMGLYDesignEditorimport SwiftUI2. Create a button to launch the editor. It can go inside viewDidLoad. Here is some code to put a simple button in the center of the screen.
override func viewDidLoad() {    super.viewDidLoad()
    // Add a launch button to present the editor    let launchButton = UIButton(type: .system)    launchButton.setTitle("Open Editor", for: .normal)    launchButton.addTarget(self, action: #selector(openEditor), for: .touchUpInside)    launchButton.translatesAutoresizingMaskIntoConstraints = false    view.addSubview(launchButton)
    NSLayoutConstraint.activate([        launchButton.centerXAnchor.constraint(equalTo: view.centerXAnchor),        launchButton.centerYAnchor.constraint(equalTo: view.centerYAnchor)    ])}
Prefer using Storyboard?
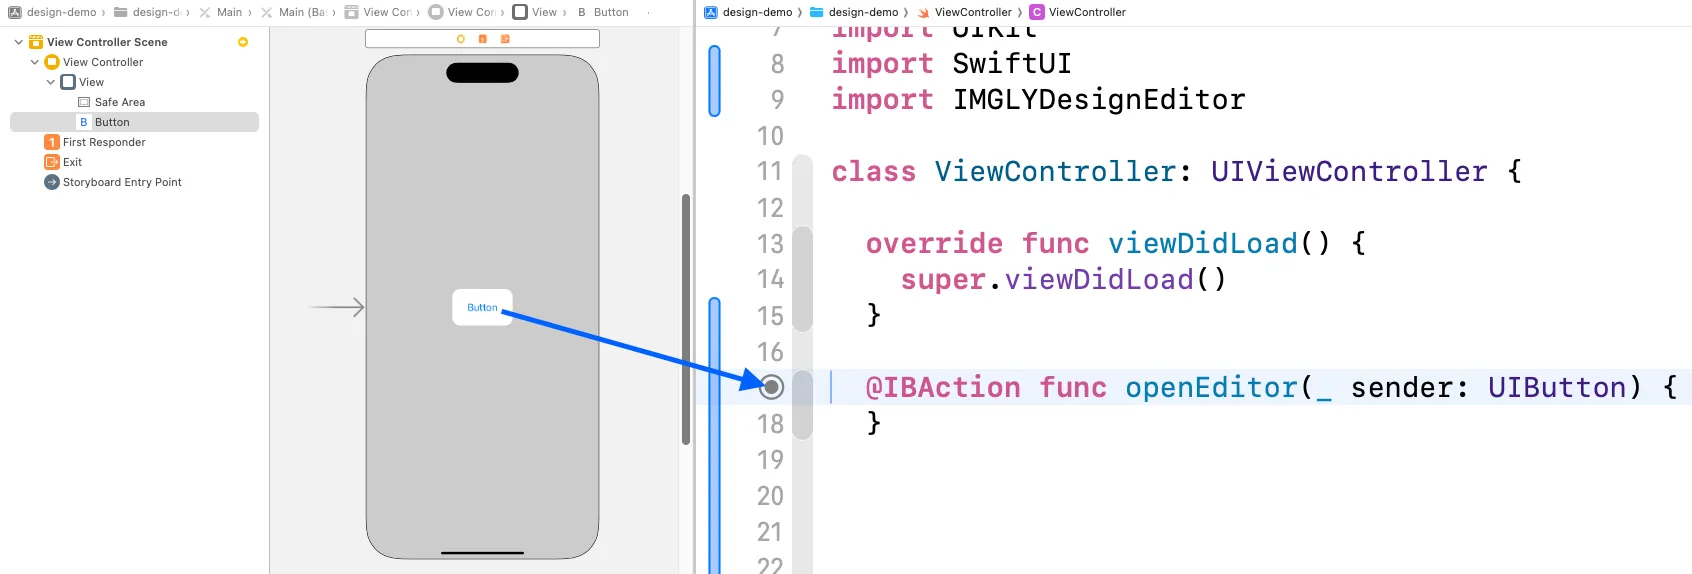
You can also add a UIButton to your main storyboard and connect it to your view controller using an
@IBAction. In your storyboard:
- Drag a UIButton into your scene.
- Set up constraints so it appears centered.
- Control-drag from the button to your
ViewController.swiftfile to create an@IBAction.
3. Create the openEditor function (if you didn’t already in the storyboard). If you made the button in code the signature for the function should start with @objc because of the button selector.
@objc func openEditor() {}4. Inside the openEditor function, create a variable to hold the engine settings for the editor. Add this code, and update it with your actual license key and user ID.
let engineSettings = EngineSettings(license: "<your license key>", // pass nil for evaluation mode with watermark, userID: "<your unique user id>")5. Still in the openEditor function. You’ll now create a DesignEditor with your engineSettings. It needs to be wrapped in a UIHostingController AND a NavigationView. The hosting controller is the bridge between UIKit and SwiftUI, the navigation view provides access to the iOS toolbars. Set the modal presentation style to .fullScreen and the .navigationViewStyle modifier to .stack.
@objc func openEditor() {    let engineSettings = EngineSettings(license: "<your license key>", // pass nil for evaluation mode with watermark,                                       userID: "<your unique user id>")
    let editorVC = UIHostingController(rootView:        NavigationView {            DesignEditor(engineSettings)        }        .navigationViewStyle(.stack)    )    editorVC.modalPresentationStyle = .fullScreen    present(editorVC, animated: true)}
When you’re done, your ViewController should look similar to this:
import UIKitimport SwiftUIimport IMGLYDesignEditor
class ViewController: UIViewController {
  override func viewDidLoad() {    super.viewDidLoad()
    // Add a launch button to present the editor    let launchButton = UIButton(type: .system)    launchButton.setTitle("Open Editor", for: .normal)    launchButton.addTarget(self, action: #selector(openEditor), for: .touchUpInside)    launchButton.translatesAutoresizingMaskIntoConstraints = false    view.addSubview(launchButton)
    NSLayoutConstraint.activate([launchButton.centerXAnchor.constraint(equalTo: view.centerXAnchor),       launchButton.centerYAnchor.constraint(equalTo: view.centerYAnchor)       ])  }
  @objc func openEditor() {    let engineSettings = EngineSettings(license: "<your license key>", // pass nil for evaluation mode with watermark,                                        userID: "<your unique user id>")
    let editorVC = UIHostingController(rootView:        NavigationView {          DesignEditor(engineSettings)        }        .navigationViewStyle(.stack)    )    editorVC.modalPresentationStyle = .fullScreen    present(editorVC, animated: true)  }}
Now select an iOS device or a Simulator, and Build and Run.
Using Your App#
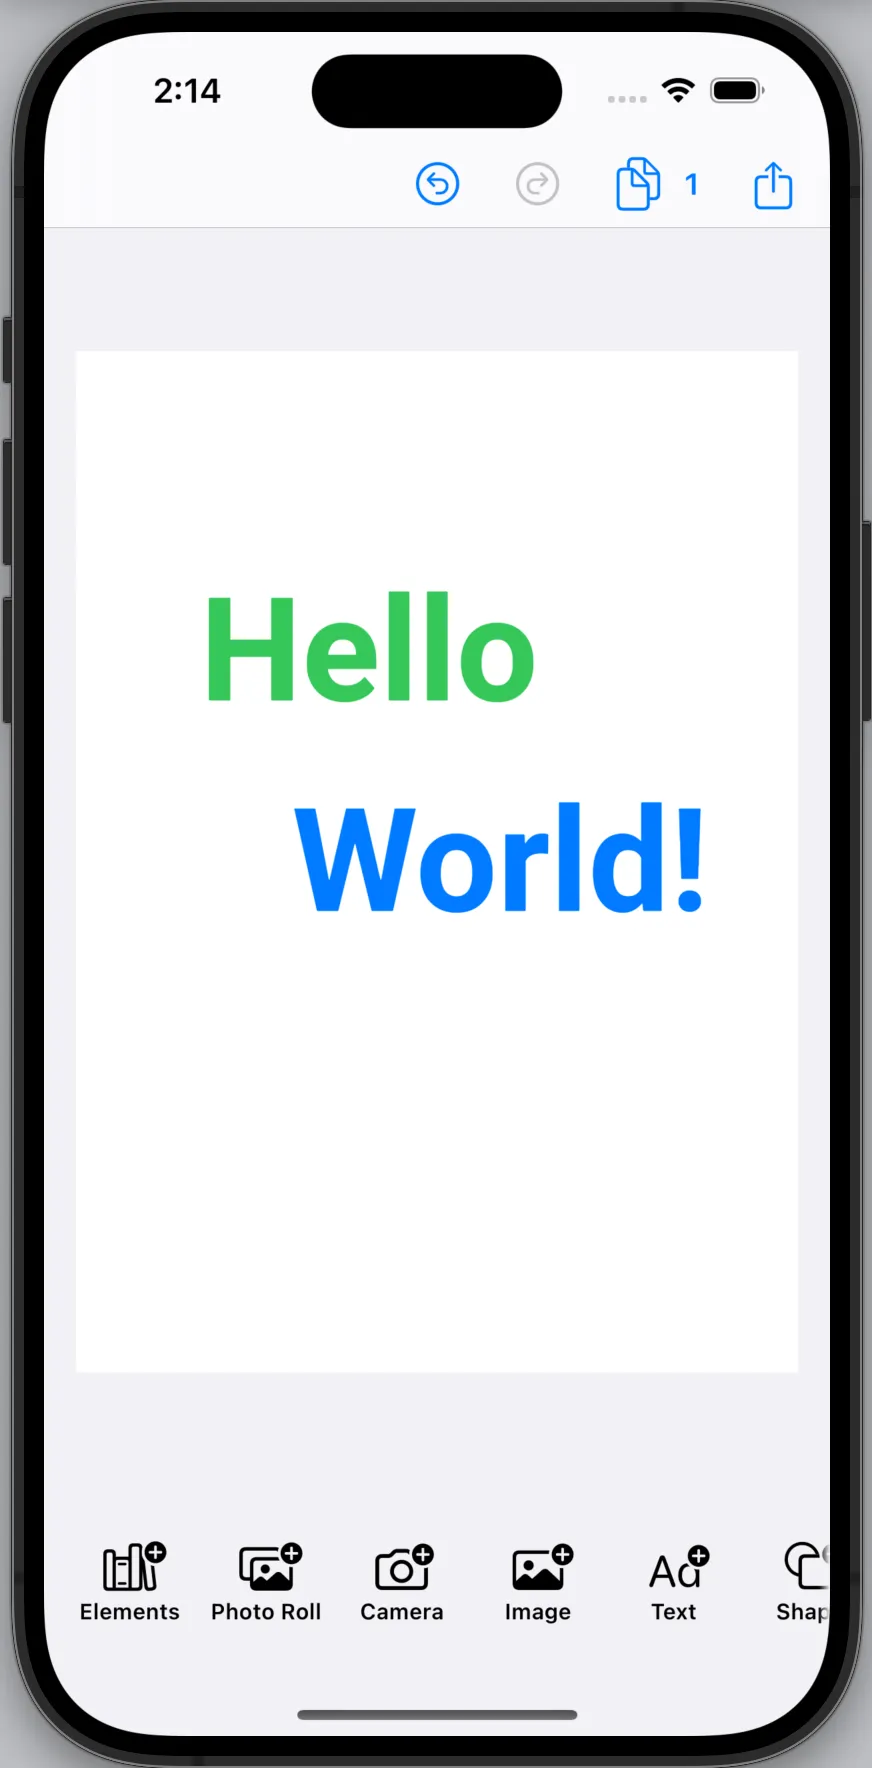
Tap your button to launch the editor. When the editor launches you’ll see a blank page with a toolbar at the bottom. Use the different buttons to add assets to your creation. You can add pages to your creation using the button in the top toolbar. Once you’re happy with it, use the share button to export your creation as a pdf.
Troubleshooting#
Here are some issues you may encounter and their causes. If you need additional help, you can visit our support page.
- Xcode does not know about the
EngineSettingsorDesignEditor.
Make sure that every Swift file that needs to interact with the editor has an import statement before the first line of code. Like this one, for example import IMGLYDesignEditor
- You get build errors about missing modules.
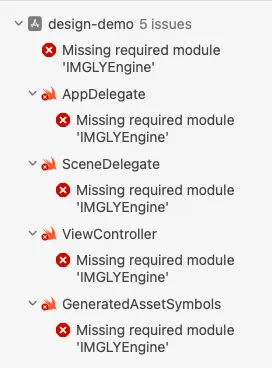
Make sure that you didn’t accidentially choose the wrong target when you imported the SDK to your project. You can check a target’s imports on the General tab of the target settings.
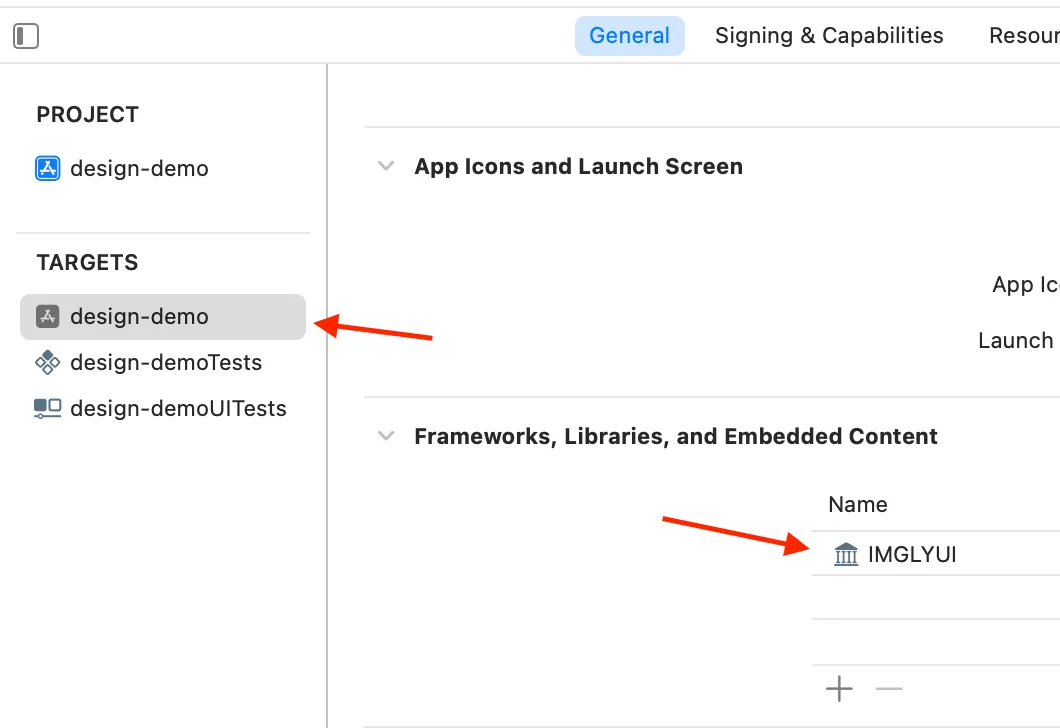
If you don’t see the SDK, you can add it using the + button at the bottom of the list.
- When you run the application, you get an error message about the license key:
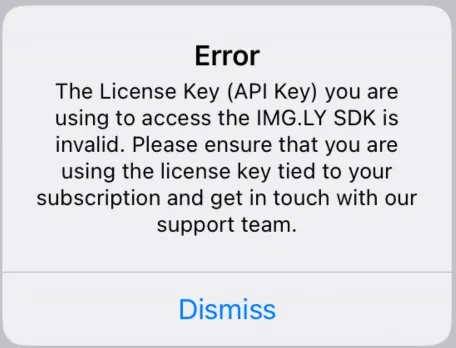
Make sure that your EngineSettings has the exact license key with matching capitalization. If you don’t have a license you can register for a free trial to get a demonstration license.
- When you run the demo app you don’t get any errors, but have a blank top bar and are missing controls.
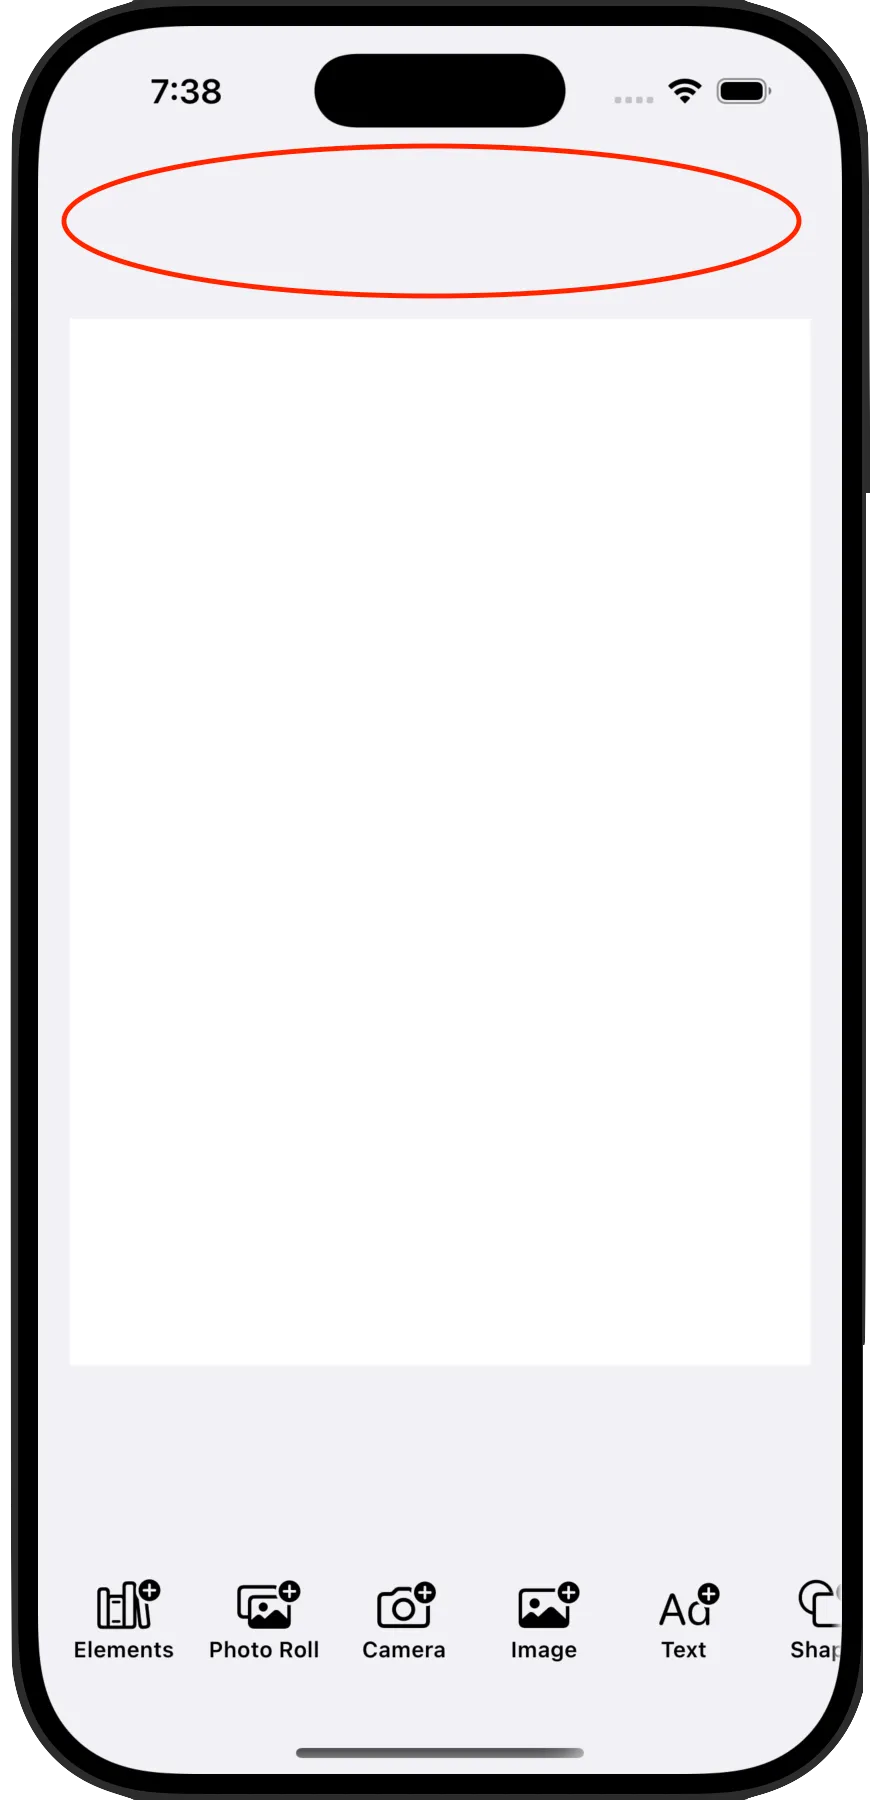
Make sure that the code that instantiates your DesignEditor is wrapped in a NavigationView and also UIHostingController. Don’t place it at the root of the view hierarchy.
Don’t do this:
let editor = DesignEditor(engineSettings)let editorVC = UIHostingController(rootView: editor)present(editorVC, animated: true)Instead, wrap it in a NavigationView as shown above.
What’s Next?#
Now that your integration is working, you can explore more advanced features like custom templates, user uploads, and localized UI. Check out our documentation site for more tutorials and guides.