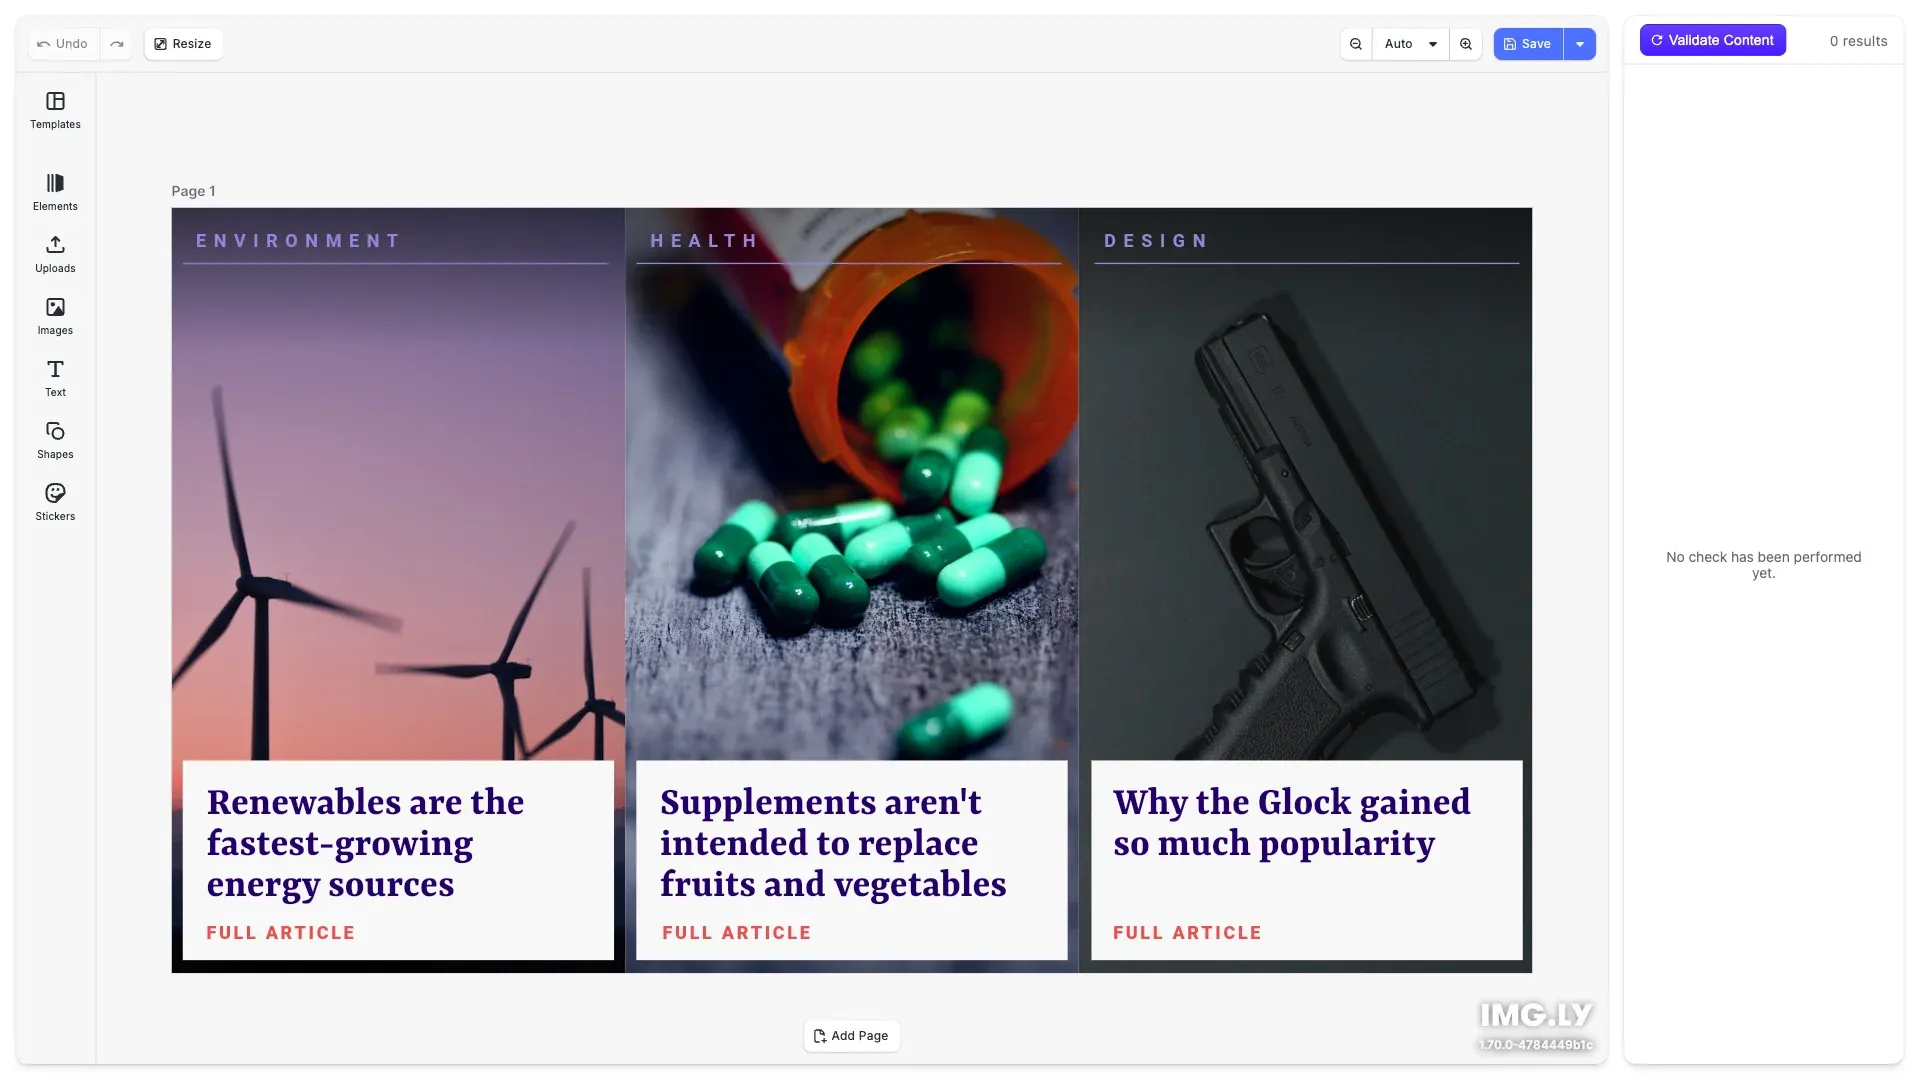
Content moderation made easy. Check every image and text in a design with the IMG.LY Gateway and see which content might violate your guidelines.
Pre-requisites#
This guide assumes basic familiarity with JavaScript or TypeScript.
- Node.js v22+ with npm – Download
- Supported browsers – Chrome 114+, Edge 114+, Firefox 115+, Safari 15.6+
See Browser Support for the full list
Get Started#
Start fresh with a standalone Content Moderation Editor project. This creates a complete, ready-to-run React application.
Step 1: Clone the Repository#
git clone https://github.com/imgly/starterkit-content-moderation-react-web.gitgit clone https://github.com/imgly/starterkit-content-moderation-react-web.gitnpx degit imgly/starterkit-content-moderation-react-web starterkit-content-moderation-react-webnpx degit imgly/starterkit-content-moderation-react-web starterkit-content-moderation-react-webThe src/ folder contains the editor code:
src/├── app/ # Demo application│ ├── ai-credentials/ # Gateway key, preflight check, setup screen│ ├── App.tsx # Key check, then the editor and the sidebar│ ├── components/Sidebar/ # Moderation results sidebar│ ├── export-gate.ts # Asks before exporting unconfirmed content│ ├── gateway.ts # IMG.LY Gateway detection client│ ├── moderation-button.ts # "Moderate Content" navigation bar button│ ├── moderation-session.ts # Check state shared by sidebar and export│ └── moderation.ts # Scene scan and category mapping├── imgly/│ ├── config/│ │ ├── actions.ts # Export/import actions│ │ ├── features.ts # Feature toggles│ │ ├── i18n.ts # Translations│ │ ├── plugin.ts # Main configuration plugin│ │ ├── settings.ts # Engine settings│ │ └── ui/│ │ ├── canvas.ts # Canvas configuration│ │ ├── components.ts # Custom component registration│ │ ├── dock.ts # Dock layout configuration│ │ ├── index.ts # Combines UI customization exports│ │ ├── inspectorBar.ts # Inspector bar layout│ │ ├── navigationBar.ts # Navigation bar layout│ │ └── panel.ts # Panel configuration│ └── index.ts # Editor initialization function└── index.tsx # Application entry pointStep 2: Install Dependencies#
Install the required packages:
cd starterkit-content-moderation-react-web
npm install
cd starterkit-content-moderation-react-web
npm installcd starterkit-content-moderation-react-web
pnpm installcd starterkit-content-moderation-react-web
pnpm installcd starterkit-content-moderation-react-web
yarncd starterkit-content-moderation-react-web
yarnStep 3: Download Assets#
CE.SDK requires engine assets (fonts, icons, UI elements) to function. These must be served as static files from your project’s public/ directory.
curl -O https://cdn.img.ly/packages/imgly/cesdk-js/1.86.0/imgly-assets.zip
unzip imgly-assets.zip -d public/
rm imgly-assets.zip
curl -O https://cdn.img.ly/packages/imgly/cesdk-js/1.86.0/imgly-assets.zip
unzip imgly-assets.zip -d public/
rm imgly-assets.zipconst config = { // ... baseURL: '/assets' // ...};Step 4: Configure the IMG.LY Gateway#
The starter kit checks content with the imgly/detection model on the IMG.LY Gateway. Create an API key in the IMG.LY dashboard, then copy .env.example to .env and paste the key:
VITE_AI_API_KEY=sk_your_api_key_hereWithout a key, or with a key the Gateway rejects, the starter kit shows a setup screen instead of the editor.
Step 5: Run the Development Server#
npm run devnpm run devpnpm run devpnpm run devyarn devyarn devOpen http://localhost:5173 in your browser.
Get Started#
Integrate the Content Moderation Editor into an existing web application. This adds the editor configuration to your current project structure.
Step 1: Clone#
cd your-projectcd your-projectClone the starter kit and copy the editor configuration to your project:
git clone https://github.com/imgly/starterkit-content-moderation-react-web.git
cp -r starterkit-content-moderation-react-web/src/imgly ./src/imgly
rm -rf starterkit-content-moderation-react-webgit clone https://github.com/imgly/starterkit-content-moderation-react-web.git
cp -r starterkit-content-moderation-react-web/src/imgly ./src/imgly
rm -rf starterkit-content-moderation-react-webnpx degit imgly/starterkit-content-moderation-react-web/src/imgly ./src/imglynpx degit imgly/starterkit-content-moderation-react-web/src/imgly ./src/imglyThe imgly/ folder contains the editor configuration:
imgly/├── config/│ ├── actions.ts # Export/import actions│ ├── features.ts # Feature toggles│ ├── i18n.ts # Translations│ ├── plugin.ts # Main configuration plugin│ ├── settings.ts # Engine settings│ └── ui/│ ├── canvas.ts # Canvas configuration│ ├── components.ts # Custom component registration│ ├── dock.ts # Dock layout configuration│ ├── index.ts # Combines UI customization exports│ ├── inspectorBar.ts # Inspector bar layout│ ├── navigationBar.ts # Navigation bar layout│ └── panel.ts # Panel configuration└── index.ts # Editor initialization functionStep 2: Install Dependencies#
Install the required packages for the editor:
Core Editor#
Install the Creative Editor SDK:
npm install @cesdk/cesdk-js@1.86.0npm install @cesdk/cesdk-js@1.86.0pnpm add @cesdk/cesdk-js@1.86.0pnpm add @cesdk/cesdk-js@1.86.0yarn add @cesdk/cesdk-js@1.86.0yarn add @cesdk/cesdk-js@1.86.0Step 3: Download Assets#
CE.SDK requires engine assets (fonts, icons, UI elements) to function. These must be served as static files from your project’s public/ directory.
curl -O https://cdn.img.ly/packages/imgly/cesdk-js/1.86.0/imgly-assets.zip
unzip imgly-assets.zip -d public/
rm imgly-assets.zipcurl -O https://cdn.img.ly/packages/imgly/cesdk-js/1.86.0/imgly-assets.zip
unzip imgly-assets.zip -d public/
rm imgly-assets.zipStep 4: Add a Container Element#
Add a container element to your HTML where the editor will be mounted:
<div id="cesdk_container" style="width: 100%; height: 100vh;"></div>Step 5: Initialize the Editor#
Import and call the initialization function from your application’s entry point:
import CreativeEditorSDK from '@cesdk/cesdk-js';
import { initContentModerationEditor } from './imgly';
const config = {  userId: 'your-user-id',  baseURL: '/assets'  // license: 'YOUR_LICENSE_KEY',};
CreativeEditorSDK.create('#cesdk_container', config)  .then(async (cesdk) => {    await initContentModerationEditor(cesdk);  })  .catch((error) => {    console.error('Failed to initialize CE.SDK:', error);  });
Set Up a Scene#
CE.SDK offers multiple ways to load content into the editor. Choose the method that matches your use case:
// Create a blank design canvas - starts with an empty design sceneawait cesdk.actions.run('scene.create');
// Load from a template archive - restores a previously saved projectawait cesdk.load('https://example.com/template.zip');
// Load from an image URL - creates a new scene with the imageawait cesdk.createFromImage('https://example.com/image.jpg');
// Load from a scene file - restores a scene from JSONawait cesdk.load('https://example.com/scene.json');
The createDesignScene() method is ideal for design workflows, as it creates a blank canvas ready for content.
Customize Assets#
The Content Moderation Editor uses asset source plugins to provide built-in libraries for templates, stickers, shapes, and fonts. The starter kit includes a curated selection—customize what’s included based on your needs.
Asset sources are added via plugins in src/imgly/index.ts. Enable or disable individual sources:
import {  FiltersAssetSource,  StickerAssetSource,  TextAssetSource,  VectorShapeAssetSource,  EffectsAssetSource,  // ...} from '@cesdk/cesdk-js/plugins';
// Add only the sources you needawait cesdk.addPlugin(new FiltersAssetSource());await cesdk.addPlugin(new StickerAssetSource());await cesdk.addPlugin(new TextAssetSource());await cesdk.addPlugin(new VectorShapeAssetSource());await cesdk.addPlugin(new EffectsAssetSource());// ...For production deployments, self-hosting assets is required—the IMG.LY CDN is intended for development only. See Serve Assets for downloading assets, configuring baseURL, and excluding unused sources to optimize load times.
Configure Actions#
Actions are functions that handle user interactions like exporting designs, saving scenes, and importing files. CE.SDK provides built-in actions that you can run directly or override with custom implementations.
Key built-in actions:
exportDesign– Export the current design to PNG, JPEG, PDF, or other formatssaveScene– Save the scene as a JSON string for later editingimportScene– Import a previously saved scene (.imglyor.scene)exportScene– Export the scene as an.imglyfile, either the scene alone or an archive with all assetsuploadFile– Handle file uploads with progress tracking
Use cesdk.actions.run() to execute any action:
// Run a built-in actionawait cesdk.actions.run('exportDesign', { mimeType: 'image/png' });Import from File Picker#
// Let users open images from their devicecesdk.actions.register('importImage', async () => { const blobURL = await cesdk.utils.loadFile({ accept: 'image/*', returnType: 'objectURL' }); await cesdk.createFromImage(blobURL);});Export and Save#
// Register export action that downloads the edited designcesdk.actions.register('exportDesign', async (exportOptions) => { const { blobs, options } = await cesdk.utils.export(exportOptions); await cesdk.utils.downloadFile(blobs[0], options.mimeType);});Upload to Your Backend#
// Override the built-in exportDesign action to send to your servercesdk.actions.register('exportDesign', async (exportOptions) => {  const { blobs } = await cesdk.utils.export(exportOptions);
  const formData = new FormData();  formData.append('design', blobs[0], 'design.png');
  const response = await fetch('/api/upload', {    method: 'POST',    body: formData  });
const { url } = await response.json(); console.log('Uploaded to:', url);});Customize (Optional)#
Theming#
CE.SDK supports light and dark themes out of the box, plus automatic system preference detection. Switch between themes programmatically:
// 'light' | 'dark' | 'system' | (() => 'light' | 'dark')cesdk.ui.setTheme('dark');See Theming for custom color schemes, CSS variables, and advanced styling options.
Localization#
Customize UI labels and add support for multiple languages. The i18n system supports translation keys for all UI elements:
// Override specific labelscesdk.i18n.setTranslations({  en: {    'actions.export.image': 'Download Design',    'common.cancel': 'Cancel',    'common.apply': 'Apply'  }});
// Add a new languagecesdk.i18n.setTranslations({  de: {    'actions.export.image': 'Design herunterladen'  }});
// Set the active localecesdk.i18n.setLocale('de');
See Localization for supported languages, translation key reference, and right-to-left language support.
UI Layout#
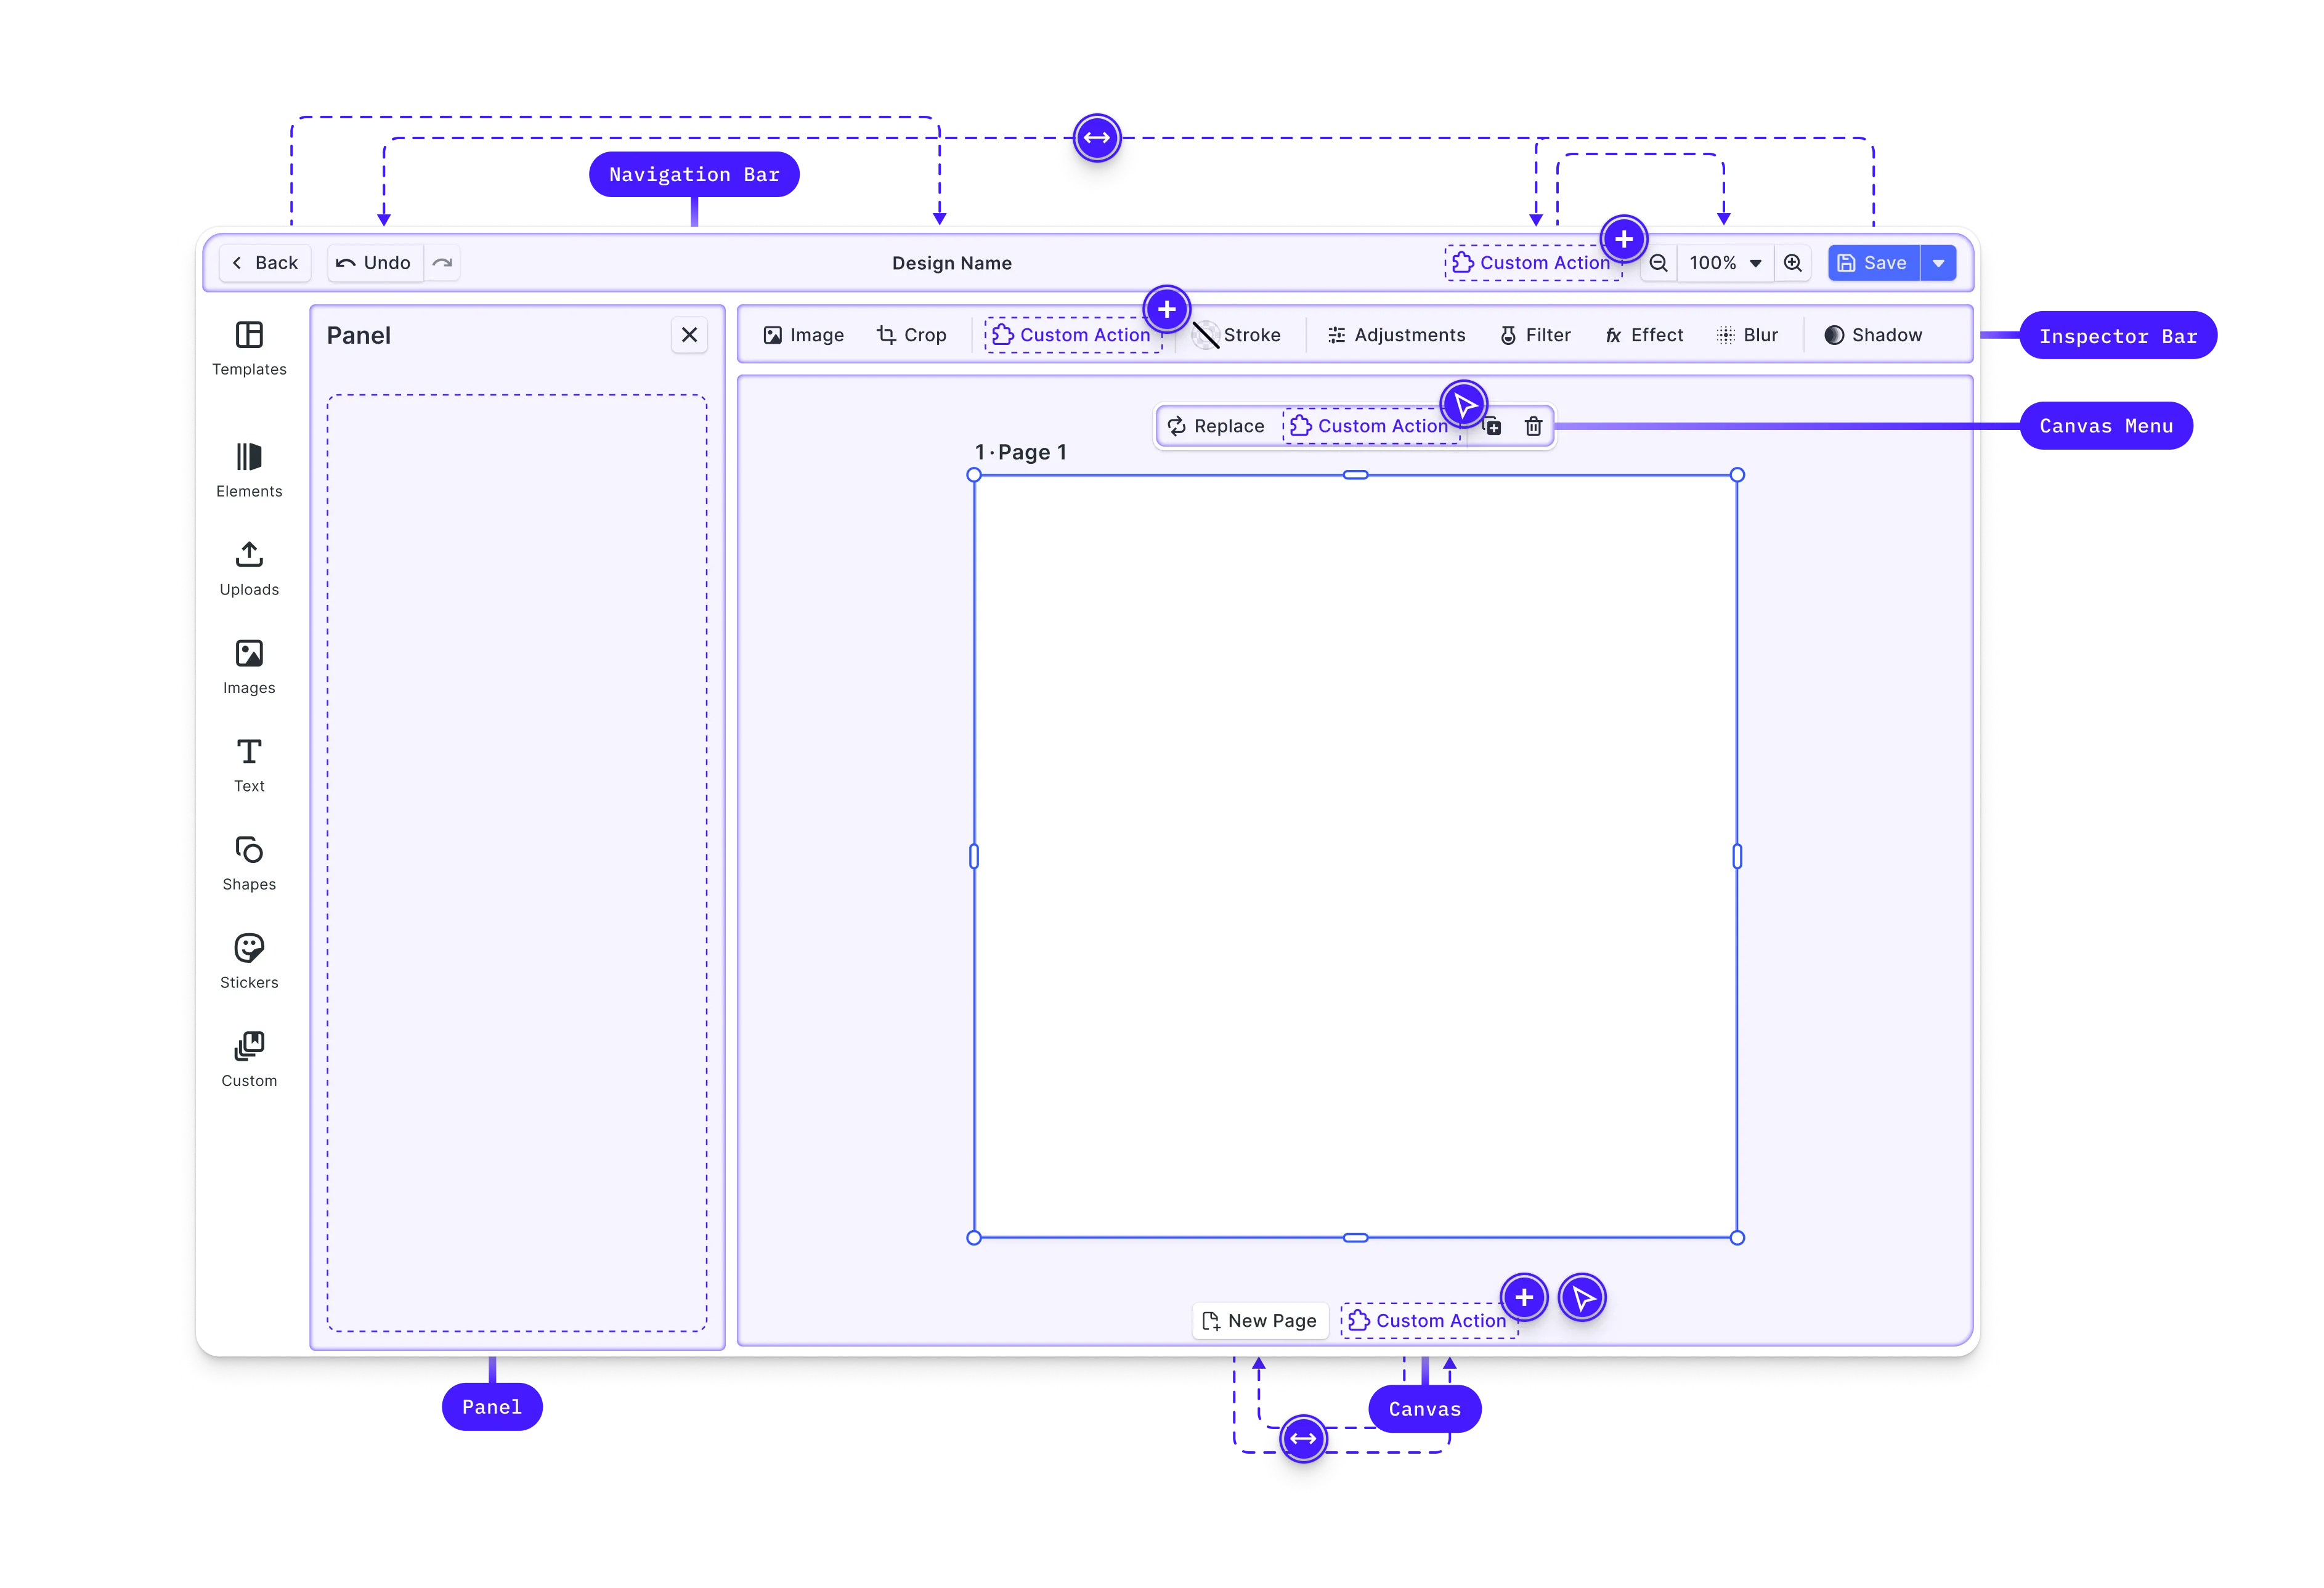
Customize the editor interface by modifying the dock, inspector bar, navigation bar, and canvas menu. CE.SDK provides Order APIs to control which components appear and in what sequence.
// Get current navigation bar componentsconst navOrder = cesdk.ui.getNavigationBarOrder();
// Add a custom button to the navigation barcesdk.ui.insertNavigationBarOrderComponent(  'ly.img.spacer',  { id: 'my-custom-action' },  'after');
// Rearrange dock itemscesdk.ui.setDockOrder([  'ly.img.assetLibrary.dock',  'ly.img.separator',  'my-custom-dock-item']);
// Customize the inspector barcesdk.ui.setInspectorBarOrder([  'ly.img.fill.inspectorBar',  'ly.img.separator',  'ly.img.filter.inspectorBar']);
The Order API methods follow a consistent pattern across all UI areas:
get*Order()– Retrieve the current component orderset*Order()– Replace the entire orderinsert*OrderComponent()– Add components relative to existing ones
See Dock, Inspector Bar, Navigation Bar, Canvas Menu, and Canvas for detailed layout customization options.
Custom Components#
Build custom UI components using the builder system and integrate them in the editor. Custom components receive reactive state updates and can interact with the engine API.
// Register a custom componentcesdk.ui.registerComponent('my-custom-button', ({ builder, engine }) => {  const selectedBlocks = engine.block.findAllSelected();
  builder.Button('apply-effect', {    label: 'Apply Effect',    isDisabled: selectedBlocks.length === 0,    onClick: () => {      // Apply custom logic to selected blocks    }  });});
// Add the component to the navigation barcesdk.ui.insertNavigationBarOrderComponent(  'ly.img.spacer',  'my-custom-button',  'after');
Custom components automatically re-render when the engine state they depend on changes—no manual subscription management required.
See Register New Component for the complete builder API and component patterns.
Settings & Features#
Fine-tune editor behavior through settings and features.
Settings configure core engine behavior—rendering, input handling, and history management:
cesdk.engine.editor.setSettingBool('page/dimOutOfPageAreas', true);cesdk.engine.editor.setSettingBool('mouse/enableZoomControl', true);cesdk.engine.editor.setSettingBool('features/undoHistory', true);Features toggle which editing tools and panels appear in the UI:
// Toggle editor featurescesdk.feature.enable('ly.img.crop', true);cesdk.feature.enable('ly.img.filter', true);cesdk.feature.enable('ly.img.adjustment', true);See Settings and Features for the complete reference.
Explore Plugins#
CE.SDK has a rich plugin ecosystem that extends the editor with powerful capabilities. Plugins can add new features, integrate third-party services, or customize editor behavior.
Background Removal#
Add AI-powered background removal that runs entirely client-side. The background removal plugin processes images directly in the browser without sending data to external servers.
import BackgroundRemovalPlugin from '@imgly/plugin-background-removal-web';
// Add background removal capabilityawait cesdk.addPlugin(BackgroundRemovalPlugin());
See Background Removal for setup instructions and configuration options.
Print Ready PDF#
Export print-ready PDF/X-4 and PDF/X-3 files with CMYK color profiles for professional printing workflows.
import { convertToPDFX } from '@imgly/plugin-print-ready-pdfs-web';
// Export the current page and convert it into a print-ready PDF/X fileconst [page] = cesdk.engine.block.findByType('page');const pdfBlob = await cesdk.engine.block.export(page, {  mimeType: 'application/pdf'});const printReadyPDF = await convertToPDFX(pdfBlob, {  outputProfile: 'fogra39'});
See Print Ready PDF for setup instructions and configuration options.
AI Integration#
Extend the editor with generative AI capabilities for text-to-image generation, image enhancement, and intelligent editing features. CE.SDK integrates with various AI providers.
import ImageGeneration from '@imgly/plugin-ai-image-generation-web';import { GatewayProvider } from '@imgly/plugin-ai-image-generation-web/gateway';
// Your backend mints a short-lived IMG.LY AI Gateway tokencesdk.actions.register('ly.img.ai.getToken', async () => {  const response = await fetch('/api/ai/token', { method: 'POST' });  const { token } = await response.json();  return token;});
// Add text-to-image generation through the IMG.LY AI Gatewayawait cesdk.addPlugin(  ImageGeneration({    providers: {      text2image: GatewayProvider('bfl/flux-2', {})    }  }));
// Show the image generation panel in the dockcesdk.ui.setComponentOrder({ in: 'ly.img.dock' }, [  'ly.img.ai.image-generation.dock',  ...cesdk.ui.getComponentOrder({ in: 'ly.img.dock' })]);
See Managed Model Gateway for the token endpoint and AI Integration for all AI features.
Custom Asset Sources#
Connect external asset libraries like Unsplash, Getty Images, or your own content management system. Asset sources let users browse and insert content from any source.
You register one with engine.asset.addSource(), without installing a plugin package. See Import From Remote Source for integration patterns and Unsplash for a complete Unsplash integration.
Discover More Plugins#
Explore the full plugin ecosystem in the IMG.LY plugins repository. Available plugins include:
- Vectorizer – Convert raster images to vectors
- Design Presets – Pre-built design templates
- Social Media Templates – Platform-specific sizing
- And more – Check the repository for the latest additions
How Content Moderation Works#
The Content Moderation Editor adds a validation sidebar that checks every image and text in your design with the imgly/detection model on the IMG.LY Gateway. When users click “Validate Content” in the sidebar, or the “Moderate Content” shield button in the navigation bar, the starter kit:
- Finds all image and text blocks in the current scene. Blank text is skipped.
- Sends each image URL and each text to the IMG.LY Gateway, at most four requests at a time
- Displays results with visual indicators (warning, failed, or could not be checked)
- Allows block selection to quickly navigate to flagged content
- Checks each export: an export of a design that is not confirmed clean asks first
A check sends the image URLs and the words of every text block to the IMG.LY Gateway. The Gateway downloads each image itself, so an image it cannot reach, such as an upload from the user’s computer or an image on a private network address or a local host name, is rendered as a JPEG and uploaded first.
Validation Flow#
moderateScene collects the blocks, checks each one, and returns the results together with the blocks that could not be checked:
export async function moderateScene(  engine: CreativeEngine): Promise<ModerationReport> {  const targets = [...imageTargets(engine), ...textTargets(engine)];  const outcomes = await settleWithLimit(    targets.map(      (target) => async () => toCheckResults(await detect(await target.content()))    ),    MAX_CONCURRENT_REQUESTS,    // After the first out-of-credits answer, no further block is sent.    isOutOfCredits  );
  // A block whose request failed is reported as unchecked, so the design  // is not shown as clean. When every block fails, the error is thrown,  // and an out-of-credits error comes first.  // ...}
Each request goes to the Gateway’s /v1/responses endpoint with the image URL or the text:
const input = content.kind === 'image' ? { image_urls: [content.url] } : { text: content.text };const response = await authorizedFetch('/v1/responses', { method: 'POST', headers: { 'Content-Type': 'application/json', Accept: 'text/event-stream' }, body: JSON.stringify({ model: 'imgly/detection', ...input })});Content Categories#
The detection model scores each image and text between 0 and 1 for each category. A score above 0.8 is shown as failed, and a score above 0.4 as a warning.
| Content | Categories |
|---|---|
| Images | Nudity, Weapons, Recreational Drugs, Medical, Alcohol, Offensive Symbols, Gore |
| Text | Toxic, Insulting, Discriminatory, Violent and Sexual Language, Self-Harm |
A category that the model adds later is still listed, named from its ID.
Connecting Your Own API#
To use another moderation service, replace detect in src/app/gateway.ts. It receives an image URL or a text and returns a score between 0 and 1 for each category:
export async function detect( content: ModerationContent): Promise<Record<string, number>> { const response = await fetch('https://your-api.example.com/moderate', { method: 'POST', headers: { 'Content-Type': 'application/json' }, body: JSON.stringify(content) }); const { scores } = await response.json(); return scores; // for example { weapon: 0.92, alcohol: 0.1 }}Add the names and descriptions of your categories to CATEGORIES in src/app/moderation.ts.
Three more parts of the starter kit assume the IMG.LY Gateway:
uploadImageinsrc/app/gateway.tsuploads images the Gateway cannot download. Replace it, or remove the upload if your service accepts image data.App.tsxchecks the IMG.LY API key before it shows the editor. Remove that check if your service uses other credentials.src/app/moderation-session.tsopens an “Out of credits” dialog when the Gateway answers that the account has no credits left. Remove it if your service has no credits.
Block Selection#
When a user clicks “Select” on a result, the starter kit selects that block on the canvas:
export function selectBlocks( engine: CreativeEngine, blockIds: number[]): number[] { engine.block .findAllSelected() .forEach((block) => engine.block.setSelected(block, false)); blockIds.forEach((block) => engine.block.setSelected(block, true)); return blockIds;}Export Check#
Every export button of the editor runs the exportDesign action. The starter kit wraps that action, so an export goes ahead without a question only when the last check covered every block, nothing was flagged, and the design has not changed since. Otherwise the editor’s warning dialog asks first:
- Restricted content detected: the last check of the unchanged design flagged content. The dialog says how many blocks it flagged. This message wins when that check also left a block unchecked.
- Content not moderated: the design was never checked, the last check did not finish, the design has changed since the last check, or a block could not be checked. The message names which of these applies.
“Moderate now” cancels the export and runs the check. “Export anyway” exports the design. “Cancel”, or closing the dialog, exports nothing.
const exportDesign = cesdk.actions.get('exportDesign');
cesdk.actions.register('exportDesign', async (...args) => {  const decision = await decideExport(cesdk, session);  if (decision === 'moderate') {    await session.check();    return;  }  if (decision === 'export') await exportDesign(...args);});
ModerationSession in src/app/moderation-session.ts holds the last report. It listens to engine.editor.onHistoryUpdatedWithKind, so any edit, undo or redo makes the report out of date. The sidebar, the “Moderate Content” button and the export check all use the same session. src/app/moderation-button.ts adds that button before the Actions dropdown, after the session exists.
To stop flagged designs from being exported at all, remove the “Export anyway” action from the dialog in src/app/export-gate.ts.
Use Cases#
The Content Moderation Editor is designed for platforms that need to ensure user-generated content meets community guidelines and legal requirements. Common use cases include:
User-Generated Content Platforms#
Allow users to create and customize designs while automatically checking for policy violations before publishing:
// Validate before allowing publishasync function handlePublish(cesdk: CreativeEditorSDK) {  const { results, unchecked } = await moderateScene(cesdk.engine);  const violations = results.filter(r => r.state === 'failed');
  if (violations.length > 0 || unchecked.length > 0) {    // Block publish and show violations to user    showViolationModal(violations);    return;  }
  // Safe to publish  await publishDesign(cesdk);}
Print-on-Demand Services#
Validate customer uploads and text before production to avoid printing inappropriate content on merchandise:
- T-shirt and apparel customization – Check uploaded images before printing
- Photo products – Validate images for photo books, calendars, and gifts
- Marketing materials – Ensure brand-safe content for business cards and flyers
Marketing and Advertising Platforms#
Ensure ad creatives comply with platform policies before submission:
// Add custom categories for advertising complianceconst adPolicyScores = await detect({ kind: 'image', url: imageUrl });
// Extend with platform-specific rulesconst platformResults = await checkPlatformCompliance(imageUrl, {  platform: 'facebook',  rules: ['no-before-after', 'no-misleading-claims']});
Enterprise Content Management#
Integrate moderation into design approval workflows:
- Pre-approval validation – Automatically flag content before human review
- Compliance logging – Track moderation results for audit trails
- Role-based access – Allow admins to override warnings with justification
Customizing Moderation Rules#
percentageToState turns a score into a state. Lower its thresholds for a family-friendly platform, or raise them for an adult-only one:
export function percentageToState(percentage: number): ModerationState { if (percentage > 0.8) { return 'failed'; } else if (percentage > 0.4) { return 'warning'; } else { return 'success'; }}Key Capabilities#
The Content Moderation Editor includes everything needed for content validation workflows.
Content Detection
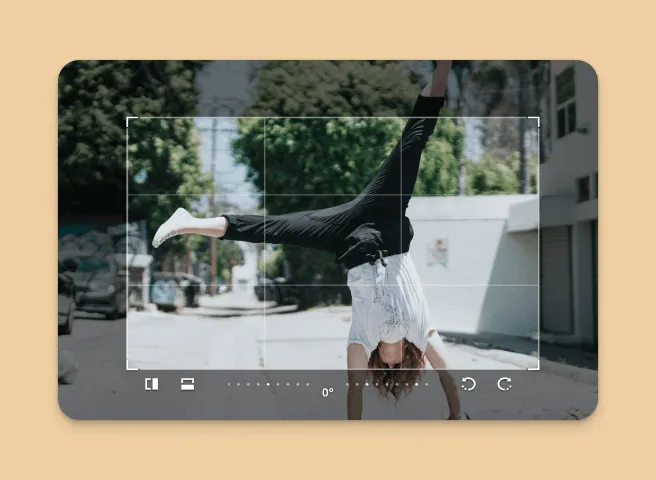
Detect nudity, weapons, drugs, alcohol, offensive symbols and gore in images, and harmful language in text.
IMG.LY Gateway
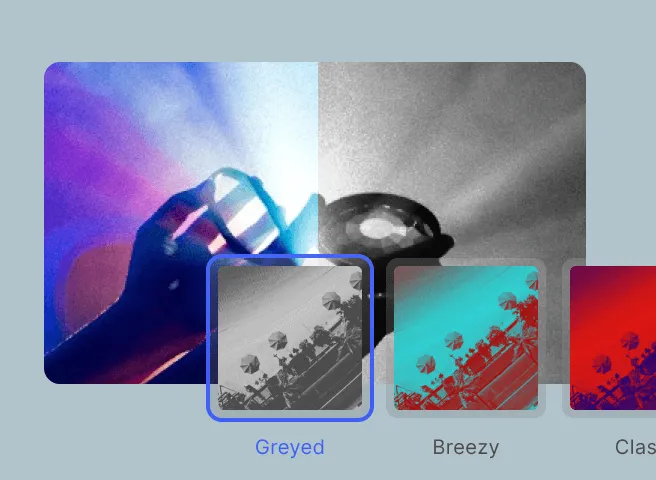
Check content with the imgly/detection model on the IMG.LY Gateway, or swap in your own moderation service.
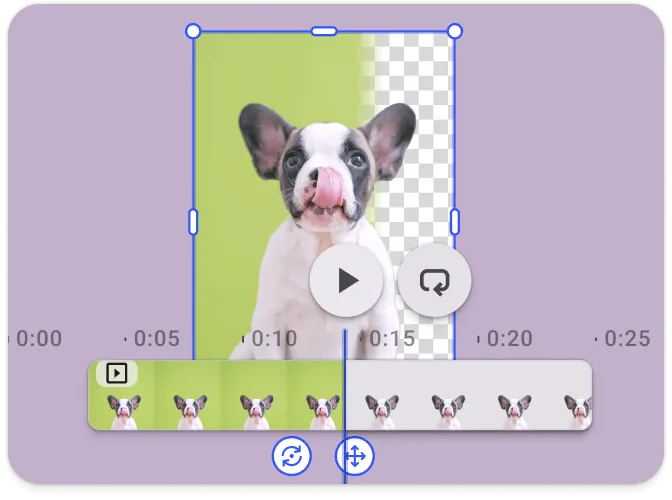
Visual Feedback
Display validation results with clear success, warning, and failure states for each check.
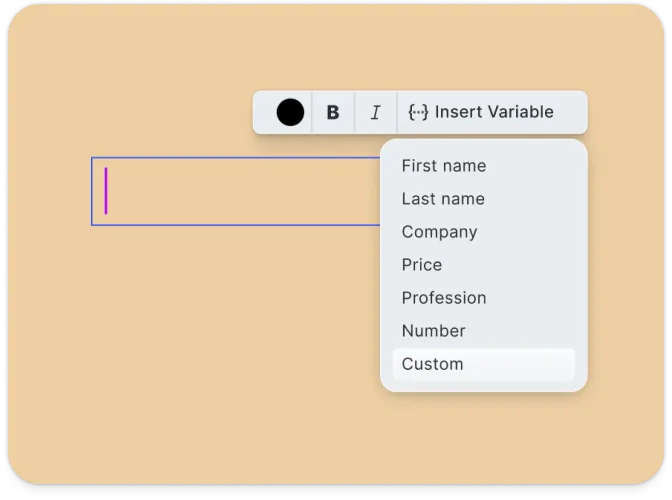
Block Selection
Automatically highlight and select blocks that fail content moderation checks.
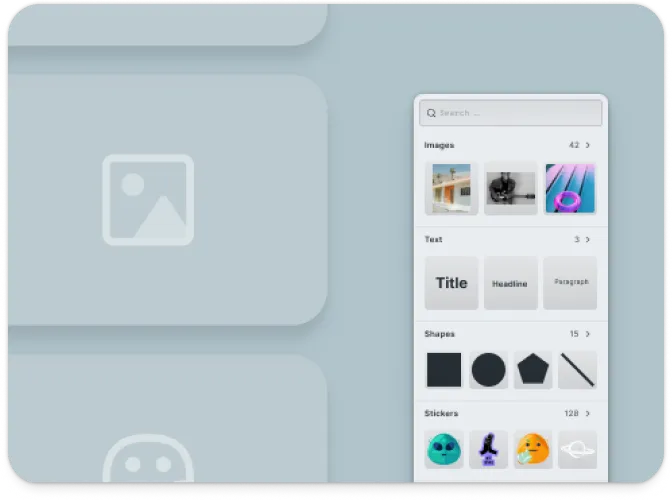
Full Design Editing
Complete design editing capabilities with text, shapes, stickers, and image editing.
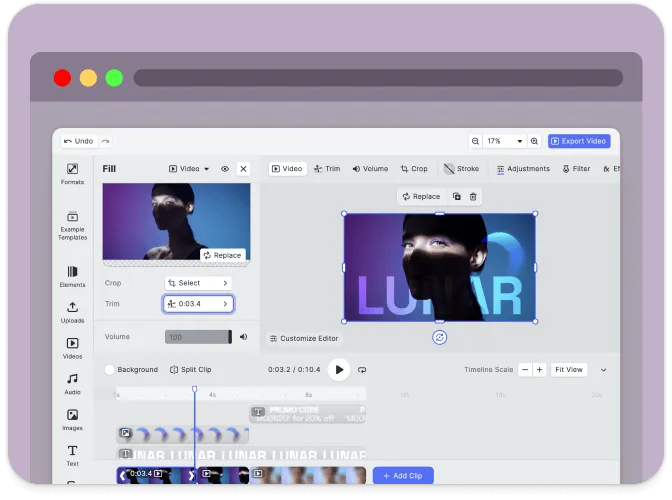
Export Options
Export validated designs to PNG and PDF. An export of content that is not confirmed clean asks first.
Troubleshooting#
Editor doesn’t load#
- Check the container element exists: Ensure your container element is in the DOM before calling
create() - Verify the baseURL: Assets must be accessible from the CDN or your self-hosted location
- Check console errors: Look for CORS or network errors in browser developer tools
A setup screen appears instead of the editor#
- Set the API key: Add
VITE_AI_API_KEYto.envand restart the development server - Check the key: The Gateway rejects a key that is expired, revoked or from another account
The moderation check fails#
- Check network connectivity: Ensure the IMG.LY Gateway at
https://gateway.img.lyis accessible - Check your credits: When the key’s account has no credits left, the editor shows an “Out of credits” dialog, and the check sends no further block
- Check CORS settings: If using a custom API, ensure CORS headers allow requests from your domain
Results don’t appear#
- Check for image and text blocks: Moderation checks image and text blocks; blank text is skipped
- Verify images have URLs: Images must have valid source URLs to be checked
- Run the check again: A block listed as “Could not be checked” failed at the Gateway
Export asks before it starts#
- Check after your last change: Any edit, undo or redo after a check means the design must be checked again
- Check every block: A block listed as “Could not be checked” leaves the design unconfirmed, so run the check again
- Review the findings: A design with warnings or failures always asks, until a new check finds nothing
Watermark appears in production#
- Add your license key: Set the
licenseproperty in your configuration - Get a license: Contact us at img.ly/forms/contact-sales/
Next Steps#
- Configuration – Complete list of initialization options
- Serve Assets – Self-host engine assets for production
- Actions – Build custom export and save workflows
- Theming – Customize colors and appearance
- Localization – Add translations and language support