Combining video clips or parts of video clips into a single video may appear complicated, but the things that add complexity also provide flexibility. In this tutorial, you will see how to combine a few short clips into a single video. You will also gain an understanding of building on this basic pattern to make more advanced creations. This tutorial was created and tested with Xcode 13 and Swift 5.
As with most AVFoundation code, the Xcode simulator is not always the best platform for running the code. Test on an actual device if you can. A demo project with code that supports this tutorial is available on Github.
Making a Composition
Whenever you want to edit media or add effects, the first place to look is AVComposition. This class in AVFoundation has the purpose of arranging different assets and types of assets into a single asset for playback or processing. Asset types can include audio and video subtitles, metadata, and text. When working with AVComposition it is helpful to think about AVAsset and AVAssetTrack objects. Unfortunately, because these items are so similar (AVComposition is a subclass of AVAsset) it is easy to get confused. Try to remember that the AVTrack is a wrapper around the actual pixel, sound-wave, or other data and that AVAsset is a collection of AVTrack objects. When we want to combine and manipulate AVAsset objects, an AVComposition helps us do that. Changes made to any AVAsset by an AVComposition will not impact the original media file.
As an extra layer, Apple keeps the editing features of an AVComposition separate from the playback features by creating an AVMutableComposition object. You will work with an AVMutableComposition object in this tutorial.
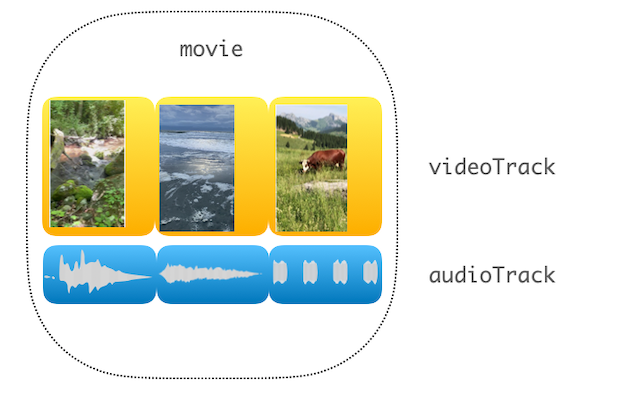
Each track in our composition will have a start time and a duration. The composition will ensure that all of the data it holds displays at the right time and that the tracks stay in sync.
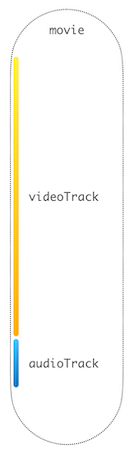
At the simplest, a video clip is a single AVTrack of audio data and a single AVTrack of video data.

So, to set up an empty AVComposition for combining clips, use code such as this:
    let movie = AVMutableComposition()
    let videoTrack = movie.addMutableTrack(withMediaType: .video, preferredTrackID: kCMPersistentTrackID_Invalid)
    let audioTrack = movie.addMutableTrack(withMediaType: .audio, preferredTrackID: kCMPersistentTrackID_Invalid)
The code above creates a new, empty AVMutableComposition and then adds two tracks. One track will be able to hold .video assets, and the other will hold .audio assets. AVFoundation supports many different kinds of audio and video formats, but the .video track cannot hold .audio formats. The kCMPersistendTrackID_Invalid signals that you want a new, unique track id generated.
AVFoundation can manipulate any of the ISO media formats. The Quicktime (.mov) and MPEG (.mp4) are the most common, however, .heif, .3gp and other formats are all supported.
Adding Video Clips
After creation, the AVMutableComposition has a start time of CMTime.zero and a duration of CMTime.zero. Use the insertTimeRange(_ timeRange: CMTimeRange, of track: AVAssetTrack, at startTime: CMTime) throws function on the audio and again on the video track to add data from the clip. In order to add data to the tracks, you load an AVAsset, determine what range of time will go into the new composition, and then call the insert function. Your code might look like this:
  let beachMovie = AVURLAsset(url: Bundle.main.url(forResource: "beach", withExtension: "mov")!) //1

  let beachAudioTrack = beachMovie.tracks(withMediaType: .audio).first! //2
  let beachVideoTrack = beachMovie.tracks(withMediaType: .video).first!
  let beachRange = CMTimeRangeMake(start: CMTime.zero, duration: beachMovie.duration) //3
  try videoTrack?.insertTimeRange(beachRange, of: beachVideoTrack, at: CMTime.zero) //4
  try audioTrack?.insertTimeRange(beachRange, of: beachAudioTrack, at: CMTime.zero)
Here is what this code does:
-
Load a video file from a local URL. In the example, the video is in the application bundle, but it could also be a URL that points to a file somewhere else. This will not work with a streaming URL. It needs to be a video file.
-
Extract the main videos and audio tracks from the video file. There may be multiple video and audio tracks in a file, but this code just grabs the first one.
-
Create a time range. In this example, the range is the same duration as the clip we loaded.
-
Insert the video track from the clip at the beginning of the video track of the composition and insert the audio track from the clip at the beginning of the audio track of the composition. A common mistake in this step is to use the
.durationproperty of the composition to insert the audio and video at the end. However, as soon as media is inserted into any track, the duration of the entire composition will change. So the audio and video would be played one after the other and you would see a blank screen when the audio is playing, and have no audio when the video is playing.
Repeat the steps for each clip that you want to add to the final composition.
Using the Composition
After all of the clips have been combined into the composition, it can be played in an AVPlayer or exported using an AVAssetExportSession. The code for these is the exact same as for any other AVAsset.
  self.player = AVPlayer(playerItem: AVPlayerItem(asset: movie)) //1
  let playerLayer = AVPlayerLayer(player: player) //2
  playerLayer.frame = playerView.layer.bounds
  playerLayer.videoGravity = .resizeAspect
  playerView.layer.addSublayer(playerLayer) //3
  player?.play() //4
Here is what the code above is doing:
- Create an
AVPlayerusing amovieobject, which is theAVMutableCompositionthat was created earlier. - Create a
playerLayerto display the video and set its aspect ratio - Add the
playerLayertoplayerViewwhich is a regularUIViewin aUIViewController - Play the video clip
Alternatively you may want to export the new composition as a new movie file. Again, because the composition is an AVAsset using a standard AVAssetExportSession will write the movie to disk.
  //create exporter
  let exporter = AVAssetExportSession(asset: movie,
                                 presetName: AVAssetExportPresetHighestQuality) //1
  //configure exporter
  exporter?.outputURL = outputMovieURL //2
  exporter?.outputFileType = .mov
  //export!
  exporter?.exportAsynchronously(completionHandler: { [weak exporter] in
    DispatchQueue.main.async {
      if let error = exporter?.error { //3
        print("failed \(error.localizedDescription)")
      } else {
        print("movie has been exported to \(outputMovieURL)")
      }
    }
  })
Here is what this code is doing:
- Create an export session using the
moviecomposition you made earlier. - Set the save location to some file URL on your device.
- Wait for the exporter to finish and display the result.
Don't forget that exporting an AVAsset can take a long time and is asynchronous. You will want to display a spinner or a message to your user.
Going Further
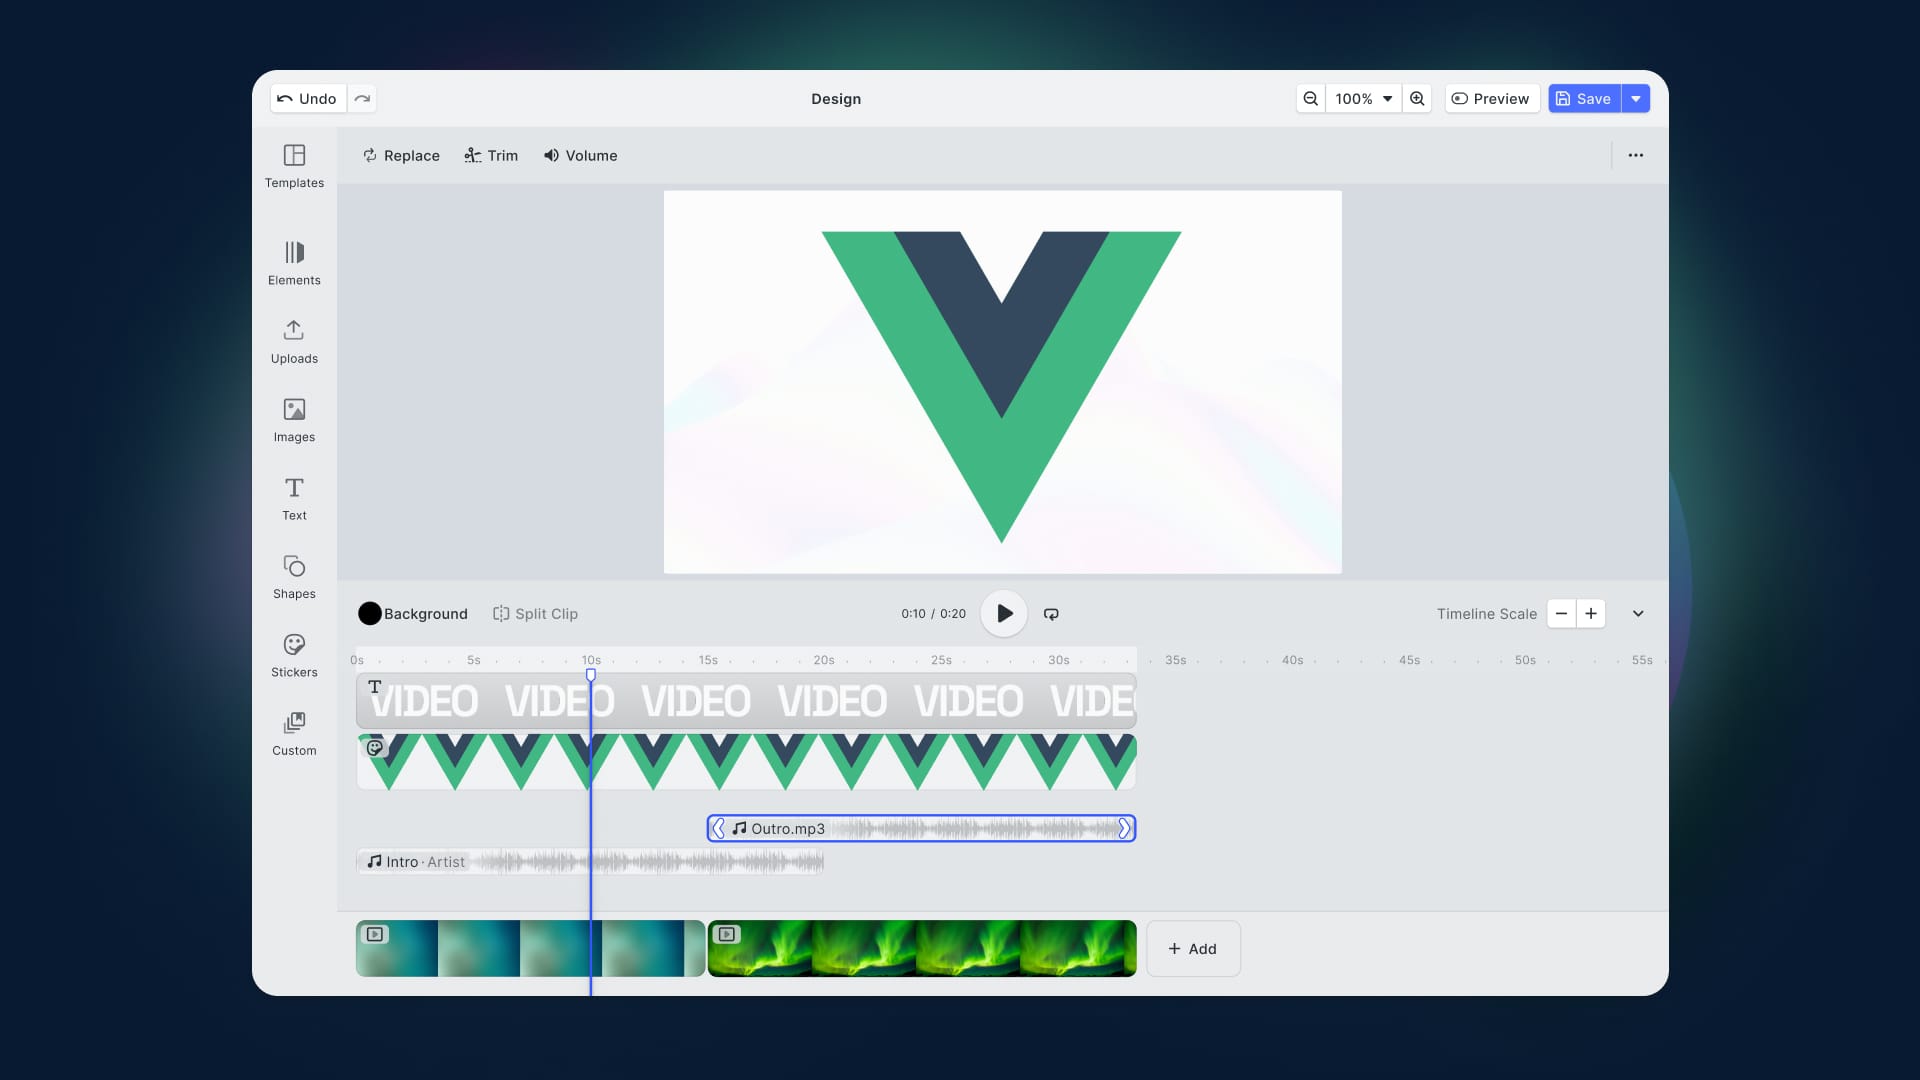
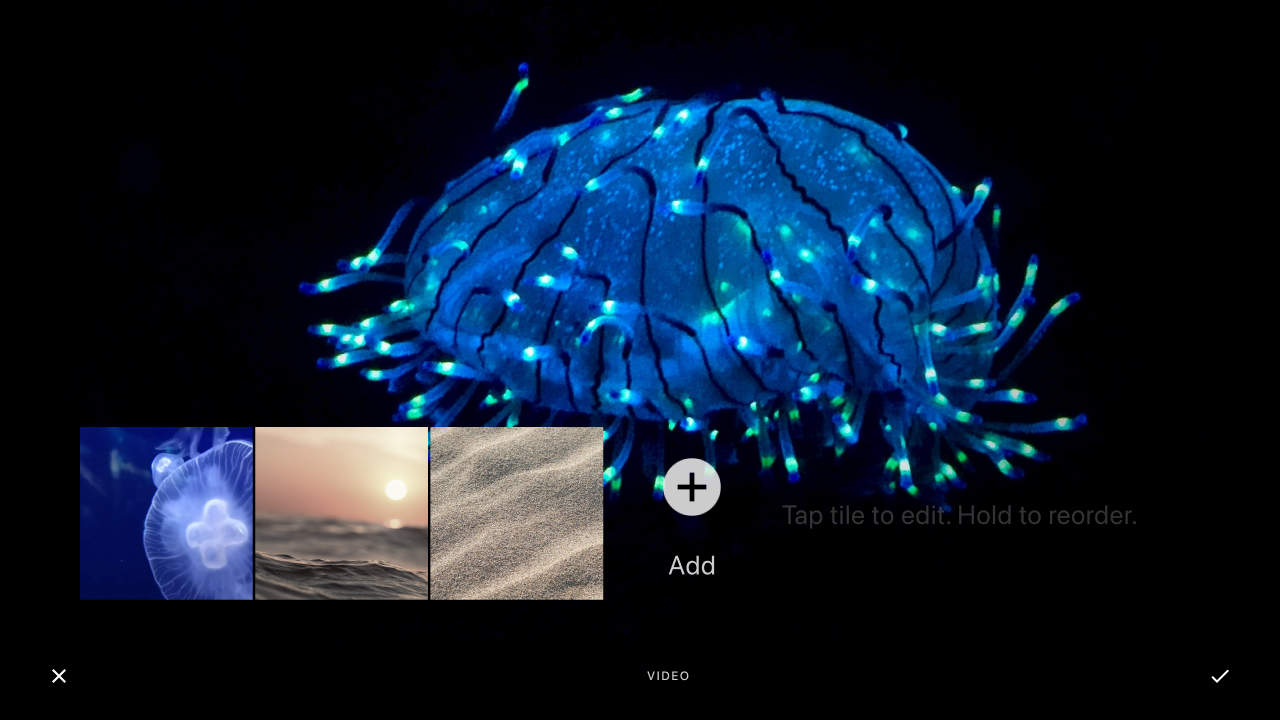
You can now combine clips into a longer clip for playback and export. However, trimming the original clips, adding filters, and rearranging the order will require more work before your application is ready for the store. Using an SDK like the IMG.LY's VideoEditor SDK can help you provide an app that has the features users will expect in addition to stitching clips together.
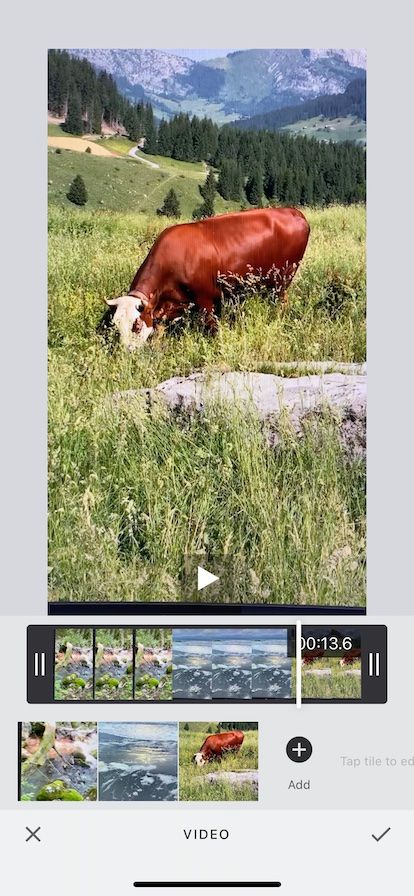
The VideoEditorSDK offers a Video Composition Controller which will allow the users to stitch clips together. Additionally, it will allow the user to add new clips and edit clips using the other editing tools. Because the Video Composition Controller is a subclass of UIViewController it can just be configured and dropped into your application. Instead of the code in our example, you pass the videos to the controller:
let videoClips = [
  Bundle.main.url(forResource: "stream", withExtension: "mov"),
  Bundle.main.url(forResource: "beach", withExtension: "mov"),
  Bundle.main.url(forResource: "mountain", withExtension: "mov"),
].compactMap { $0.map{ AVURLAsset(url: $0) } }
let video = Video(assets: videoClips)
let videoEditViewController = VideoEditViewController(videoAsset: video, configuration: Configuration())
present(videoEditViewController, animated: true, completion: nil)
The code above loads the same video clips as our demo application and then uses the VideoEditViewController to present them. From there the user can make further edits preview and export the composition.
Wrapping Up
In this example, you saw how to combine several video clips, each with one video and one audio track into a single movie file with one video and one audio track. To make more complex movie files consider building on this tutorial by:
-
Add a second audio track,
AVFoundationwill play sounds from both tracks at times specified at equal volume. UseAVAudioMixto adjust the volume of the tracks at different times (the sample project has an example of adding a second audio track). -
Add more video tracks and use
AVMutableCompositionLayerInstructionto determine which track is visible at any time in the final video and to make fancy transitions between tracks.
Thanks for reading! We hope that you found this tutorial helpful. Feel free to reach out to us on Twitter with any questions, comments, or suggestions!
Looking to integrate video capabilities into your app? Check out our Video Editor SDK, Short Video Creation, and Camera SDK!