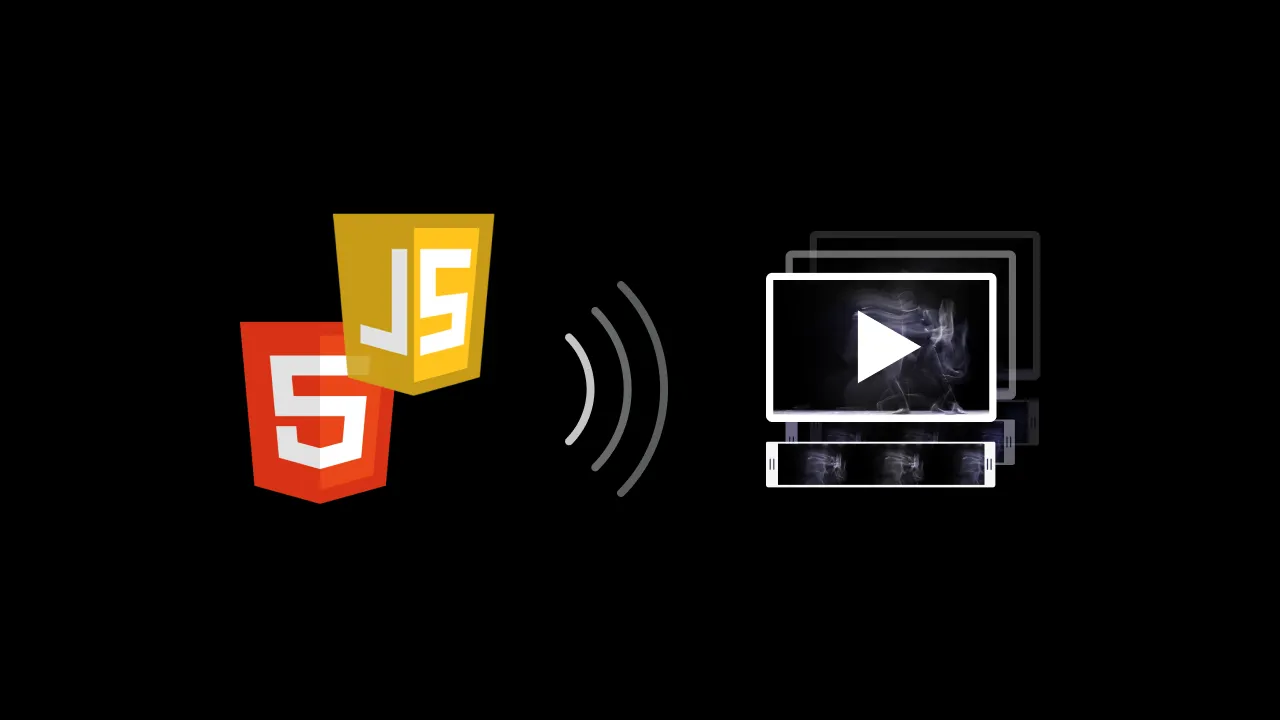
If you would tell someone from the early 2000s what you’re about to do, they would be amazed and would give everything to understand how you did it. Because back then HTML was much simpler and didn’t even support video playback. So to stream your video inside of your browser you were forced to use some third-party services like Flash or Silverlight. Now we have HTML5 and new versions of JavaScript, and by combining these two new technologies you’ll end up with results that rival native applications. Streaming video inside of your web application nowadays is a breeze.
The <video> tag
You can easily start streaming your own video by using only one tag in HTML5. I’m talking about the <video> tag. It embeds a fully-fledged media player in the document and similar to the img tag accepts a path to the media we want to play inside the src attribute as well as accepting parameters for width and height.
In addition, there are video-specific properties such as whether the video should loop or autoplay and whether to display the default browser controls.
To handle the case of browsers not supporting the video tag you can provide fallback content inside the <video></video> tags.
Combining with JavaScript
You can also combine this simple video streaming in HTML with JavaScript and make it more professional and be able to control your streaming manually. When you get an element from the DOM of a video tag, the object that you get exposes various methods and attributes which can be used for manipulating media content. Firstly, we need to access the DOM and declare an object which will be used for our manipulations. Now we can use myVideo to programmatically pause, change the playback rate and current time of the video.
const myVideo = document.getElementById('#video1');
//pause the video
myVideo.pause();
//Change the speed of playback
myVideo.playbackRate = 3.0;
//Change current time
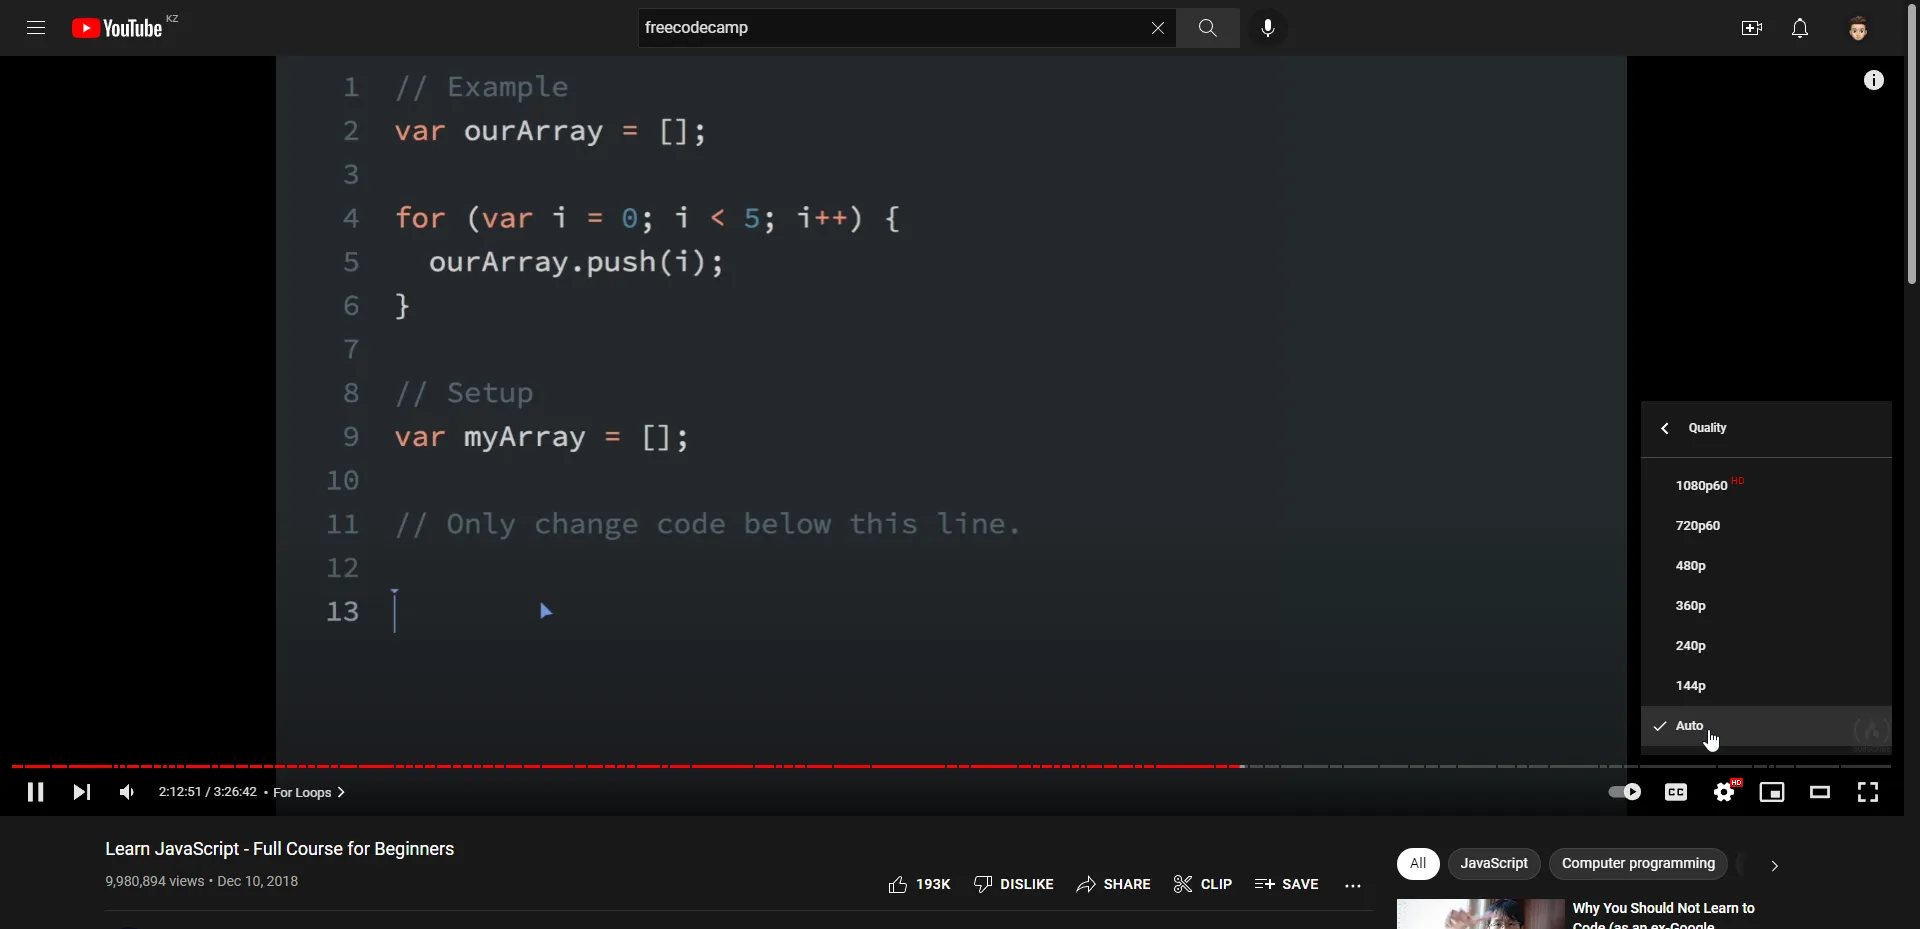
myVideo.currentTime = 4;However, most videos that we see on the web today such as YouTube, Twitch, or any other social media display much more complex behaviors than just changing playback speed or pausing the video. On YouTube, you can change the quality of your video, add subtitles, or even add features like autoplay if you have several other videos queued up and don’t want to switch it manually.
All those services actually still use a video tag. But instead of streaming a video file through the “src” attribute inside of your tag, they use powerful tools such as Media Source Extensions or other adaptive streaming API that will help stream your video more efficiently.
What are Media Source Extensions (MSE)
Media Source Extensions is a W3C specification that allows JavaScript to send streams to media codecs within Web browsers that support HTML5 video and audio that most browsers implement today. In other words, it allows JavaScript to generate streams and facilitate a variety of use cases like adaptive streaming and time-shifting live streams. It’s quite an advanced solution if you want to make your video playback more customizable and professional. MSE gives us finer grained control over how much and how often content is fetched, and some control over memory usage details, such as when buffers are evicted.
Wrap your resource via the Media Source Extensions API instead of dealing with the URL directly (We’ll talk more closely about it a little bit later).
This specification was designed with the following goals:
- Let JavaScript create a media stream regardless of how the media is fetched.
- Leverage the browser cache as much as possible.
- Provide requirements for byte stream format specifications.
- Minimize the need for media parsing in JavaScript.
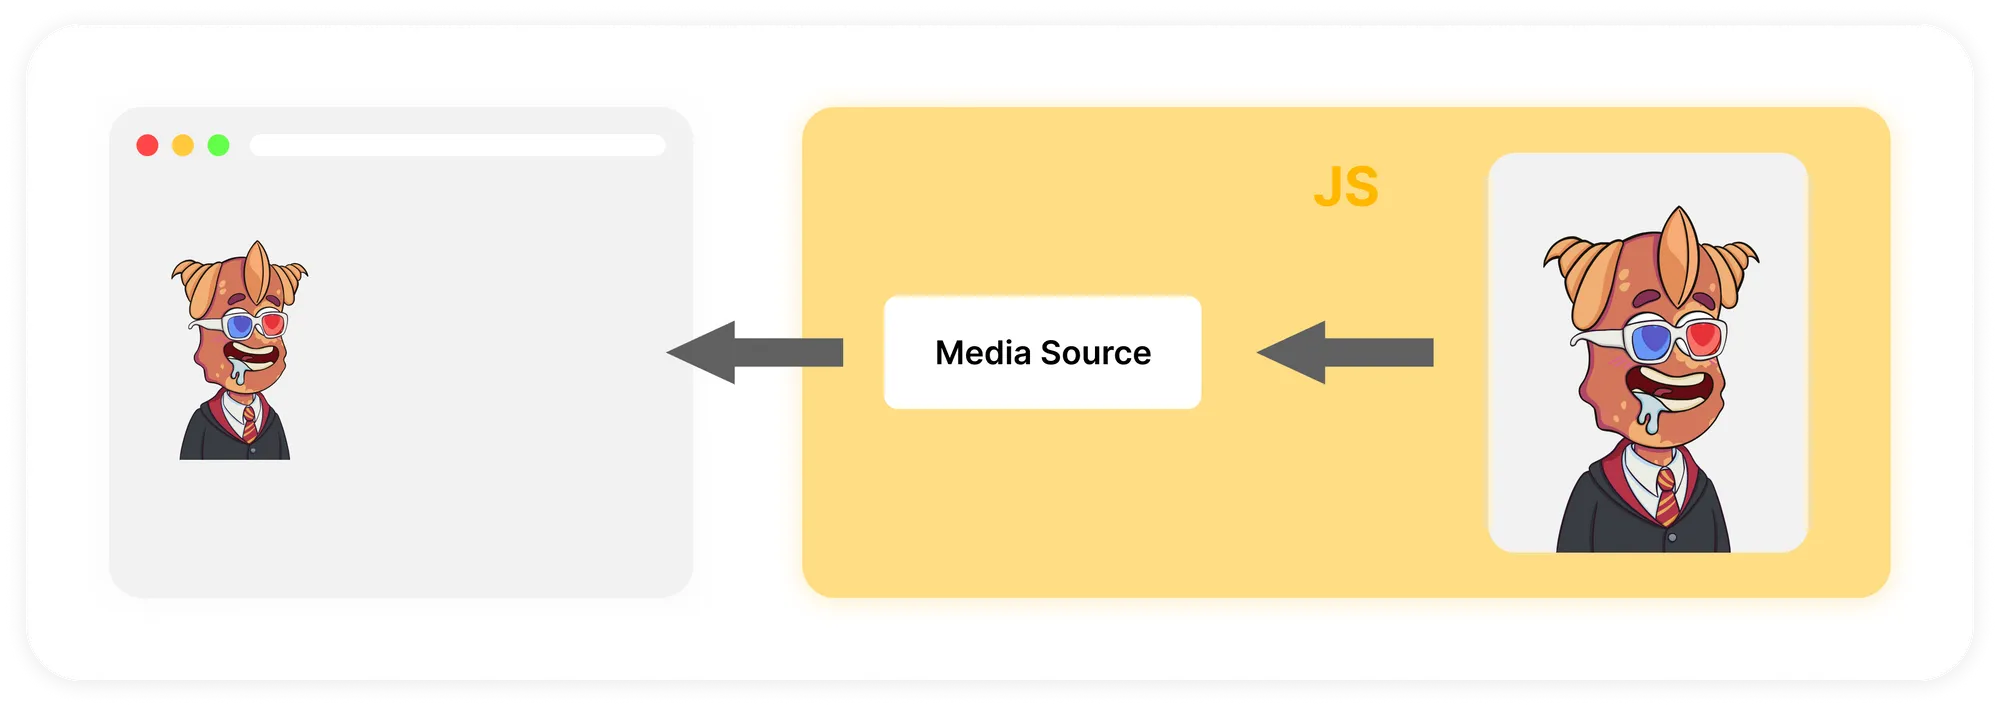
As I mentioned, we are still using HTML5 video tags, and even more surprising is that we’ll still use the “src” attribute. Only this time, instead of adding a link to the video, add a link to the MediaSource object.
If you’re a little bit confused, then don’t worry, I’ll explain everything. To enable this type of use case, the W3C has defined a static method URL.createObjectURL. You can use this API to create a URL that directly points to a JavaScript object created on the client, rather than actually pointing to an online resource.
You can see how it works in this example:
const videoTag = document.getElementById('my-video');

// creating the MediaSource, just with the "new" keyword, and the URL for it
const myMediaSource = new MediaSource();
const url = URL.createObjectURL(myMediaSource);

// attaching the MediaSource to the video tag
videoTag.src = url;
Now that you have a MediaSource, what should you do? That’s not the only MSE specification. It also defines another concept, Source Buffers.
**Source Buffers**
The SourceBuffer interface represents a chunk of media to be passed into an HTMLMediaElement and played via a MediaSource object. To put the video directly into the MediaSource for playback, you’ll need Source Buffers. MediaSource contains one or more instances of it. Each is associated with a content type, such as Audio, Video, or both of them at the same time. Source buffers are all associated with a single MediaSource and are used in JavaScript to add video data directly to HTML5 video tags. Separating video and audio allows managing them separately on the server. Doing so has several advantages such as control over your traffic and increasing performance. This is how it works:
// -- Create a MediaSource and attach it to the video (We already learned about that) --

const videoTag = document.getElementById('my-video');
const myMediaSource = new MediaSource();
const url = URL.createObjectURL(myMediaSource);
videoTag.src = url;

// 1. add source buffers

const audioSourceBuffer = myMediaSource.addSourceBuffer(
  'audio/mp4; codecs="mp4a.40.2"'
);
const videoSourceBuffer = myMediaSource.addSourceBuffer(
  'video/mp4; codecs="avc1.64001e"'
);

// 2. download and add our audio/video to the SourceBuffers

// for the audio SourceBuffer
fetch('<http://server.com/audio.mp4>')
  .then(function (response) {
    // The data has to be a JavaScript ArrayBuffer
    return response.arrayBuffer();
  })
  .then(function (audioData) {
    audioSourceBuffer.appendBuffer(audioData);
  });

// the same for the video SourceBuffer
fetch('<http://server.com/video.mp4>')
  .then(function (response) {
    // The data has to be a JavaScript ArrayBuffer
    return response.arrayBuffer();
  })
  .then(function (videoData) {
    videoSourceBuffer.appendBuffer(videoData);
});**Adaptive Streaming**
Many video players have an “auto quality” feature that automatically selects quality based on network speed. If you have a slow internet connection then you’ll end up watching a video in the lowest resolution (probably 360p or even lower), on the other hand, if the connection is good then the video will be in the highest resolution (probably 1080p or even higher). It depends on how many options the specific video has. In addition, your hardware capability is also taken into account.
On the server side, we create different segments for every quality we want to support. For example, we would put the following files on our server:
./video/
  ├── ./360p/
  |     ├── video_0.mp4
  |     ├── video_1.mp4
  |     └── video_2.mp4
	├── ./720p/
  |     ├── video_0.mp4
  |     ├── video_1.mp4
  |     └── video_2.mp4
  └── ./1080p/
        ├── video_0.mp4
        ├── video_1.mp4
        └── video_2.mp4
The web player then automatically selects the correct video file to load when the network or CPU state changes. This is entirely done in JavaScript. For video segments, it could, for example, look as follows:
/**
 * We first derive the desired quality from the bandwidth
 * Then pass it to the pushVideoSegment()
 * which fetches each segment with the desired quality in turn and returns a promise
**/

function pushVideoSegment(nb, wantedQuality) {
 const url = "<http://my-server/video/>" +
 wantedQuality + "/segment" + nb + ".mp4");
return fetch(url)
 .then((response) => response.arrayBuffer());
 .then(function(arrayBuffer) {
 videoSourceBuffer.appendBuffer(arrayBuffer);
 });
}

/**
 * Translate an estimated bandwidth to the right audio
 * quality as defined on server-side.
 * @param {number} bandwidth
 * @returns {string}
 */
function fromBandwidthToQuality(bandwidth) {
 return bandwidth > 320e3 ? "360p" : "720p";
}

// first estimate the bandwidth. Most often, this is based on
// the time it took to download the last segments
const bandwidth = estimateBandwidth();

const quality = fromBandwidthToQuality(bandwidth);

pushVideoSegment(0, quality)
 .then(() => pushVideoSegment(1, quality))
 .then(() => pushVideoSegment(2, quality));
Conclusion
Congratulations, you’ve learned multiple ways how to stream a video file into your browser. We have explored several tools that are helping you not just change some video parameters by using vanilla JS and HTML, and also Media Source Extensions (MSE) that are helping all developers around the world to build professional web players which you’re using yourself, such as YouTube, Twitch, TikTok and many others.
If you want to give your users the ability to also edit videos within your mobile application check out our Video Editor SDK offering features such as trimming, transforms, video composition and more. It’s fully customizable to match the look and feel of your app and the most performant solution on the market.
Looking for more video capabilities? Check out our solutions for Short Video Creation, and Camera SDK!
If you have questions, feedback or comments reach out to us on Twitter.