In this article, you will see how to use Swift and ReplayKit to add screen recording to your application. You will also see how to use the new rolling clips feature, introduced in iOS 15. The code in this article uses Swift 5 and Xcode 13. Clone this repository for a sample project and example code.
ReplayKit Basics
Apple introduced the ReplayKit framework in 2015 with iOS 9. They have refined and expanded it since then, but it still has a small API. ReplayKit uses the same shared components as AirPlay and the device screen recorder (accessible from the device Control Center). For this reason, ReplayKit functions will not work when using AirPlay or playing video. Also, the screen recording functions do not work on the Xcode simulators. You should test using a physical device.
Your app makes all its calls to the RPScreenRecorder.shared() object. This is a singleton object for your app that ReplayKit provides. There is no need to store it in a variable or pass it around in your code.
Rolling Clip Recording
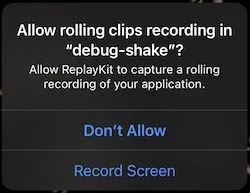
In iOS 15, Apple introduced rolling clip recording. ReplayKit will maintain an updated video buffer of the most recent fifteen seconds. Your app can request the video at any time. ReplayKit comes from GameCenter. Apple’s idea for this feature is for creating a short, sharable video of the moments before an exciting event in a game. Another use can be for a user to record the steps leading up to a defect during testing. When the user is unlikely to know in advance that they will want a screen recording, rolling clips may be a good solution.
To start rolling clip buffering, include a method such as this one
RPScreenRecorder.shared().startClipBuffering { err in
  if let err = err {
    //either the user denied permission or something like
    //AVPlayer or AirPlay is using the shared recorder resources.
    print("Error attempting to start buffering \(err.localizedDescription)")
  } else {
    print("Clip buffering started.")
  }
}
Screen recording has privacy implications. ReplayKit presents the user with a modal, requesting to record before it starts. If the user denies the request or if the buffering is unable to start, ReplayKit passes an Error object to the closure. Unlike other privacy modals, you do not have an opportunity to add your own language to the message. The modal appears as soon as you execute the .startClipBuffering command, so be sure that the user is not surprised by it. Execute the command at a logical transition in your application. After the user grants permissions, the modal will not appear again unless eight minutes pass before the next call to .startClipBuffering.
While the clip buffering runs, at any time, you can save the buffer to a URL on the device. The clip you save can be any duration up to fifteen seconds. If the recorder is unable to write the clip to disk, it will send an error.
let clipURL: URL = URL(fileURLWithPath: NSTemporaryDirectory()).appendingPathComponent("\(UUID().description).mov")
RPScreenRecorder.shared().exportClip(to: clipURL, duration: TimeInterval(15)) { err in
  if let err = err {
    print("An error? \(err.localizedDescription )")
  } else {
    print("Clip saved to url \(clipURL)")
}
The code above stores a fifteen-second clip at a URL in the user’s temporary directory. The temporary directory gets cleared by the system, but not while the app is running. To ensure that the files are not deleted except by the user, store them in the user’s documents directory instead.
When your app is done collecting video, use .stopClipBuffering to allow the system to clean up resources and stop the recording.
RPScreenRecorder.shared().stopClipBuffering { err in
  if let err = err {
    print("Error attempting to stop buffering \(err.localizedDescription)")
  } else {
    print("Clip buffering stopped.")
  }
}
Recording Screen and App Audio
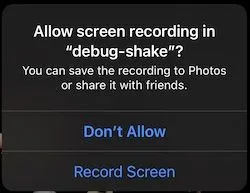
Rolling clip buffering runs in the background. You can also allow the user to control when to start and stop screen recording. The API looks similar and is available since iOS 10.
RPScreenRecorder.shared().startRecording { err in
  guard err == nil else { print(err.debugDescription); return }
  //code to display recording indicator
}
As with the rolling clip buffering, the system will display a permissions dialog. If the user denies permission you will get an error and the recording will not start.
The same eight-minute rule applies as for rolling clip recording. But, since the user has just taken some action to start recording, they should expect to see this modal.
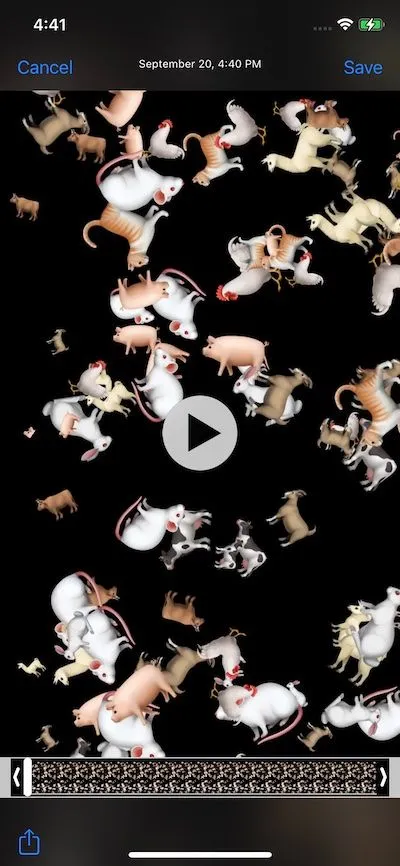
Apple provides a basic view controller for editing and sharing the video.
ReplayKit passes the RPPreviewViewController to the .stopRecording handler.
RPScreenRecorder.shared().stopRecording { preview, err in
  guard let preview = preview else { print("no preview window"); return }
  //update recording controls
  preview.modalPresentationStyle = .overFullScreen
  preview.previewControllerDelegate = self
  self.present(preview, animated: true)
}
The preview object above is the RPPreviewViewController editor. You can display it as a modal or as a popover depending on your needs. The Apple provided editor will allow the user to save to their camera roll or share the clip after editing.
Notice in the code above that there is a previewControllerDelegate. You will need to add some code to the delegate to cleanup and dismiss the editor when the user is done sharing or saving. An example is below.
func previewControllerDidFinish(_ previewController: RPPreviewViewController) {
  previewController.dismiss(animated: true) { [weak self] in
  //reset the UI and show the recording controls
  }
}
Using Many UIWindow Objects
The ReplayKit recording will only capture the main window of your application. When designing for screen recording, you can place any UI elements in a separate UIWindow object. Although applications typically only have one UIWindow, iOS allows many windows. A UIWindow requires a .rootViewController to provide content. Then use it like any other view in your application.
The UI for this application consists of three UIWindow objects.
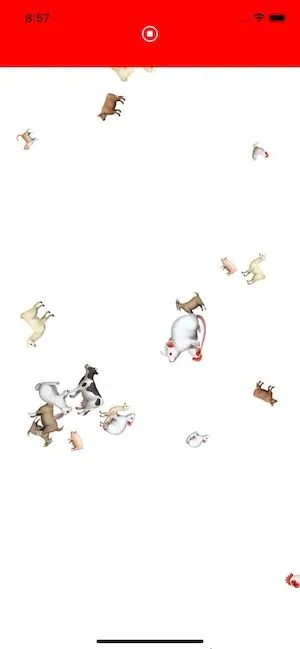
Apple places the status bar in a separate window from your application. The recording controls are in a separate window from the main application and will not appear in the screen recording.
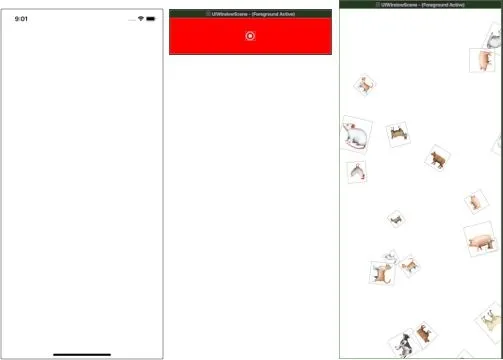
To add some recording controls or a recording indicator to your app. Create a new UIWindow and add it to the same windowScene as your view.
controlsWindow = UIWindow(frame: CGRect(x: 0, y: 0, width: view.frame.width, height: 45 + view.safeAreaInsets.top)) //1
controlsWindow?.windowScene = view.window?.windowScene //2
controlsWindow?.makeKeyAndVisible() //3
let recordingIndicator = UIButton.systemButton(with: UIImage(systemName: "record.circle")!, target: self, action: #selector(recordingToggled(_:))) //4
let vc = UIViewController()
controlsWindow?.rootViewController = vc //5
vc.view.addSubview(recordingIndicator) //6
recordingIndicator.center = CGPoint(x: vc.view.center.x, y: vc.view.center.y + 20)
The code above creates the red/blue recording button and banner at the top of the view. It relies on a controlsWindow variable created at the class level. Here is what it is doing:
- Creates a new
UIWindowthat is the width of the view and tall enough for the button and the safe area (the area around the notch and status bar) - Adds the window to the same
windowSceneas the current view - Makes the window visible (
UIWindowobjects arehiddenwhen created) and brings it to the front of the stack of windows - Creates a button and links it to a method in your class
recordingToggled(_:) - Adds a view controller to the window so that there will be some content
- Adds the button to the view controller
Because the recording indicator and button are in a separate window, they will not appear in any screen recording. Be mindful when showing modal views or alert views, as they may appear behind the extra window. A good strategy is to hide the extra window when showing these views. You can use a similar strategy to hide any other UI elements that should not appear in screen recordings.
Going Further
Though Apple provides a basic editor, you can provide your own editing tools. The examples above showed the rolling clip editor writes the video to the disk. The regular recorder can also write the video to disk. You can stop recording using this code:
let clipURL: URL = URL(fileURLWithPath: NSTemporaryDirectory()).appendingPathComponent("\(UUID().description).mov")
RPScreenRecorder.shared().stopRecording(withOutput: clipURL) { err in
  //check for an error and process the url
}
This method would replace the .stopRecording { preview, err in method shown above.
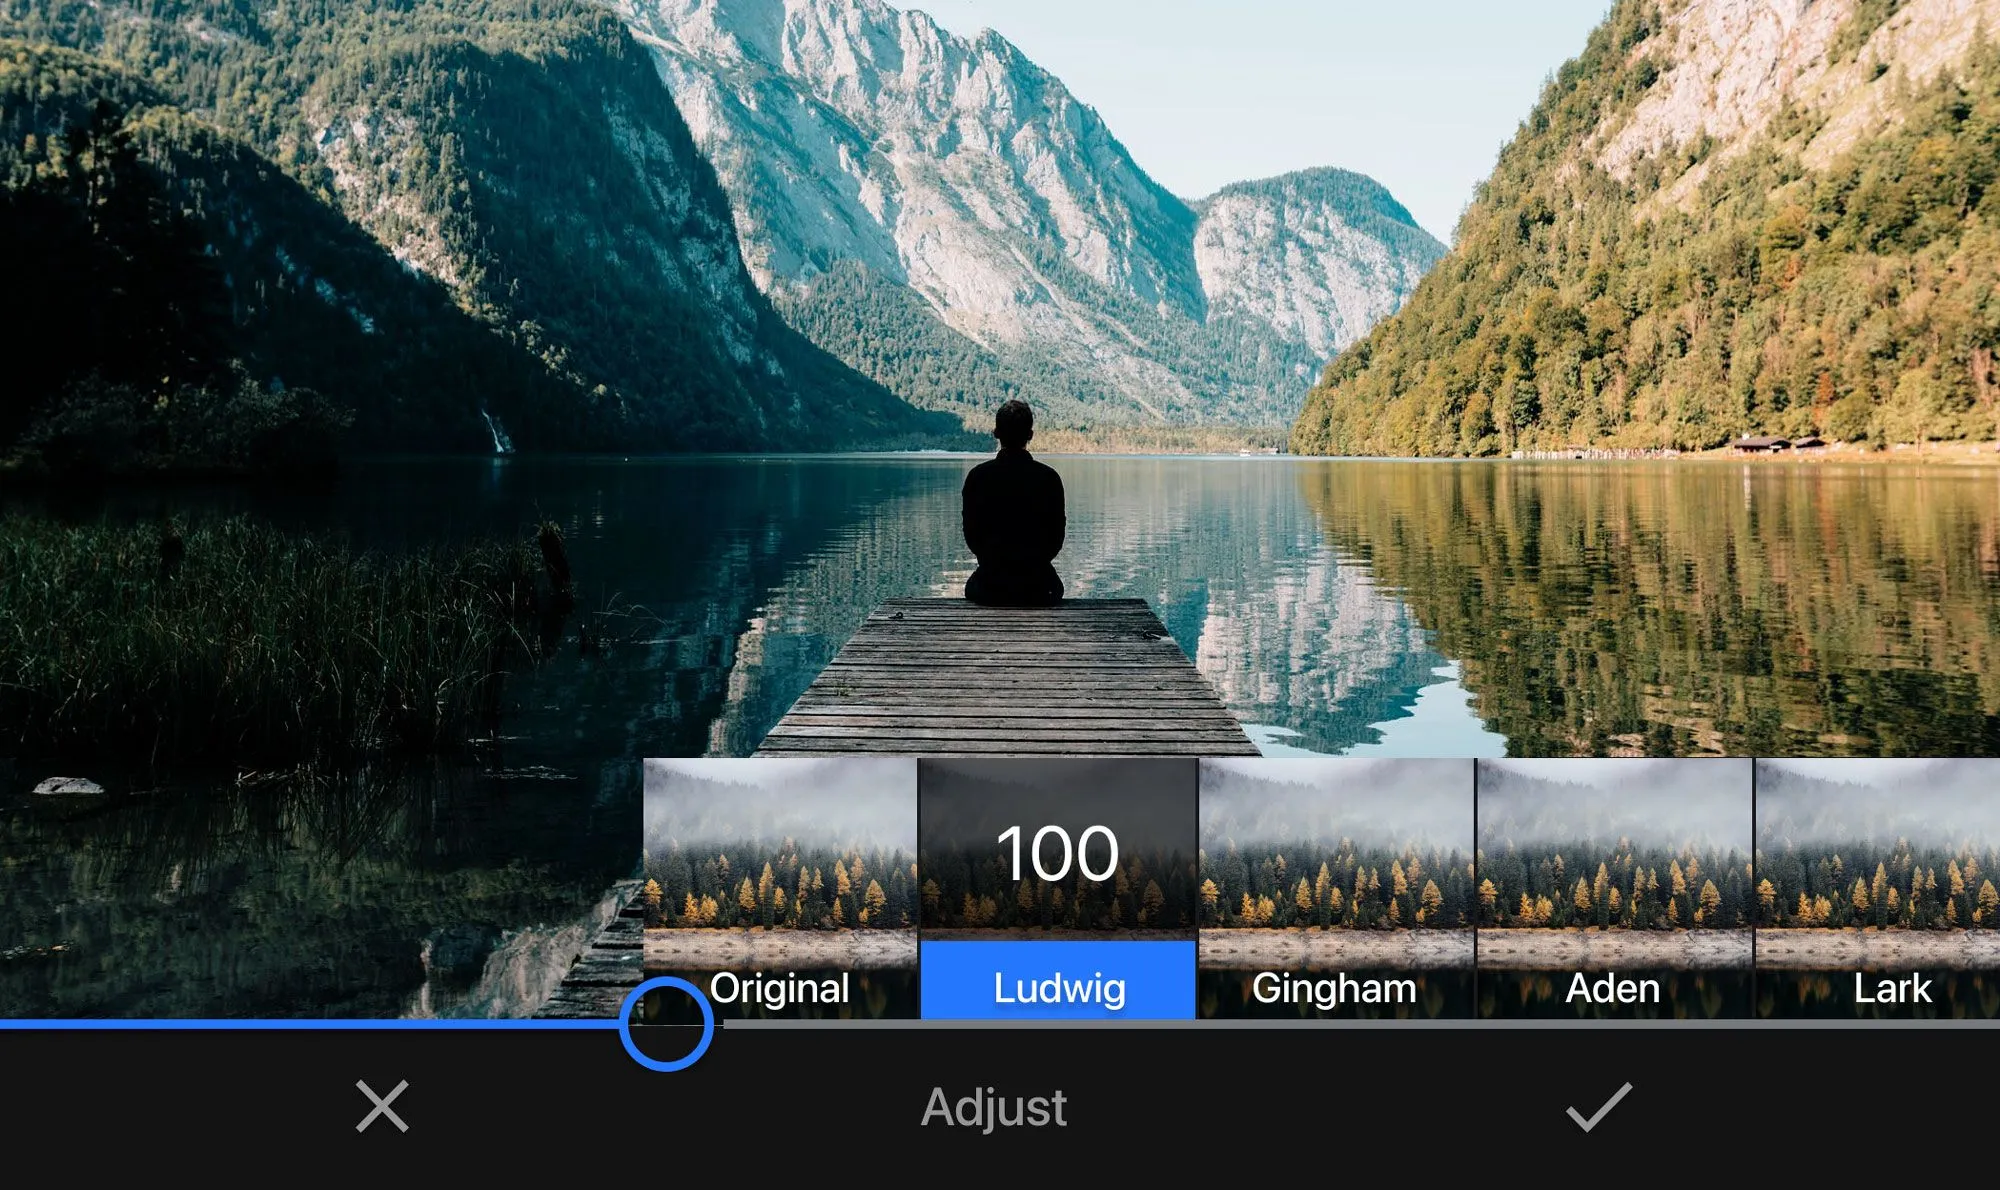
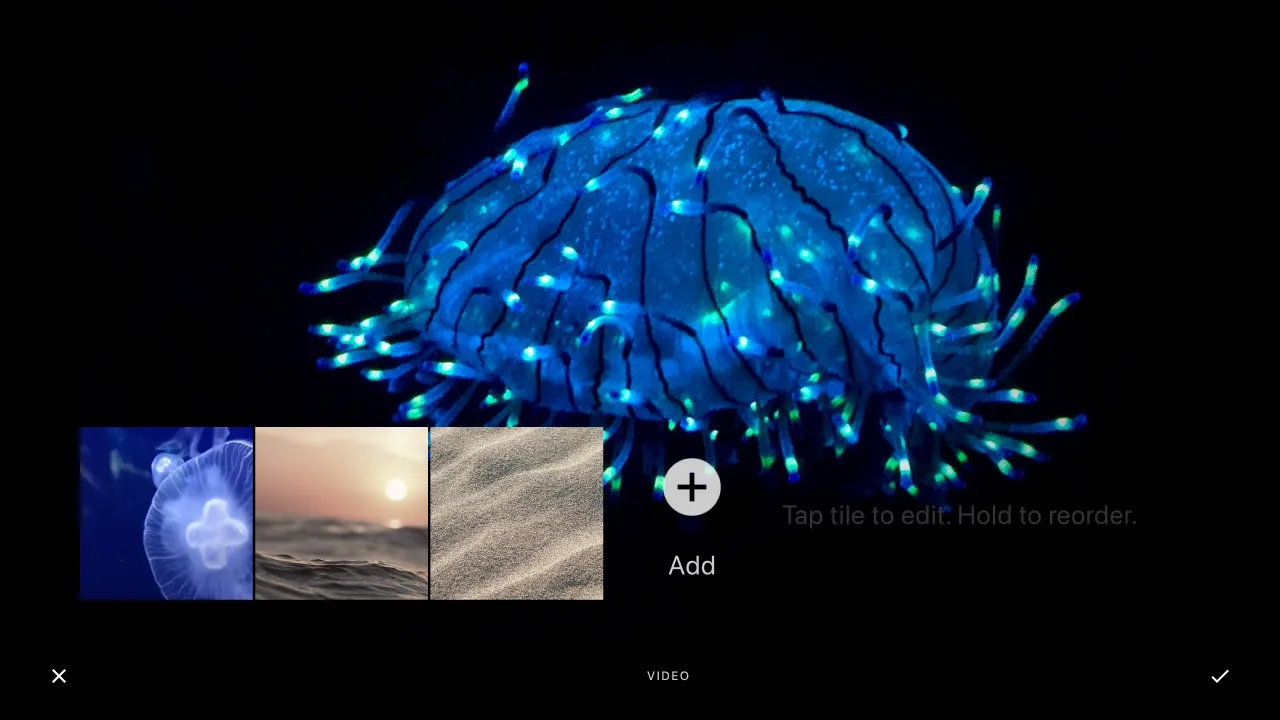
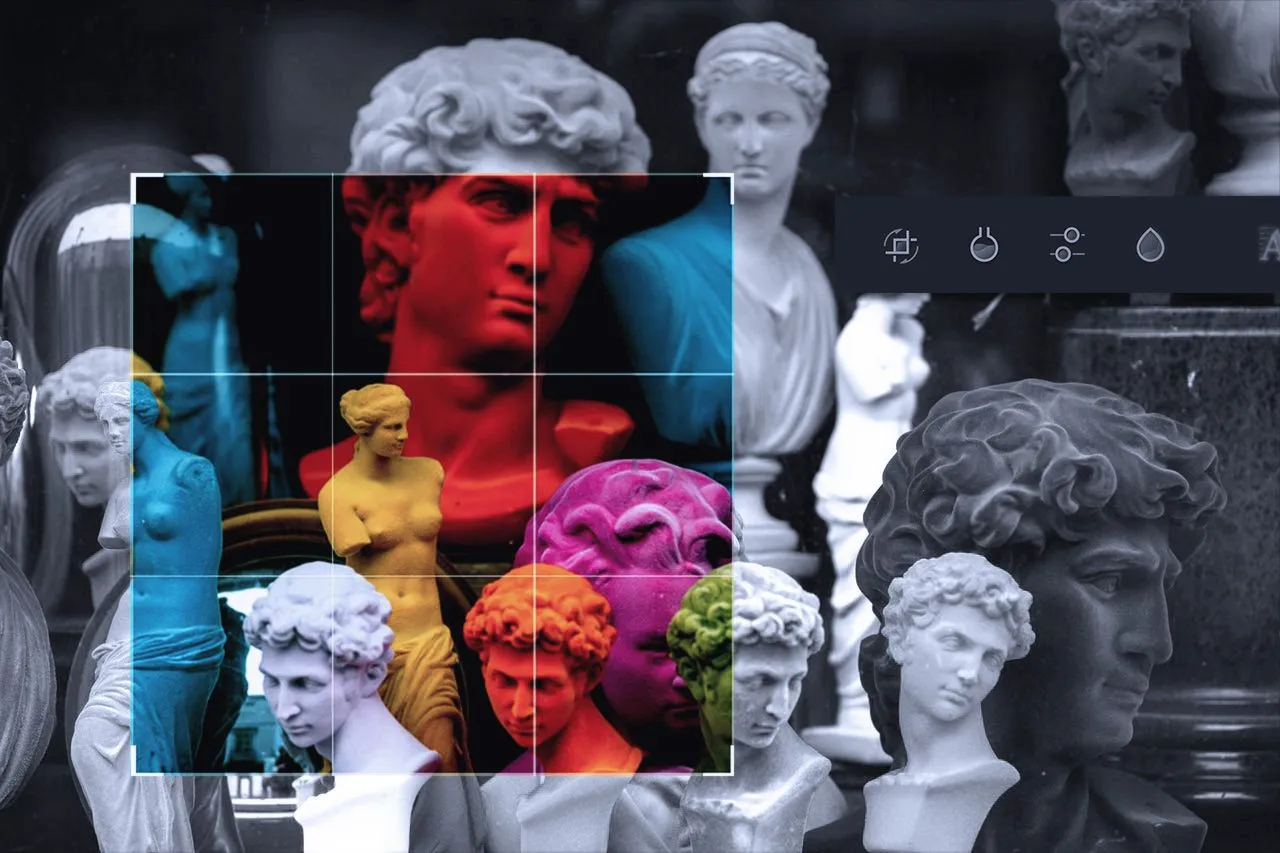
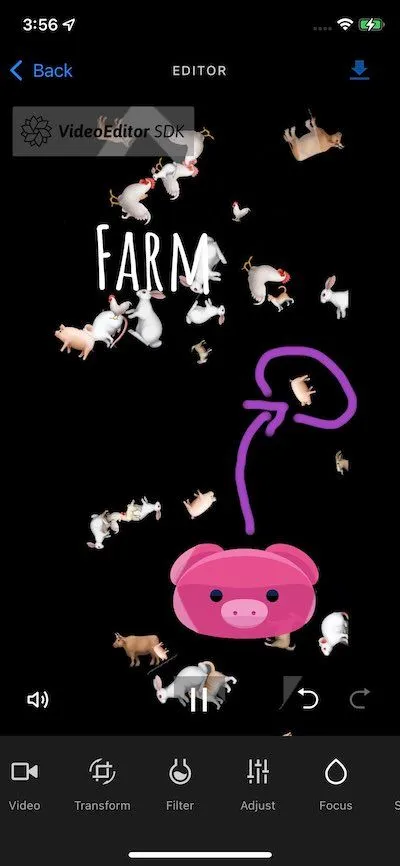
With the video saved, you can use an editor such as the VideoEditor SDK to allow your users to add annotations, text and filters to their clips. They can even add audio or combine clips to make a great creation.
Wrapping Up
In this article, you saw how to capture a rolling screen recording as well as how to capture the screen manually. Further, you saw how using an SDK such as VideoEditor SDK allows you to annotate and enhance your clips before sharing.
Thanks for reading! We hope that you found this tutorial helpful. Feel free to reach out to us on Twitter with any questions, comments, or suggestions!