In this tutorial, you will learn how to pixelate an image in Vanilla JavaScript, without any libraries. As you are about to see, you can achieve this easily by using the HTML5 <canvas> element.
Recently, websites and applications have implemented policies to prevent users from accidentally stumbling across explicit content. The most common approach to avoid this when it comes to images and photos is to pixelate them. Such a solution is so common that every frontend developer should know how to pixelate an image.
So, let’s learn how to make an image pixelated with JavaScript. By following this step-by-step tutorial, you will be able to implement the following demo.
Pixelating Images Using HTML5 <canvas>
Clone the GitHub repository supporting this article by launching the following commands:
git clone https://github.com/Tonel/how-to-pixelate-an-image-img-lyThen, open the index.html file to immediately try the demo application.
Or keep reading this tutorial and build that demo application step by step.
1. Implementing the pixelation logic
Since, you can achieve the desired goal with only the HTML5 <canvas> element, there are no prerequisites. Specifically, this HTML element allows you to extract the array of pixels representing an image by using the getImageData() function. And this is what is needed to pixelate an image. Let’s see how in detail:
function pixelateImage(originalImage, pixelationFactor) {
  const canvas = document.createElement('canvas');
  const context = canvas.getContext('2d');
  const originalWidth = originalImage.width;
  const originalHeight = originalImage.height;
  const canvasWidth = originalWidth;
  const canvasHeight = originalHeight;
  canvas.width = canvasWidth;
  canvas.height = canvasHeight;
  context.drawImage(originalImage, 0, 0, originalWidth, originalHeight);
  const originalImageData = context.getImageData(
    0,
    0,
    originalWidth,
    originalHeight
  ).data;
  if (pixelationFactor !== 0) {
    for (let y = 0; y < originalHeight; y += pixelationFactor) {
      for (let x = 0; x < originalWidth; x += pixelationFactor) {
        // extracting the position of the sample pixel
        const pixelIndexPosition = (x + y * originalWidth) * 4;
        // drawing a square replacing the current pixels
        context.fillStyle = `rgba(
          ${originalImageData[pixelIndexPosition]},
          ${originalImageData[pixelIndexPosition + 1]},
          ${originalImageData[pixelIndexPosition + 2]},
          ${originalImageData[pixelIndexPosition + 3]}
        )`;
        context.fillRect(x, y, pixelationFactor, pixelationFactor);
      }
    }
  }
  originalImage.src = canvas.toDataURL();
}
First, an in-memory HTML <canvas> with a 2D rendering context having the same size as the original image to be pixelated is initialized. Next, the original image is drawn into the canvas with the drawImage() function. This is required to call the getImageData() function, which allows you to retrieve the list of pixels. Do this by accessing the data attribute. You will get a one-dimensional array containing the value of the pixels in RGBA order. Particularly, it stores values as an integer between 0 and 255, and each pixel is represented by 4 consecutive values. So, the size of this array will be 4 times of the number pixels.
Then, the pixels are iterated by using pixelFactor as the increment factor. In other words, this variable is used to extract the sample pixel, whose four RGBA values will be employed to draw a square. These squares will give the image the pixelated effect. So, at the end of the cycles, the image will look pixelated.
Et voilà! As you just learned, pixelating an image in Vanilla JavaScript requires only a bunch of lines of code.
2. Pixelation in action
Let’s now see how to use the pixelateImage() function to implement a real-world example.
<!DOCTYPE html>
<html>
  <body>
    <h1>Pixelate an Image</h1>
    <p>Upload an image or pixelate the following demo image</p>
    <input id="upload" type="file" accept="image/*" />
    <div>
      <img
        style="margin-top: 5px;"
        id="pixelatedImage"
        src="demo.jpg"
        crossorigin="anonymous"
      />
    </div>
    <div style="margin-top: 5px;">
      <span>Pixelation: </span>
      <input
        type="range"
        min="0"
        max="10"
        value="0"
        step="1"
        class="pixelation"
        id="pixelationRange"
      />
    </div>
    <script src="src/index.js"></script>
  </body>
</html>
const fileInput = document.querySelector('#upload');
const pixelatedImage = document.querySelector('#pixelatedImage');
// storying a copy of the original image
const originalImage = pixelatedImage.cloneNode(true);
const pixelationElement = document.querySelector('#pixelationRange');
fileInput.addEventListener('change', async (e) => {
const [file] = fileInput.files;
// showing the uploaded image
pixelatedImage.src = await fileToDataUri(file);
// storing the original image
originalImage.src = await fileToDataUri(file);
pixelationElement.value = 0;
return false;
});
pixelationElement.oninput = (e) => {
pixelateImage(originalImage, parseInt(e.target.value));
};
function fileToDataUri(field) {
return new Promise((resolve) => {
const reader = new FileReader();
reader.addEventListener('load', () => {
resolve(reader.result);
});
reader.readAsDataURL(field);
});
}
function pixelateImage(originalImage, pixelationFactor) {
const canvas = document.createElement('canvas');
const context = canvas.getContext('2d');
const originalWidth = originalImage.width;
const originalHeight = originalImage.height;
const canvasWidth = originalWidth;
const canvasHeight = originalHeight;
canvas.width = canvasWidth;
canvas.height = canvasHeight;
context.drawImage(originalImage, 0, 0, originalWidth, originalHeight);
const originalImageData = context.getImageData(
0,
0,
originalWidth,
originalHeight
).data;
if (pixelationFactor !== 0) {
for (let y = 0; y < originalHeight; y += pixelationFactor) {
for (let x = 0; x < originalWidth; x += pixelationFactor) {
// extracting the position of the sample pixel
const pixelIndexPosition = (x + y * originalWidth) * 4;
// drawing a square replacing the current pixels
context.fillStyle = `rgba(
${originalImageData[pixelIndexPosition]},
${originalImageData[pixelIndexPosition + 1]},
${originalImageData[pixelIndexPosition + 2]},
${originalImageData[pixelIndexPosition + 3]}
)`;
context.fillRect(x, y, pixelationFactor, pixelationFactor);
}
}
}
pixelatedImage.src = canvas.toDataURL();
}The demo.jpg image is loaded by default, but users can also upload their images thanks to the input element. Then, using the range input they can change the pixelation and see the effects on the original image. What happens behind the scene is that the change event on the range input is intercepted and used to call the pixelateImage() function. This takes care of pixelating the original image unless pixelationFactor is 0. In this last case, the original image will be restored. Note that the application implemented here is the same presented in the fiddle above.
Final Considerations
No external libraries are required to implement pixelation logic on images in JavaScript. Moreover, this requires nothing more than a few lines of code. This could be used in conjunction with explicit content identification tools, such as Google SafeSearch. On the other hand, performance is a problem. Pixelating an image frontend side takes time and resources. This could put a strain on the end user’s device, consequently introducing delays in displaying the pixelated images.
If the pixelation effect did not have to be applied programmatically, you should consider adopting a commercial solution. In this case, performance would not be a problem. There will be no issues because an experienced team of developers would have already optimized the algorithms for you. In this case, you could take advantage of an advanced SDK. And CreativeEditorSDK is the right solution for you. This all-in-one SDK comes with many features, allowing your users to unleash their creativity. So, they will be able to go beyond pixelating an image. Also, if you needed help, you could directly ask the team who built it.
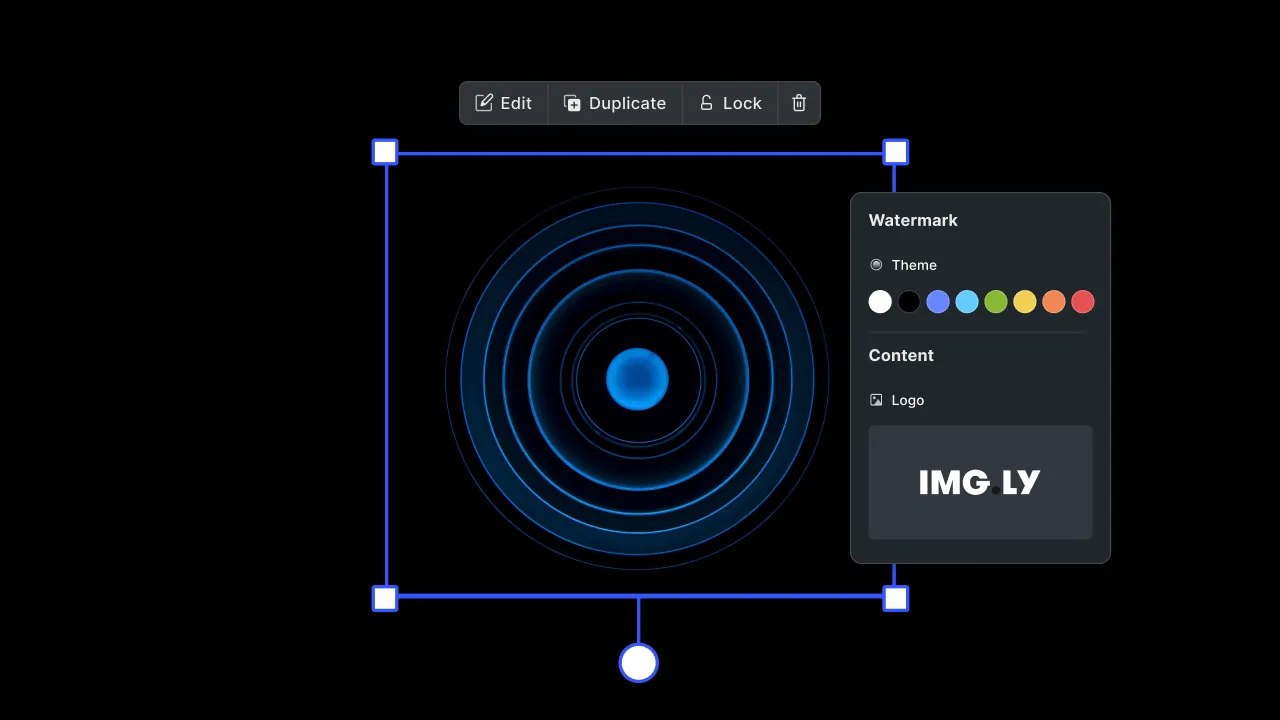
Pixelating an Image with cesdk-js
First, read article from the official documentation on how to get started with CreativeEditorSDK in Vanilla JavaScript. Then, by selecting an image and applying the Pixelize effect, and changing the horizontal and vertical size of the pixels, you will get the desired result. You can check out this feature in the demo here.
![]()
Conclusion
In this tutorial, we learned how to pixelate an image in JavaScript. By using the HTML5 <canvas>, it was a reasonably smooth task. With just a few lines of code and by harnessing the HTML5 <canvas> functions, you can quickly obtain your desired result. On the other hand, achieving decent performance on large images may quickly become a challenge. Also, you might not want to spend too much time optimizing your algorithms. In this case, you should adopt a more performant, advanced, and complete solution – such as CreativeEditorSDK.
Thanks for reading! We hope that you found this article helpful. Feel free to reach out to us on Twitter with any questions, comments, or suggestions.