Despite the growing trend towards React Native, Cordova (formerly PhoneGap) is still going strong and creates frequent plugin requests from our customers. Although we can’t offer full support, we set out to create a demo app and put together a guide on how to easily set up the PhotoEditor SDK with Cordova. And as Ionic is built on top of Cordova, the finished plugin is usable in Ionic as well.
The idea is to create a Cordova app that allows the user to open an image from their photo library and edit this image using the PhotoEditor SDK on iOS and Android. This is done by using an existing library to access native photo pickers on both platforms and passing the path to the found image to a plugin. The plugin manages the configuration and opening of the PhotoEditor SDK’s editor and passes the edited image back to Cordova.
In this article we’ll start with the basic setup of the plugin and example app code, explain the plugin code in depth and cover how to integrate the plugin into your app. All code is available in the corresponding GitHub repository and after reading this article, you’ll be able to add a the PhotoEditor SDK to your Cordova app, customize it to your needs and delight your customers.
Setup
As we’ll have to build a Cordova plugin that wraps the PhotoEditor SDK into a JavaScript interface, we start with creating the following folder structure within our project:
demo
- src
- example
The src folder contains the actual Cordova plugin consisting of JavaScript, Objective-C and Java code, while the example folder contains a conventional Cordova project that uses our plugin to open the PhotoEditor SDK and manages the image selection from the users library.
The demo app
To start with our demo, we just use the cordova create example command, to create a new Cordova application. We add our target platforms, iOS and Android, using the cordova platform add <platform> command and are ready to head into actual coding.
Due to the focus on integrating the PhotoEditor SDK in this blog post, we’ll skip the details on how to open the native image pickers and dive directly into plugin development. For now we’re just left with the following snippet in our example app, that’s supposed to open the PhotoEditor SDK at some point in the future:
Creating a Cordova Plugin
Any Cordova plugin starts with a plugin.xml manifest file and then covers the supported platforms in separate files. All these files get wrapped in a JavaScript interface, that exposes the functionality to Cordova. The bridging between JavaScript and the native source files is managed by Cordova and made possible by subclassing CDVPlugin on iOS and CordovaPlugin on Android.
Plugin Configuration
Our plugin.xml becomes quite long due to the involved platforms, so we’ll just link it here and explain some specific details.
The first lines configure the plugins name, version etc. and define the main pesdk.js file containing the interface we’ll later call from our Cordova application. The <clobbers> tag specifies the namespace under which the exports are later available in the window object.
<js-module src="src/www/pesdk.js" name="PESDK">
  <clobbers target="PESDK" />
</js-module>
The file then defines the plugin details for both platforms. Starting with Android, we list the parameters the plugin will add to the config.xml and AndroidManifest.xml files. These specify the Java package, when the plugin should load, register activities etc. The remaining lines for Android embed a custom build.gradle file, ensuring all features are enabled for the PhotoEditor SDK and finally copy our source files PESDKPlugin.java and CameraActivity.java into the application folder.
Moving on with iOS, which behaves a little more picky in this case, we repeat the initial Android steps like defining the package, copying files and linking all frameworks required by the plugin. The last embedded framework is the PhotoEditor SDK:
<framework src="src/ios/PhotoEditorSDK.framework" custom="true" embed="true" />Sadly Cordova doesn’t correctly handle the embedding of our SDK, as it doesn’t add the SDK to the embedded binaries tab in the Xcode project. Therefore we adapted a resolveDependencies.js script from StackOverflow that uses node-xcode to configure the project correctly during plugin installation. This script is saved in the /hooks/resolveDependencies.js file and called using specific hooks:
<hook type="after_platform_add" src="hooks/resolveDependencies.js" />The last iOS specific step is setting two keys in the applications Info.plist file that describe our camera and photo library usage when asking the user for access permissions. In this example we won’t actually be requesting these permissions from the PhotoEditor SDK, but when using the integrated camera implementation without these keys, the plugin would never gain access to the iOS camera and photo roll:
<config-file
  parent="NSCameraUsageDescription"
  target="*-Info.plist">
  <string>
    Uses your camera to snap pictures.
  </string>
</config-file>
<config-file
  parent="NSPhotoLibraryUsageDescription"
  target="*-Info.plist">
  <string>
    Accesses your photo library to save and open pictures.
  </string>
</config-file>
With this plugin.xml file in place, we can actually start implementing our plugin for iOS and Android.
Platform Specific Implementations
As we fiddled around with iOS last, we’ll start with the iOS specific code. The PhotoEditor SDK is written in Swift, but Cordova prefers Objective-C instead. We could write our plugin in Swift as well and add an Objective-C wrapper, but for the sake of simplicity we’ll just stick with Objective-C for our plugin, as the PhotoEditor SDK is fully usable from Objective-C anyway.
We need to add three files to our ios directory: The framework itself and our plugin classes header and implementation files PESDKPlugin.h & PESDKPlugin.m. The plugin exposes a single method, present:, taking a filepath as a simple string. The method then loads the image at the given path, configures the PhotoEditor SDK and creates and presents a PESDKPhotoEditViewController that takes the image:
To ensure the SDK is fully loaded and unlocked, we need to add a small initialize method as well. And as you can see, we need to add our iOS license as well. This has to be done by opening the Xcode project and dragging the license file into the sidebar, as it won’t be copied into the app bundle otherwise. Once this is done, we can initialize the SDK in the following way:
These methods contain all the native Objective-C code you need in order to open the PhotoEditor SDK from a Cordova plugin. Except for some boilerplate code for bridging between JavaScript and Objective-C. If you want to configure the PhotoEditor SDK’s style or available functionality you may modify the configuration object according to our documentation.
Moving on with Android, we create a build.gradle according to our docs and the PESDKPlugin.java file that will contain our plugin code. Once again the native code boils down to opening the PhotoEditor SDK and passing a file path and some boiler plate code required by Cordova:
The code extracts the file path we passed from Cordova and prepares the PhotoEditor SDKs editor activity using a PhotoEditorBuilder. Important, but easily overseen parts are saving the callbackContext for notifying Cordova when the editor closes in line 2 and registering the plugin for activity callbacks in line 18. As we did on iOS, we need to initialize the SDK and pass our license file, but in this case we can just copy the file to the example/platforms/android/assets folder:
To finish up, we now need to define an interface using JavaScript. This interface defines the methods available in the plugin and will later be called from our Cordova application. Cordova then handles the delegation to the native implementations for us. In our case, the interface is rather minimal and only consists of our present method:
And thats it! We now have successfully created a Cordova plugin, which will allow us to open the PhotoEditor SDK editor from our own application, while passing an already existing image. Now we just need to wire everything in order to get our final result, the PhotoEditor SDK running on both platforms:
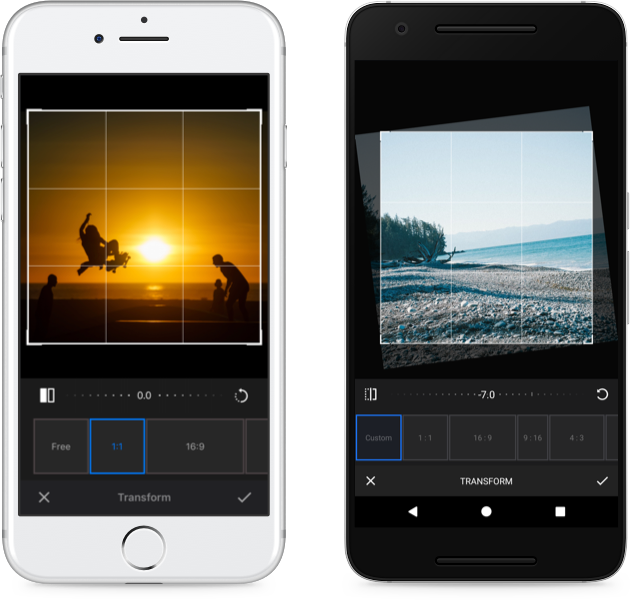
Wiring it all up
We’re now ready to put our fresh plugin to good use. We use the cordova-image-picker plugin to let our users pick an image from their photo library and pass the path of the image to our plugin. To add the plugin to our example project, we just need to call cordova plugin add .. --link. This will use the plugin.xml file to add the plugin and its files to our example project. Now we just need to replace the TODO from the beginning of this article, with the following:
This looks a little crazy at first, but doesn’t do anything magical: We first use the imagePicker object to open the native image pickers and take the first image path from the returned results array. We then use the present: method of our PESDK plugin to open the PhotoEditor SDK and pass the found image path. Everything else is handling errors and returns by presenting them using a conventional JavaScript alert.
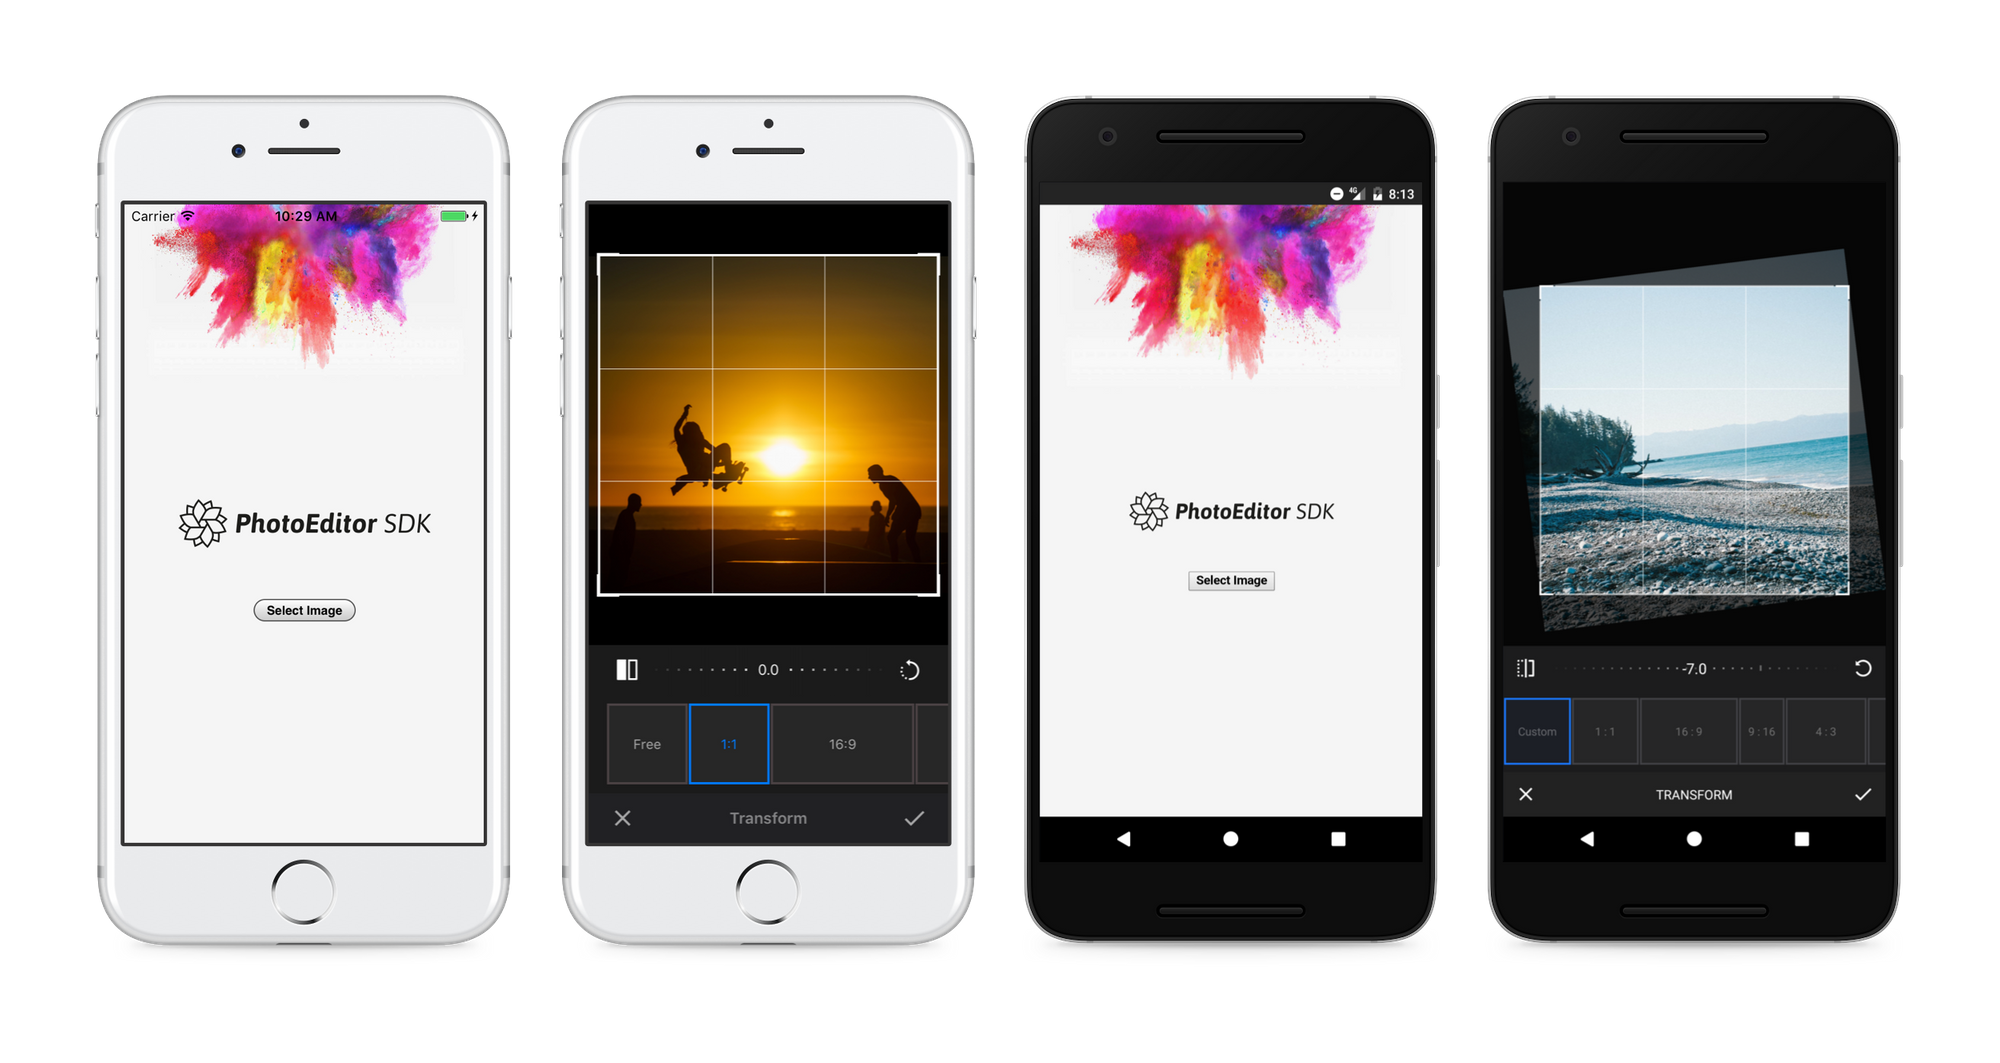
When called, the plugin prepares the inputs using native Objective-C or Java and presents the PhotoEditor SDK’s editor with the loaded image. A user can then add filters, stickers and frames, adjust the images colors or transform it to a different size. All with native performance and a polished UI. Once finished, the image is returned by the editor and our plugin saves the file to the native photo rolls. Finally, the plugin returns the path to the edited image to Cordova. From there you could display the image, offer sharing functionality or anything else. On iOS, the running example looks like this:
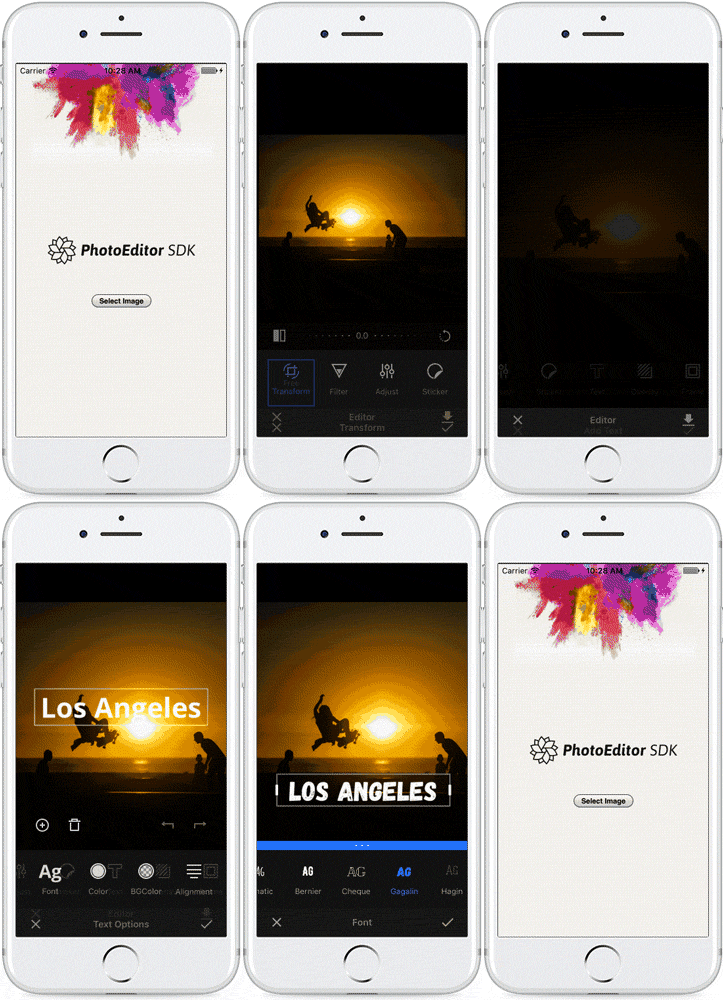
And thats it! You have now successfully created a Cordova plugin that wraps the PhotoEditor SDK’s native components for use with Cordova. If you need to configure the SDK, e.g. changing behaviour and colors or adding/removing stickers, you can adjust the plugin to modify the configuration object. Take a look at our configuration docs for iOS and Android for more details.
Ionic
Ionic is built on Cordova, so you’re able to use the plugin from your Ionic application as well. Just take a look at our demo repository to get started. The repository contains a Ionic demo app that uses the plugin we just built to open the PhotoEditor SDK.
Summary
Creating a Cordova plugin that wraps the PhotoEditor SDK requires some upfront work, mostly caused by Cordova quirks, but quickly yields very usable results. Combined with the SDK’s configuration options, one can easily embed a photo editor into his Cordova or Ionic app and move on to other parts. For all details, take a look at the corresponding GitHub repository, our iOS and Android docs and the Ionic demo repository.
Thanks for reading! To stay in the loop, subscribe to our Newsletter.

