
It has become a commonplace requirement for many applications to manipulate images in one way or another before users are ready to share them. Therefore, it is crucial to foresee end-user needs while working on an app involving any interaction with graphical content. Image annotation can be necessary in various cases, such as simple inspection apps, bug reporting software, or machine learning applications relying on manual user input.
In this article, we are shedding light on how to draw on images in React Native with the help of a simple HTML5
- Enable the characteristics of the
- Set the thickness and color of the brush instrument;
- Define at what moment your brush needs to be activated and when the drawing process will finish;
- Start drawing!
Let’s first clear up the purpose of
Canvas Integration for Images
<canvas> is an HTML component commonly used for creating and manipulating graphics, animation, and other visualization features. This element provides JavaScript APIs enabling image overlays and handling user input to make drawing possible. Moreover, while we have several methods for image manipulation with
<! -- HTML example of using canvas: -->
<canvas id="myCanvas" width="200" height="100"></canvas>
You might wonder why you cannot easily substitute <canvas> with some lines of HTML and CSS in your code. The answer lies on the surface: <canvas> creates a single flattened graphic rather than multiple components lying on top of each other (i.e., typically the output of HTML and CSS).
Now, let’s see how to implement this powerful element in your React Native application:
Drawing with Canvas
import React, { useEffect } from 'react';

// CanvasContext here is used for drawing onto the canvas
import { useCanvas } from './CanvasContext';

export function Canvas() {
  const { canvasRef, prepareCanvas, startDrawing, finishDrawing, draw } =
    useCanvas();

  useEffect(() => {
    prepareCanvas();
  }, []);

  return (
    <canvas
      onMouseDown={startDrawing}
      onMouseUp={finishDrawing}
      onMouseMove={draw}
      ref={canvasRef}
    />
  );
}
We start by enabling the characteristics of our <canvas> container, which are meant to render the CanvasContext component presented below.
The size of our future canvas is determined with prepareCanvas, which includes both the height (canvas.height) and width (canvas.width) of the HTML element. For the drawing process itself, it is necessary to assign not only the thickness and color of the brush instrument (context) but also take into account its activation (startDrawing with onMouseDown) and how the user can finish a stroke (finishDrawing with onMouseUp).
import React, { useContext, useRef, useState } from 'react';

// enabling drawing on the blank canvas
const CanvasContext = React.createContext();

export const CanvasProvider = ({ children }) => {
  const [isDrawing, setIsDrawing] = useState(false);
  const canvasRef = useRef(null);
  const contextRef = useRef(null);

  // defining width & height of the canvas
  const prepareCanvas = () => {
    const canvas = canvasRef.current;
    canvas.width = window.innerWidth * 2;
    canvas.height = window.innerHeight * 2;
    canvas.style.width = `${window.innerWidth}px`;
    canvas.style.height = `${window.innerHeight}px`;

    // defining the thickness and colour of our brush
    const context = canvas.getContext('2d');
    context.scale(2, 2);
    context.lineCap = 'round';
    context.strokeStyle = 'black';
    context.lineWidth = 5;
    contextRef.current = context;
  };

  const startDrawing = ({ nativeEvent }) => {
    const { offsetX, offsetY } = nativeEvent;
    contextRef.current.beginPath();
    contextRef.current.moveTo(offsetX, offsetY);
    setIsDrawing(true);
  };

  const finishDrawing = () => {
    contextRef.current.closePath();
    setIsDrawing(false);
  };

  const draw = ({ nativeEvent }) => {
    if (!isDrawing) {
      return;
    }
    const { offsetX, offsetY } = nativeEvent;
    contextRef.current.lineTo(offsetX, offsetY);
    contextRef.current.stroke();
  };

  // Once the canvas is cleared it return to the default colour
  const clearCanvas = () => {
    const canvas = canvasRef.current;
    const context = canvas.getContext('2d');
    context.fillStyle = 'white';
    context.fillRect(0, 0, canvas.width, canvas.height);
  };

  return (
    <CanvasContext.Provider
      value={{
        canvasRef,
        contextRef,
        prepareCanvas,
        startDrawing,
        finishDrawing,
        clearCanvas,
        draw,
      }}
    >
      {children}
    </CanvasContext.Provider>
  );
};

export const useCanvas = () => useContext(CanvasContext);
Drawbacks of the Canvas Method
Despite the canvas component offering powerful features, it is also quite demanding to use in its original form. For example, it may be problematic to adjust the properties of the brush to ensure that you can draw with smooth movements. Thus, implementing any solution for this issue would further increase the coding time and reduce the compatibility between different frameworks. Also, separately defining canvas and brush properties overcomplicates the code and requires advanced sources for successful integration into your React Native app. Although some temporary solutions aim to facilitate this process (such as react-native-image-draw or react-native-sketch-draw), none provides a permanent solution with clear documentation and guidance.
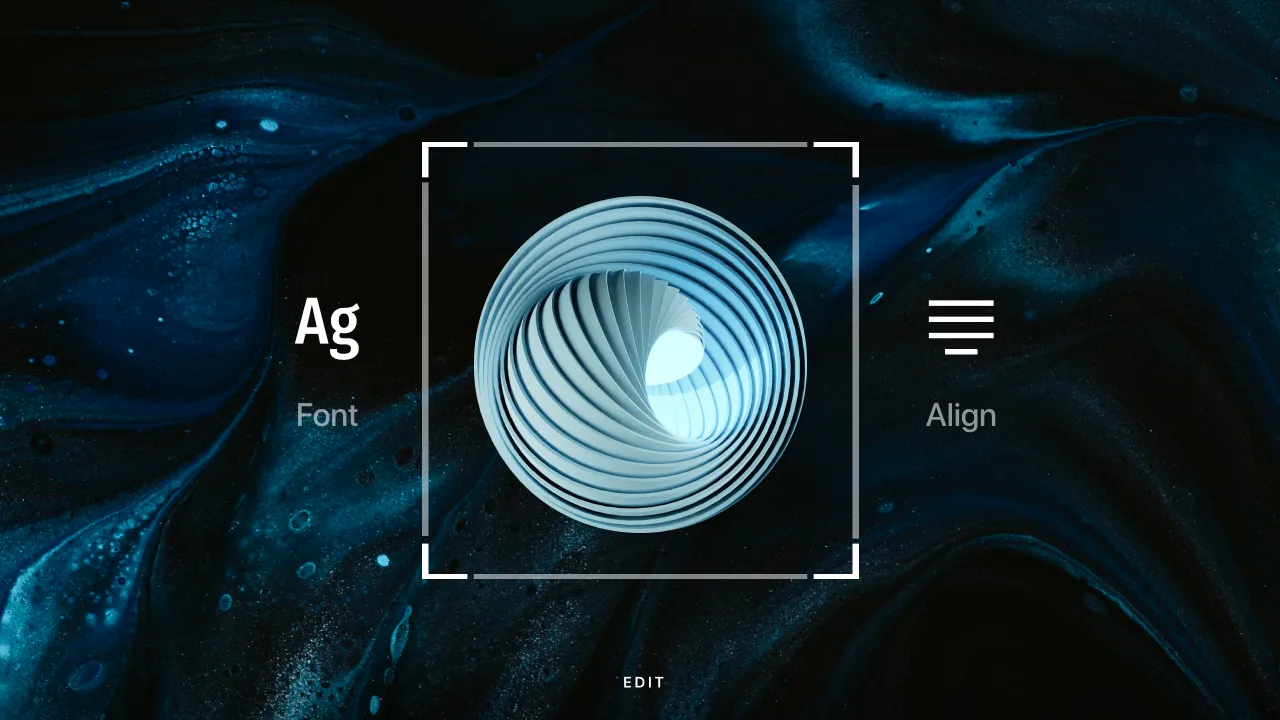
If you wonder about a magic door to avoid this coding nightmare, you can always choose a commercial, all-in-one solution like PhotoEditor SDK. Implementing this SDK only takes a few lines of code, saves time and expenses in building an app, and you can expect great support from the developers. This way, you can skirt the hassle of coding an editor and instead focus on creating a great product.
PhotoEditor SDK Integration for Drawing on Your Images
To get started integrating the PhotoEditor SDK in your React Native app, refer to this guide from the official documentation. You can then ensure comfortable image interaction for your users with the optimized brush tool, as in the example below.
Conclusion
This article aimed to examine image editing instruments suitable for React Native framework. The HTML <canvas> element could have big potential as it provides fundamental tools for creating graphics or animation. However, its application is time-consuming and requires comprehensive knowledge in the field. Therefore, if you want to guarantee a smooth and easy integration of image drawing tools for your app, consider using advanced software like PhotoEditor SDK.