Introduction
Having previously discussed how Flutter deals with resizing and various overlays, in this tutorial, we will talk about a more popular type of image manipulation; applying filters and effects. At least since the ubiquity of social media platforms such as Instagram, Snapchat or more recently TikTok, applying various filters and effects has become an expected feature of any application dealing with image manipulation.
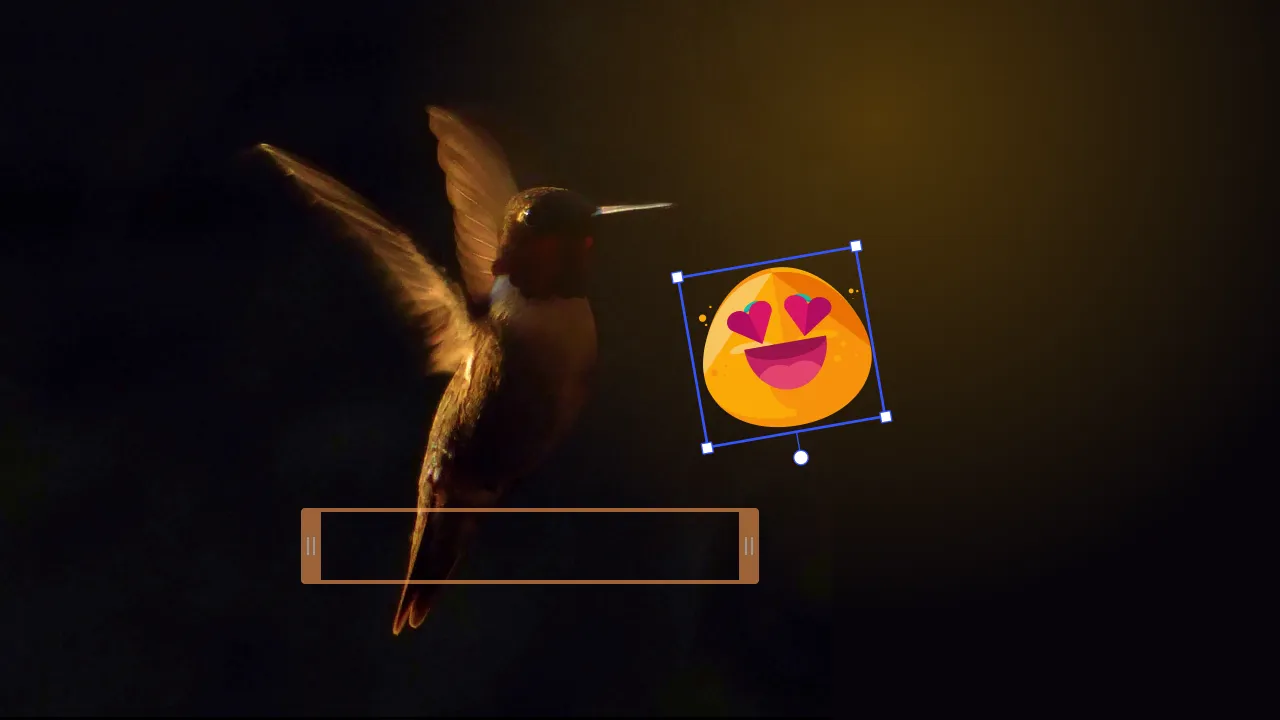
Applying Filters and Effects in Flutter demo application
In this tutorial, we go through the process of applying filters and effects to images in Flutter. Like the example given in the video, we will examine the options for developing an image editor and the effects available in the Flutter framework. The Git repository supporting this article can be cloned with the command provided below:
git clone git@github.com:nataliakzm/Applying_Filters_and_Effects_to_Images_Flutter.gitFlutter ImageFiltered Widget
One of the leading solutions proposed by the Flutter team on this issue was the ImageFiltered class. Overall, the widget deals with major image manipulations (from blurring to matrix transformation, rotation etc.), transforming and rearranging image pixels. To create an ImageFilter, you need to follow a particular structure and apply the ImageFilter class to its child elements:
Moreover, in order to start working with ImageFiltered within your Flutter application, first, don’t forget to import this library on the top of your .dart file.
const ImageFiltered({
  super.key,
  required this.imageFilter,
  super.child,
  this.enabled = true,
}) : assert(imageFilter != null);
import 'dart:ui';Then, ImageFiltered offers several filter choices for image processing, depending on the specification of your app or visual asset.
- So, for example, with the help of
ImageFilter.bluror the so-called Gaussian blur, the pixels of the image can be blurred, which can, for instance, be used to create a graphic element that can serve as a background image. - On the other hand, two other filters such as
ImageFilter.dilateandImageFilter.erodeaffect the pixels’ value by either enlarging them to the max significance within the specified range along the x and y axes or by shrinking pixels to their minimum values; - You can also easily rotate, scale and change your asset in other ways by transforming its matrix with
ImageFilter.matrix; - Finally,
ImageFilter.composeis handy for merging two filters and combining their effects.
At this point, the purpose of each effect seems much clearer, but we still miss some crucial steps to implement these filters in your Flutter application. Let’s see some real examples:
ImageFilter.blur constructor
To apply a blurring effect on your image, you have to call an ****ImageFiltered.blur(), and adjust the values of sigmaX and sigmaY arguments for blurring the image. Note that the asset must be called as a child element of the filter to achieve the desired effect.
Container(
		child: Center(
				child: Column(
						mainAxisAlignment: MainAxisAlignment.center,
						children: [
      // Blur an Image
      ImageFiltered(
					imageFilter: ImageFilter.blur(sigmaY: 5, sigmaX: 5),
					child: Image.asset("assets/logo.png"))
ImageFilter.matrix constructor
The situation is slightly different with ImageFilter.matrix filter since the effect can be initialized by one of two methods – Float64List.fromList or Matrix4.rotationZ . Thus, for the first method, the user needs to directly provide the matrix as a Float64List as it is done below:
// Matrix Transformation
ImageFiltered(
		imageFilter: ImageFilter.matrix(Float64List.fromList([
			1, 0.5, 0.0, 0.0,
			0.0, 1, 0.0, 0.0,
			0.0, 0.0, 1.0, 0.0,
			0.0, 0.0, 0.0, 1.0,
    ])),
		child: Image.asset("assets/logo.png", scale: 3.5)) // Note that scale is optional and depends on the image size
While the Matrix4 class simply provides rotation in Z directions:
// Matrix4 Rotation
ImageFiltered(
		imageFilter: ImageFilter.matrix(Matrix4.rotationZ(0.2).storage),
		child: Image.asset("assets/logo.png", scale: 6)) //Note that scale is optional and depends on the image size
ColorFiltered Effects
Alternatively, Flutter has several options to integrate some filters without calling any extra library. One such example is the ColorFilter function executed within the widget of the same name. ColorFiltered processes two colors and outputs only one of them, which is eventually displayed at the top of the layer.
 // Black & White Effect
ColorFiltered(
		colorFilter: const ColorFilter.mode(Colors.grey, BlendMode.saturation),
		child: Image.asset("assets/logo.png"))
Users can also engage with several construction methods: from directly calling the sRGB gamma curve with ColorFilter.linearToSrgbGamma() widget or its inverse prototype with ColorFilter.srgbToLinearGamma() to transforming the color by a 5x5 matrix within ColorFilter.matrix() function or simply applying the blend mode with a given color specified in ColorFilter.mode().
Final Thoughts
In conclusion, Flutter’s image processing capabilities are limited by a small variety of effects and often depend on the developer’s ability to handle complex concepts like matrix or sRGB curves. In this article, we reviewed some of the main image processing techniques proposed by the Flutter team and examined how to integrate them into photo editing apps. However, it is not always possible to allocate several days to calculate the correct matrix for transforming just one image when it comes to processing a large number of graphic assets. In such cases, you may want to think about using the PhotoEditor SDK for your next Flutter app. Just like in the interactive example below, PhotoEditor SDK has many different effects and filters that will suit any of your requests.
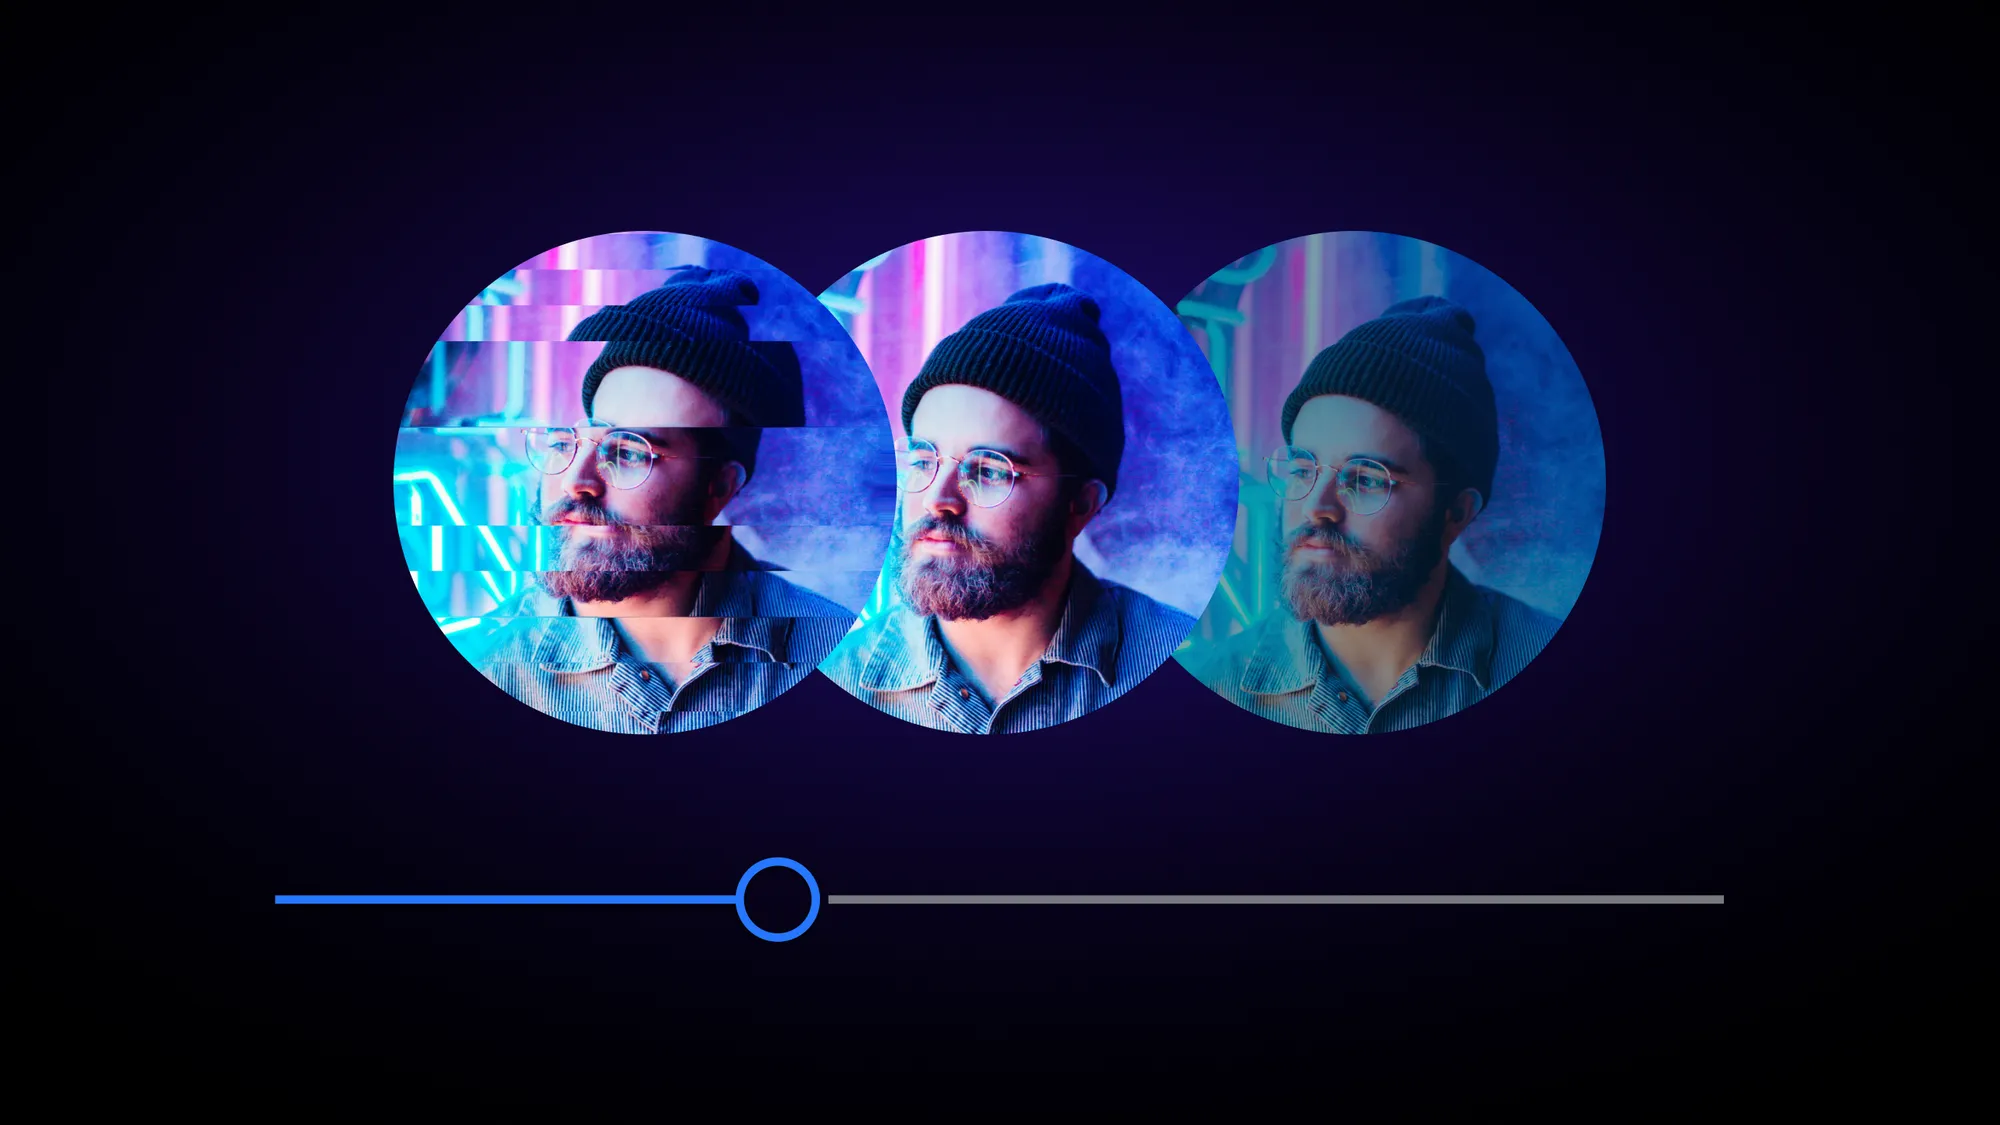
Applying Filters via PhotoEditor SDK
To learn more, check out our article on PhotoEditor SDK and how to set it up in your app and official PE.SDK guides. You can also follow our guide on how to integrate video editor for Flutter into your app. For any of your questions that might occur in the process, you can contact our Support, who will be glad to help you.