
In this article, you will learn to implement a brush to draw on an image in JavaScript, without using any dedicated external libraries, like those of React for image manipulations. As you are going to see, this can be achieved effortlessly using the HTML5 <canvas> element.
In the last few years, touchscreens have become more and more common. This technology has made drawing on screens much easier and accessible to everyone. Thus, allowing users to draw on photos or pictures is a more common feature than ever before. For example, we all expect to be able to modify pictures we took before sending them in messaging applications. This is just one of the several real-world case scenarios where you may need to implement this increasingly valuable feature.
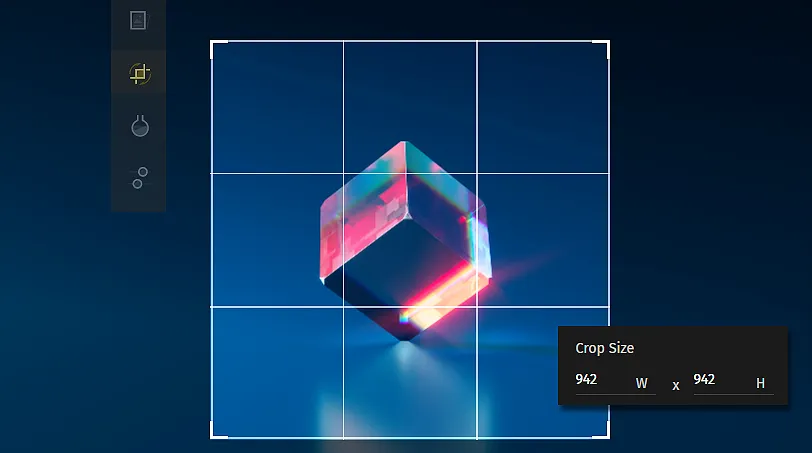
So, let’s see how to draw on an image with Vanilla JavaScript. Follow this step-by-step guide to achieve the following result:
Drawing on Images With <canvas>
Clone the GitHub repository that supports this article by launching the following command:
git clone https://github.com/Tonel/how-to-draw-on-an-image-with-javascript-img-lyThen, launch the index.html page to try the demo application.
Otherwise, continue following this tutorial to see how to implement the demo application step by step.
1. Implementing the Brush Feature
The HTML <canvas> element natively offers everything required to implement a brush feature. So, it is actually the only prerequisites. Despite it is typically used for game graphics, animations, real-time video processing, and data visualization, you can also employ it as a tool to draw on images. This powerful tool allows you to implement many cool features, such as resizing an image. Follow this link to find out how.
In this case, it takes only a handful of lines of code to implement a brush. Let’s see how together:
function drawOnImage(image = null) {
  const canvasElement = document.getElementById('canvas');

  const context = canvasElement.getContext('2d');

  // if an image is present,
  // the image passed as a parameter is drawn in the canvas
  if (image) {
    const imageWidth = image.width;
    const imageHeight = image.height;
    // rescaling the canvas element
    canvasElement.width = imageWidth;
    canvasElement.height = imageHeight;
    context.drawImage(image, 0, 0, imageWidth, imageHeight);
  }

  let isDrawing;
  canvasElement.onmousedown = (e) => {
    isDrawing = true;
    context.beginPath();
    context.lineWidth = 10;
    context.strokeStyle = 'black';
    context.lineJoin = 'round';
    context.lineCap = 'round';
    context.moveTo(e.clientX, e.clientY);
  };

  canvasElement.onmousemove = (e) => {
    if (isDrawing) {
      context.lineTo(e.clientX, e.clientY);
      context.stroke();
    }
  };

  canvasElement.onmouseup = function () {
    isDrawing = false;
    context.closePath();
  };
}
First, a canvas already presents on the HTML page is retrieved. Then, a 2D rendering context is initialized. This will be used to draw on the surface of the blank canvas or on the optional image passed as a parameter. In this last case, the canvas element is resized to fit the image dimensions. Also, the image is drawn by employing the drawImage() function. Next, the logic necessary to draw is implemented.
On mousedown, brush color, thickness, and opacity are defined. Also, the lineJoin and lineCap properties are set to round to make edges less sharp and more rounded. Then, the pointer is moved to the coordinates corresponding to the mouse click position employing the moveTo function.
On mousemove, a line to the new coordinates of the mouse position is drawn by harnessing lineTo and then stroke. Since the mouse position was moved on the mousedown event, a straight line connecting the new (x, y) coordinates is drawn.
Finally, on mouseup, the drawing operation is stopped by assigning the isDrawing variable to false. This flag was introduced to avoid drawing when moving the mouse on canvas without clicking on it first.
Note that the two just mentioned event-handler functions used to draw are enclosed by beginPath and closePath. This ensures that every line drawn represents a new sub-path for the canvas. This allows each line to be completely independent of the others and to be plotted in the canvas as an unmodifiable drawing element.
Et voilà! As you can see, implementing a brush to draw on an image in Vanilla JavaScript takes only a few lines of code.
2. Drawing in Action
Now, let’s take a look at the drawOnImage() function in action through a complete real-world example:
<!DOCTYPE html>
<html>
  <body>
    <div>
      <canvas
        id="canvas"
        width="500"
        height="200"
        style="border: 1px solid black;"
      ></canvas>
    </div>
    <div style="margin-top:5px">
      <span>Size: </span>
      <input
        type="range"
        min="1"
        max="50"
        value="10"
        class="size"
        id="sizeRange"
      />
    </div>
    <div style="margin-top:5px">
      <span>Color: </span>
      <input type="radio" name="colorRadio" value="black" checked />
      <label for="black">Black</label>
      <input type="radio" name="colorRadio" value="white" />
      <label for="black">White</label>
      <input type="radio" name="colorRadio" value="red" />
      <label for="black">Red</label>
      <input type="radio" name="colorRadio" value="green" />
      <label for="black">Green</label>
      <input type="radio" name="colorRadio" value="blue" />
      <label for="black">Blue</label>
    </div>
    <div style="margin-top:5px">
      <button id="clear">Clear</button>
    </div>
    <br />
    <input id="upload" type="file" accept="image/*" />
    <p>
      Start drawing on the blank canvas or upload an image and use the brush to
      modify on it
    </p>
    <script src="src/index.js"></script>
  </body>
</html>
const fileInput = document.querySelector('#upload');
// enabling drawing on the blank canvas
drawOnImage();
fileInput.addEventListener('change', async (e) => {
const [file] = fileInput.files;
// displaying the uploaded image
const image = document.createElement('img');
image.src = await fileToDataUri(file);
// enabling the brush after the image
// has been uploaded
image.addEventListener('load', () => {
drawOnImage(image);
});
return false;
});
function fileToDataUri(field) {
return new Promise((resolve) => {
const reader = new FileReader();
reader.addEventListener('load', () => {
resolve(reader.result);
});
reader.readAsDataURL(field);
});
}
const sizeElement = document.querySelector('#sizeRange');
let size = sizeElement.value;
sizeElement.oninput = (e) => {
size = e.target.value;
};
const colorElement = document.getElementsByName('colorRadio');
let color;
colorElement.forEach((c) => {
if (c.checked) color = c.value;
});
colorElement.forEach((c) => {
c.onclick = () => {
color = c.value;
};
});
function drawOnImage(image = null) {
const canvasElement = document.getElementById('canvas');
const context = canvasElement.getContext('2d');
// if an image is present,
// the image passed as parameter is drawn in the canvas
if (image) {
const imageWidth = image.width;
const imageHeight = image.height;
// rescaling the canvas element
canvasElement.width = imageWidth;
canvasElement.height = imageHeight;
context.drawImage(image, 0, 0, imageWidth, imageHeight);
}
const clearElement = document.getElementById('clear');
clearElement.onclick = () => {
context.clearRect(0, 0, canvasElement.width, canvasElement.height);
};
let isDrawing;
canvasElement.onmousedown = (e) => {
isDrawing = true;
context.beginPath();
context.lineWidth = size;
context.strokeStyle = color;
context.lineJoin = 'round';
context.lineCap = 'round';
context.moveTo(e.clientX, e.clientY);
};
canvasElement.onmousemove = (e) => {
if (isDrawing) {
context.lineTo(e.clientX, e.clientY);
context.stroke();
}
};
canvasElement.onmouseup = function () {
isDrawing = false;
context.closePath();
};
}As you can see, the HTML page contains everything needed to change brush size, and color. By interacting with them, users can achieve several possibilities and unleash their creativity. Also, in case of errors, they can press the Clear button and return to the initial conditions.
From a technical point of view is that the input element is used to upload an optional image. Then, it is passed to the aforementioned drawOnImage() function. This enables the brush feature on the image or the blank canvas and lets users draw on it. Please, note that the example that was just implemented corresponds to the fiddle you can find at the beginning of the article.
Final Considerations
Although implementing a brush feature to draw on an image in Vanilla JavaScript is definitely an easy task, there are a few downsides that must be addressed. First, making the drawing process smooth while moving the pointer quickly is tricky. This is an optimization problem, which may require you to adopt caching or debouncing techniques. Thus, implementing this feature effectively and efficiently can easily turn into a nightmare. Second, whenever you want to add a new style to the brush, you must spend time implementing all the front-end components required to enhance this feature. Despite not being difficult, this definitely involves boilerplate code.
When you do not want to spend hours writing boring yet unavoidable code to add new colors or brushes, a commercial and all-in-one solution like PhotoEditorSDK should be the preferred approach. In fact, it allows you to no longer stressing due to having to tackle these tedious and time-consuming tasks. Plus, whenever you need help, you can ask for support from the IMG.LY developers who built the SDK.
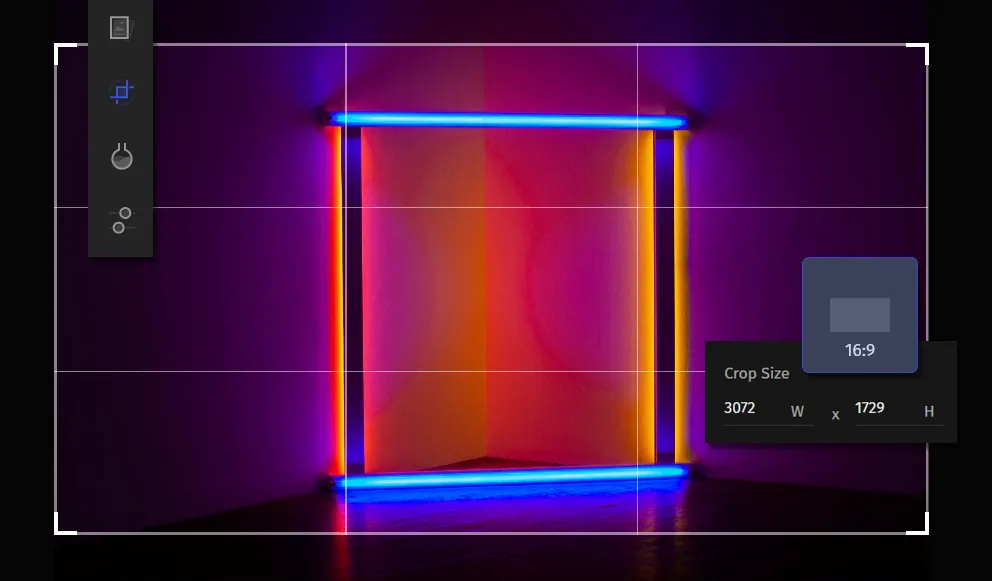
Drawing on an Image with photoeditorsdk
First, you should read integration tutorial article from the official documentation on how to get started with PhotoEditorSDK in HTML and JavaScript. Then, by using the Brush Engine you can start enjoying a brush feature optimized for touch screen interaction. Moreover, it natively supports different brush strokes. They can also be tweaked in terms of color, hardness, size, and opacity. This way, you should be able to achieve the desired result:

Conclusion
In this article, we looked at how to draw on an image with JavaScript. Implementing a brush to draw on images by using the <canvas> HTML element is not complex. However, it inevitably involves boilerplate code. Specifically, when implementing all the minor options such a feature should offer to the end-users. Also, making the brush smooth and optimized for touch screen and fast movements is quite complex. In fact, this requires optimizing or devising an intelligent algorithm aimed at not wasting resources. So, if you want to avoid these issues and use an easy an all-in-one solution, you should consider using more advanced and complete software – such as CreativeEditor SDK.
Thanks for reading! We hope that you found this article helpful. Feel free to reach out to us on Twitter with any questions, comments, or suggestions.
Like to try out our product? Get in touch or start a free trail today!