
Probably a decade ago, it was impossible to play video or audio inside your browser without any third-party services such as Flash or Silverlight. You needed to install a plugin and only play your media while using it, so as you can see, it was very uncomfortable, with low speed and high delays. Nowadays, we have JavaScript with the new version of HTML5. With these new technologies and tools, we can stream our video much quicker, easier, and without any latency. To do it, you will need only a simple
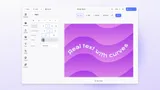
By the end of this guide, you’ll have something similar to this, so if you’re excited, keep reading and follow this tutorial step-by-step!
See the Pen How to build a video player in Javascript by Paul Knulst (@paulknulst) on CodePen.
Setting Up the Project
Assuming you are working with UNIX system (or have Git BASH on Windows) you can create all three files that are necessary to build a video player in JavaScript with this command:
mkdir video-player
cd video-player
touch index.html script.js style.css
To add a simple video player to our application, we have to add the following code to our index.html:
<!DOCTYPE html>
<html lang="en">
    <head>
        <meta charset="UTF-8" />
        <meta name="viewport" content="width=device-width, initial-scale=1.0" />
        <title>How to build a video player in Javascript</title>
        <link rel="stylesheet" href="style.css" />
    </head>
    <body>
        <div class="player">
            <video class="video" controls>
                <source
                    src="<https://ftp.f1nalboss.de/data/imgly/videoplayer/testvideo.mp4>"
                    type="video/mp4"
                />
                <source
                    src="<https://ftp.f1nalboss.de/data/imgly/videoplayer/testvideo.mp4>"
                    type="video/webm"
                />
                <p>No HTML5 video supported</p>
            </video>
        </div>
        <script src="script.js"></script>
    </body>
</html>
Within the above code, the <video> element uses a remote video from my FTP. You can either use my default video or add any video from your local computer by adjusting the src attribute. HTML5 specification supports three different video formats, and the snippet used multiple <source> tags to make the videos available in MP4 and WebM. Furthermore, the <p> tag is used to display pre-defined content to user agents that do not support the video element.
The HTML5 <video> tag accepts several native attributes. For example, the controls attribute displays the standard player controls when added or set to true. You can find out more about all video attributes here.
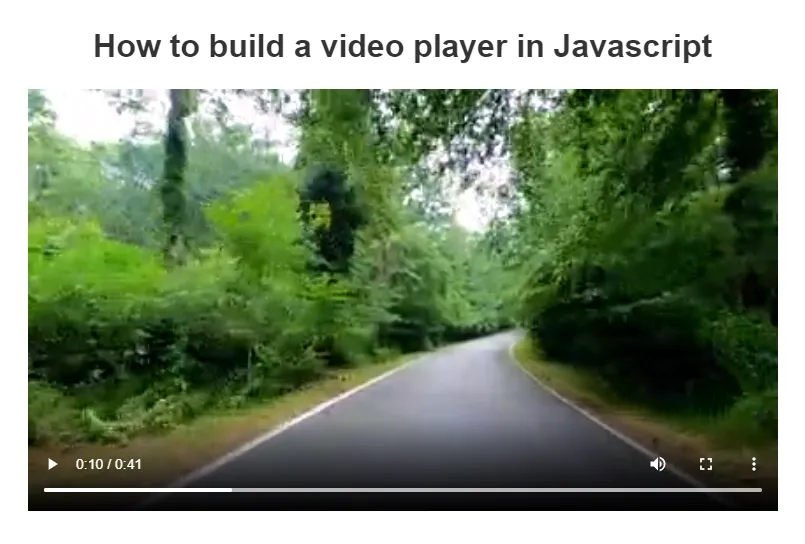
Before continuing, you should apply all styles that are needed within this tutorial by populating your style.css with all styles from this CodePen. Save and open your index.html and load it within the browser to see the embedded video player as seen below:
Customize the Video Player With JavaScript
To customize the video player, you first have to remove the controls attribute that displays Play, Pause, Volume, etc. because you will implement your own custom controls within this tutorial. Now, check your browser, you will recognize that the controls are gone, and you cannot play the video anymore.

Add Play and Pause
To enable play and pause the video, you have to add a new button to the index.html:
<div class="controls">
    <button
            class="controls__btn playPauseBtn"
            title="Toggle Play"
            >
        ►
    </button>
</div>
Afterward, open your script.js and enable functionality by adding this code:
const videoContainer = document.querySelector(".video-container");
const playPauseBtn = document.querySelector(".playPauseBtn");
function togglePlay() {
  if (videoContainer.paused || videoContainer.ended) {
    videoContainer.play();
  } else {
    videoContainer.pause();
  }
}
function updatePlayBtn() {
  playPauseBtn.innerHTML = videoContainer.paused ? "►" : "❚❚";
}
playPauseBtn.addEventListener("click", togglePlay);
videoContainer.addEventListener("click", togglePlay);
videoContainer.addEventListener("play", updatePlayBtn);
videoContainer.addEventListener("pause", updatePlayBtn);
Within this javascript code, first, the video-container element and the playPauseBtn is selected (Line 1 and 2). Then two functions are defined: togglePlay() and updatePlayBtn(). togglePlay() is used to stop and start the video based on its actual state. updatePlayBtn is used to switch between the Icon which is shown within the video player.
In the last part of the snippet, a click event listener is added to the playPauseBtn that executes the togglePlay() function. Next, three click event listeners are added to the videoContainer that executes togglePlay() on mouse click and also executes updatePlayBtn based on the video’s state.
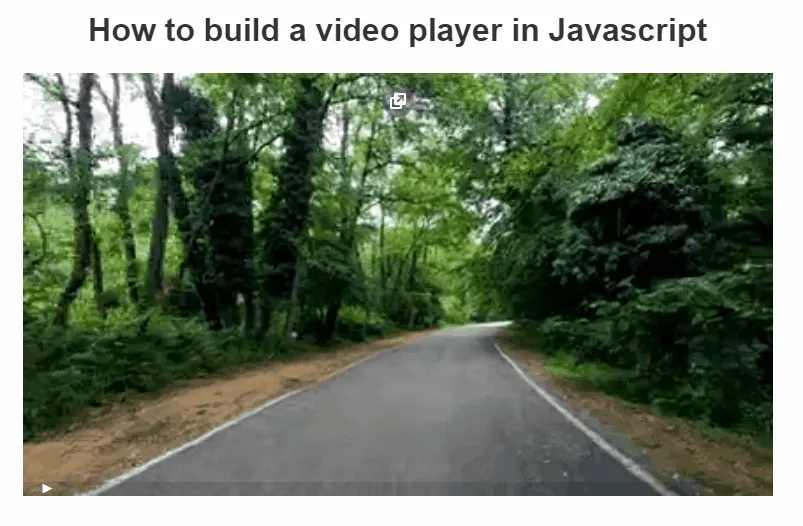
Now you can reload your index.html and should be able to play and pause the video by either clicking the video or the button:
Add Progress Bar
Next, a progress bar will be implemented to show the current timestamp of the video when played. First, add a div tag to the index.html which will act as the progress bar:
<div class="controls">
    <div class="progress">
    	<div class="progress__filled"></div>
    </div>
    // ..
</div>
Then open the script.js and add the following snippet:
const progress = document.querySelector(".progress");
const progressBar = document.querySelector(".progress__filled");

function handleProgress() {
  const progressPercentage = (videoContainer.currentTime / videoContainer.duration) * 100;
  progressBar.style.flexBasis = `${progressPercentage}%`;
}

function jump(e) {
  const position = (e.offsetX / progress.offsetWidth) * videoContainer.duration;
  videoContainer.currentTime = position;
}

videoContainer.addEventListener("timeupdate", handleProgress);
progress.addEventListener("click", jump);
let mousedown = false;
progress.addEventListener("mousedown", () => (mousedown = true));
progress.addEventListener("mousemove", (e) => mousedown && jump(e));
progress.addEventListener("mouseup", () => (mousedown = false));
In this snippet, the progress container and the progress__filled element will be selected, and two functions will be added: handleProgress() and jump(e). handleProgress() will be responsible for updating the progress bar. The jump(e) function is used to enable clicking on the progress bar to jump to the position within the video.
The last part contains all event listeners that are needed for the progress bar. The handleProgress() will be called on every timeupdate event. Also, clicking anywhere on the progress bar will call the jump(e) method and the video will jump to the position. Additionally, mousedown, mousemove, and mouseup will be used to enable sliding through the video while holding the mouse button down on the progress bar.
Closing Notes
Congratulations! If you followed the tutorial, you learned how to implement your own video player and add custom controls using JavaScript. Now, you can use my CodePen and start implementing more controls like volume control, keyboard shortcuts, or skip controls to build your own customized video player.
If your app goes beyond merely displaying video, and you want to allow your users to also edit video or create video based templates in the browser, check out our Video Editor for Web!