
In this tutorial, you will learn how to watermark an image in both Vanilla JavaScript and with watermarkjs. The first approach is primarily based on the HTML5 <canvas> element which can be used for applying filters or resizing an image, while the second one involves a popular npm library.
A watermark is a marker deliberately embedded in an audio, video, or image data source, generally used to claim ownership of that source. In the case of an image, a watermark can be represented by text or another image. So, image watermarking is the process of placing an overlay image or text on top of the original image, usually in one of the corners.
Now, let’s see two methods to watermark an image in JavaScript. Follow this step-by-step tutorial and learn how to implement this demo:
Watermarking Images in JavaScript
Keep following this step-by-step tutorial to learn how to watermarker an image in JavaScript. Otherwise, clone the following GitHub repository supporting the article by launching this command:
git clone https://github.com/Tonel/how-to-watermark-an-image-img-lyThen, open the index.html file in your browser to give a look at the real-world demo you are about to see how to build.
1.A Implementing the watermarking logic using HTML5 <canvas>
With this approach, you can achieve the watermarking goal by employing solely the HTML5 <canvas> element. In other words, there are no prerequisites.
Let’s see in detail how to use a watermark image and a watermark text to an image in JavaScript:
async function watermarkImage(originalImage, watermarkImagePath) {
  const canvas = document.createElement('canvas');
  const context = canvas.getContext('2d');

  const canvasWidth = originalImage.width;
  const canvasHeight = originalImage.height;

  canvas.width = canvasWidth;
  canvas.height = canvasHeight;

  // initializing the canvas with the original image
  context.drawImage(originalImage, 0, 0, canvasWidth, canvasHeight);

  // loading the watermark image and transforming it into a pattern
  const result = await fetch(watermarkImagePath);
  const blob = await result.blob();
  const image = await createImageBitmap(blob);
  const pattern = context.createPattern(image, 'no-repeat');

  // translating the watermark image to the bottom right corner
  context.translate(canvasWidth - image.width, canvasHeight - image.height);
  context.rect(0, 0, canvasWidth, canvasHeight);
  context.fillStyle = pattern;

  return canvas.toDataURL();
}

function watermarkImageWithText(originalImage, watermarkText) {
  const canvas = document.createElement('canvas');
  const context = canvas.getContext('2d');

  const canvasWidth = originalImage.width;
  const canvasHeight = originalImage.height;

  canvas.width = canvasWidth;
  canvas.height = canvasHeight;

  // initializing the canvas with the original image
  context.drawImage(originalImage, 0, 0, canvasWidth, canvasHeight);

  // adding a blue watermark text in the bottom right corner
  context.fillStyle = 'blue';
  context.textBaseline = 'middle';
  context.font = 'bold 25px serif';
  context.fillText(watermarkText, canvasWidth - 100, canvasHeight - 20);

  return canvas.toDataURL();
}
In both cases, an in-memory HTML <canvas> with a 2D rendering context having the same size as the original image is created. Then, it is filled by drawing the original image inside it. From that point, the two functions follow different approaches to achieve the watermarking goal.
In the watermarkImage() function, the watermark image path passed as a parameter is used to load the image file. Then, it is transformed into an ImageBitmap object by using the createImageBitmap() function. This is necessary because the createPattern() function requires such a data structure to create a CanvasPattern object that can be used to draw a particular image over a non-empty canvas. In particular, the drawing operation involves a rectangle containing the pattern created with the rect() function. This is first translated to the required position and finally drawn with the fill() function.
The watermarkImageWithText() function is simpler. This is because the CanvasRenderingContext2D natively comes with the fillText() function, which allows you to add text to an image with no effort.
If you want to learn more on how to style the watermark image or text, reading this page from MDN Web Docs is recommended.
1.B Implementing the watermarking logic using watermarkjs
The same result can be achieved by using the watermarkjs library with just a bunch of lines of code. In this case, you have to add it as a dependency to your project and you can learn how to do it here.
The two aforementioned function can now be implemented as follows:
function watermarkImage(originalImageFile, watermarkImagePath, destinationImage) {
  watermark([originalImageFile, watermarkImagePath])
    .image(watermark.image.lowerRight())
    .then(function (watermarkedImage) {
      destinationImage = watermarkedImage.src;
    });
}

function watermarkImageWithText(originalImageFile, watermarkText, destinationImage) {
  watermark([originalImageFile, watermarkImagePath])
    .image(watermark.text.lowerRight(watermarkText, "bold 25px serif", "#0000ff")))
    .then(function (watermarkedImage) {
      destinationImage = watermarkedImage.src;
    });
}
The main difference from the first method is that the watermark object coming with the library accepts either a URL path to the image or its File object. Then, it requires the destination image to write the generated watermarked image.
You can find more demos on the library’s GitHub page.
2. Watermarking in action
Let’s now see how to employ the watermarkImage() and watermarkImageWithText() functions to build a real-word example.
<!DOCTYPE html>
<html>
  <body>
    <h1>Image Watermarker</h1>
    <p>Please, upload an image and a watermark will be added</p>
    <input id="upload" type="file" accept="image/*" />
    <div id="images" style="visibility: hidden;">
      <h2>Original image</h2>
      <img id="originalImage" />
      <h2>Watermarked image 1 (image watermark)</h2>
      <img id="watermarkedImage" />
      <h2>Watermarked image 2 (text watermark)</h2>
      <img id="watermarkedImageWithText" />
    </div>
    <script src="src/index.js"></script>
  </body>
</html>
// hiding the div that will contain the images
const imagesDiv = document.querySelector('#images');
const fileInput = document.querySelector('#upload');
fileInput.addEventListener('change', async (e) => {
const [file] = fileInput.files;
// displaying the uploaded image
const originalImage = document.querySelector('#originalImage');
originalImage.src = await fileToDataUri(file);
// adding the image watermark to the original image
// and showing the watermarked image
const watermarkedImage = document.querySelector('#watermarkedImage');
const watermarkedImageWithText = document.querySelector(
'#watermarkedImageWithText'
);
originalImage.addEventListener('load', async () => {
watermarkedImage.src = await watermarkImage(
originalImage,
'./src/IMG.LY.jpg'
);
watermarkedImageWithText.src = watermarkImageWithText(
originalImage,
'IMG.LY'
);
});
// making the div containing the image visible
imagesDiv.style.visibility = 'visible';
return false;
});
function fileToDataUri(field) {
return new Promise((resolve) => {
const reader = new FileReader();
reader.addEventListener('load', () => {
resolve(reader.result);
});
reader.readAsDataURL(field);
});
}
async function watermarkImage(originalImage, watermarkImagePath) {
const canvas = document.createElement('canvas');
const context = canvas.getContext('2d');
const canvasWidth = originalImage.width;
const canvasHeight = originalImage.height;
canvas.width = canvasWidth;
canvas.height = canvasHeight;
// initializing the canvas with the original image
context.drawImage(originalImage, 0, 0, canvasWidth, canvasHeight);
// loading the watermark image and transforming it into a pattern
const result = await fetch(watermarkImagePath);
const blob = await result.blob();
const image = await createImageBitmap(blob);
const pattern = context.createPattern(image, 'no-repeat');
// translating the watermark image to the bottom right corner
context.translate(canvasWidth - image.width, canvasHeight - image.height);
context.rect(0, 0, canvasWidth, canvasHeight);
context.fillStyle = pattern;
return canvas.toDataURL();
}
function watermarkImageWithText(originalImage, watermarkText) {
const canvas = document.createElement('canvas');
const context = canvas.getContext('2d');
const canvasWidth = originalImage.width;
const canvasHeight = originalImage.height;
canvas.width = canvasWidth;
canvas.height = canvasHeight;
// initializing the canvas with the original image
context.drawImage(originalImage, 0, 0, canvasWidth, canvasHeight);
// adding a blue watermark text in the bottom right corner
context.fillStyle = 'blue';
context.textBaseline = 'middle';
context.font = 'bold 25px serif';
context.fillText(watermarkText, canvasWidth - 100, canvasHeight - 20);
return canvas.toDataURL();
}The second snipper represents the src/index.js file and this is where the complete logic is implemented. First, users can upload an image thanks to the <input> tag. Then, the two aforementioned functions are used to produce two watermarked images that are finally shown on the page. To make this application works, note that the "./src/IMG.LY.jpg" path should be replaced with the relative path to your watermark image.
Final Considerations
Although watermarking does not involve complex logic, it does present some challenges. In fact, the approaches presented above cannot but be considered basic. This is because to properly implement watermarking, you should allow users to choose where precisely to place the watermark, with what style and colors, and with the desired size. Otherwise, the final result may be inaccurate and completely alter the original image.
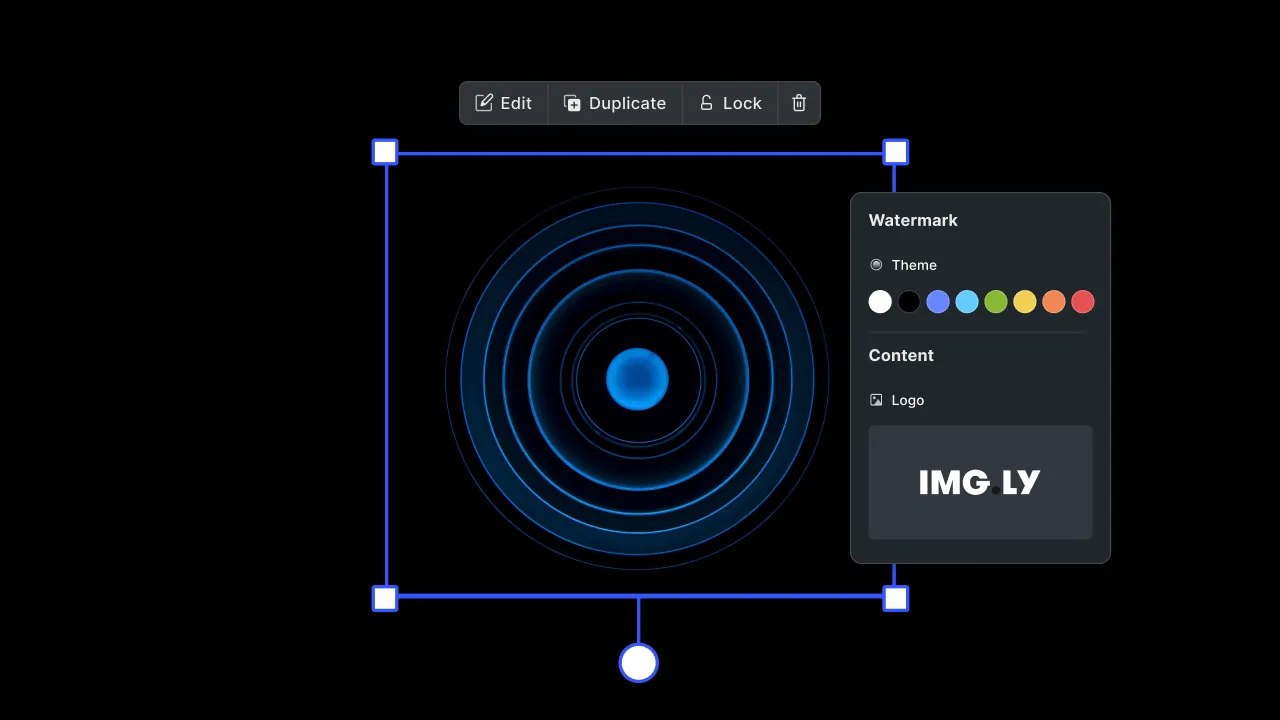
In other words, giving users the ability to add a watermark to an image requires an advanced UI. Building it may be complex, time-consuming, and represent a waste of energy. Especially considering how such a feature may be marginal in your application. This is why you should take into consideration an advanced SDK solution, such as PhotoEditorSDK. This allows you to provide users with watermarking, and many other cool features.
Adding a Watermark to an Image With photoeditorsdk
First, read this article from the official documentation on how to get started with PhotoEditorSDK in Vanilla JavaScript. By uploading an image with the Sticker feature, you can place another image on top of the original one whenever you want. This allows you to achieve a watermark effect with no effort.
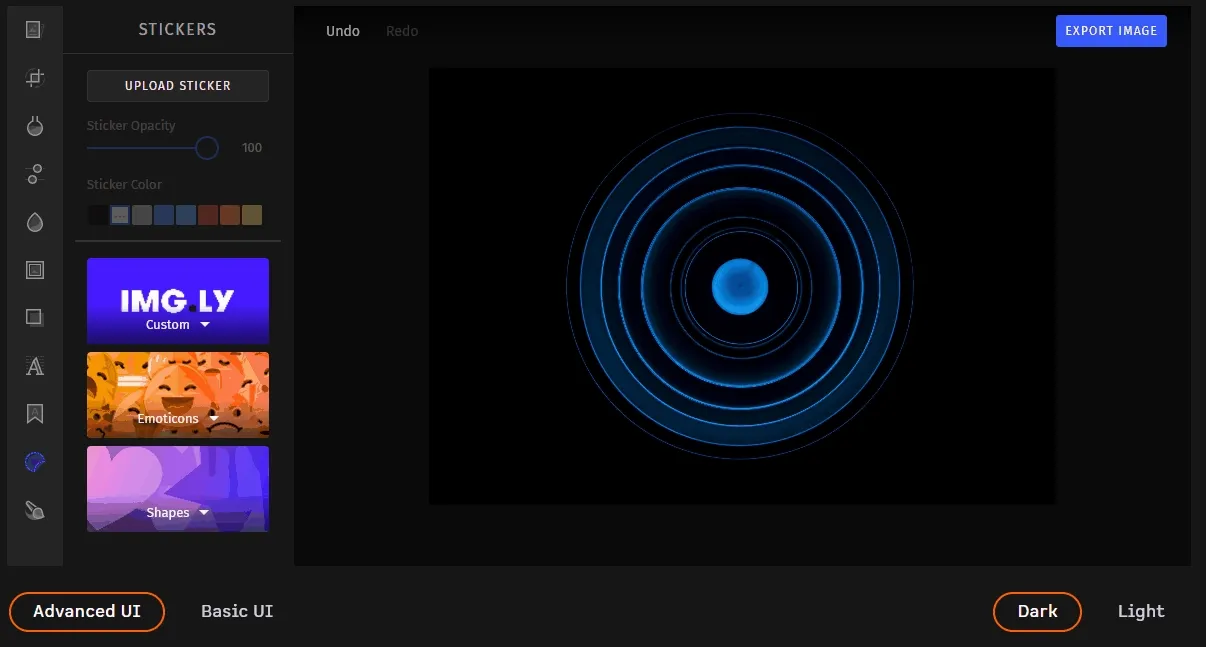
Check out this feature in the demo.
Conclusion
In this tutorial, we learned how to watermark an image in both Vanilla JavaScript and watermarkjs. The first approach involved the HTML5 <canvas>, which makes adding a watermark to an image easy. The second is even more straightforward and requires just a few lines of code. In both cases, the task is almost effortless. On the other hand, implementing a watermark feature that allows users to deal with the watermark image with freedom requires an entire UI. Building it takes time and effort, and may do not want to waste time on it. In this case, you should adopt a more complete, advanced, and ready-to-use solution – such as PhotoEditorSDK.
Thanks for reading! We hope that you found this article helpful. Feel free to reach out to us on Twitter with any questions, comments, or suggestions.