Create an editable scene from an image file using CE.SDK, with automatic page dimensions matching the source image for seamless image editing workflows.
Starting from an existing image allows you to use the editor for customizing individual assets. The engine.scene.createFromImage() method fetches the image, creates a scene with matching dimensions, and sets up pixel-based design units. This differs from loading a saved scene file, as you’re creating new editable content from raw image data.
Create Scene from Remote URL#
The most common approach is loading an image directly from a URL. Pass the URL to createFromImage() to fetch the image and create a scene sized to match its dimensions.
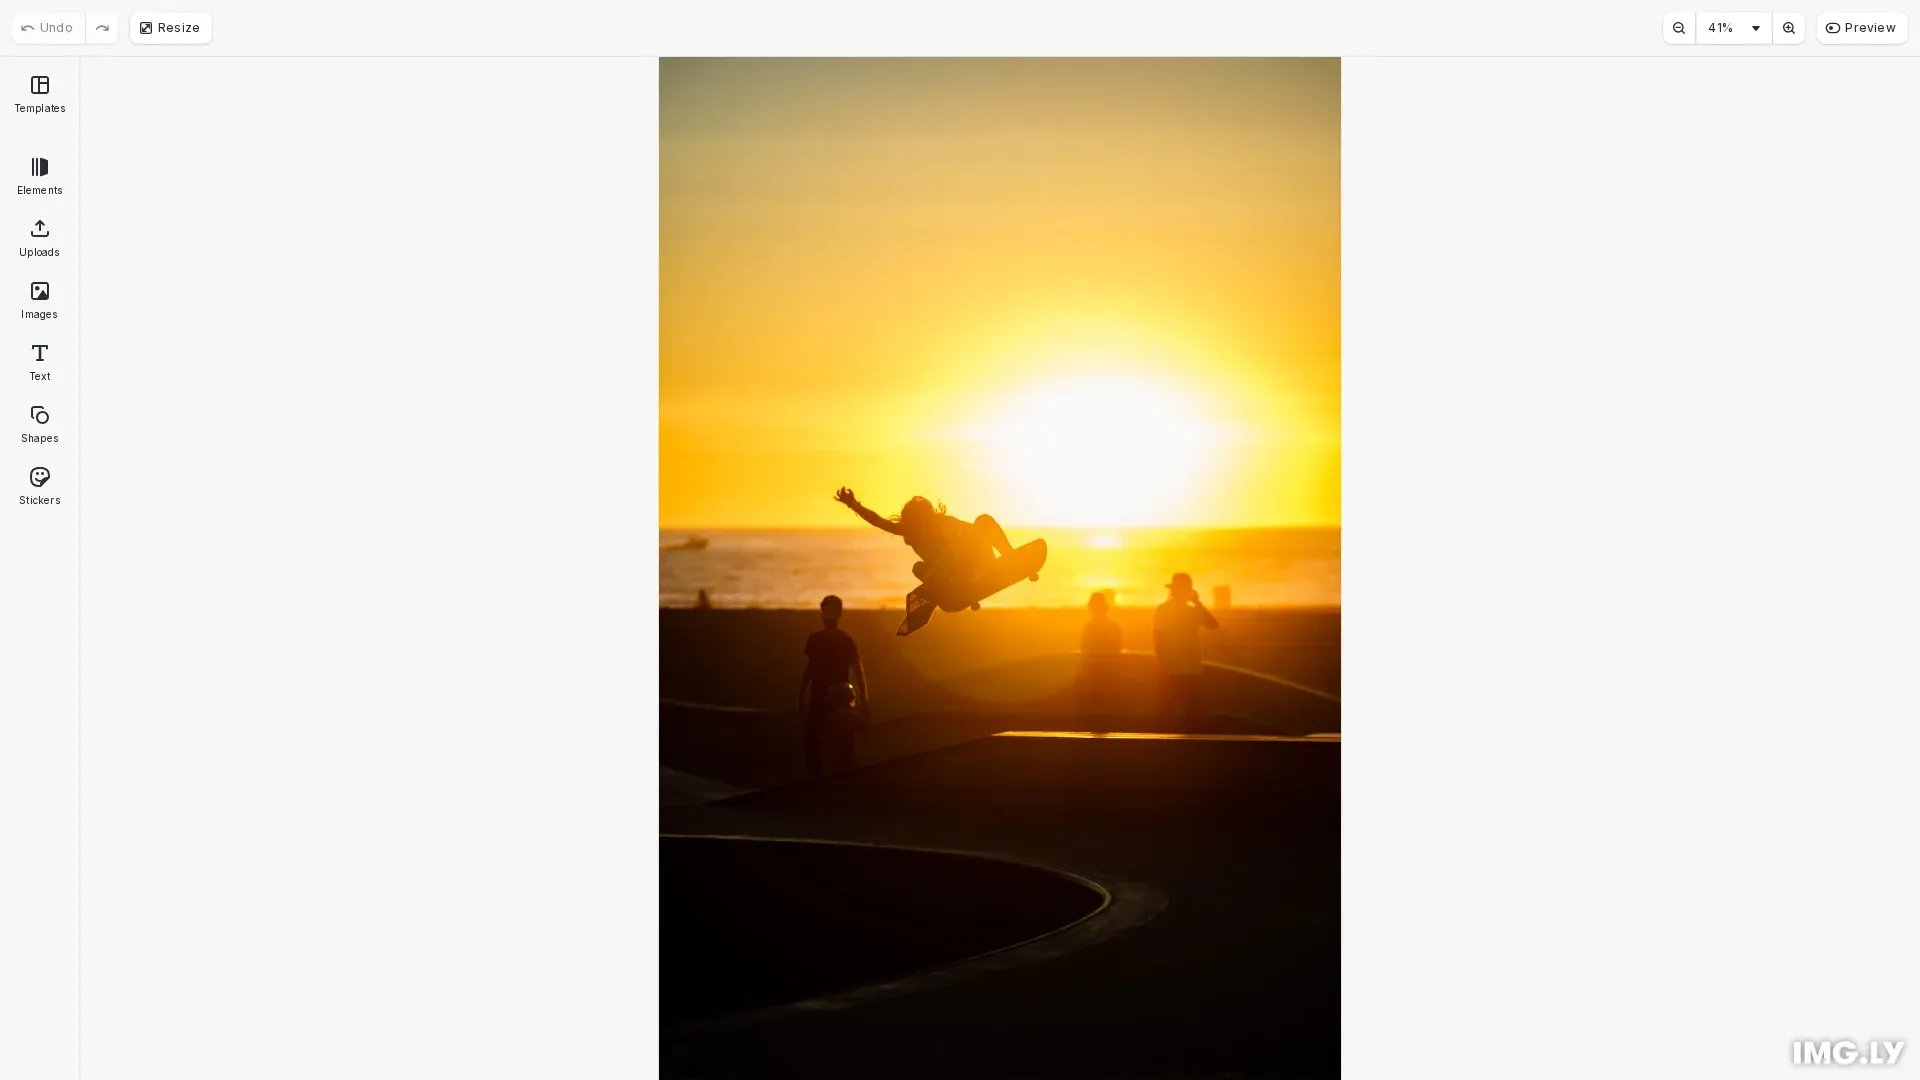
// The most common approach: load an image directly from a URLconst imageUrl = 'https://img.ly/static/ubq_samples/sample_4.jpg';
// Create a scene sized to match the image dimensionsawait engine.scene.createFromImage(imageUrl);
// The scene is now ready for editing with the image as content
The method returns a promise that resolves once the image is loaded and the scene is ready for editing. The scene’s page dimensions automatically match the image.
Create Scene from HTMLImageElement#
When you have an image already displayed on your page, extract its src attribute and pass it to createFromImage(). This is useful when integrating with existing image galleries or previews.
const element = document.getElementById('source-image') as HTMLImageElement;const imageURL = element.src;const scene = await engine.scene.createFromImage(imageURL);Create Scene from Blob#
For images from file uploads, drag-and-drop, or fetch responses, create an object URL from the blob first. Use URL.createObjectURL() to get a URL that createFromImage() can load.
const blob = await fetch(imageUrl).then(response => response.blob());const objectURL = URL.createObjectURL(blob);const scene = await engine.scene.createFromImage(objectURL);This pattern works with file inputs (input.files[0]), clipboard data, and any other blob source.
Create Scene from Canvas Element#
For images rendered on a canvas element, export the canvas to a blob, then create the scene. Use canvas.toBlob() for better performance with large images.
const canvas = document.getElementById('source-canvas') as HTMLCanvasElement;canvas.toBlob(async (blob) => { if (blob) { const objectURL = URL.createObjectURL(blob); const scene = await engine.scene.createFromImage(objectURL); }});Configure Scene Parameters#
The createFromImage() method accepts optional parameters for DPI, pixel scale factor, and scene layout.
const scene = await engine.scene.createFromImage( imageUrl, 300, // dpi - defaults to 300 1, // pixelScaleFactor - defaults to 1 'Free', // sceneLayout - defaults to 'Free');- DPI: Affects the relationship between pixel and physical dimensions (defaults to 300)
- Pixel Scale Factor: Accounts for high-DPI displays (defaults to 1)
- Scene Layout: Controls page arrangement - ‘Free’, ‘HorizontalStack’, ‘VerticalStack’, or ‘DepthStack’ (defaults to ‘Free’)
Working with the Created Scene#
After creating the scene, use engine.block.findByType('page') to access the page. The scene contains a single page with the image as its content.
// After creating the scene, access the page for modificationsconst pages = engine.block.findByType('page');const page = pages[0];
if (page) {  // Get the page dimensions (set from the image)  const width = engine.block.getWidth(page);  const height = engine.block.getHeight(page);  console.log(`Scene created with dimensions: ${width}x${height}`);}
Saving Your Work#
To persist changes after editing, use engine.scene.saveToString() or engine.scene.saveToArchive(). See Saving Scenes for details.
Troubleshooting#
Image fails to load
- Verify the image URL is accessible and returns a valid image
- Check CORS headers if loading from a different origin
- Ensure the image format is supported (JPG, PNG, WebP, GIF)
Scene dimensions don’t match expected size
- The scene uses pixel design units by default
- DPI affects how dimensions translate to physical measurements
- Check pixelScaleFactor if rendering appears scaled
Blob URL not working
- Ensure
URL.createObjectURL()is called before the blob is released - Object URLs are only valid within the same document context
- Consider revoking object URLs when no longer needed to free memory
API Reference#
| Method | Description |
|---|---|
engine.scene.createFromImage | Create scene from image URL |
engine.block.findByType | Find blocks by type in scene |
engine.block.getWidth | Get block width |
engine.block.getHeight | Get block height |
URL.createObjectURL | Create URL from blob (Browser API) |
engine.scene.saveToString | Save scene to string format |
engine.scene.saveToArchive | Save scene with embedded assets |