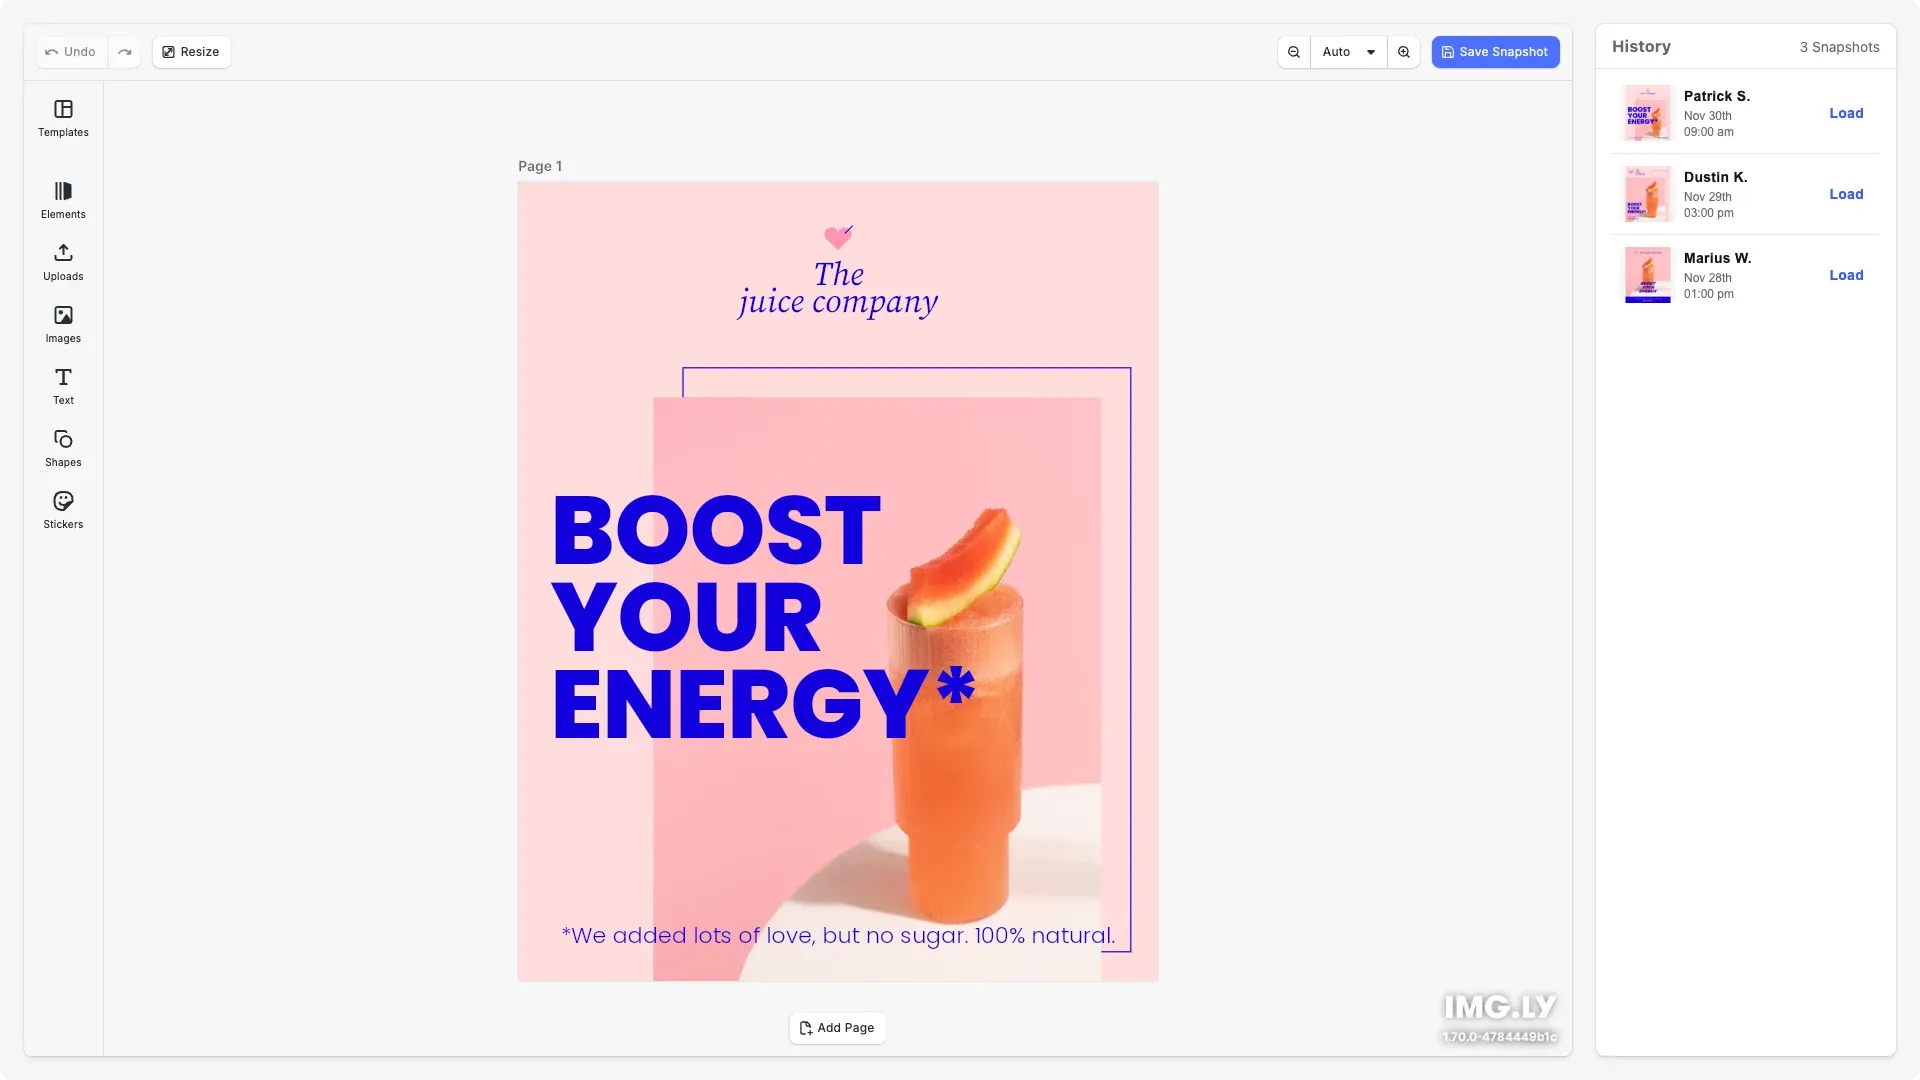
With Version History, you can monitor changes made to each design and easily restore past versions if needed.
Prerequisites#
Before you begin, make sure you have the following:
- Node.js v22+ and npm installed locally – Download Node.js
- A supported browser – Chrome 114+, Edge 114+, Firefox 115+, Safari 15.6+
See Browser Support for the full list.
Get Started#
Start fresh with a standalone Version History project. This creates a complete, ready-to-run React application with snapshot functionality.
Step 1: Clone the Repository#
git clone https://github.com/imgly/starterkit-version-history-react-web.gitgit clone https://github.com/imgly/starterkit-version-history-react-web.gitnpx degit imgly/starterkit-version-history-react-web starterkit-version-history-react-webnpx degit imgly/starterkit-version-history-react-web starterkit-version-history-react-webThe src/ folder contains the editor code:
src/├── app/ # Demo application├── imgly/│ ├── config/│ │ ├── actions.ts # Export/import actions│ │ ├── features.ts # Feature toggles│ │ ├── i18n.ts # Translations│ │ ├── plugin.ts # Main configuration plugin│ │ ├── settings.ts # Engine settings│ │ └── ui/│ │ ├── canvas.ts # Canvas configuration│ │ ├── components.ts # Custom component registration│ │ ├── dock.ts # Dock layout configuration│ │ ├── index.ts # Combines UI customization exports│ │ ├── inspectorBar.ts # Inspector bar layout│ │ ├── navigationBar.ts # Navigation bar layout│ │ └── panel.ts # Panel configuration│ ├── history.ts # Version history management│ ├── index.ts # Editor initialization function│ ├── snapshots.ts # Snapshot management│ └── utils.ts # Utility functions└── index.tsx # Application entry pointStep 2: Install Dependencies#
Install the required packages:
cd starterkit-version-history-react-web
npm install
cd starterkit-version-history-react-web
npm installcd starterkit-version-history-react-web
pnpm installcd starterkit-version-history-react-web
pnpm installcd starterkit-version-history-react-web
yarncd starterkit-version-history-react-web
yarnStep 3: Download Assets#
CE.SDK requires engine assets (fonts, icons, UI elements) to function. These must be served as static files from your project’s public/ directory.
curl -O https://cdn.img.ly/packages/imgly/cesdk-js/1.84.0/imgly-assets.zip
unzip imgly-assets.zip -d public/
rm imgly-assets.zip
curl -O https://cdn.img.ly/packages/imgly/cesdk-js/1.84.0/imgly-assets.zip
unzip imgly-assets.zip -d public/
rm imgly-assets.zipconst config = { // ... baseURL: '/assets' // ...};Step 4: Run the Development Server#
npm run devnpm run devpnpm run devpnpm run devyarn devyarn devOpen http://localhost:5173 in your browser.
Get Started#
Integrate the Version History into an existing SvelteKit application. This adds the editor configuration to your current project structure.
Step 1: Clone#
cd your-projectcd your-projectClone the starter kit and copy the editor configuration to your project:
git clone https://github.com/imgly/starterkit-version-history-react-web.git
cp -r starterkit-version-history-react-web/src/lib/imgly ./src/lib/imgly
rm -rf starterkit-version-history-react-web
git clone https://github.com/imgly/starterkit-version-history-react-web.git
cp -r starterkit-version-history-react-web/src/lib/imgly ./src/lib/imgly
rm -rf starterkit-version-history-react-webnpx degit imgly/starterkit-version-history-react-web/src/lib/imgly ./src/lib/imglynpx degit imgly/starterkit-version-history-react-web/src/lib/imgly ./src/lib/imglyThe imgly/ folder contains the editor configuration:
imgly/├── config/│ ├── actions.ts # Export/import actions│ ├── features.ts # Feature toggles│ ├── i18n.ts # Translations│ ├── plugin.ts # Main configuration plugin│ ├── settings.ts # Engine settings│ └── ui/│ ├── canvas.ts # Canvas configuration│ ├── components.ts # Custom component registration│ ├── dock.ts # Dock layout configuration│ ├── index.ts # Combines UI customization exports│ ├── inspectorBar.ts # Inspector bar layout│ ├── navigationBar.ts # Navigation bar layout│ └── panel.ts # Panel configuration├── history.ts # Version history management├── index.ts # Editor initialization function├── snapshots.ts # Snapshot management└── utils.ts # Utility functionsStep 2: Install Dependencies#
Install the required packages for the editor:
Core Editor#
Install the Creative Editor SDK:
npm install @cesdk/cesdk-js@1.84.0npm install @cesdk/cesdk-js@1.84.0pnpm add @cesdk/cesdk-js@1.84.0pnpm add @cesdk/cesdk-js@1.84.0yarn add @cesdk/cesdk-js@1.84.0yarn add @cesdk/cesdk-js@1.84.0Step 3: Download Assets#
CE.SDK requires engine assets (fonts, icons, UI elements) to function. For SvelteKit projects, place these in your static/ directory which is served automatically.
curl -O https://cdn.img.ly/packages/imgly/cesdk-js/1.84.0/imgly-assets.zip
unzip imgly-assets.zip -d static/
rm imgly-assets.zip
curl -O https://cdn.img.ly/packages/imgly/cesdk-js/1.84.0/imgly-assets.zip
unzip imgly-assets.zip -d static/
rm imgly-assets.zipStep 4: Create the Editor Component#
Create a Svelte component using the CE.SDK imperative API (e.g., src/lib/DesignEditor.svelte):
<script>  import { onMount, onDestroy } from 'svelte';  import CreativeEditorSDK from '@cesdk/cesdk-js';  import { initVersionHistoryEditor } from './imgly';
  let container;  let cesdk = null;
  onMount(async () => {    cesdk = await CreativeEditorSDK.create(container, {      baseURL: '/assets'    });    await initVersionHistoryEditor(cesdk);  });
  onDestroy(() => {    if (cesdk) {      cesdk.dispose();    }  });</script>
<div bind:this={container} style="width: 100vw; height: 100vh;"></div>
Step 5: Use the Component#
Import and use the Version History component in your page route (e.g., src/routes/+page.svelte):
<script>  import { browser } from '$app/environment';  import { onMount } from 'svelte';
  let DesignEditor;
  onMount(async () => {    const module = await import('$lib/DesignEditor.svelte');    DesignEditor = module.default;  });</script>
{#if browser && DesignEditor}  <svelte:component this={DesignEditor} />{/if}
SSR Error#
If you encounter the error window is not defined, it means CE.SDK is being imported on the server. CE.SDK requires browser APIs and must run client-side only.
Use the dynamic import pattern shown above, which defers loading the component until the browser is ready. The browser check from $app/environment ensures the component only renders client-side.
Alternatively, disable SSR for the entire page by adding a +page.ts file:
export const ssr = false;This allows you to use a simpler static import in +page.svelte:
<script>  import DesignEditor from '$lib/DesignEditor.svelte';</script>
<DesignEditor />
How Version History Works#
The Version History starter kit extends CE.SDK with snapshot functionality, enabling users to save and restore design states. The imgly/ module handles editor configuration while your React component manages snapshot state through the onSave callback.
The onSave Callback#
The initVersionHistoryEditor function accepts an onSave callback that’s invoked when users click “Save Snapshot”. This callback receives the serialized scene string and lets you handle snapshot creation in your application:
// Register the saveScene action that calls the onSave callbackcesdk.actions.register('saveScene', async () => { const sceneString = await cesdk.engine.scene.saveToString(); await onSave(sceneString);});The callback-based approach keeps snapshot state management in your React component, making it easy to integrate with your existing state management solution (useState, Redux, Zustand, etc.).
Creating Snapshots#
The createSnapshot function generates a thumbnail and blob URLs for the snapshot data:
export async function createSnapshot(  cesdk: CreativeEditorSDK,  sceneString: string): Promise<{ thumbnailUrl: string; sceneUrl: string }> {  const engine = cesdk.engine;  const scene = engine.scene.get();
  if (!scene) {    throw new Error('No scene available');  }
  // Generate thumbnail for snapshot preview  const thumbnailBlob = await engine.block.export(scene, {    mimeType: 'image/jpeg',    targetWidth: 168,    targetHeight: 168  });  const thumbnailUrl = URL.createObjectURL(thumbnailBlob);
  // Store scene as blob URL  const sceneBlob = new Blob([sceneString], { type: 'text/plain' });  const sceneUrl = URL.createObjectURL(sceneBlob);
  return { thumbnailUrl, sceneUrl };}
Set Up a Scene#
CE.SDK offers multiple ways to load content into the editor. Choose the method that matches your use case:
// Create a blank design canvas - starts with an empty design sceneawait cesdk.actions.run('scene.create');
// Load from a template archive - restores a previously saved projectawait cesdk.load('https://example.com/template.zip');
// Load from an image URL - creates a new scene with the imageawait cesdk.createFromImage('https://example.com/image.jpg');
// Load from a scene file - restores a scene from JSONawait cesdk.load('https://example.com/scene.json');
The createDesignScene() method is ideal for design workflows, as it creates a blank canvas ready for content.
Customize Assets#
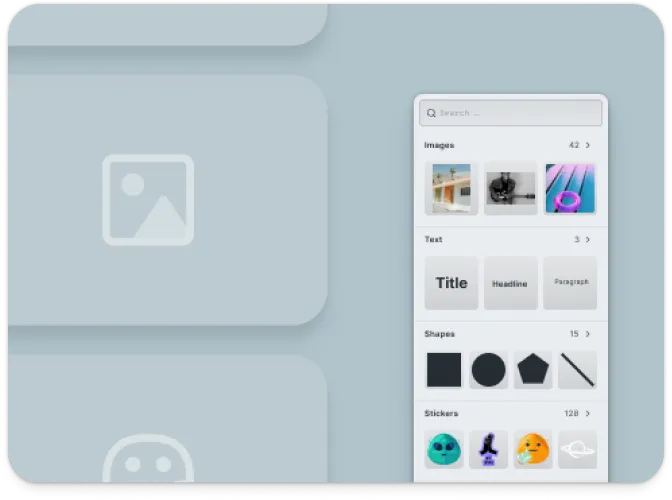
The Version History editor uses asset source plugins to provide built-in libraries for templates, stickers, shapes, and fonts. The starter kit includes a curated selection—customize what’s included based on your needs.
Asset sources are added via plugins in the initialization function. Enable or disable individual sources:
import {  FiltersAssetSource,  StickerAssetSource,  TextAssetSource,  VectorShapeAssetSource,  EffectsAssetSource,  // ...} from '@cesdk/cesdk-js/plugins';
// Add only the sources you needawait cesdk.addPlugin(new FiltersAssetSource());await cesdk.addPlugin(new StickerAssetSource());await cesdk.addPlugin(new TextAssetSource());await cesdk.addPlugin(new VectorShapeAssetSource());await cesdk.addPlugin(new EffectsAssetSource());// ...For production deployments, self-hosting assets is required—the IMG.LY CDN is intended for development only. See Serve Assets for downloading assets, configuring baseURL, and excluding unused sources to optimize load times.
Configure Actions#
Actions are functions that handle user interactions like exporting designs, saving scenes, and importing files. CE.SDK provides built-in actions that you can run directly or override with custom implementations.
Key built-in actions:
exportDesign– Export the current design to PNG, JPEG, PDF, or other formatssaveScene– Save the scene as a JSON string for later editingimportScene– Import a previously saved scene (.imglyor.scene)exportScene– Export the scene as an.imglyfile, either the scene alone or an archive with all assetsuploadFile– Handle file uploads with progress tracking
Use cesdk.actions.run() to execute any action:
// Run a built-in actionawait cesdk.actions.run('exportDesign', { mimeType: 'image/png' });Import from File Picker#
// Let users open images from their devicecesdk.actions.register('importImage', async () => { const blobURL = await cesdk.utils.loadFile({ accept: 'image/*', returnType: 'objectURL' }); await cesdk.createFromImage(blobURL);});Export and Save#
// Register export action that downloads the edited designcesdk.actions.register('exportDesign', async (exportOptions) => { const { blobs, options } = await cesdk.utils.export(exportOptions); await cesdk.utils.downloadFile(blobs[0], options.mimeType);});Upload to Your Backend#
// Override the built-in exportDesign action to send to your servercesdk.actions.register('exportDesign', async (exportOptions) => {  const { blobs } = await cesdk.utils.export(exportOptions);
  const formData = new FormData();  formData.append('design', blobs[0], 'design.png');
  const response = await fetch('/api/upload', {    method: 'POST',    body: formData  });
const { url } = await response.json(); console.log('Uploaded to:', url);});Customize (Optional)#
Theming#
CE.SDK supports light and dark themes out of the box, plus automatic system preference detection. Switch between themes programmatically:
// 'light' | 'dark' | 'system' | (() => 'light' | 'dark')cesdk.ui.setTheme('dark');See Theming for custom color schemes, CSS variables, and advanced styling options.
Localization#
Customize UI labels and add support for multiple languages. The i18n system supports translation keys for all UI elements:
// Override specific labelscesdk.i18n.setTranslations({  en: {    'actions.export.image': 'Download Design',    'common.cancel': 'Cancel',    'common.apply': 'Apply'  }});
// Add a new languagecesdk.i18n.setTranslations({  de: {    'actions.export.image': 'Design herunterladen'  }});
// Set the active localecesdk.i18n.setLocale('de');
See Localization for supported languages, translation key reference, and right-to-left language support.
UI Layout#
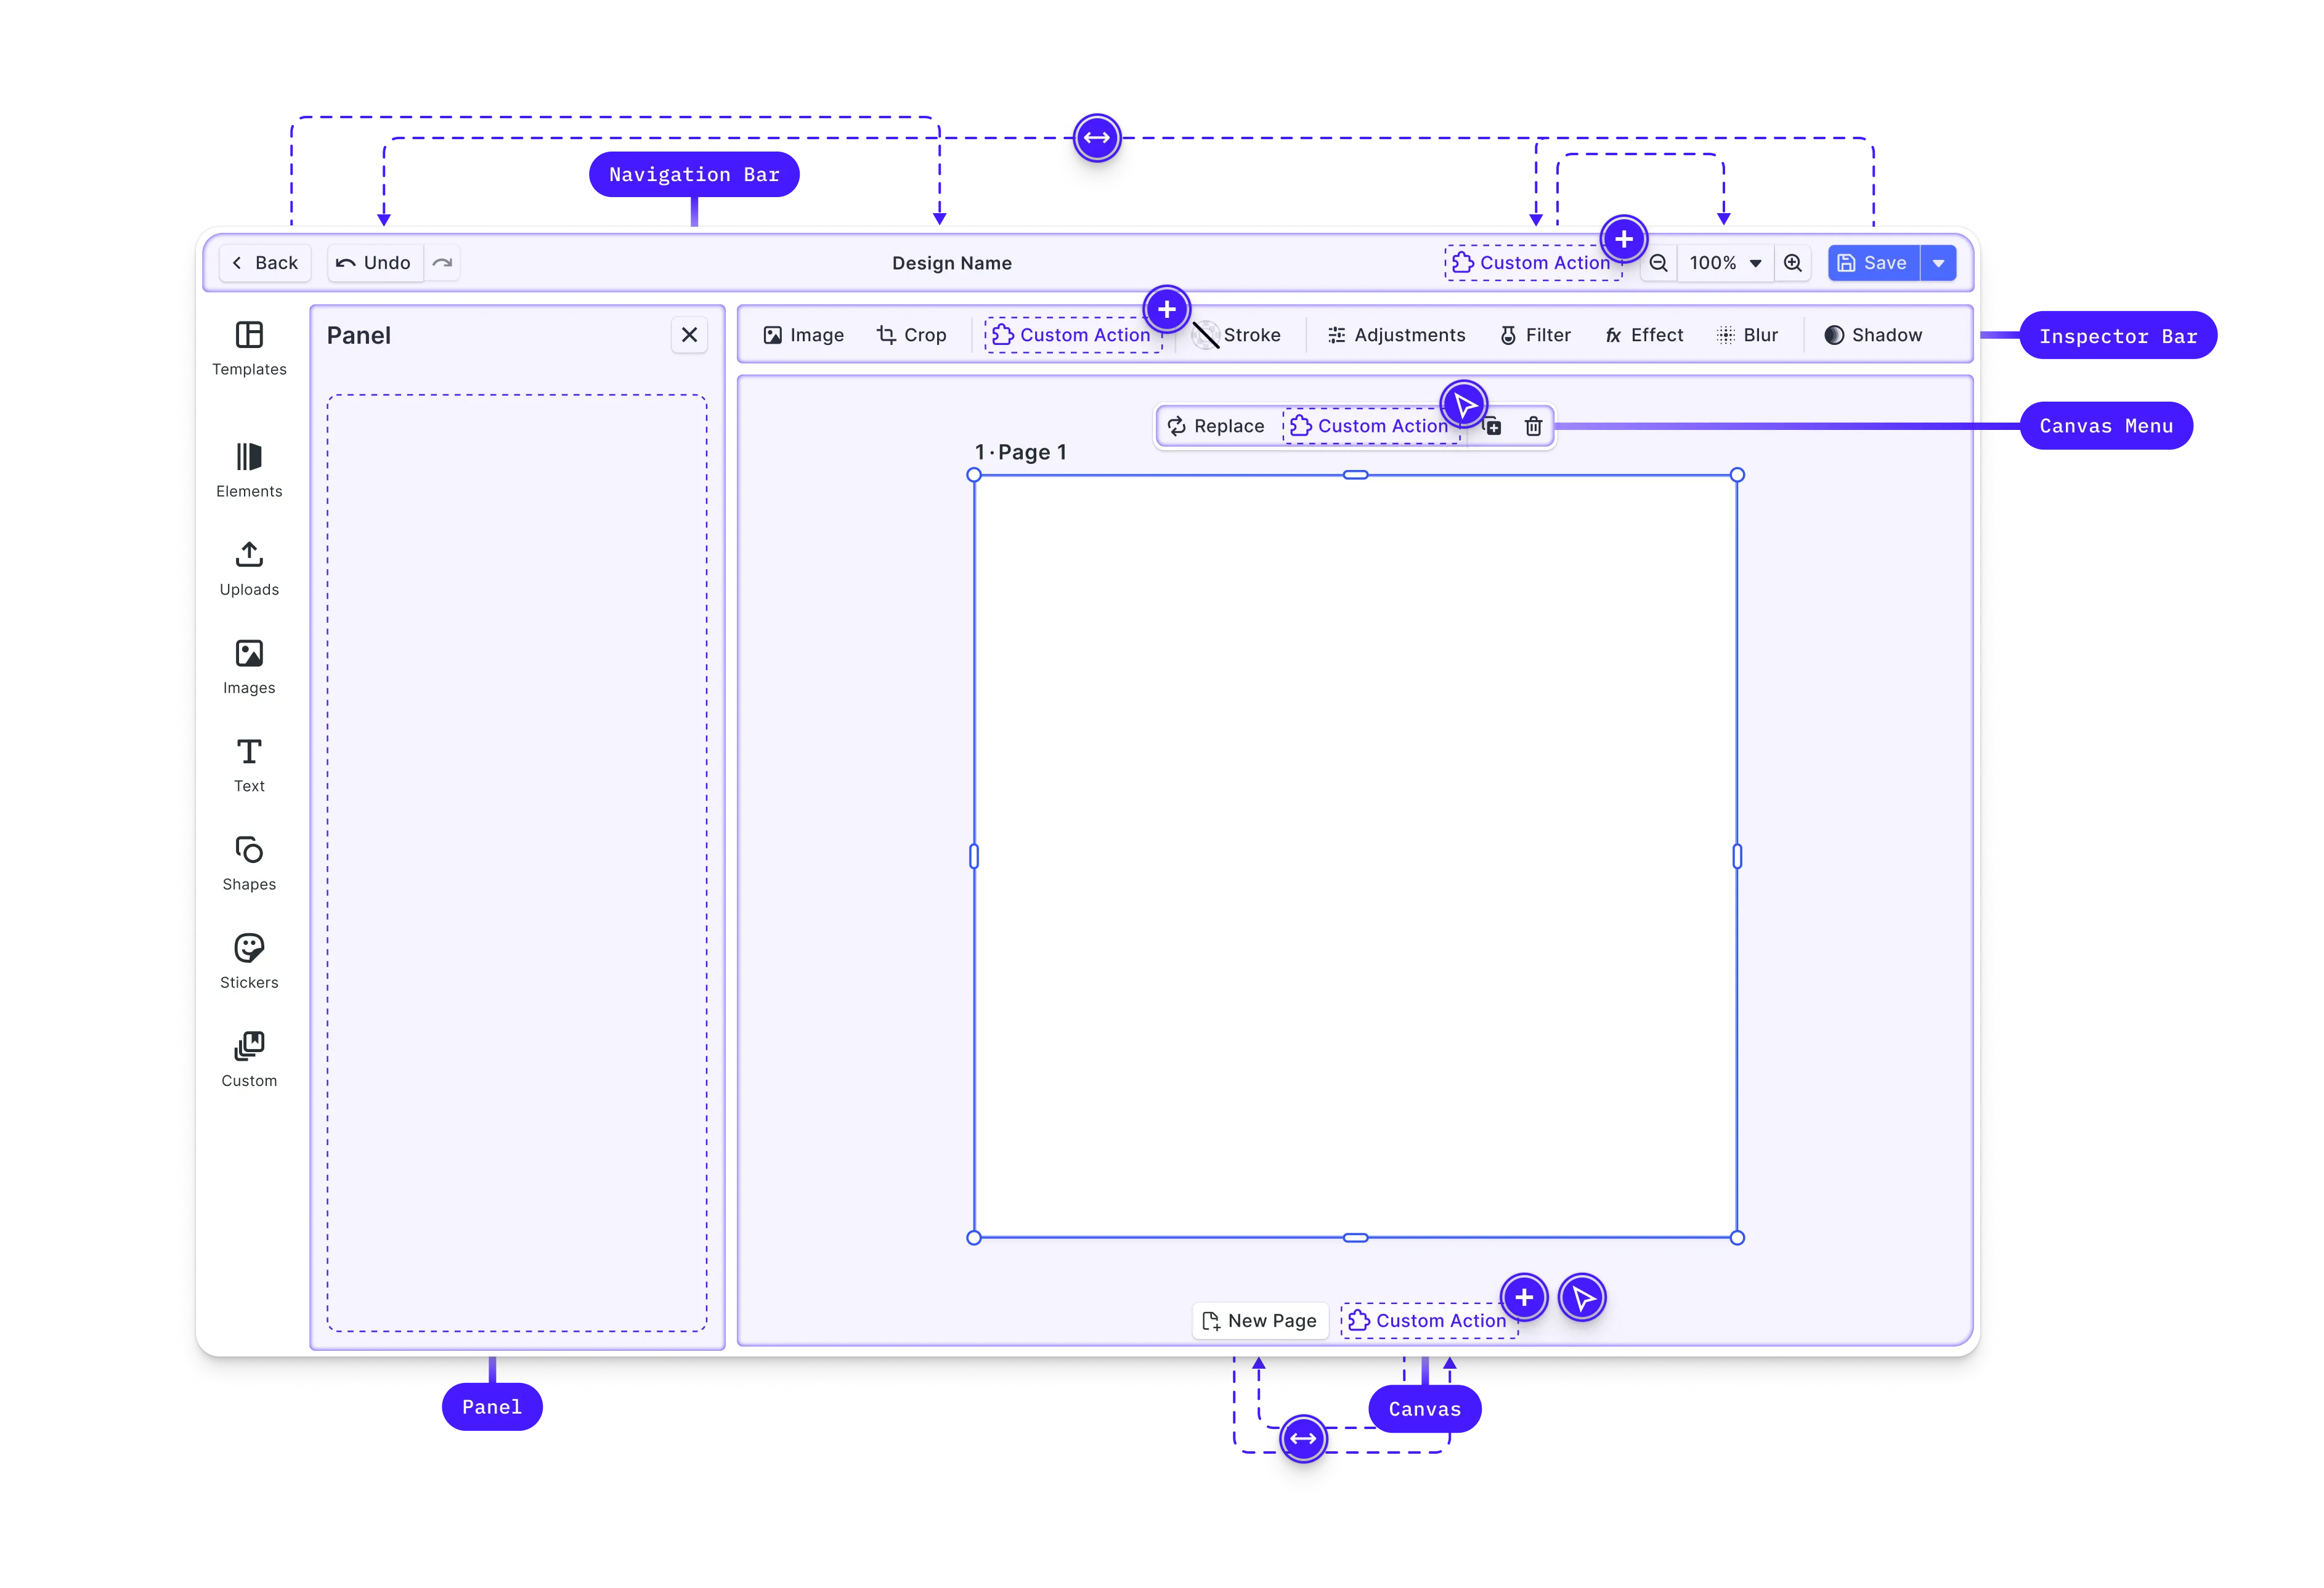
Customize the editor interface by modifying the dock, inspector bar, navigation bar, and canvas menu. CE.SDK provides Order APIs to control which components appear and in what sequence.
// Get current navigation bar componentsconst navOrder = cesdk.ui.getNavigationBarOrder();
// Add a custom button to the navigation barcesdk.ui.insertNavigationBarOrderComponent(  'ly.img.spacer',  { id: 'my-custom-action' },  'after');
// Rearrange dock itemscesdk.ui.setDockOrder([  'ly.img.assetLibrary.dock',  'ly.img.separator',  'my-custom-dock-item']);
// Customize the inspector barcesdk.ui.setInspectorBarOrder([  'ly.img.fill.inspectorBar',  'ly.img.separator',  'ly.img.filter.inspectorBar']);
The Order API methods follow a consistent pattern across all UI areas:
get*Order()– Retrieve the current component orderset*Order()– Replace the entire orderinsert*OrderComponent()– Add components relative to existing ones
See Dock, Inspector Bar, Navigation Bar, Canvas Menu, and Canvas for detailed layout customization options.
Custom Components#
Build custom UI components using the builder system and integrate them in the editor. Custom components receive reactive state updates and can interact with the engine API.
// Register a custom componentcesdk.ui.registerComponent('my-custom-button', ({ builder, engine }) => {  const selectedBlocks = engine.block.findAllSelected();
  builder.Button('apply-effect', {    label: 'Apply Effect',    isDisabled: selectedBlocks.length === 0,    onClick: () => {      // Apply custom logic to selected blocks    }  });});
// Add the component to the navigation barcesdk.ui.insertNavigationBarOrderComponent(  'ly.img.spacer',  'my-custom-button',  'after');
Custom components automatically re-render when the engine state they depend on changes—no manual subscription management required.
See Register New Component for the complete builder API and component patterns.
Settings & Features#
Fine-tune editor behavior through settings and features.
Settings configure core engine behavior—rendering, input handling, and history management:
cesdk.engine.editor.setSettingBool('page/dimOutOfPageAreas', true);cesdk.engine.editor.setSettingBool('mouse/enableZoomControl', true);cesdk.engine.editor.setSettingBool('features/undoHistory', true);Features toggle which editing tools and panels appear in the UI:
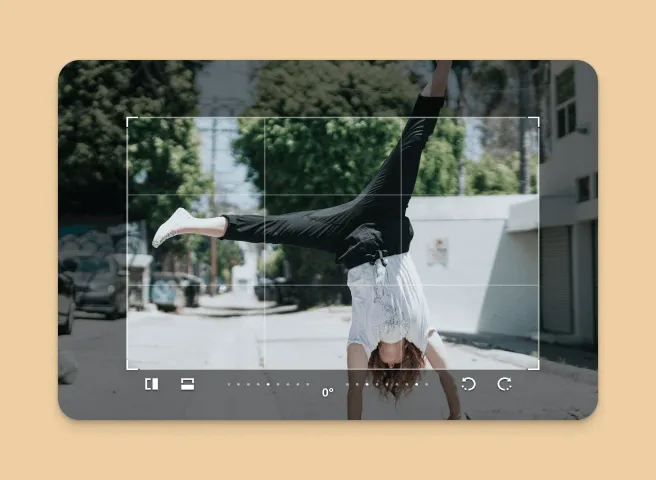
// Toggle editor featurescesdk.feature.enable('ly.img.crop', true);cesdk.feature.enable('ly.img.filter', true);cesdk.feature.enable('ly.img.adjustment', true);See Settings and Features for the complete reference.
Explore Plugins#
CE.SDK has a rich plugin ecosystem that extends the editor with powerful capabilities. Plugins can add new features, integrate third-party services, or customize editor behavior.
Background Removal#
Add AI-powered background removal that runs entirely client-side. The background removal plugin processes images directly in the browser without sending data to external servers.
import BackgroundRemovalPlugin from '@imgly/plugin-background-removal-web';
// Add background removal capabilityawait cesdk.addPlugin(BackgroundRemovalPlugin());
See Background Removal for setup instructions and configuration options.
Print Ready PDF#
Export print-ready PDF/X-4 and PDF/X-3 files with CMYK color profiles for professional printing workflows.
import { convertToPDFX } from '@imgly/plugin-print-ready-pdfs-web';
// Export the current page and convert it into a print-ready PDF/X fileconst [page] = cesdk.engine.block.findByType('page');const pdfBlob = await cesdk.engine.block.export(page, {  mimeType: 'application/pdf'});const printReadyPDF = await convertToPDFX(pdfBlob, {  outputProfile: 'fogra39'});
See Print Ready PDF for setup instructions and configuration options.
AI Integration#
Extend the editor with generative AI capabilities for text-to-image generation, image enhancement, and intelligent editing features. CE.SDK integrates with various AI providers.
import ImageGeneration from '@imgly/plugin-ai-image-generation-web';import { GatewayProvider } from '@imgly/plugin-ai-image-generation-web/gateway';
// Your backend mints a short-lived IMG.LY AI Gateway tokencesdk.actions.register('ly.img.ai.getToken', async () => {  const response = await fetch('/api/ai/token', { method: 'POST' });  const { token } = await response.json();  return token;});
// Add text-to-image generation through the IMG.LY AI Gatewayawait cesdk.addPlugin(  ImageGeneration({    providers: {      text2image: GatewayProvider('bfl/flux-2', {})    }  }));
// Show the image generation panel in the dockcesdk.ui.setComponentOrder({ in: 'ly.img.dock' }, [  'ly.img.ai.image-generation.dock',  ...cesdk.ui.getComponentOrder({ in: 'ly.img.dock' })]);
See Managed Model Gateway for the token endpoint and AI Integration for all AI features.
Custom Asset Sources#
Connect external asset libraries like Unsplash, Getty Images, or your own content management system. Asset sources let users browse and insert content from any source.
You register one with engine.asset.addSource(), without installing a plugin package. See Import From Remote Source for integration patterns and Unsplash for a complete Unsplash integration.
Discover More Plugins#
Explore the full plugin ecosystem in the IMG.LY plugins repository. Available plugins include:
- Vectorizer – Convert raster images to vectors
- Design Presets – Pre-built design templates
- Social Media Templates – Platform-specific sizing
- And more – Check the repository for the latest additions
Key Capabilities#
The Version History editor provides essential versioning features for design workflows.
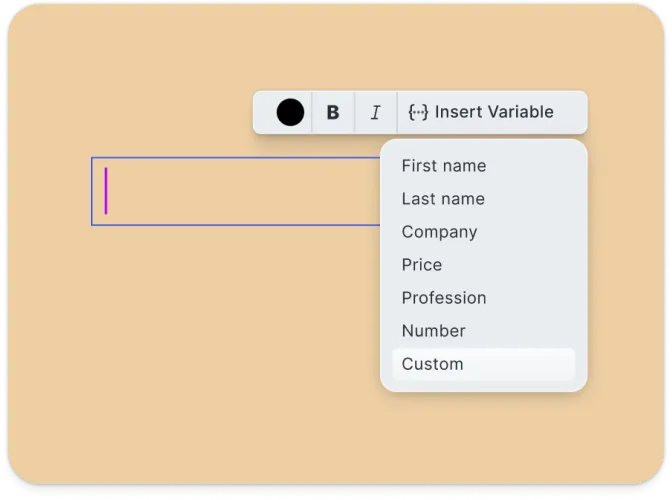
Snapshot Save/Load
Save design states as snapshots and restore any previous version with a single click.
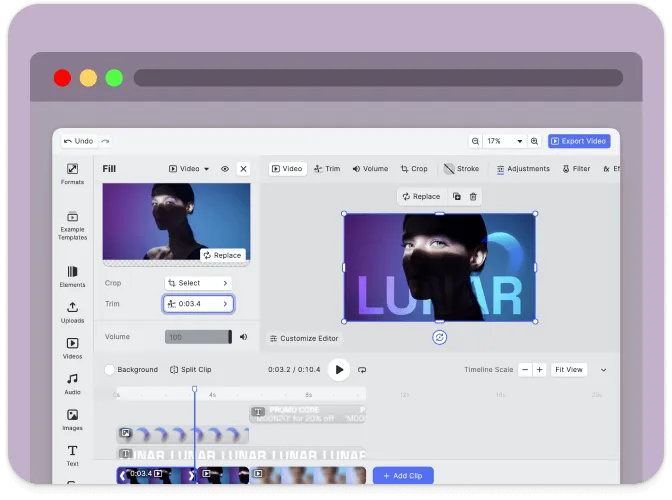
Thumbnail Previews
Each snapshot displays a visual thumbnail for easy identification of design versions.
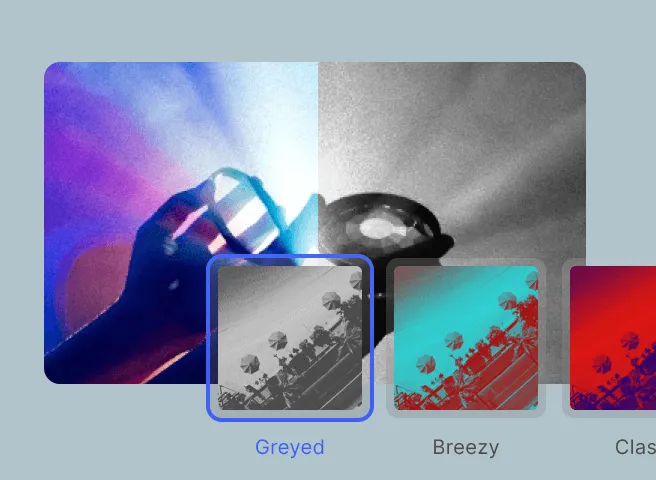
User Attribution
Track who created each snapshot with timestamps for collaborative workflows.
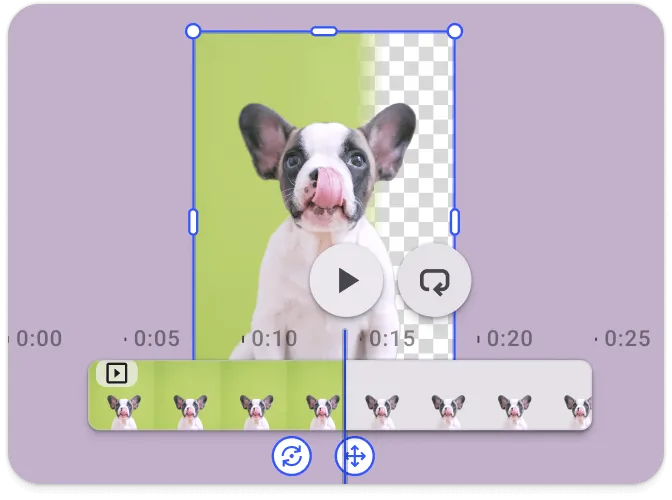
Client-Side Storage
All snapshot data is stored locally in the browser—no server required.
Multi-Page Support
Full scene state including all pages is captured and restored in each snapshot.
React Integration
Built with React hooks for seamless integration into modern React applications.
Troubleshooting#
Editor doesn’t load#
- Check the container element exists: Ensure your container element is in the DOM before calling
create() - Verify the baseURL: Assets must be accessible from the CDN or your self-hosted location
- Check console errors: Look for CORS or network errors in browser developer tools
Assets don’t appear#
- Check network requests: Open DevTools Network tab and look for failed requests to
cdn.img.ly - Self-host assets for production: See Serve Assets to host assets on your infrastructure
Snapshots don’t appear#
- Check React state: Ensure
snapshotsstate is correctly wired to your UI components - Verify onSave callback: Check that the callback is correctly configured in the editor config
Thumbnails are blank#
- Wait for content to load: Ensure the scene has finished rendering before creating thumbnails
- Check scene exists: Verify the scene is available before calling
createSnapshot
Export fails or produces blank images#
- Wait for content to load: Ensure images are fully loaded before exporting
- Check CORS on images: Remote images must allow cross-origin access
Watermark appears in production#
- Add your license key: Set the
licenseproperty in your configuration - Get a license: Contact us at img.ly/forms/contact-sales/
Next Steps#
- Configuration – Complete list of initialization options
- Serve Assets – Self-host engine assets for production
- Actions – Build custom export and save workflows
- Theming – Customize colors and appearance
- Localization – Add translations and language support