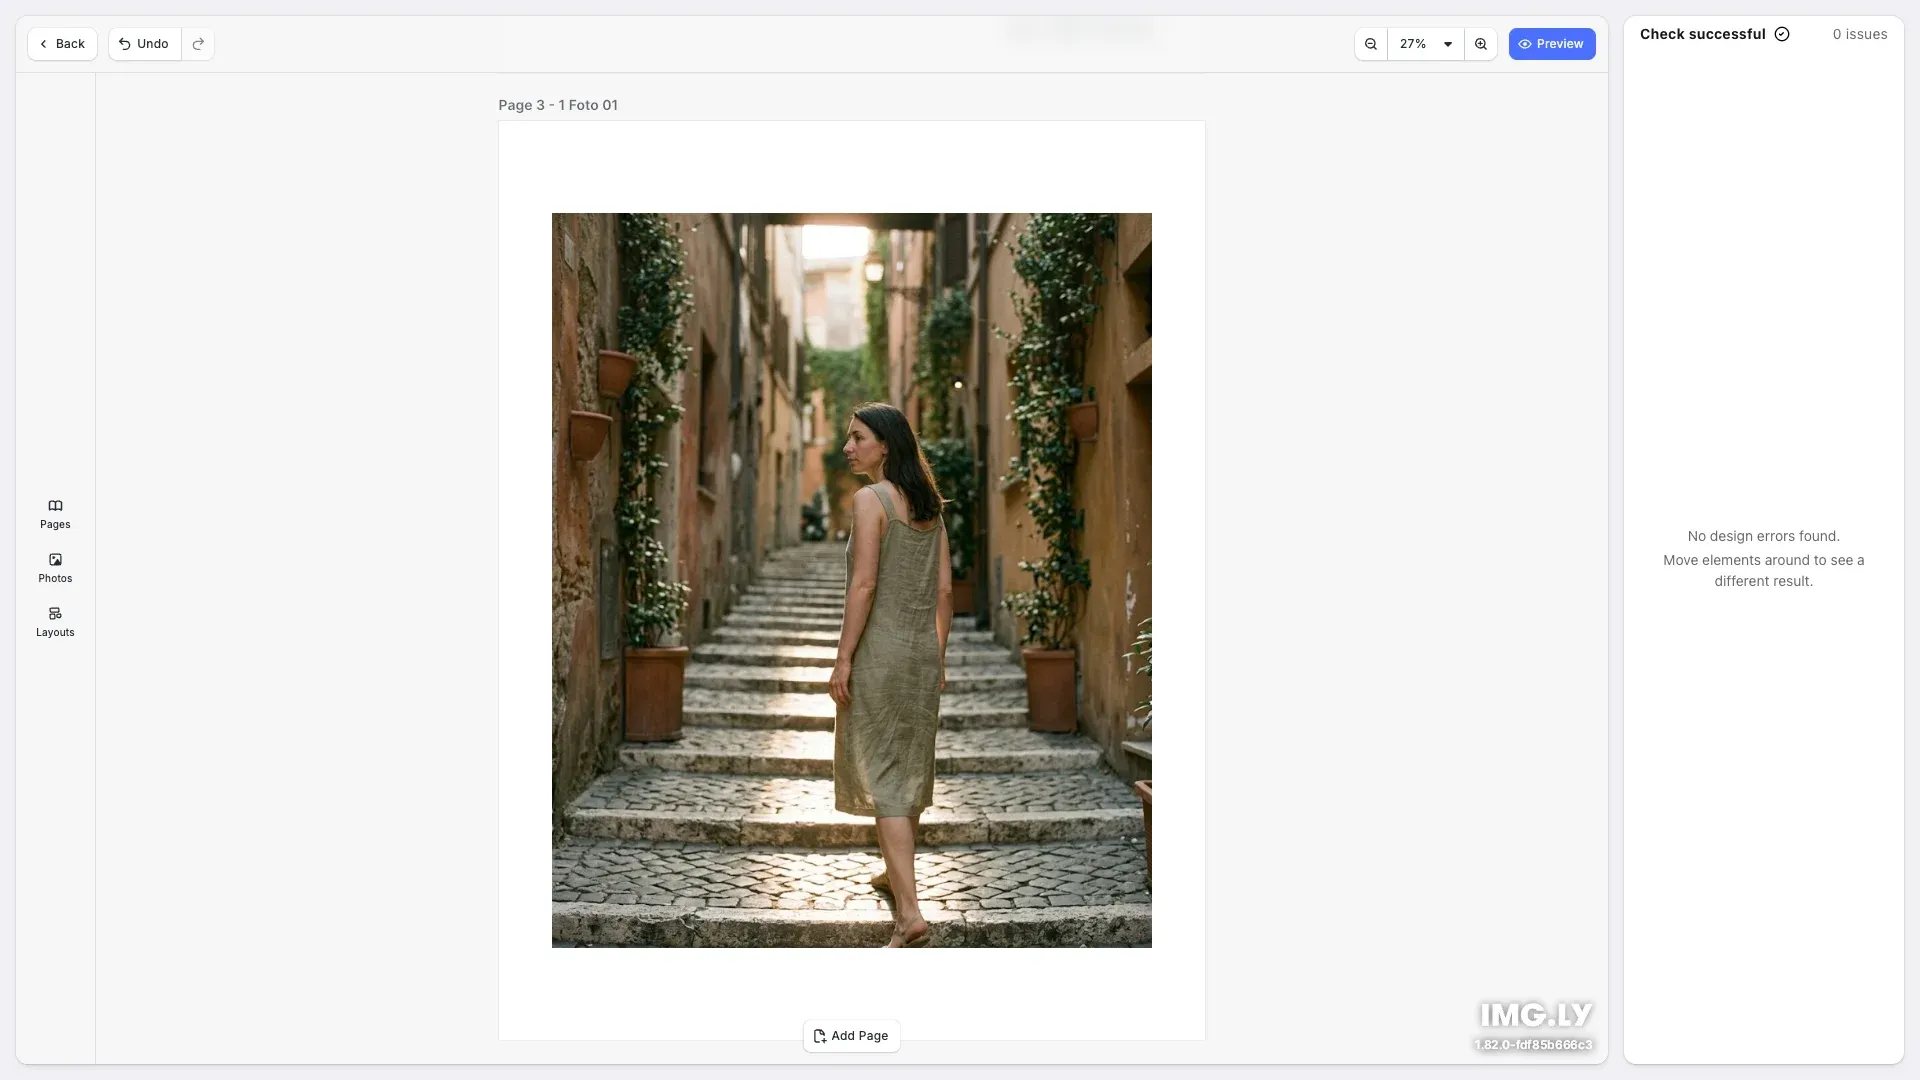
A complete photobook editor with a layouts library, photo auto-fill, live design validation, and export to print-ready PDF/X-4.
Pre-requisites#
This guide assumes basic familiarity with SvelteKit and TypeScript.
- Node.js v22+ with npm – Download
- Supported browsers – Chrome 114+, Edge 114+, Firefox 115+, Safari 15.6+
See Browser Support for the full list
Get Started#
Start fresh with a standalone Photobook Editor project. This creates a complete, ready-to-run SvelteKit application with a start screen, an editor, and an export pipeline.
Step 1: Create a New Project#
npx sv create your-project-name
cd your-project-name
npx sv create your-project-name
cd your-project-namepnpm dlx sv create your-project-name
cd your-project-namepnpm dlx sv create your-project-name
cd your-project-nameyarn dlx sv create your-project-name
cd your-project-nameyarn dlx sv create your-project-name
cd your-project-nameStep 2: Copy the Editor Logic#
Copy the kit’s editor logic into the project you just created:
npx degit imgly/starterkit-photobook-editor-react-web/src/client/src/imgly ./src/lib/imglynpx degit imgly/starterkit-photobook-editor-react-web/src/client/src/imgly ./src/lib/imglygit clone https://github.com/imgly/starterkit-photobook-editor-react-web.git
cp -r starterkit-photobook-editor-react-web/src/client/src/imgly ./src/lib/imgly
rm -rf starterkit-photobook-editor-react-webgit clone https://github.com/imgly/starterkit-photobook-editor-react-web.git
cp -r starterkit-photobook-editor-react-web/src/client/src/imgly ./src/lib/imgly
rm -rf starterkit-photobook-editor-react-webStep 3: Install Dependencies#
Install the required packages for the editor:
Core Editor#
Install the Creative Editor SDK:
npm install @cesdk/cesdk-js@1.84.0npm install @cesdk/cesdk-js@1.84.0pnpm add @cesdk/cesdk-js@1.84.0pnpm add @cesdk/cesdk-js@1.84.0yarn add @cesdk/cesdk-js@1.84.0yarn add @cesdk/cesdk-js@1.84.0Print Ready PDF#
Add the PDF/X conversion used by the export:
npm install @imgly/plugin-print-ready-pdfs-webnpm install @imgly/plugin-print-ready-pdfs-webpnpm add @imgly/plugin-print-ready-pdfs-webpnpm add @imgly/plugin-print-ready-pdfs-webyarn add @imgly/plugin-print-ready-pdfs-webyarn add @imgly/plugin-print-ready-pdfs-webStep 4: Download Assets#
CE.SDK requires engine assets (fonts, icons, UI elements) to function. These must be served as static files from your project’s static/ directory.
curl -O https://cdn.img.ly/packages/imgly/cesdk-js/1.84.0/imgly-assets.zip
unzip imgly-assets.zip -d static/
rm imgly-assets.zipcurl -O https://cdn.img.ly/packages/imgly/cesdk-js/1.84.0/imgly-assets.zip
unzip imgly-assets.zip -d static/
rm imgly-assets.zipStep 5: Create the Editor Component#
Create the editor and hand it to initPhotobookEditor with the scene to open:
<script lang="ts"> import { browser } from '$app/environment'; import { onDestroy, onMount } from 'svelte'; import type CreativeEditorSDK from '@cesdk/cesdk-js';
import { initPhotobookEditor } from '$lib/imgly';
let container: HTMLDivElement; let cesdk: CreativeEditorSDK | undefined;
onMount(async () => { if (!browser) return; const { default: CreativeEditorSDK } = await import('@cesdk/cesdk-js'); cesdk = await CreativeEditorSDK.create(container, { userId: 'your-user-id', baseURL: '/assets' }); await initPhotobookEditor( cesdk, 'https://your-server.example.com/photobook-assets/style-playful-portrait.imgly' ); });
onDestroy(() => cesdk?.dispose());</script>
<div bind:this={container} style="width: 100vw; height: 100vh"></div>initPhotobookEditor takes a scene and nothing else. It configures the editor, loads the scene, and reads the rest — the page format and the asset root — from the scene itself.
Filling the book with photos is your app’s job, not the kit’s. See Set Up a Scene for the calls that do it.
Step 6: Use the Component#
The editor component above is already the route page at src/routes/+page.svelte, so no extra wiring is needed.
Get Started#
Add the photobook editor to a web application that already uses CE.SDK. You take the editor logic, install the packages it needs, point it at your asset host, and decide whether you want an export server.
Step 1: Copy the Editor Logic#
cd your-projectcd your-projectClone the starter kit and copy the editor logic into your project:
git clone https://github.com/imgly/starterkit-photobook-editor-react-web.git
cp -r starterkit-photobook-editor-react-web/src/client/src/imgly ./src/lib/imgly
rm -rf starterkit-photobook-editor-react-web
git clone https://github.com/imgly/starterkit-photobook-editor-react-web.git
cp -r starterkit-photobook-editor-react-web/src/client/src/imgly ./src/lib/imgly
rm -rf starterkit-photobook-editor-react-webnpx degit imgly/starterkit-photobook-editor-react-web/src/client/src/imgly ./src/lib/imglynpx degit imgly/starterkit-photobook-editor-react-web/src/client/src/imgly ./src/lib/imglyThe imgly/ folder holds the layouts library, the auto-fill, the validation checks, and the editor configuration, with no dependency on the demo application:
imgly/├── index.ts # Editor initialization function├── photobook.ts # Sizes, styles, and the scene each starts from├── photos.ts # Upload asset source for the reader's photos├── autofill.ts # Places photos and captions into placeholders├── placeholders.ts # What counts as unfilled placeholder content├── photo-stash.ts # Holds photos that a smaller layout cannot fit├── preview-mode.ts # Page-spread preview├── block-utils.ts # Engine helpers shared across the kit├── constants.ts # Shared identifiers and panel helpers├── plugins/layouts/│ └── layout.ts # Layouts asset source and layout switching├── validation.ts # The print validation checks├── validation-types.ts # Validation result types├── validation-utils.ts # Validation helpers└── config/ ├── plugin.ts # Main configuration plugin ├── actions.ts # Export/import actions ├── features.ts # Feature toggles ├── i18n.ts # Translations ├── settings.ts # Engine settings ├── keyboard/ # Keyboard shortcut catalog └── ui/ # UI customizationValidation runs on its own: the checks in imgly/validation.ts report every problem they find without further setup. The user-facing names and descriptions for those reports are presentation, and the kit keeps them in src/client/src/app/validation-config.ts. That file is not required for validation to run — copy it if you want its wording, or write your own labels in your UI.
Step 2: Install Dependencies#
Install the required packages for the editor:
Core Editor#
Install the Creative Editor SDK:
npm install @cesdk/cesdk-js@1.84.0npm install @cesdk/cesdk-js@1.84.0pnpm add @cesdk/cesdk-js@1.84.0pnpm add @cesdk/cesdk-js@1.84.0yarn add @cesdk/cesdk-js@1.84.0yarn add @cesdk/cesdk-js@1.84.0Print Ready PDF#
Add the PDF/X conversion used by the export pipeline:
npm install @imgly/plugin-print-ready-pdfs-webnpm install @imgly/plugin-print-ready-pdfs-webpnpm add @imgly/plugin-print-ready-pdfs-webpnpm add @imgly/plugin-print-ready-pdfs-webyarn add @imgly/plugin-print-ready-pdfs-webyarn add @imgly/plugin-print-ready-pdfs-webThis plugin runs in the browser. See Print Ready PDF for its options.
Step 3: Download Assets#
CE.SDK requires engine assets (fonts, icons, UI elements) to function. These must be served as static files from your project’s static/ directory.
curl -O https://cdn.img.ly/packages/imgly/cesdk-js/1.84.0/imgly-assets.zip
unzip imgly-assets.zip -d static/
rm imgly-assets.zip
curl -O https://cdn.img.ly/packages/imgly/cesdk-js/1.84.0/imgly-assets.zip
unzip imgly-assets.zip -d static/
rm imgly-assets.zipThe kit’s layout and style scenes are a separate bundle. Host it yourself and serve the scene from that same root: the kit derives the asset root from the scene URL you pass.
Step 4: Create the Editor Component#
Create the editor and hand it to initPhotobookEditor with the scene to open:
<script lang="ts">  import { browser } from '$app/environment';  import { onDestroy, onMount } from 'svelte';  import type CreativeEditorSDK from '@cesdk/cesdk-js';
  import { initPhotobookEditor } from '$lib/imgly';
  let container: HTMLDivElement;  let cesdk: CreativeEditorSDK | undefined;
  onMount(async () => {    if (!browser) return;    const { default: CreativeEditorSDK } = await import('@cesdk/cesdk-js');    cesdk = await CreativeEditorSDK.create(container, {      userId: 'your-user-id',      baseURL: '/assets'    });    await initPhotobookEditor(      cesdk,      'https://your-server.example.com/photobook-assets/style-playful-portrait.imgly'    );  });
  onDestroy(() => cesdk?.dispose());</script>
<div bind:this={container} style="width: 100vw; height: 100vh"></div>
initPhotobookEditor takes a scene and nothing else. It configures the editor, loads the scene, and reads the rest — the page format and the asset root — from the scene itself.
Filling the book with photos is your app’s job, not the kit’s. See Set Up a Scene for the calls that do it.
Step 5 (Optional): Offload Rendering to a Node Server#
Keep browser-side export and you are done — nothing else is required.
Rendering a long book on a low-powered device is the case for moving the work off the reader’s machine. Copy the bundled server. It is five files:
src/server/index.ts # Composition root: wires the exporter in, listens on 8080, graceful shutdownsrc/server/http/routes.ts # The five routes, size and rate limits, job wiring, JSON error handlersrc/server/imgly/export.ts # Renders the scene archive with @cesdk/node-nativesrc/server/jobs/store.ts # In-memory job store, limits, and the expiry sweepsrc/shared/export-api.ts # Wire types shared with the client@cesdk/node-native is a native binary, so it runs where its platform build does: Linux x64 with glibc 2.39 or newer, macOS on ARM or x64, and Windows x64. Check that against your base image before you build.
Install what the server needs:
npm install @cesdk/node-native@1.84.0 express dotenvnpm install @cesdk/node-native@1.84.0 express dotenvpnpm add @cesdk/node-native@1.84.0 express dotenvpnpm add @cesdk/node-native@1.84.0 express dotenvyarn add @cesdk/node-native@1.84.0 express dotenvyarn add @cesdk/node-native@1.84.0 express dotenvTo render on a backend you already run instead, implement the same contract. Match the wire types in src/shared/export-api.ts and these routes:
| Route | Purpose |
|---|---|
POST /api/export |
Upload the scene archive, receive a job id |
GET /api/export/:id |
Poll the job status |
GET /api/export/:id/file |
Download the rendered PDF |
DELETE /api/export/:id |
Discard a job the client no longer needs |
GET /api/health |
Readiness probe |
The client calls these as relative paths, so serve them on the same origin or proxy them. Set VITE_USE_SERVER=true to route exports through the server.
Only rendering moves to the server. The PDF/X conversion always runs in the browser, so the server never needs @imgly/plugin-print-ready-pdfs-web.
Exporting Print-Ready PDFs#
Export produces a PDF/X-4 file with a FOGRA39 output intent.
In your own project this is a second step, not something export does for you. It needs @imgly/plugin-print-ready-pdfs-web from Print Ready PDF above. Copy toPrintReadyPDF from the kit’s src/client/src/app/print-ready-pdf.ts, then export the scene to a PDF and convert it:
const pdf = await cesdk.engine.block.export(page, { mimeType: 'application/pdf' });const printReady = await toPrintReadyPDF(pdf);Pass an AbortSignal as the second argument to cancel the conversion. This step stays in the browser whether or not you added the server.
What the Kit Offers#
- Layouts — a layouts library filtered to the loaded page format. Applying one keeps the content already on the page.
- Auto-fill — photos placed into the book automatically, each one matched to the slot that crops it least, and captions filled from your own copy.
- Validation — a sidebar reporting low-resolution photos, empty slots, and content outside the trim, each one selectable.
- PDF/X compliance — export to PDF/X-4 with a FOGRA39 output intent, the format commercial printers ask for.
Set Up a Scene#
A photobook starts from a template rather than an empty page. The kit opens the scene, then your app puts content into it:
// Any scene URL your asset bundle serves.const sceneURL = `${DEMO_ASSETS_URL}/style-chic-portrait.imgly`;
await initPhotobookEditor(cesdk, sceneURL);
const photos = await addPhotosToUploadSource(  cesdk.engine,  examplePhotos,  uploadedFiles);
// Skip both calls to let the reader place every photo by hand.autoFillPhotobook(cesdk.engine, photos);autoFillPhotobookTexts(cesdk.engine, exampleTexts);
In short: the scene decides the book, and filling it is your app’s job.
initPhotobookEditortakes only a scene and reads the format from it.- Adding a style means adding its scene to your asset bundle.
addPhotosToUploadSourceis where your own photos come in.- Both auto-fill helpers touch only blocks the template marked as placeholders.
- Size and style come from the start screen, configured in
src/client/src/app/photobook-options.ts.
Customize#
Layouts#
The layouts library is a CE.SDK asset source. Choosing a layout re-lays out the current page instead of inserting a block, and switching to a layout with fewer slots does not discard photos — the extras move to a per-page stash and flow back when a larger layout returns.
Layouts are authored per page format. Each format has its own directory with its own content.json, scenes, and thumbnails:
layouts/├── portrait/ # content.json, scenes/, thumbnails/└── square/ # content.json, scenes/, thumbnails/To add a layout, add its scene to your asset bundle and its entry to that format’s content.json:
{ "id": "portrait-001", "label": { "en": "Title" }, "groups": ["Titles"], "meta": { "blockType": "acme.layouts", "thumbUri": "{{base_url}}/portrait/thumbnails/portrait-001.png", "uri": "{{base_url}}/portrait/scenes/portrait-001.blocks" }}Authoring a Layout Scene#
A layout scene holds one page’s worth of slots, and the kit reads it as the page’s new content. Four rules make it behave once applied:
- One page per scene. The kit swaps the page’s children, so a scene with two pages contributes only the first.
- Mark every slot as a placeholder. Auto-fill, the layout stash, and the
placeholderImageandplaceholderTextchecks all key off the placeholder flag. A slot without it is never filled and never reported. - Author at the format’s page size. Layouts live under the format directory whose pages they were drawn for; a scene drawn at another size arrives scaled.
- Give text slots their default copy. The
placeholderTextcheck compares the text against what the template shipped, so unedited captions are reported.
Photos reach the pages in the order given, but within a page auto-fill assigns them by shape, not position: it pairs the photos with the slots that crop them least. Slot geometry therefore decides which photo lands where.
Validation#
Validation runs against the book while the reader edits it and reports what would go wrong in print. Eight checks ship with the kit:
| Check | Fires when |
|---|---|
outsidePage |
An element sits completely outside the page |
protrudesFromPage |
An element extends beyond the page edge |
lowResolution |
A photo is too small for its printed size |
bleedMargin |
An element crosses the bleed margin |
duplicateImage |
The same photo appears more than once |
emptyPage |
A page has no content yet |
placeholderImage |
An image slot has no photo yet |
placeholderText |
Text still shows its placeholder content |
The detectors live in src/client/src/imgly/validation.ts and report independently of any UI. Adding a check means adding its detector there, and a name and description for it wherever your interface presents the results — in this kit, src/client/src/app/validation-config.ts.
Print Export#
Export produces a PDF/X-4 file with a FOGRA39 output profile, set in PDFX_OPTIONS in src/client/src/app/print-ready-pdf.ts. The scene renders to a standard PDF first, then convertToPDFX from @imgly/plugin-print-ready-pdfs-web converts it.
Theming and Localization#
Match the editor to your brand by setting a theme in the editor configuration. See Theming for the full set of variables.
The kit’s own strings live in src/client/src/imgly/config/i18n.ts. Add a locale there alongside the editor’s built-in translations. See Localization.
Key Capabilities#
The Photobook Editor covers the path from a folder of photos to a file a printer accepts.
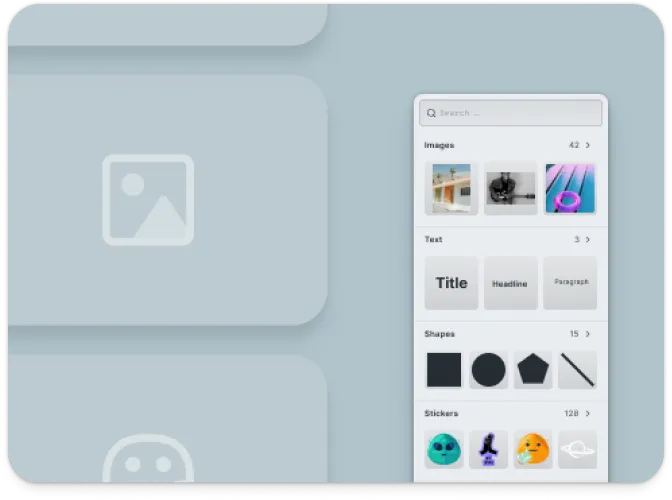
Layouts Library
Swap a page between authored layouts. Photos and captions carry over, and extras wait in a stash until a larger layout takes them back.
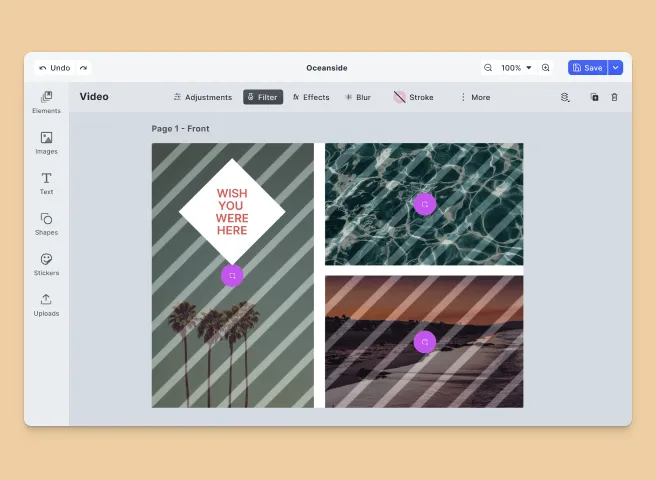
Photo Auto-Fill
Place uploaded photos into the book automatically, matching each photo to the slot whose shape crops it least.
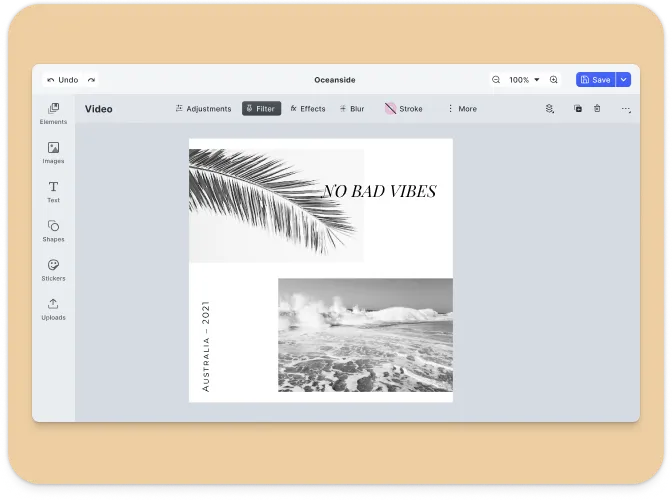
Styled Templates
Start every book from a real scene, authored per page format and style, instead of from a blank canvas.
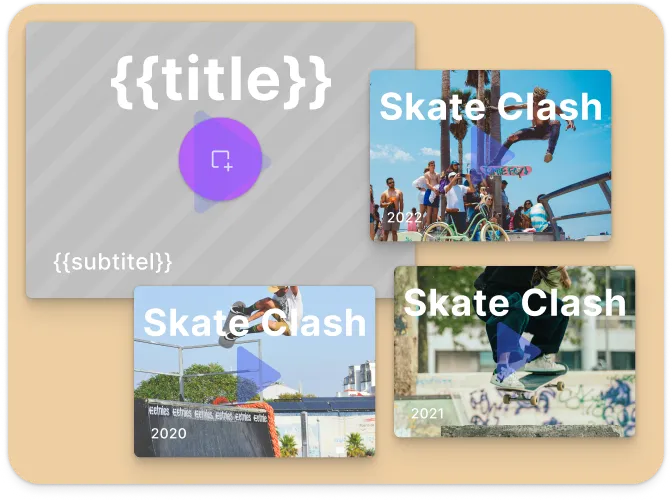
Design Validation
Catch low-resolution photos, off-page content, and bleed-margin problems while the reader can still fix them.
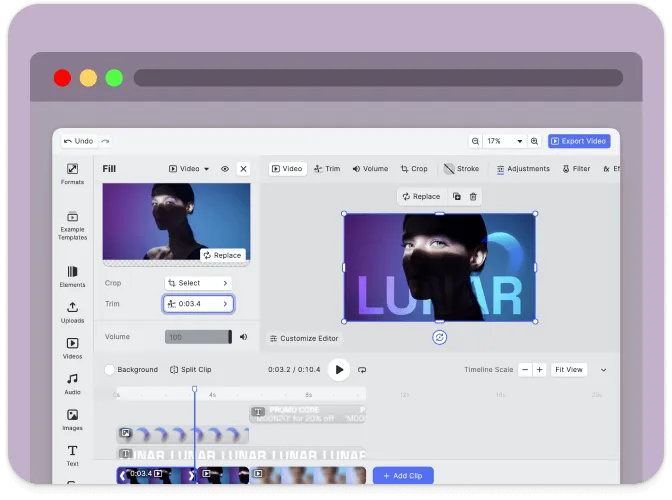
Print-Ready Export
Export PDF/X-4 with a FOGRA39 output intent, the format commercial printers ask for.
Multiple Book Formats
Offer portrait and square books at several sizes, each with its own layouts and its own style scenes.
Troubleshooting#
Editor doesn’t load#
- Check the container element exists: Ensure your container element is in the DOM before calling
create() - Verify the baseURL: Engine assets must be reachable from the CDN or your self-hosted location
- Check console errors: Look for CORS or network errors in browser developer tools
Layouts or example photos don’t appear#
- Check the demo asset location: The layouts, style scenes, and example photos come from a separate bundle. The kit derives their root from the scene URL you pass to
initPhotobookEditor, so check that URL, orVITE_DEMO_ASSETS_BASE_URLwhen you run the kit as-is - Check network requests: Open the DevTools Network tab and look for failed requests to the asset host
- Self-host assets for production: See Serve Assets to host assets on your infrastructure
Layouts don’t fill with photos#
- Check the layout’s placeholders: Auto-fill only touches blocks the layout scene marked as placeholders. A layout authored without them stays empty. See Placeholders
Export is slow or blocks the editor#
- Move rendering to the server: A large book competes with the editor for the main thread. Run the export server and set
VITE_USE_SERVER=true - Wait for content to load: Ensure photos are fully loaded before exporting
- Check CORS on images: Remote photos must allow cross-origin access
Watermark appears in production#
- Add your license key: Set
VITE_CESDK_LICENSEin your environment, or thelicenseproperty in your configuration - Get a license: Contact us at img.ly/forms/contact-sales/
API Reference#
Most of what you need is four calls: open a scene, give it photos, fill it, and export it for print.
| Call | What it does |
|---|---|
initPhotobookEditor(cesdk, sceneURL) |
Opens a photobook. Configures the editor, loads the scene, offers the layouts matching the scene’s page format, and locks the cover |
addPhotosToUploadSource(engine, remotePhotos, files) |
Fills the upload source with the photos the book may use, and returns them for auto-fill |
autoFillPhotobook(engine, photos) |
Fills every empty slot, matching each photo to the slot whose shape crops it least |
toPrintReadyPDF(pdf, signal?) |
Converts an exported PDF to print-ready PDF/X-4. From src/client/src/app/print-ready-pdf.ts |
Two more worth knowing:
VALIDATION_CHECKSinsrc/client/src/imgly/validation.ts— the print validation checks, each with the rule it applies. This is where you add a check of your own or drop one you do not want.enterPreviewMode(cesdk, options)— switches the editor into the read-only page-spread preview and returns the function that exits it.
Everything else is exported from src/client/src/imgly/index.ts:
| Export | Kind | What it does |
|---|---|---|
initPhotobookEditor(cesdk, sceneURL) |
function | Configures a CE.SDK instance for photobook editing: adds the editor configuration and asset source plugins, loads the scene, registers the layouts library for the format read from the loaded cover, stamps the template’s default texts, and locks the cover |
DesignEditorConfig |
class | The editor configuration plugin. Adds the actions, features, translations, settings, keyboard shortcuts, and UI layout. Add it with cesdk.addPlugin(new DesignEditorConfig()) |
UPLOAD_SOURCE_ID |
constant | The id of the asset source the reader’s photos go into, ly.img.image.upload |
revokeUploadedPhotoURLs() |
function | Releases the object URLs created for uploaded files and drops their cached resolutions. Call it when the editor closes |
PhotoRef |
type | A photo available for filling the book: uri, width, height |
RemotePhotoAsset |
type | A remote example photo with known pixel dimensions, plus id, label, and thumbUri |
autoFillPhotobook(engine, photos) |
function | Fills every placeholder image slot in the book, matching each photo to the slot whose shape crops it least |
autoFillPhotobookTexts(engine, texts) |
function | Writes caption copy into the placeholder text blocks, page by page |
PhotobookTextContent |
type | The copy an auto-filled book is written with: { captions: string[] } |
enterPreviewMode(cesdk, options) |
function | Switches the editor into a read-only page-spread preview with its own navigation, and returns the function that exits it. Preview writes go into a scratch history, so the mode leaves no undo steps behind |
LAYOUTS_SOURCE_ID |
constant | The id of the layouts asset source, ly.img.layouts |
LayoutsAssetSourcePlugin |
class | Registers the layouts library for one page format. Applying a layout re-lays out the current page and carries its photos and text into the new slots |
getLayoutFormat(size) |
function | Returns the page format a size is authored at, portrait or square |
getSceneLayoutFormat(engine) |
function | Returns the page format of the loaded scene, read from its cover page |
assetsBaseURLOf(sceneURL) |
function | Returns the asset root a scene hangs off: its parent directory |
addPhotosToUploadSource(engine, remotePhotos, files) |
function | Adds photos to the upload source and returns them, the reader’s files first |
getStyleSceneURL(assetsBaseURL, format, styleId) |
function | Returns the scene URL a size and style combination starts from |
PhotobookSize |
type | A page format in millimeters: { width, height } |
PhotobookStyleId |
type | 'playful' | 'chic' |
PhotoDistributionId |
type | 'autoFill' | 'byHand' |
Next Steps#
- Configuration – Complete list of initialization options
- Serve Assets – Self-host engine assets for production
- Print Ready PDF – More on PDF/X conversion
- Placeholders – Author the slots layouts fill
- Theming – Customize colors and appearance
- Localization – Add translations and language support