Enable users to upload images and videos from their devices directly into CE.SDK.
CE.SDK provides a built-in upload handler that stores files locally in memory for development. For production use cases where files need to persist across sessions, you can register a custom upload handler that uploads to your CDN or cloud storage.
This guide covers how to enable upload functionality using demo asset sources and how to register custom upload handlers for production deployments.
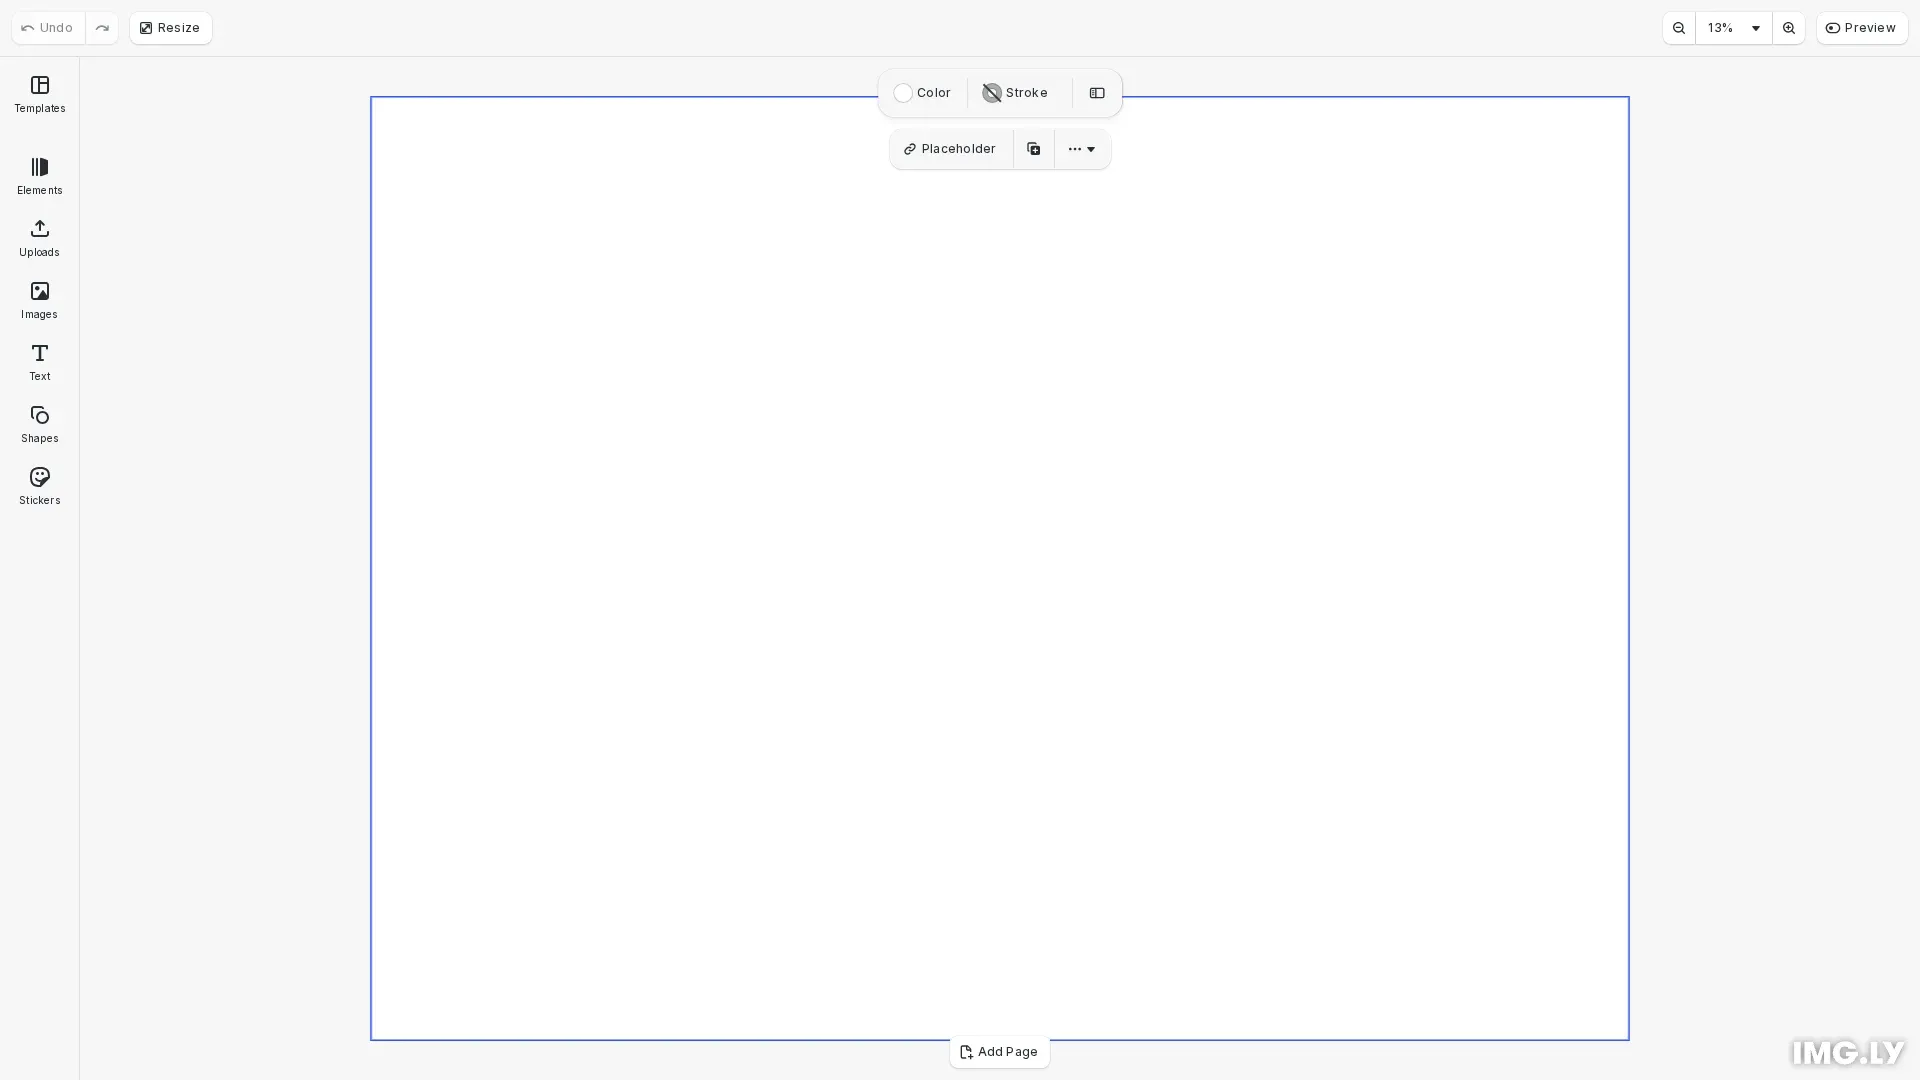
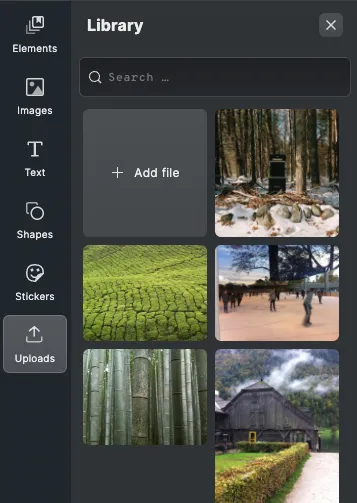
Using the Built-in Upload UI#
CE.SDK includes a default local upload handler that allows users to upload images. The “Add file” button appears automatically in the image library without any configuration.
Local uploads store files in browser memory only. Files won’t persist when opening the same scene in a different environment or after a page reload. For production applications, implement a custom upload handler to persist files to remote storage.
Enabling Upload Demo Asset Sources#
To enable upload functionality when using demo asset sources, pass the withUploadAssetSources option to the DemoAssetSources plugin:
await cesdk.addPlugin( new UploadAssetSources({ include: ['ly.img.image.upload'] }));await cesdk.addPlugin( new DemoAssetSources({ include: [ 'ly.img.templates.blank.*', 'ly.img.templates.presentation.*', 'ly.img.templates.print.*', 'ly.img.templates.social.*', 'ly.img.image.*' ] }));Without this option, demo asset sources won’t include upload functionality.
Creating a Custom Asset Source with Uploads#
For full control over asset storage and retrieval, create a custom asset source using engine.asset.addSource(). The source must implement addAsset to store uploaded assets and getSupportedMimeTypes to define accepted file types:
// Store uploaded assets in memory (in production, use a database or API)const uploadedAssets: AssetResult[] = [];// Create a custom asset source with upload supportconst engine = cesdk.engine;engine.asset.addSource({ id: 'my-uploads',
// Return stored assets when queried async findAssets(queryData) { return { assets: uploadedAssets, total: uploadedAssets.length, currentPage: queryData.page }; },
// Enable uploads by specifying accepted MIME types getSupportedMimeTypes() { return ['image/jpeg', 'image/png', 'image/webp']; },
// Store uploaded assets (convert AssetDefinition to AssetResult) addAsset(asset: AssetDefinition) { uploadedAssets.push({ id: asset.id, label: asset.label?.en, meta: asset.meta, groups: asset.groups }); }});The addAsset method is called automatically after a successful upload, with the AssetDefinition returned by the upload handler. The asset source is responsible for storing and retrieving these assets.
Registering a Custom Upload Handler#
For production use, register a custom upload handler using the Actions API after SDK initialization. The handler receives the file, a progress callback, and context. It must return an AssetDefinition with the permanent URI.
// Register a custom upload handler for production usecesdk.actions.register(  'uploadFile',  async (file: File, onProgress, _context) => {    // Validate file type    const allowedTypes = ['image/jpeg', 'image/png', 'image/webp'];    if (!allowedTypes.includes(file.type)) {      throw new Error(        `Unsupported file type: ${file.type}. Allowed: ${allowedTypes.join(          ', '        )}`      );    }
    // Validate file size (max 50MB)    const maxSize = 50 * 1024 * 1024;    if (file.size > maxSize) {      throw new Error('File exceeds maximum size of 50MB');    }
    // Simulate upload progress for demonstration    // In production, use XMLHttpRequest or fetch with progress tracking    for (let progress = 0; progress <= 0.9; progress += 0.1) {      onProgress(progress);      await new Promise((resolve) => setTimeout(resolve, 100));    }
    // Simulate uploading to a CDN (replace with your actual upload logic)    // In production, you would use fetch or XMLHttpRequest to upload to your server    const mockCdnUrl = URL.createObjectURL(file);    const mockThumbUrl = mockCdnUrl;
    // Signal upload complete    onProgress(1);
    // Return the asset definition with permanent URLs    return {      id: `uploaded-asset-${Date.now()}`,      label: {        en: file.name      },      meta: {        uri: mockCdnUrl,        thumbUri: mockThumbUrl,        kind: 'image'      }    };  });
File Validation#
Validate files before processing by checking MIME type, file size, or other properties inside the upload handler. Reject invalid files by throwing an error:
// Validate file typeconst allowedTypes = ['image/jpeg', 'image/png', 'image/webp'];if (!allowedTypes.includes(file.type)) {  throw new Error(    `Unsupported file type: ${file.type}. Allowed: ${allowedTypes.join(      ', '    )}`  );}
// Validate file size (max 50MB)const maxSize = 50 * 1024 * 1024;if (file.size > maxSize) {  throw new Error('File exceeds maximum size of 50MB');}
Upload Progress#
Use the onProgress callback to report upload progress to the user. The callback accepts a number from 0 to 1 representing completion percentage:
// Simulate upload progress for demonstration// In production, use XMLHttpRequest or fetch with progress trackingfor (let progress = 0; progress <= 0.9; progress += 0.1) { onProgress(progress); await new Promise((resolve) => setTimeout(resolve, 100));}Returning the Asset Definition#
After uploading, return an AssetDefinition object with the permanent URLs. The meta.uri field contains the main asset URL, and meta.thumbUri contains the thumbnail URL:
// Return the asset definition with permanent URLsreturn { id: `uploaded-asset-${Date.now()}`, label: { en: file.name }, meta: { uri: mockCdnUrl, thumbUri: mockThumbUrl, kind: 'image' }};Accessing the Default Local Upload#
You can access the built-in local upload utility via cesdk.utils.localUpload() when you want to conditionally use local storage versus remote storage:
cesdk.actions.register('uploadFile', async (file, onProgress, context) => { if (shouldUseLocalStorage(file)) { return await cesdk.utils.localUpload(file, context); } return await uploadToRemoteStorage(file);});This pattern allows you to conditionally choose between local storage and remote storage based on your application’s requirements.
API Reference#
| Method | Category | Purpose |
|---|---|---|
cesdk.addPlugin(new DemoAssetSources()) | SDK | Add demo asset sources with optional upload support |
engine.asset.addSource() | Asset | Register a custom asset source with upload support |
cesdk.actions.register() | Actions | Register custom action handlers including uploads |
cesdk.utils.localUpload() | Utils | Default local upload utility for development |
AssetSource | Type | Interface for custom asset sources with upload methods |
AssetDefinition | Type | Return type for upload handlers containing asset metadata |
Troubleshooting#
- Upload button not visible: Ensure
withUploadAssetSources: trueis passed when using demo asset sources - Files disappear after refresh: Implement a custom upload handler to persist files to remote storage
- Upload fails silently: Check that the upload handler returns a valid
AssetDefinitionwith required fields (id,meta.uri) - Progress not updating: Verify the server supports progress reporting and the
onProgresscallback is called