Remove image backgrounds to isolate subjects for compositing, product photography, or creating transparent overlays.
The @imgly/plugin-background-removal-web plugin adds AI-powered background removal directly to the CE.SDK editor. Processing runs locally in the browser using WebAssembly and WebGPU, ensuring privacy since images never leave the client.
This guide covers installing the plugin, configuring UI placement, and customizing the background removal process.
Installing the Plugin#
Install the background removal plugin and its ONNX runtime peer dependency:
npm install @imgly/plugin-background-removal-web onnxruntime-web@1.21.0Import the plugin in your application:
import BackgroundRemovalPlugin from '@imgly/plugin-background-removal-web';Initializing the Editor#
Set up the CE.SDK editor with asset sources before adding the plugin:
const engine = cesdk.engine;await cesdk.addPlugin(new DesignEditorConfig());
// Add asset source pluginsawait cesdk.addPlugin(new BlurAssetSource());await cesdk.addPlugin(new ColorPaletteAssetSource());await cesdk.addPlugin(new CropPresetsAssetSource());await cesdk.addPlugin(  new UploadAssetSources({ include: ['ly.img.image.upload'] }));await cesdk.addPlugin(  new DemoAssetSources({    include: [      'ly.img.templates.blank.*',      'ly.img.templates.presentation.*',      'ly.img.templates.print.*',      'ly.img.templates.social.*',      'ly.img.image.*'    ]  }));await cesdk.addPlugin(new EffectsAssetSource());await cesdk.addPlugin(new FiltersAssetSource());await cesdk.addPlugin(new PagePresetsAssetSource());await cesdk.addPlugin(new StickerAssetSource());await cesdk.addPlugin(new TextAssetSource());await cesdk.addPlugin(new TextComponentAssetSource());await cesdk.addPlugin(new TypefaceAssetSource());await cesdk.addPlugin(new VectorShapeAssetSource());
await cesdk.actions.run('scene.create', {  page: { width: 800, height: 600, unit: 'Pixel' }});
Adding the Plugin#
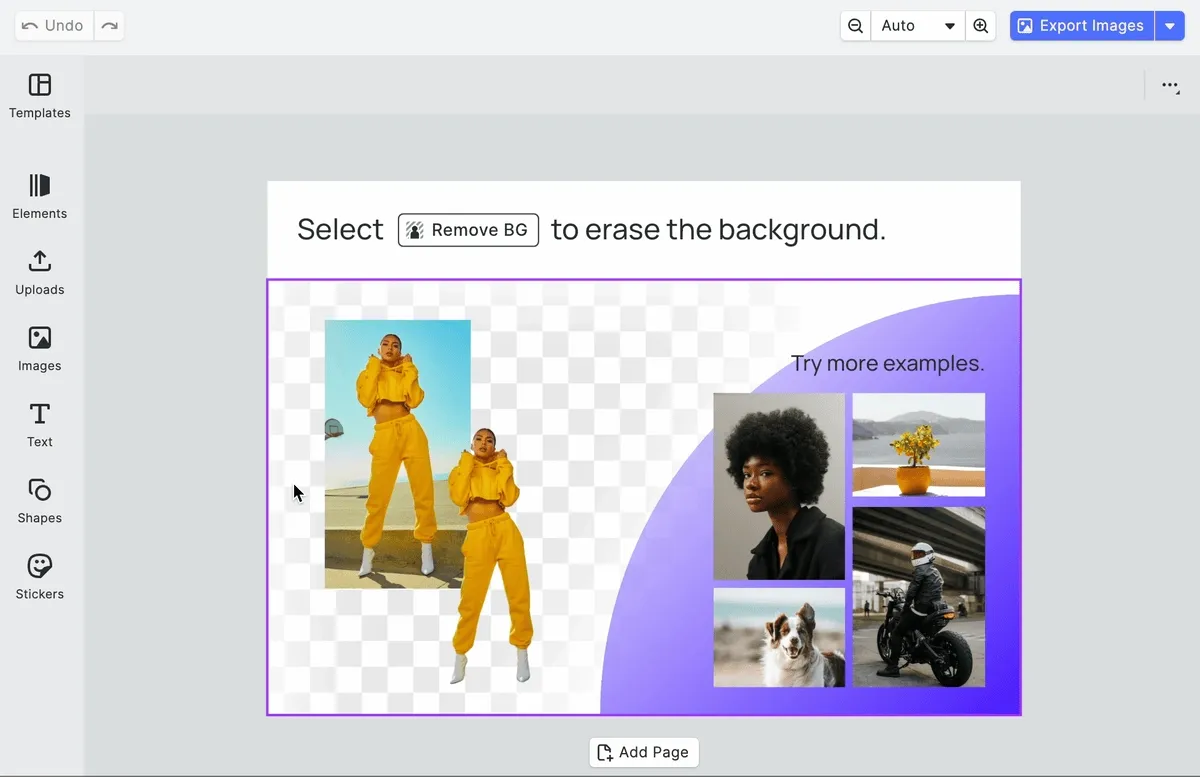
Add the plugin to the editor using cesdk.addPlugin(). The ui.locations option controls where the background removal button appears:
// Add the background removal plugin with canvas menu buttonawait cesdk.addPlugin( BackgroundRemovalPlugin({ ui: { locations: ['canvasMenu'] } }));When a user selects an image and clicks the button, the plugin handles the entire workflow: exporting the image, processing it through the AI model, and applying the result back to the scene.
UI Placement Options#
The plugin supports multiple UI locations:
| Location | Description |
|---|---|
'canvasMenu' | Context menu when selecting an image on canvas |
'dock' | Panel in the left dock sidebar |
'inspectorBar' | Top bar of the inspector panel |
'navigationBar' | Main navigation bar |
'canvasBarTop' | Top bar above the canvas |
'canvasBarBottom' | Bottom bar below the canvas |
You can specify a single location or an array:
BackgroundRemovalPlugin({ ui: { locations: ['canvasMenu', 'dock'] }})Provider Configuration#
Configure the underlying background removal library through the provider option:
BackgroundRemovalPlugin({ ui: { locations: ['canvasMenu'] }, provider: { type: '@imgly/background-removal', configuration: { model: 'medium', // 'small' | 'medium' | 'large' output: { format: 'image/png', quality: 0.9 } } }})| Option | Type | Description |
|---|---|---|
model | 'small' | 'medium' | 'large' | Model size for quality/speed trade-off |
output.format | string | Output format: 'image/png', 'image/webp' |
output.quality | number | Quality for lossy formats (0-1) |
The 'medium' model provides the best balance of quality and speed. Use 'small' for faster processing or 'large' for maximum edge quality.
Custom Provider#
For advanced use cases, implement a custom background removal provider:
BackgroundRemovalPlugin({ provider: { type: 'custom', processImageFileURI: async (imageFileURI: string) => { // Call your own background removal service const response = await fetch('/api/remove-background', { method: 'POST', body: JSON.stringify({ imageUrl: imageFileURI }) }); const { processedUrl } = await response.json(); return processedUrl; }, processSourceSet: async (sourceSet) => { // Handle multi-resolution source sets // Process the highest resolution and resize for others return sourceSet; } }})Creating an Image Block#
Add an image to the scene for background removal:
// Create image block with a portrait photoconst imageBlock = engine.block.create('graphic');const rectShape = engine.block.createShape('rect');engine.block.setShape(imageBlock, rectShape);
const imageFill = engine.block.createFill('image');engine.block.setString(  imageFill,  'fill/image/imageFileURI',  'https://img.ly/static/ubq_samples/sample_4.jpg');engine.block.setFill(imageBlock, imageFill);engine.block.setContentFillMode(imageBlock, 'Cover');
const imageWidth = 202;const imageHeight = 230;engine.block.setWidth(imageBlock, imageWidth);engine.block.setHeight(imageBlock, imageHeight);engine.block.appendChild(page, imageBlock);
Select the image block to display the canvas menu with the background removal button.
Performance Considerations#
The first background removal operation downloads AI models (~40MB) which are then cached:
- Model caching: First run fetches models; subsequent runs use the cache
- GPU acceleration: WebGPU provides faster processing than WebGL fallback
- CORS headers: For optimal performance, configure these headers on your server:
Cross-Origin-Opener-Policy: same-originCross-Origin-Embedder-Policy: require-corpTroubleshooting#
| Issue | Solution |
|---|---|
| Model download slow | First run fetches models; subsequent runs use cache |
| Poor edge quality | Use higher resolution input or ‘medium’/‘large’ model |
| Out of memory | Reduce image size before processing |
| WebGL errors | Check browser WebGL support; try different device setting |
| Plugin not showing | Verify plugin added and UI location configured |
| Result not transparent | Ensure export uses PNG format (JPEG doesn’t support transparency) |
Next Steps#
- Export Overview - Export options for images with transparency
- Vectorize Images - Convert images to vector graphics
- Replace Colors - Replace specific colors in images