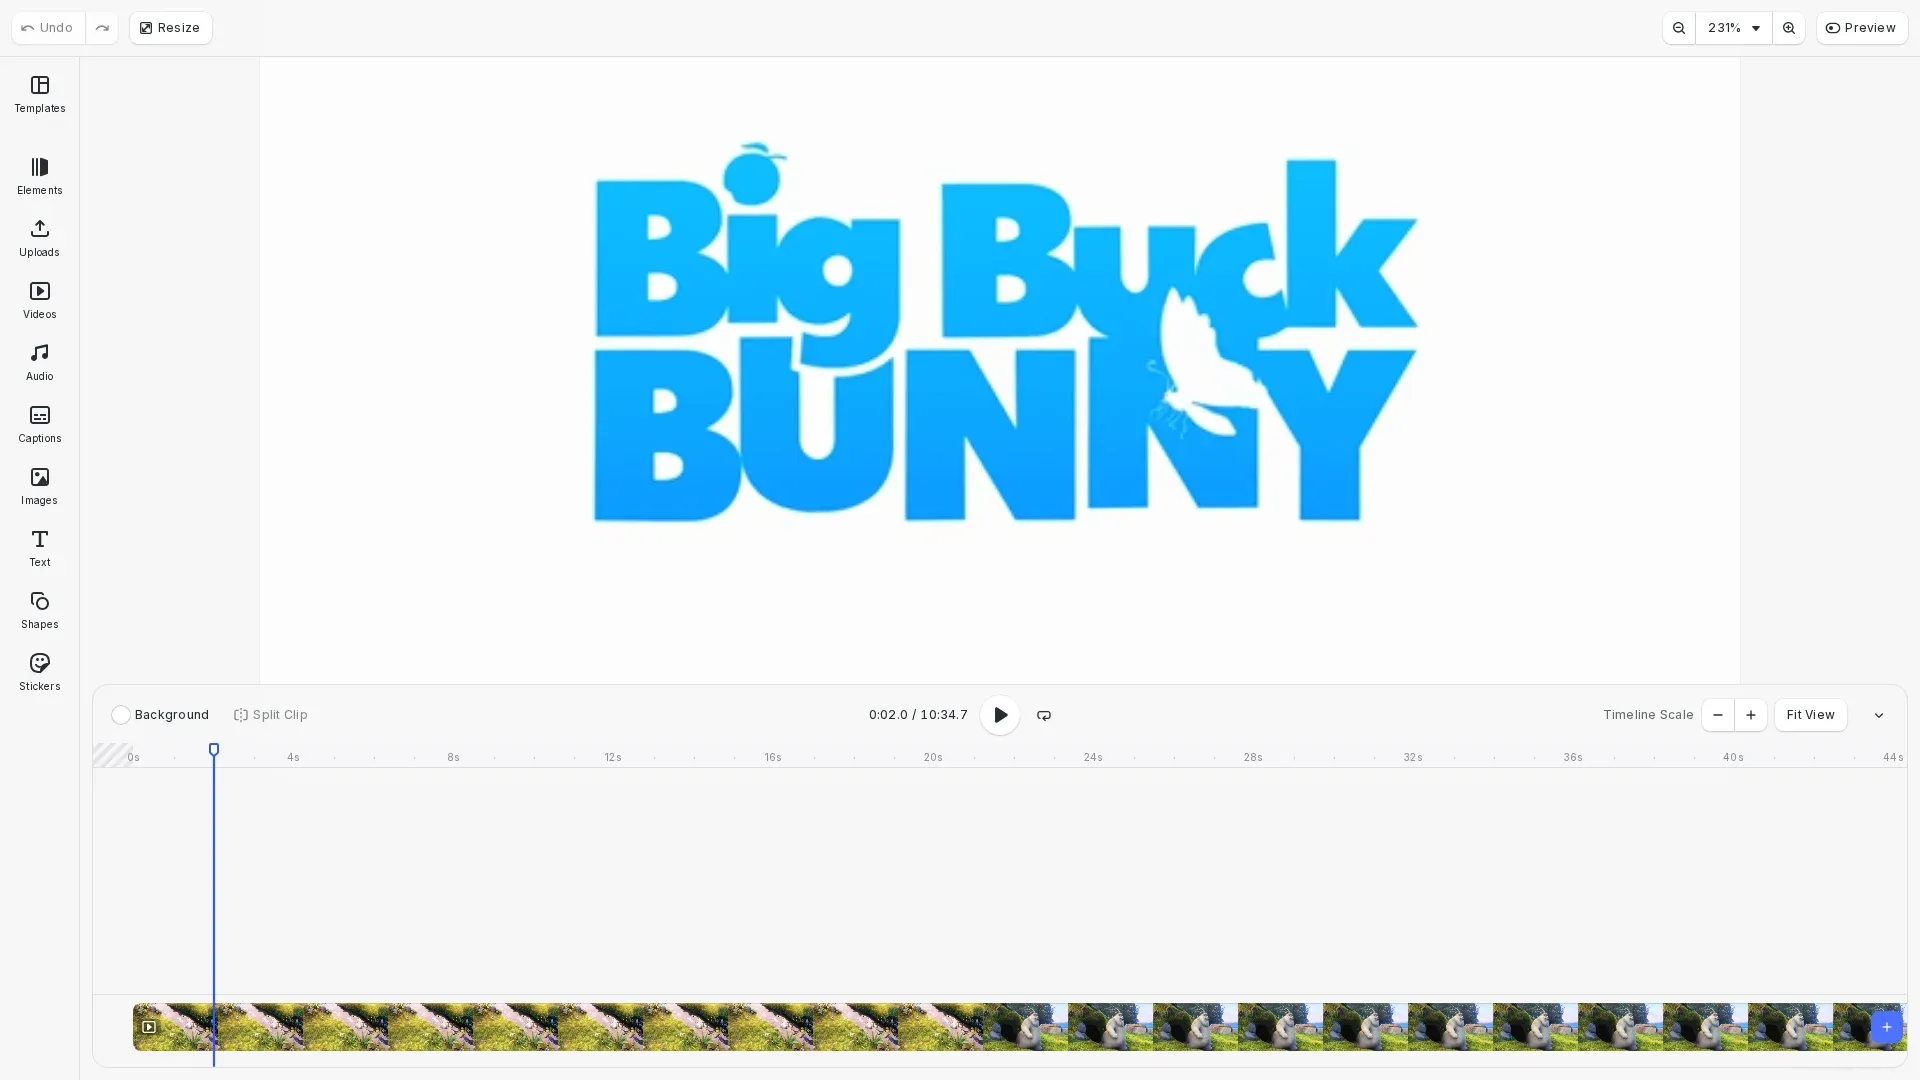
Open CE.SDK with a video as the starting point for editing. The scene dimensions match the video resolution and timeline mode is enabled.
CE.SDK creates video editing scenes from a single video URL using engine.scene.createFromVideo(). This approach works well for video trimmers, overlay editors, or processing uploaded video files.
This guide covers how to create scenes from video files and control video playback.
Create a Scene From a Video URL#
Pass a video URL to engine.scene.createFromVideo() to load the video and create a scene with matching dimensions.
// Video URL to create the scene fromconst videoUrl = 'https://img.ly/static/ubq_video_samples/bbb.mp4';
// Create a scene from the video// The scene dimensions match the video resolution// Timeline mode is automatically enabledconst scene = await engine.scene.createFromVideo(videoUrl);
The scene uses pixel design units and includes a timeline structure. Page dimensions match the video resolution automatically.
Work With the Video Block#
After creating the scene, locate the video block to modify its properties.
// Find the video block that was created// The video is placed inside a graphic blockconst graphicBlocks = engine.block.findByType('graphic');const videoBlock = graphicBlocks[0];
// Modify video block properties// For example, adjust opacityengine.block.setOpacity(videoBlock, 0.95);
The video is placed inside a graphic block. Use engine.block.findByType('graphic') to find it. You can modify properties like opacity, position, or apply effects using the Block API.
Control Video Playback#
Use playback controls to start, stop, and seek within the video.
// Get the video durationconst duration = engine.block.getDuration(scene);
// Set playback position to 2 secondsconst page = engine.block.findByType('page')[0];engine.block.setPlaybackTime(page, 2);
// Start video playback// engine.block.setPlaying(scene, true);
Call engine.block.setPlaying() on the scene to start or stop playback. Use engine.block.setPlaybackTime() to jump to a specific position and engine.block.getDuration() to get the total video length.
Handle Different Video Sources#
Create scenes from blob URLs when working with file uploads.
// Helper function to create a scene from a blob (e.g., file upload)// This pattern is useful when users upload video files via <input type="file">async function createSceneFromBlob( engine: CreativeEngine, blob: Blob): Promise<number> { const objectURL = URL.createObjectURL(blob); const scene = await engine.scene.createFromVideo(objectURL); // Note: Don't revoke the URL immediately - the engine needs it for rendering // Only revoke when the scene is no longer needed return scene;}Use URL.createObjectURL() to create a blob URL from a File object or fetched blob. This pattern supports file uploads from <input type="file"> elements. Note that the blob URL must remain valid while the scene is in use - don’t revoke it until the scene is no longer needed.
Scene Configuration#
Scenes created from video include:
- Page dimensions matching video resolution
- Pixel design units
- Timeline mode enabled
- A single page with the video graphic block
Troubleshooting#
Video fails to load
Verify the video URL is accessible and check CORS headers allow fetching from the source domain. Ensure the format is supported (MP4, WebM).
Video plays without audio
Browser autoplay policies may block audio until user interaction. Verify the video file contains an audio track.
Scene dimensions don’t match video
Dimensions come from video metadata during load. Check the video file has valid dimension metadata.
API Reference#
| Method | Purpose |
|---|---|
engine.scene.createFromVideo() | Create scene from video URL |
engine.block.findByType() | Find blocks by type |
engine.block.setOpacity() | Set block opacity |
engine.block.setPlaying() | Start or stop playback |
engine.block.setPlaybackTime() | Set playback position |
engine.block.getDuration() | Get video/scene duration |
engine.scene.get() | Get active scene |