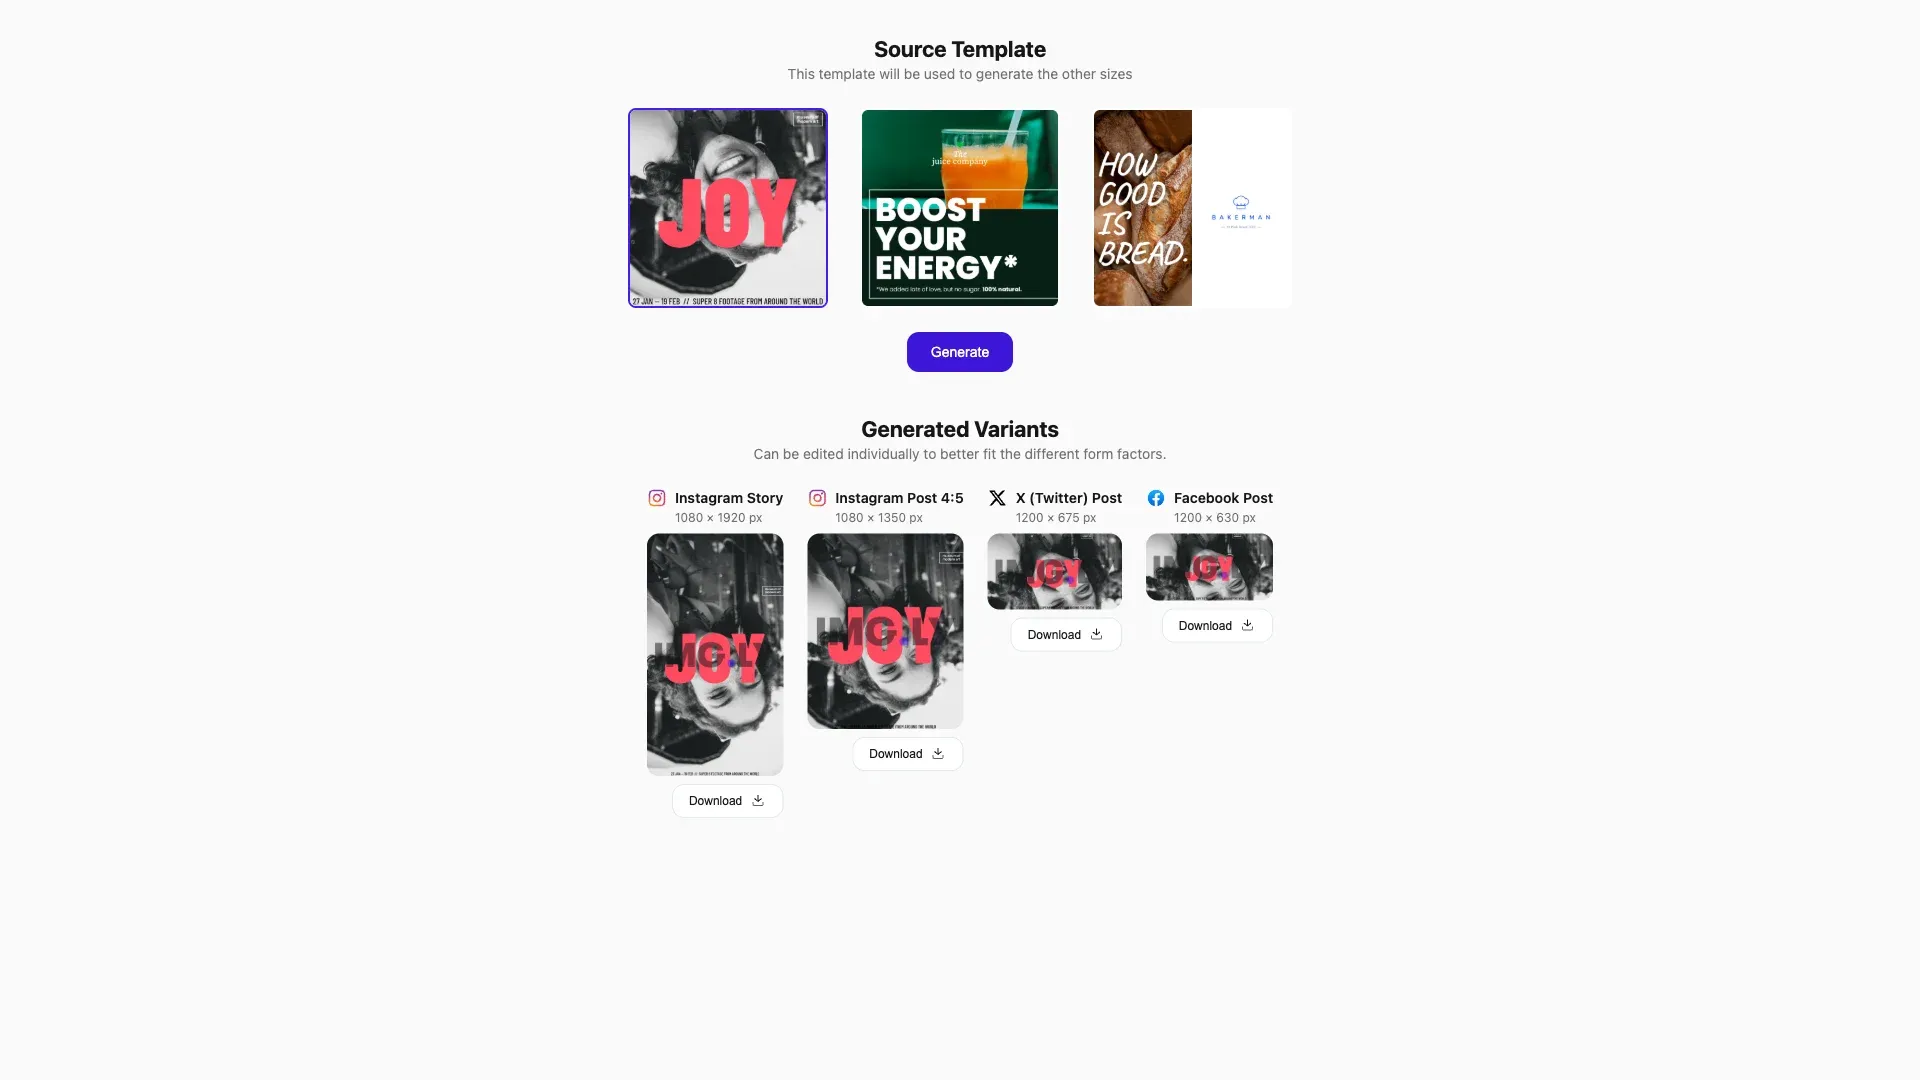
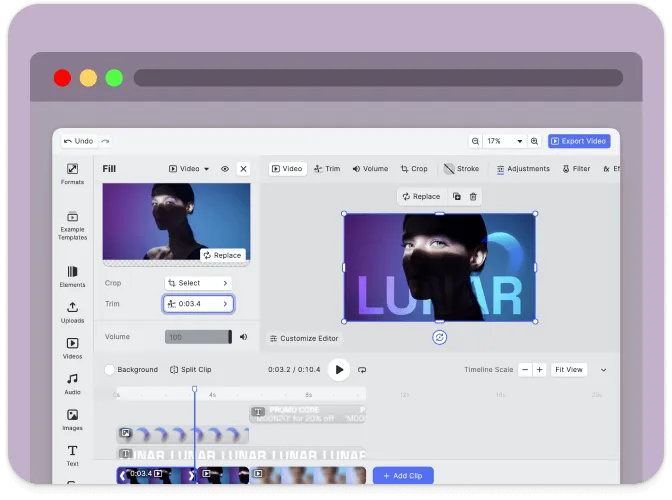
Automatically generate size variations of your design and easily scale your marketing materials across different platforms.
Prerequisites#
Before you begin, make sure you have the following:
- Node.js v22+ and npm installed locally – Download Node.js
- A supported browser – Chrome 114+, Edge 114+, Firefox 115+, Safari 15.6+
See Browser Support for the full list.
Get Started#
Start fresh with a standalone Automated Resizing project. This creates a complete, ready-to-run React application that demonstrates content-aware resizing across multiple social media formats.
Step 1: Clone the Repository#
git clone https://github.com/imgly/starterkit-automated-resizing-react-web.gitgit clone https://github.com/imgly/starterkit-automated-resizing-react-web.gitnpx degit imgly/starterkit-automated-resizing-react-web starterkit-automated-resizing-react-webnpx degit imgly/starterkit-automated-resizing-react-web starterkit-automated-resizing-react-webThe src/ folder contains the React application:
src/├── app/ # Demo application├── imgly/│ ├── advanced-editor-config/│ │ ├── actions.ts # Export/import actions│ │ ├── features.ts # Feature toggles│ │ ├── i18n.ts # Translations│ │ ├── plugin.ts # Main configuration plugin│ │ ├── settings.ts # Engine settings│ │ └── ui/│ │ ├── canvas.ts # Canvas configuration│ │ ├── components.ts # Custom component registration│ │ ├── dock.ts # Dock layout configuration│ │ ├── index.ts # Combines UI customization exports│ │ ├── inspectorBar.ts # Inspector bar layout│ │ ├── navigationBar.ts # Navigation bar layout│ │ └── panel.ts # Panel configuration│ ├── design-editor-config/│ │ ├── actions.ts # Export/import actions│ │ ├── features.ts # Feature toggles│ │ ├── i18n.ts # Translations│ │ ├── plugin.ts # Main configuration plugin│ │ ├── settings.ts # Engine settings│ │ └── ui/│ │ ├── canvas.ts # Canvas configuration│ │ ├── components.ts # Custom component registration│ │ ├── dock.ts # Dock layout configuration│ │ ├── index.ts # Combines UI customization exports│ │ ├── inspectorBar.ts # Inspector bar layout│ │ ├── navigationBar.ts # Navigation bar layout│ │ └── panel.ts # Panel configuration│ ├── index.ts # Editor initialization function│ ├── resizing.ts # Content-aware resizing logic│ └── types.ts # TypeScript type definitions└── index.tsx # Application entry pointStep 2: Install Dependencies#
Install the required packages:
cd starterkit-automated-resizing-react-web
npm install
cd starterkit-automated-resizing-react-web
npm installcd starterkit-automated-resizing-react-web
pnpm installcd starterkit-automated-resizing-react-web
pnpm installcd starterkit-automated-resizing-react-web
yarncd starterkit-automated-resizing-react-web
yarnStep 3: Download Assets#
CE.SDK requires engine assets (fonts, icons, UI elements) to function. These must be served as static files from your project’s public/ directory.
curl -O https://cdn.img.ly/packages/imgly/cesdk-js/1.77.1/imgly-assets.zip
unzip imgly-assets.zip -d public/
rm imgly-assets.zip
curl -O https://cdn.img.ly/packages/imgly/cesdk-js/1.77.1/imgly-assets.zip
unzip imgly-assets.zip -d public/
rm imgly-assets.zipconst config = { // ... baseURL: '/assets' // ...};Step 4: Run the Development Server#
npm run devnpm run devpnpm run devpnpm run devyarn devyarn devOpen http://localhost:5173 in your browser.
Get Started#
Integrate the Automated Resizing into an existing React application. This adds the editor configuration to your current project structure.
Step 1: Clone#
cd your-projectcd your-projectClone the starter kit and copy the editor configuration to your project:
git clone https://github.com/imgly/starterkit-automated-resizing-react-web.git
cp -r starterkit-automated-resizing-react-web/src/imgly ./src/imgly
rm -rf starterkit-automated-resizing-react-webgit clone https://github.com/imgly/starterkit-automated-resizing-react-web.git
cp -r starterkit-automated-resizing-react-web/src/imgly ./src/imgly
rm -rf starterkit-automated-resizing-react-webnpx degit imgly/starterkit-automated-resizing-react-web/src/imgly ./src/imglynpx degit imgly/starterkit-automated-resizing-react-web/src/imgly ./src/imglyThe imgly/ folder contains the editor configuration:
imgly/├── advanced-editor-config/│ ├── actions.ts # Export/import actions│ ├── features.ts # Feature toggles│ ├── i18n.ts # Translations│ ├── plugin.ts # Main configuration plugin│ ├── settings.ts # Engine settings│ └── ui/│ ├── canvas.ts # Canvas configuration│ ├── components.ts # Custom component registration│ ├── dock.ts # Dock layout configuration│ ├── index.ts # Combines UI customization exports│ ├── inspectorBar.ts # Inspector bar layout│ ├── navigationBar.ts # Navigation bar layout│ └── panel.ts # Panel configuration├── design-editor-config/│ ├── actions.ts # Export/import actions│ ├── features.ts # Feature toggles│ ├── i18n.ts # Translations│ ├── plugin.ts # Main configuration plugin│ ├── settings.ts # Engine settings│ └── ui/│ ├── canvas.ts # Canvas configuration│ ├── components.ts # Custom component registration│ ├── dock.ts # Dock layout configuration│ ├── index.ts # Combines UI customization exports│ ├── inspectorBar.ts # Inspector bar layout│ ├── navigationBar.ts # Navigation bar layout│ └── panel.ts # Panel configuration├── index.ts # Editor initialization function├── resizing.ts # Content-aware resizing logic└── types.ts # TypeScript type definitionsStep 2: Install Dependencies#
Install the required packages for the editor:
Core Editor#
Install the Creative Editor SDK:
npm install @cesdk/cesdk-js@1.77.1npm install @cesdk/cesdk-js@1.77.1pnpm add @cesdk/cesdk-js@1.77.1pnpm add @cesdk/cesdk-js@1.77.1yarn add @cesdk/cesdk-js@1.77.1yarn add @cesdk/cesdk-js@1.77.1Headless Engine#
The starter kit boots a headless CreativeEngine for variant generation. Install the engine package alongside the editor:
npm install @cesdk/engine@1.77.1npm install @cesdk/engine@1.77.1pnpm add @cesdk/engine@1.77.1pnpm add @cesdk/engine@1.77.1yarn add @cesdk/engine@1.77.1yarn add @cesdk/engine@1.77.1Step 3: Download Assets#
CE.SDK requires engine assets (fonts, icons, UI elements) to function. For React projects, place these in your public/ directory which is served automatically.
curl -O https://cdn.img.ly/packages/imgly/cesdk-js/1.77.1/imgly-assets.zip
unzip imgly-assets.zip -d public/
rm imgly-assets.zipcurl -O https://cdn.img.ly/packages/imgly/cesdk-js/1.77.1/imgly-assets.zip
unzip imgly-assets.zip -d public/
rm imgly-assets.zipStep 4: Create the Editor Component#
Choose your editing mode and initialize the editor accordingly:
import CreativeEditor from '@cesdk/cesdk-js/react';import { initAutomatedResizingDesignEditor } from './imgly';
export default function DesignEditor() {  return (    <CreativeEditor      config={{ baseURL: '/assets' }}      init={initAutomatedResizingDesignEditor}      width="100vw"      height="100vh"    />  );}
import CreativeEditor from '@cesdk/cesdk-js/react';import { initAutomatedResizingAdvancedEditor } from './imgly';
export default function DesignEditor() { return ( <CreativeEditor config={{ baseURL: '/assets' }} init={initAutomatedResizingAdvancedEditor} width="100vw" height="100vh" /> );}Auto Resize#
The starterkit provides the resize function for content-aware resizing:
import { resize, DEFAULT_SIZES } from './imgly';DEFAULT_SIZES contains preset dimensions for common social media formats (Instagram Story, Instagram Post 4:5, X Post, Facebook Post). Each size follows this structure:
{ id: 'ig-story', label: 'Instagram Story', width: 1080, height: 1920, designUnit: 'Pixel', platform: 'instagram'}resize#
Generate resized variants for all specified sizes. Returns blobs—the caller handles URL creation and cleanup:
const variants = await resize({ engine: cesdk.engine, sizes: DEFAULT_SIZES, scene: templateSceneString, exportOptions: { mimeType: 'image/png' }, onProgress: (completed, total, variant) => { // Create URL for rendering const url = URL.createObjectURL(variant.blob); console.log(`Generated ${completed}/${total}: ${variant.size.label}`); }});The exportOptions parameter accepts CE.SDK’s ExportOptions type, supporting formats like image/png, image/jpeg, image/webp, and quality settings.
Customize Assets#
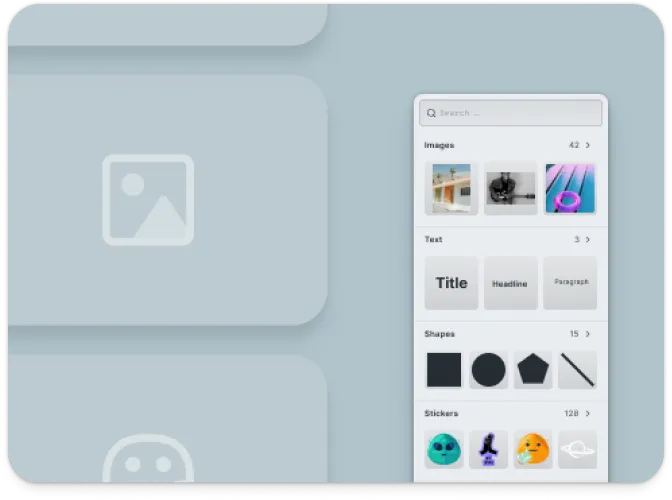
The editor uses asset source plugins to provide built-in libraries for templates, stickers, shapes, and fonts. Customize what’s included based on your needs.
Asset sources are added via plugins in src/imgly/index.ts. Enable or disable individual sources:
import {  FiltersAssetSource,  StickerAssetSource,  TextAssetSource,  VectorShapeAssetSource,  EffectsAssetSource,  DemoAssetSources,  // ...} from '@cesdk/cesdk-js/plugins';
// Add only the sources you needawait cesdk.addPlugin(new FiltersAssetSource());await cesdk.addPlugin(new StickerAssetSource());await cesdk.addPlugin(new TextAssetSource());await cesdk.addPlugin(new VectorShapeAssetSource());await cesdk.addPlugin(new EffectsAssetSource());
// Demo assets include social media templatesawait cesdk.addPlugin( new DemoAssetSources({ include: [ 'ly.img.templates.blank.*', 'ly.img.templates.social.*', 'ly.img.image.*' ] }));For production deployments, self-hosting assets is required—the IMG.LY CDN is intended for development only. See Serve Assets for downloading assets, configuring baseURL, and excluding unused sources to optimize load times.
Customize (Optional)#
Theming#
CE.SDK supports light and dark themes out of the box, plus automatic system preference detection. Switch between themes programmatically:
// 'light' | 'dark' | 'system' | (() => 'light' | 'dark')cesdk.ui.setTheme('dark');See Theming for custom color schemes, CSS variables, and advanced styling options.
Localization#
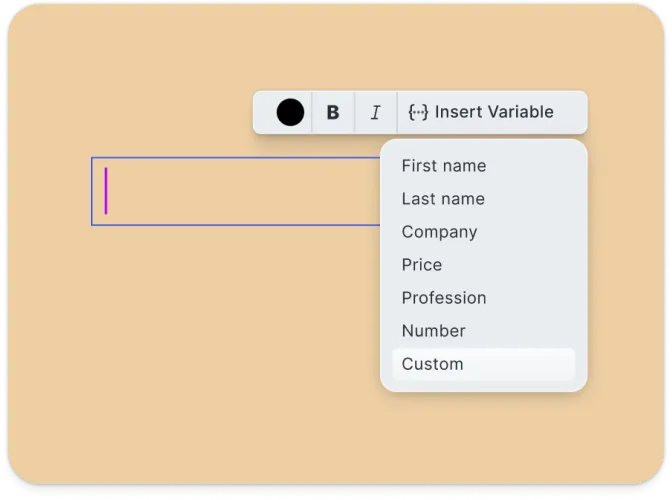
Customize UI labels and add support for multiple languages. The i18n system supports translation keys for all UI elements:
// Override specific labelscesdk.i18n.setTranslations({  en: {    'actions.export.image': 'Download Design',    'common.cancel': 'Cancel',    'common.apply': 'Apply'  }});
// Set the active localecesdk.i18n.setLocale('de');
See Localization for supported languages, translation key reference, and right-to-left language support.
UI Layout#

Customize the editor interface by modifying the dock, inspector bar, navigation bar, and canvas menu. CE.SDK provides Order APIs to control which components appear and in what sequence.
// Get current navigation bar componentsconst navOrder = cesdk.ui.getNavigationBarOrder();
// Add a custom button to the navigation barcesdk.ui.insertNavigationBarOrderComponent(  'ly.img.spacer',  { id: 'my-custom-action' },  'after');
// Rearrange dock itemscesdk.ui.setDockOrder([  'ly.img.assetLibrary.dock',  'ly.img.separator',  'my-custom-dock-item']);
See Dock, Inspector Bar, Navigation Bar, Canvas Menu, and Canvas for detailed layout customization options.
Settings & Features#
Fine-tune editor behavior through settings and features.
Settings configure core engine behavior—rendering, input handling, and history management:
cesdk.engine.editor.setSettingBool('page/dimOutOfPageAreas', true);cesdk.engine.editor.setSettingBool('mouse/enableZoomControl', true);cesdk.engine.editor.setSettingBool('features/undoHistory', true);Features toggle which editing tools and panels appear in the UI:
// Toggle editor featurescesdk.feature.enable('ly.img.crop', true);cesdk.feature.enable('ly.img.filter', true);cesdk.feature.enable('ly.img.adjustment', true);See Settings and Features for the complete reference.
Key Capabilities#
The Automated Resizing starter kit includes everything needed for multi-format content generation.
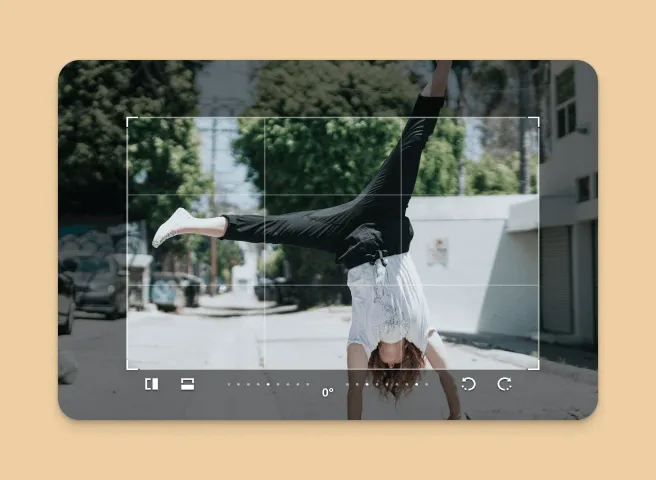
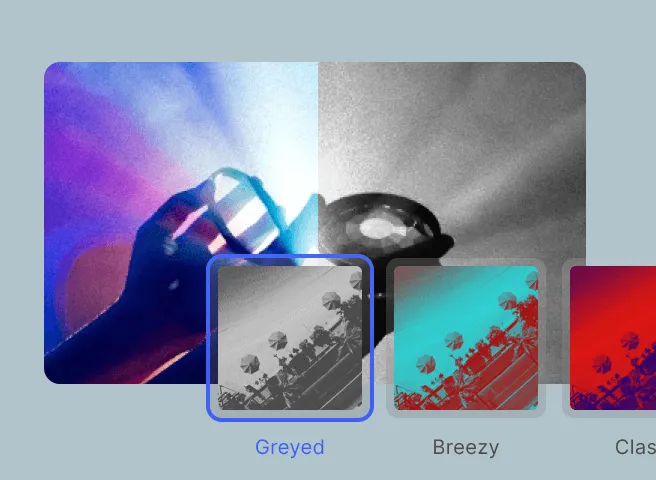
Content-Aware Resizing
Intelligently resize designs while maintaining visual balance and element positioning.
Multi-Platform Output
Generate variants for Instagram, Facebook, X, LinkedIn, YouTube, and custom sizes in one click.
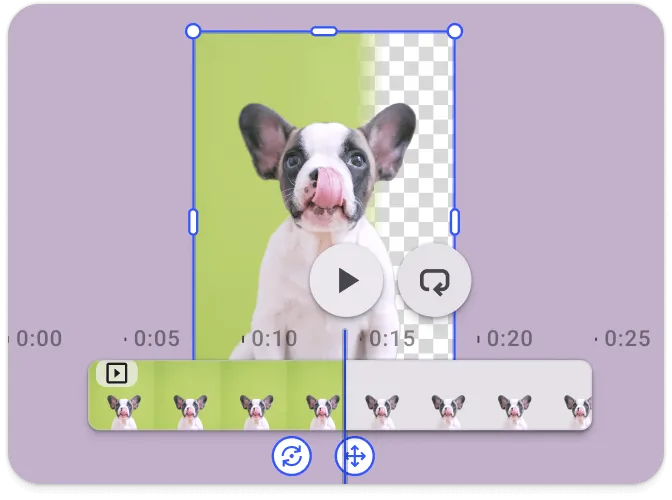
Editable Results
Fine-tune any generated variant with the full editor—adjust layouts, text, and imagery.
Template System
Start from pre-designed templates or create custom designs as your resizing source.
React Integration
Built with React 18+ using custom hooks for clean state management and component architecture.
Export Options
Export to multiple formats including PNG, JPEG, and PDF with quality and size controls.
Troubleshooting#
Editor doesn’t load#
- Check the container element exists: Ensure your container element is in the DOM before calling
create() - Verify the baseURL: Assets must be accessible from the CDN or your self-hosted location
- Check console errors: Look for CORS or network errors in browser developer tools
Assets don’t appear#
- Check network requests: Open DevTools Network tab and look for failed requests to
cdn.img.ly - Self-host assets for production: See Serve Assets to host assets on your infrastructure
Export fails or produces blank images#
- Wait for content to load: Ensure images are fully loaded before exporting
- Check CORS on images: Remote images must allow cross-origin access
Watermark appears in production#
- Add your license key: Set the
licenseproperty in your configuration - Sign up for a trial: Get a free trial license at img.ly/forms/free-trial
Next Steps#
- Configuration – Complete list of initialization options
- Serve Assets – Self-host engine assets for production
- Actions – Build custom export and save workflows
- Theming – Customize colors and appearance
- Localization – Add translations and language support