Host IMG.LY premium templates on your infrastructure and integrate them directly into CE.SDK’s asset library.
IMG.LY offers premium templates through downloadable asset archives. These templates can be hosted on your own infrastructure and seamlessly integrated into CE.SDK’s asset library, making them available to users alongside other asset sources. Contact IMG.LY sales to purchase premium template packages.
This guide covers environment setup, fetching and parsing the content manifest, creating local asset sources with archive loading support, replacing URL placeholders, configuring category labels, and displaying templates as a prominent dock entry in the asset library.
Prerequisites#
Before integrating premium assets, ensure you have:
- IMG.LY premium asset archive (contact sales to purchase)
- Self-hosted server or CDN for asset files
- Working CE.SDK instance
- Understanding of URL structure and path resolution
- Environment variable support (Vite, webpack, or equivalent bundler)
The premium asset package contains a structured archive with template metadata, thumbnails, and design files ready for hosting.
Premium Asset Package Structure#
The archive contains a content.json manifest and template directories. Each template directory includes three essential files: asset.json containing metadata, thumbnail.jpg for preview images, and design.zip with the complete template and assets.
{ "version": "1.0", "id": "imgly-premium-templates", "assets": [ { "id": "social-media-story-1", "label": { "en": "Modern Social Media Story" }, "meta": { "uri": "{{base_url}}/social-media-story-1/design.zip", "thumbUri": "{{base_url}}/social-media-story-1/thumbnail.jpg" }, "payload": { "sourceSet": [ { "uri": "{{base_url}}/social-media-story-1/thumbnail.jpg" } ] } } ]}The {{base_url}} placeholders allow flexible hosting by replacing them with your actual server URL at runtime.
Hosting Premium Assets#
Upload extracted asset folders to your server with all three files accessible via URL. CE.SDK combines the base URL with template paths to fetch resources.
Environment Configuration#
Configure the base URL using environment variables to keep your hosting location secure and easily configurable across environments.
Create a .env file in your project root:
VITE_PREMIUM_TEMPLATES_BASE_URL=https://your-cdn.example.com/premium-templatesFor reference and team setup, create a .env.example file:
VITE_PREMIUM_TEMPLATES_BASE_URL=https://your-cdn.example.com/premium-templates# CE.SDK License Key (Optional)# VITE_CESDK_LICENSE=YOUR_LICENSE_KEY_HEREAdd .env to your .gitignore to prevent exposing sensitive URLs:
# Environment files.env.env.local.env.*.localLoading Configuration#
Load the base URL from environment variables with validation:
// Configure the base URL where premium assets are hosted// This points to IMG.LY's premium templates CDNconst baseURL = import.meta.env.VITE_CESDK_PREMIUM_TEMPLATES_URL;
if (!baseURL) {  throw new Error(    'VITE_CESDK_PREMIUM_TEMPLATES_URL environment variable is required'  );}
The base URL points to the root directory where template folders are hosted. This URL can be a CDN, your own server, or any accessible HTTP location. Using environment variables keeps your hosting location confidential and allows different configurations for development, staging, and production environments.
Configuring Asset Sources#
We configure CE.SDK to load premium templates by fetching the content.json manifest and creating a local asset source.
Fetching the Manifest#
First, we fetch and parse the content.json file that lists all available templates.
// Fetch the content.json manifest file// This file lists all available templates and their metadataconst contentJSONUrl = `${baseURL}/dist/templates/content.json`;const response = await fetch(contentJSONUrl);
if (!response.ok) {  throw new Error(`Failed to fetch content.json: ${response.statusText}`);}
const content: ContentJSON = await response.json();
The manifest contains the source ID and an array of asset definitions with metadata for each template.
Extracting Source Data#
We extract the source ID and assets array from the parsed manifest.
// Extract the source ID and assets array from the manifestconst { assets, id: sourceId } = content;The source ID determines which asset library panel displays the templates. The assets array contains all template definitions.
Creating a Local Source#
We create a local asset source with a custom apply handler for loading template archives.
// Create a local asset source for the premium templates with custom apply handler// Templates are archive files that need special loadingengine.asset.addLocalSource(sourceId, [], async (asset) => { // Load the template from the archive URL await engine.scene.loadFromArchiveURL(asset.meta.uri); // Return the scene ID after loading return engine.scene.get()!;});Premium templates are distributed as .zip archives, so we provide a custom applyAsset callback that uses loadFromArchiveURL() instead of the standard asset application logic. This callback:
- Loads the template archive from the asset’s URI
- Replaces the current scene with the template content
- Returns the scene ID for tracking
Local sources are ideal for finite asset collections that don’t require custom query logic. The engine manages search and pagination automatically.
Processing and Adding Assets#
We process each asset to replace {{base_url}} placeholders with the actual hosting URL, then add them to the source.
// Process each asset and add it to the sourceassets.forEach((asset) => {  // Replace {{base_url}} placeholders in asset metadata  // Note: We append '/dist' to match the CDN structure  const replacementURL = `${baseURL}/dist`;  if (asset.meta) {    Object.entries(asset.meta).forEach(([key, value]: [any, any]) => {      const stringValue: string = value.toString();      if (stringValue.includes('{{base_url}}')) {        const updated = stringValue.replace('{{base_url}}', replacementURL);        if (asset.meta) {          asset.meta[key] = updated;        }      }    });  }
  // Replace {{base_url}} in payload sourceSet for responsive images  // cSpell:ignore sourceset  if (asset.payload?.sourceSet) {    asset.payload.sourceSet.forEach((sourceSet) => {      sourceSet.uri = sourceSet.uri.replace('{{base_url}}', replacementURL);    });  }
  // Add the processed asset to the local source  engine.asset.addAssetToSource(sourceId, asset);});
For each asset, we replace placeholders in two locations: the meta object and the payload.sourceSet array.
Replacing Meta Placeholders#
We iterate through the meta object to replace any {{base_url}} placeholders.
// Replace {{base_url}} placeholders in asset metadata// Note: We append '/dist' to match the CDN structureconst replacementURL = `${baseURL}/dist`;if (asset.meta) { Object.entries(asset.meta).forEach(([key, value]: [any, any]) => { const stringValue: string = value.toString(); if (stringValue.includes('{{base_url}}')) { const updated = stringValue.replace('{{base_url}}', replacementURL); if (asset.meta) { asset.meta[key] = updated; } } });}This ensures the template URI and thumbnail URI point to the correct server location.
Replacing SourceSet Placeholders#
We also replace placeholders in the payload.sourceSet array for responsive image variants.
// Replace {{base_url}} in payload sourceSet for responsive images// cSpell:ignore sourcesetif (asset.payload?.sourceSet) { asset.payload.sourceSet.forEach((sourceSet) => { sourceSet.uri = sourceSet.uri.replace('{{base_url}}', replacementURL); });}The source set array contains multiple image sizes for optimal loading performance.
Adding to Source#
After processing, we add the asset to the local source.
// Add the processed asset to the local sourceengine.asset.addAssetToSource(sourceId, asset);The engine stores the asset and makes it available for search queries and display.
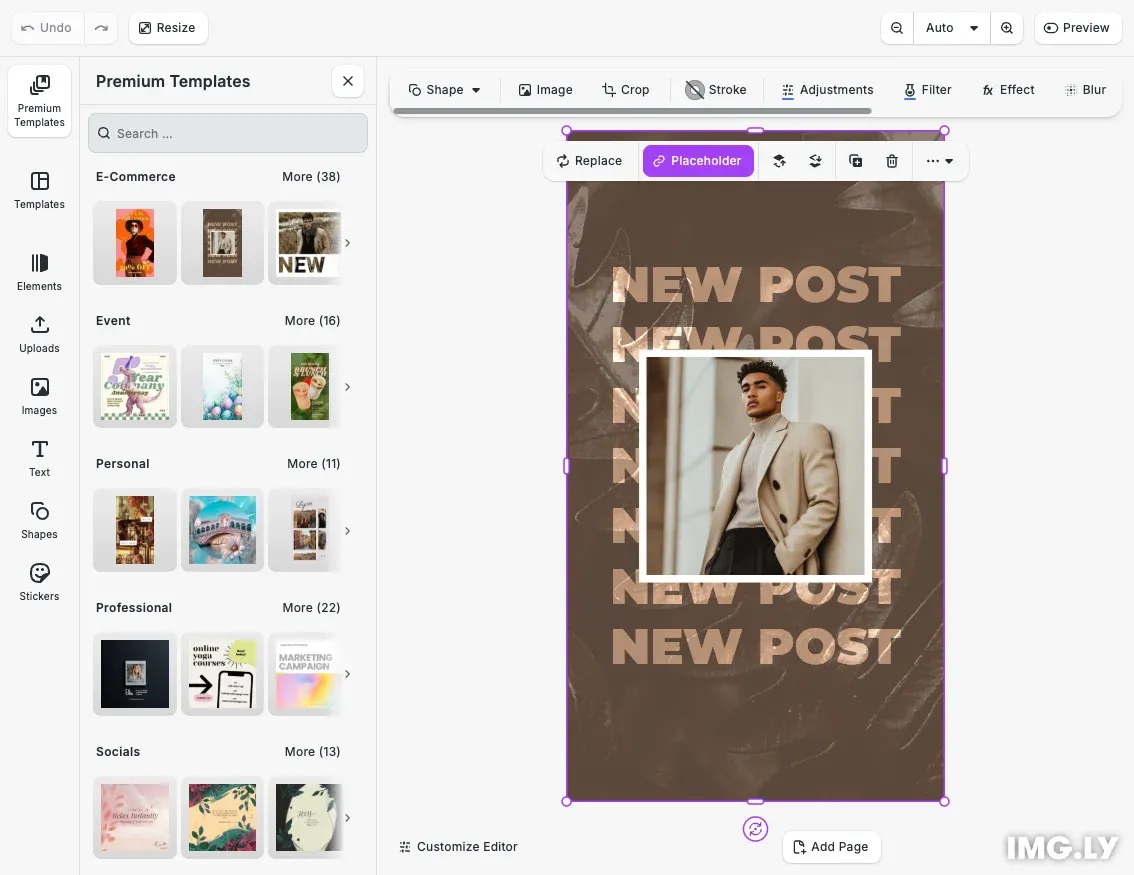
Displaying Templates in Asset Library#
Templates automatically appear in the asset library after being added to the source. To make them easily accessible, we configure category labels and a dedicated dock entry.
Configuring Category Labels#
Premium templates are organized into categories. We configure i18n translations for user-friendly category labels:
// Set translations for category labelscesdk.i18n.setTranslations({ en: { 'libraries.ly.img.template.premium.ly.img.template.premium1.label': 'Templates', 'libraries.ly.img.template.premium.ly.img.template.premium1.e-commerce.label': 'E-Commerce', 'libraries.ly.img.template.premium.ly.img.template.premium1.event.label': 'Event', 'libraries.ly.img.template.premium.ly.img.template.premium1.personal.label': 'Personal', 'libraries.ly.img.template.premium.ly.img.template.premium1.professional.label': 'Professional', 'libraries.ly.img.template.premium.ly.img.template.premium1.socials.label': 'Socials' }});These translations map the internal category identifiers from content.json (like e-commerce, event, personal) to readable labels that appear in the asset library interface. The translation keys follow the pattern: libraries.{sourceId}.{categoryId}.label.
Configuring the Dock Entry#
We add a custom dock entry as the first button in the asset library dock, followed by a separator for visual grouping.
// Configure the asset library dock entry for premium templatescesdk.ui.addAssetLibraryEntry({  id: 'ly.img.template.premium',  sourceIds: [sourceId],  previewLength: 3,  gridColumns: 3,  gridItemHeight: 'auto'});
// Add premium templates as the first button in the dock with a separatorcesdk.ui.setComponentOrder({ in: 'ly.img.dock' }, [  {    id: 'ly.img.assetLibrary.dock',    key: 'premium-templates',    label: 'Premium Templates',    entries: ['ly.img.template.premium']  },  { id: 'ly.img.separator' },  ...cesdk.ui.getComponentOrder({ in: 'ly.img.dock' })]);
This configuration:
- Places “Premium Templates” as the first dock button
- Adds a visual separator after it
- Preserves all existing dock entries using the spread operator
- Shows 3 preview templates in a 3-column grid
- Uses the default template icon instead of custom emoji
The sourceIds array specifies which asset source to display (matching the source ID from content.json). The entries array contains the asset library entry IDs to display in this dock panel.
Testing the Integration#
Verify templates appear in the asset library and load correctly with all assets. Query the asset source programmatically to check availability:
const result = await engine.asset.findAssets('imgly-premium-templates', {  page: 0,  perPage: 10,});
console.log(`Found ${result.total} templates`);
Applying Templates Programmatically#
To demonstrate the integration working immediately upon load, apply a template programmatically after the asset source is configured:
// Query and apply the second template to demonstrate the integrationconst result = await engine.asset.findAssets(sourceId, {  page: 0,  perPage: 2});
if (result.assets.length > 1) {  // Apply the second template - this triggers the custom applyAsset callback  await engine.asset.apply(sourceId, result.assets[1]);}
This queries the asset source for templates and applies the second one (index 1) to the canvas. This provides immediate visual feedback that the integration is working correctly. Users can then click other templates in the asset library to explore the full collection.
Optimization#
Implement CDN caching for design.zip files and thumbnails to improve load times. Configure appropriate cache headers on your server to reduce bandwidth and latency.
For authenticated access, implement server access controls to restrict premium content to authorized users only. Use signed URLs or token-based authentication to protect template files.
Environment variables provide additional security benefits by keeping hosting locations out of source control. Configure different base URLs for development, staging, and production environments without code changes. This allows you to test with staging assets locally while production uses the actual CDN.
Troubleshooting#
Environment variable not defined: If you see “VITE_PREMIUM_TEMPLATES_BASE_URL environment variable is required”, ensure your .env file exists and contains the base URL. Restart your development server after creating or modifying the .env file.
Base URL configuration errors: Verify the base URL matches your hosting location exactly, including protocol (http/https) and trailing slashes. Check that the environment variable is loaded correctly using console.log(import.meta.env.VITE_PREMIUM_TEMPLATES_BASE_URL).
Templates not applying or showing serialization errors: Premium templates are .zip archives that require a custom applyAsset callback using loadFromArchiveURL(). Verify your asset source creation includes this callback instead of relying on default asset application behavior.
Missing or incorrect file paths (404 errors): Check that template folders and files are uploaded correctly and accessible at the expected URLs. Verify the /dist path is included if your CDN uses that structure.
CORS issues when loading from different domains: Configure CORS headers on your server to allow CE.SDK to fetch resources from your domain.
Template files not loading or appearing blank: Ensure design.zip files are valid CE.SDK archives and contain all required assets.
Thumbnail images not displaying: Verify thumbnail file paths are correct and images are accessible via HTTP.
Content manifest parsing errors: Validate content.json structure matches the expected format with required fields like id, version, and assets array.
Category labels not appearing: Ensure i18n translations are configured before adding the asset library entry. Translation keys must match the pattern libraries.{sourceId}.{categoryId}.label.
API Reference#
| Method | Category | Purpose |
|---|---|---|
engine.asset.addLocalSource() | Asset | Create a local asset source with custom apply callback |
engine.asset.addAssetToSource() | Asset | Add individual template assets to the source |
engine.scene.loadFromArchiveURL() | Scene | Load template from .zip archive URL |
engine.asset.findAssets() | Asset | Query assets from a source for programmatic application |
cesdk.i18n.setTranslations() | UI | Configure category labels and localized strings |
cesdk.ui.addAssetLibraryEntry() | UI | Add custom asset library panel configuration |
cesdk.ui.setComponentOrder({ in: 'ly.img.dock' }, order) | UI | Configure dock button order and custom entries |
cesdk.ui.getComponentOrder({ in: 'ly.img.dock' }) | UI | Get current dock configuration for preservation |
Next Steps#
- Integrate Unsplash Stock Images — Add stock photo integration
- Customize Asset Library — Configure asset panels and UI
- Asset Library Basics — Understand asset sources
- Import Media Concepts — Learn core import concepts