CE.SDK treats all insertable content as assets—images, videos, audio, stickers, shapes, templates, and text presets flow through a unified asset system.
The asset library connects the engine to the user interface through three layers:
┌─────────────────────────────────────────────────────────────┐│ User Interface ││ ┌─────────────┐ references ┌──────────────────────┐ ││ │ Dock Entry │ ───────────────▶ │ Asset Library Entry │ ││ │ (Button) │ │ (Display Config) │ ││ └─────────────┘ └──────────┬───────────┘ ││ │ queries │├──────────────────────────────────────────────│──────────────┤│ Engine ▼ ││ ┌──────────────────────┐ ││ │ Asset Source │ ││ │ (Data Provider) │ ││ └──────────────────────┘ │└─────────────────────────────────────────────────────────────┘The following example demonstrates all three layers working together:
This guide covers:
- Registering asset sources with the engine
- Creating asset library entries to configure display settings
- Adding entries to the dock for user access
Layer 1: Asset Source#
Asset sources provide data through findAssets and handle insertion through applyAsset. Register them with engine.asset.addSource().
// Layer 1: Asset Source - provides assets to the UIcesdk.engine.asset.addSource({ id: 'my-custom-images', findAssets: async () => ({ assets: [ { id: 'sample-1', meta: { uri: 'https://img.ly/static/ubq_samples/sample_1.jpg', thumbUri: 'https://img.ly/static/ubq_samples/sample_1.jpg', width: 1920, height: 1280 } }, { id: 'sample-2', meta: { uri: 'https://img.ly/static/ubq_samples/sample_2.jpg', thumbUri: 'https://img.ly/static/ubq_samples/sample_2.jpg', width: 1920, height: 1280 } }, { id: 'sample-3', meta: { uri: 'https://img.ly/static/ubq_samples/sample_3.jpg', thumbUri: 'https://img.ly/static/ubq_samples/sample_3.jpg', width: 1920, height: 1280 } } ], total: 3, currentPage: 1, nextPage: undefined }), applyAsset: async (assetResult) => cesdk.engine.asset.defaultApplyAsset(assetResult)});For details on asset source configuration, see the Asset Sources concept.
Layer 2: Asset Library Entry#
Entries connect asset sources to display settings. Create them with cesdk.ui.addAssetLibraryEntry().
// Layer 2: Asset Library Entry - connects sources to display settingscesdk.ui.addAssetLibraryEntry({ id: 'my-images-entry', sourceIds: ['my-custom-images'], previewLength: 3, gridColumns: 3, gridItemHeight: 'square'});For display properties like gridColumns and previewLength, see the Thumbnails guide.
Layer 3: Dock#
Add entries to the dock with cesdk.ui.setComponentOrder({ in: 'ly.img.dock' }, order) using the ly.img.assetLibrary.dock component type.
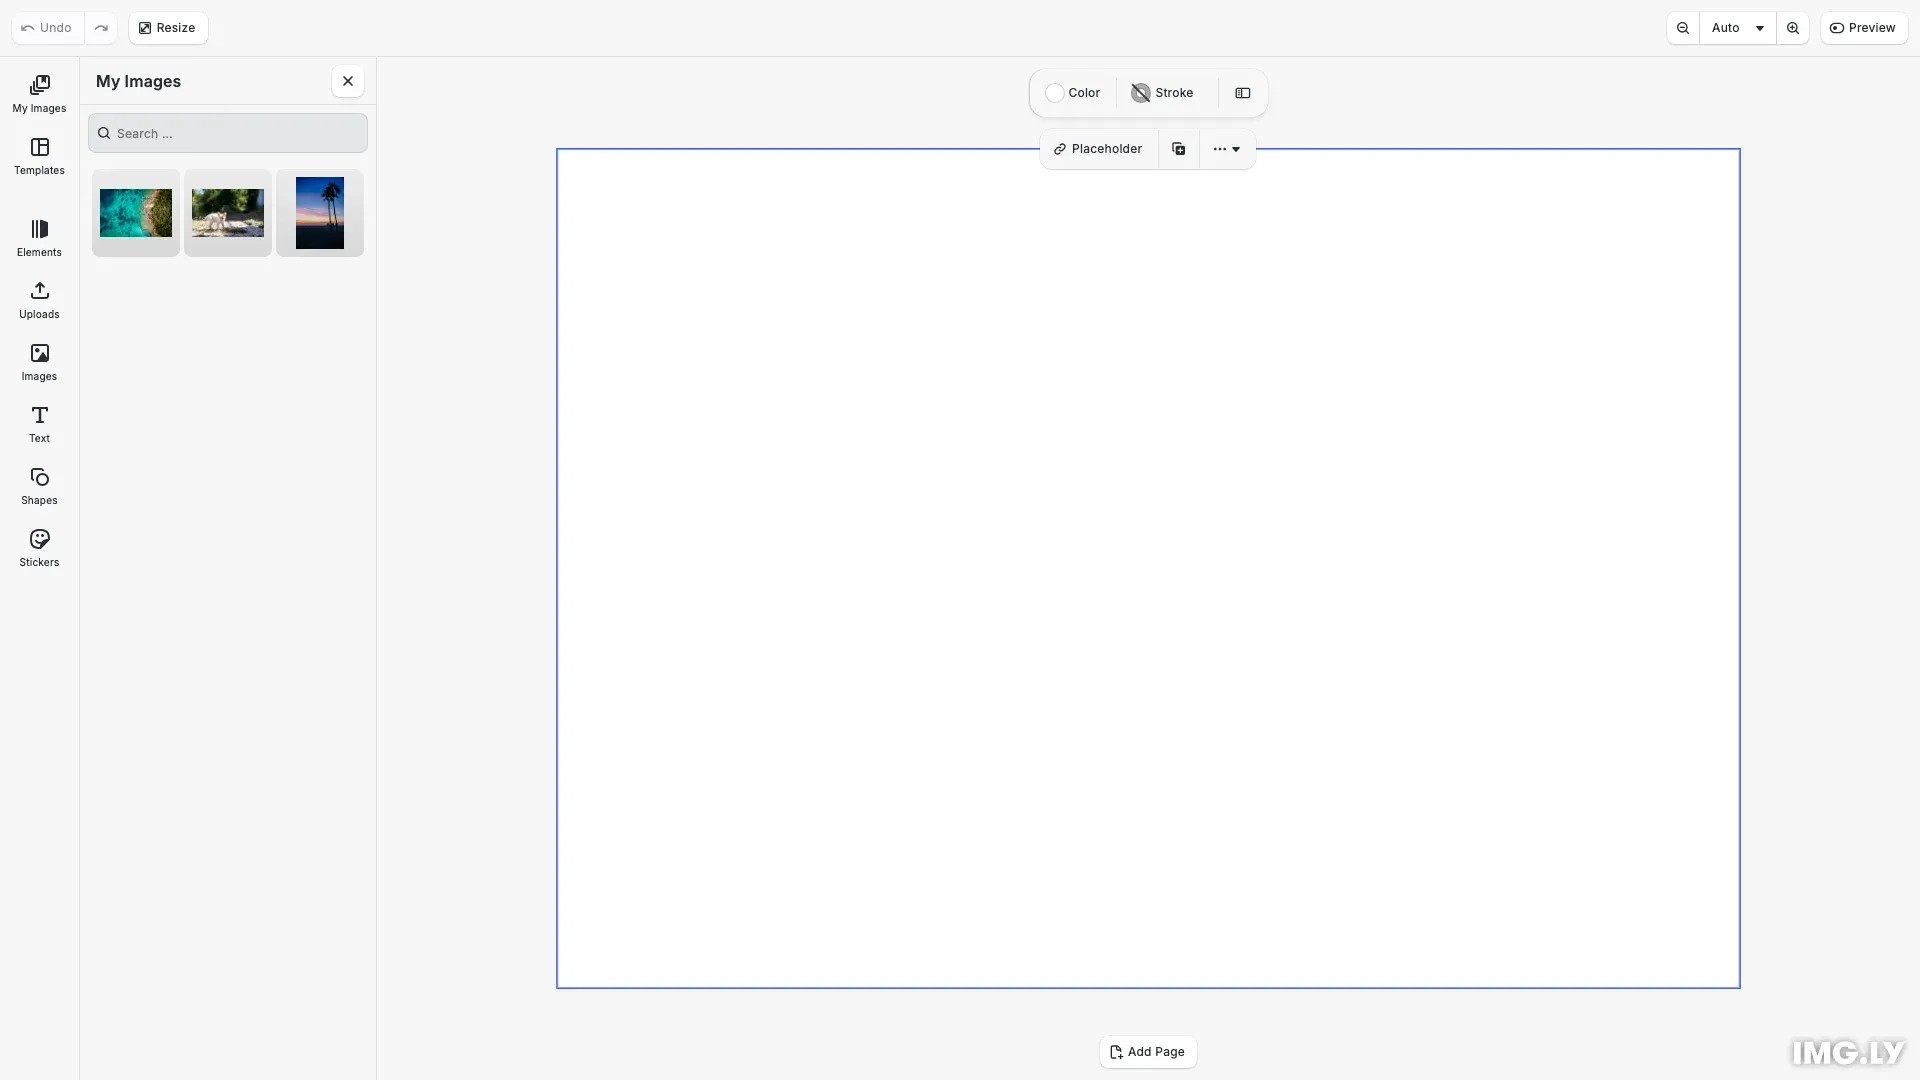
// Layer 3: Dock - adds button to access the entrycesdk.ui.setComponentOrder({ in: 'ly.img.dock' }, [ { id: 'ly.img.assetLibrary.dock', key: 'my-images-entry', label: 'libraries.my-images-entry.label', entries: ['my-images-entry'] }, ...cesdk.ui.getComponentOrder({ in: 'ly.img.dock' })]);cesdk.i18n.setTranslations({ en: { 'libraries.my-images-entry.label': 'My Images' }});Managing Entries#
Query and inspect registered entries:
// Query registered entriesconst allEntries = cesdk.ui.findAllAssetLibraryEntries();console.log('Registered entries:', allEntries);
const myEntry = cesdk.ui.getAssetLibraryEntry('my-images-entry');console.log('My entry:', myEntry);
API Reference#
| Method | Description |
|---|---|
findAllAssetLibraryEntries() | List all registered entry IDs |
getAssetLibraryEntry(id) | Get entry configuration |
addAssetLibraryEntry(entry) | Register a new entry |
removeAssetLibraryEntry(id) | Remove an entry |
Next Steps#
- Customize — Icons, i18n, replace libraries
- Thumbnails — Thumbnail URIs, display settings
- Refresh Assets — Trigger asset reloads
- Asset Sources — Creating asset sources