Build completely custom UIs by integrating CE.SDK’s headless engine directly into your application—no built-in editor interface required.
When you need complete control over the editing experience, the headless engine approach lets you build entirely custom interfaces. Instead of using CE.SDK’s built-in editor UI, you initialize the engine directly and create your own tools, panels, and workflows that integrate seamlessly with your application’s design system.
This guide covers initializing the engine in headless mode, setting up custom UI controls, handling events, implementing transformations, and exporting designs—all while maintaining full control over the user experience.
Architecture Overview#
The headless engine architecture separates the rendering engine from the user interface. We call engine methods like engine.block.create() and engine.block.setPosition() to manipulate the design, while the engine notifies us of changes through engine.event.subscribe(). This separation allows complete freedom in UI design while the engine handles all creative operations.
Initialize Engine and Setup Canvas#
We initialize the engine without any UI by calling CreativeEngine.init(). The engine creates its own managed canvas element accessible via the engine.element property.
export class Example {  name = packageJson.name;  version = packageJson.version;
  private engine!: CreativeEngine;  private page!: DesignBlockId;  private selectedBlock: DesignBlockId | null = null;  private unsubscribeEvents?: () => void;
  async initialize(): Promise<void> {    this.engine = await CreativeEngine.init({});
    const canvasWrapper = document.getElementById('canvas-wrapper');    if (canvasWrapper && this.engine.element) {      canvasWrapper.appendChild(this.engine.element);    }
    const scene = this.engine.scene.create();    this.page = this.engine.block.create('page');    this.engine.block.setWidth(this.page, 800);    this.engine.block.setHeight(this.page, 600);    this.engine.block.appendChild(scene, this.page);
    await this.createInitialContent();    await this.engine.scene.zoomToBlock(this.page, { padding: 20 });
    this.unsubscribeEvents = this.engine.event.subscribe([], (events) => {      this.handleEngineEvents(events);    });
    this.setupToolbarControls();    this.setupPropertyPanel();
    (window as any).cesdk = { engine: this.engine };  }
The managed <cesdk-canvas> custom element handles responsive sizing and high-DPI displays automatically. We insert it into our DOM wherever we want the canvas to appear.
Create Initial Content#
We create a new scene with engine.scene.create() and add a page to define the workspace dimensions. Then we add some initial content to demonstrate the custom UI capabilities.
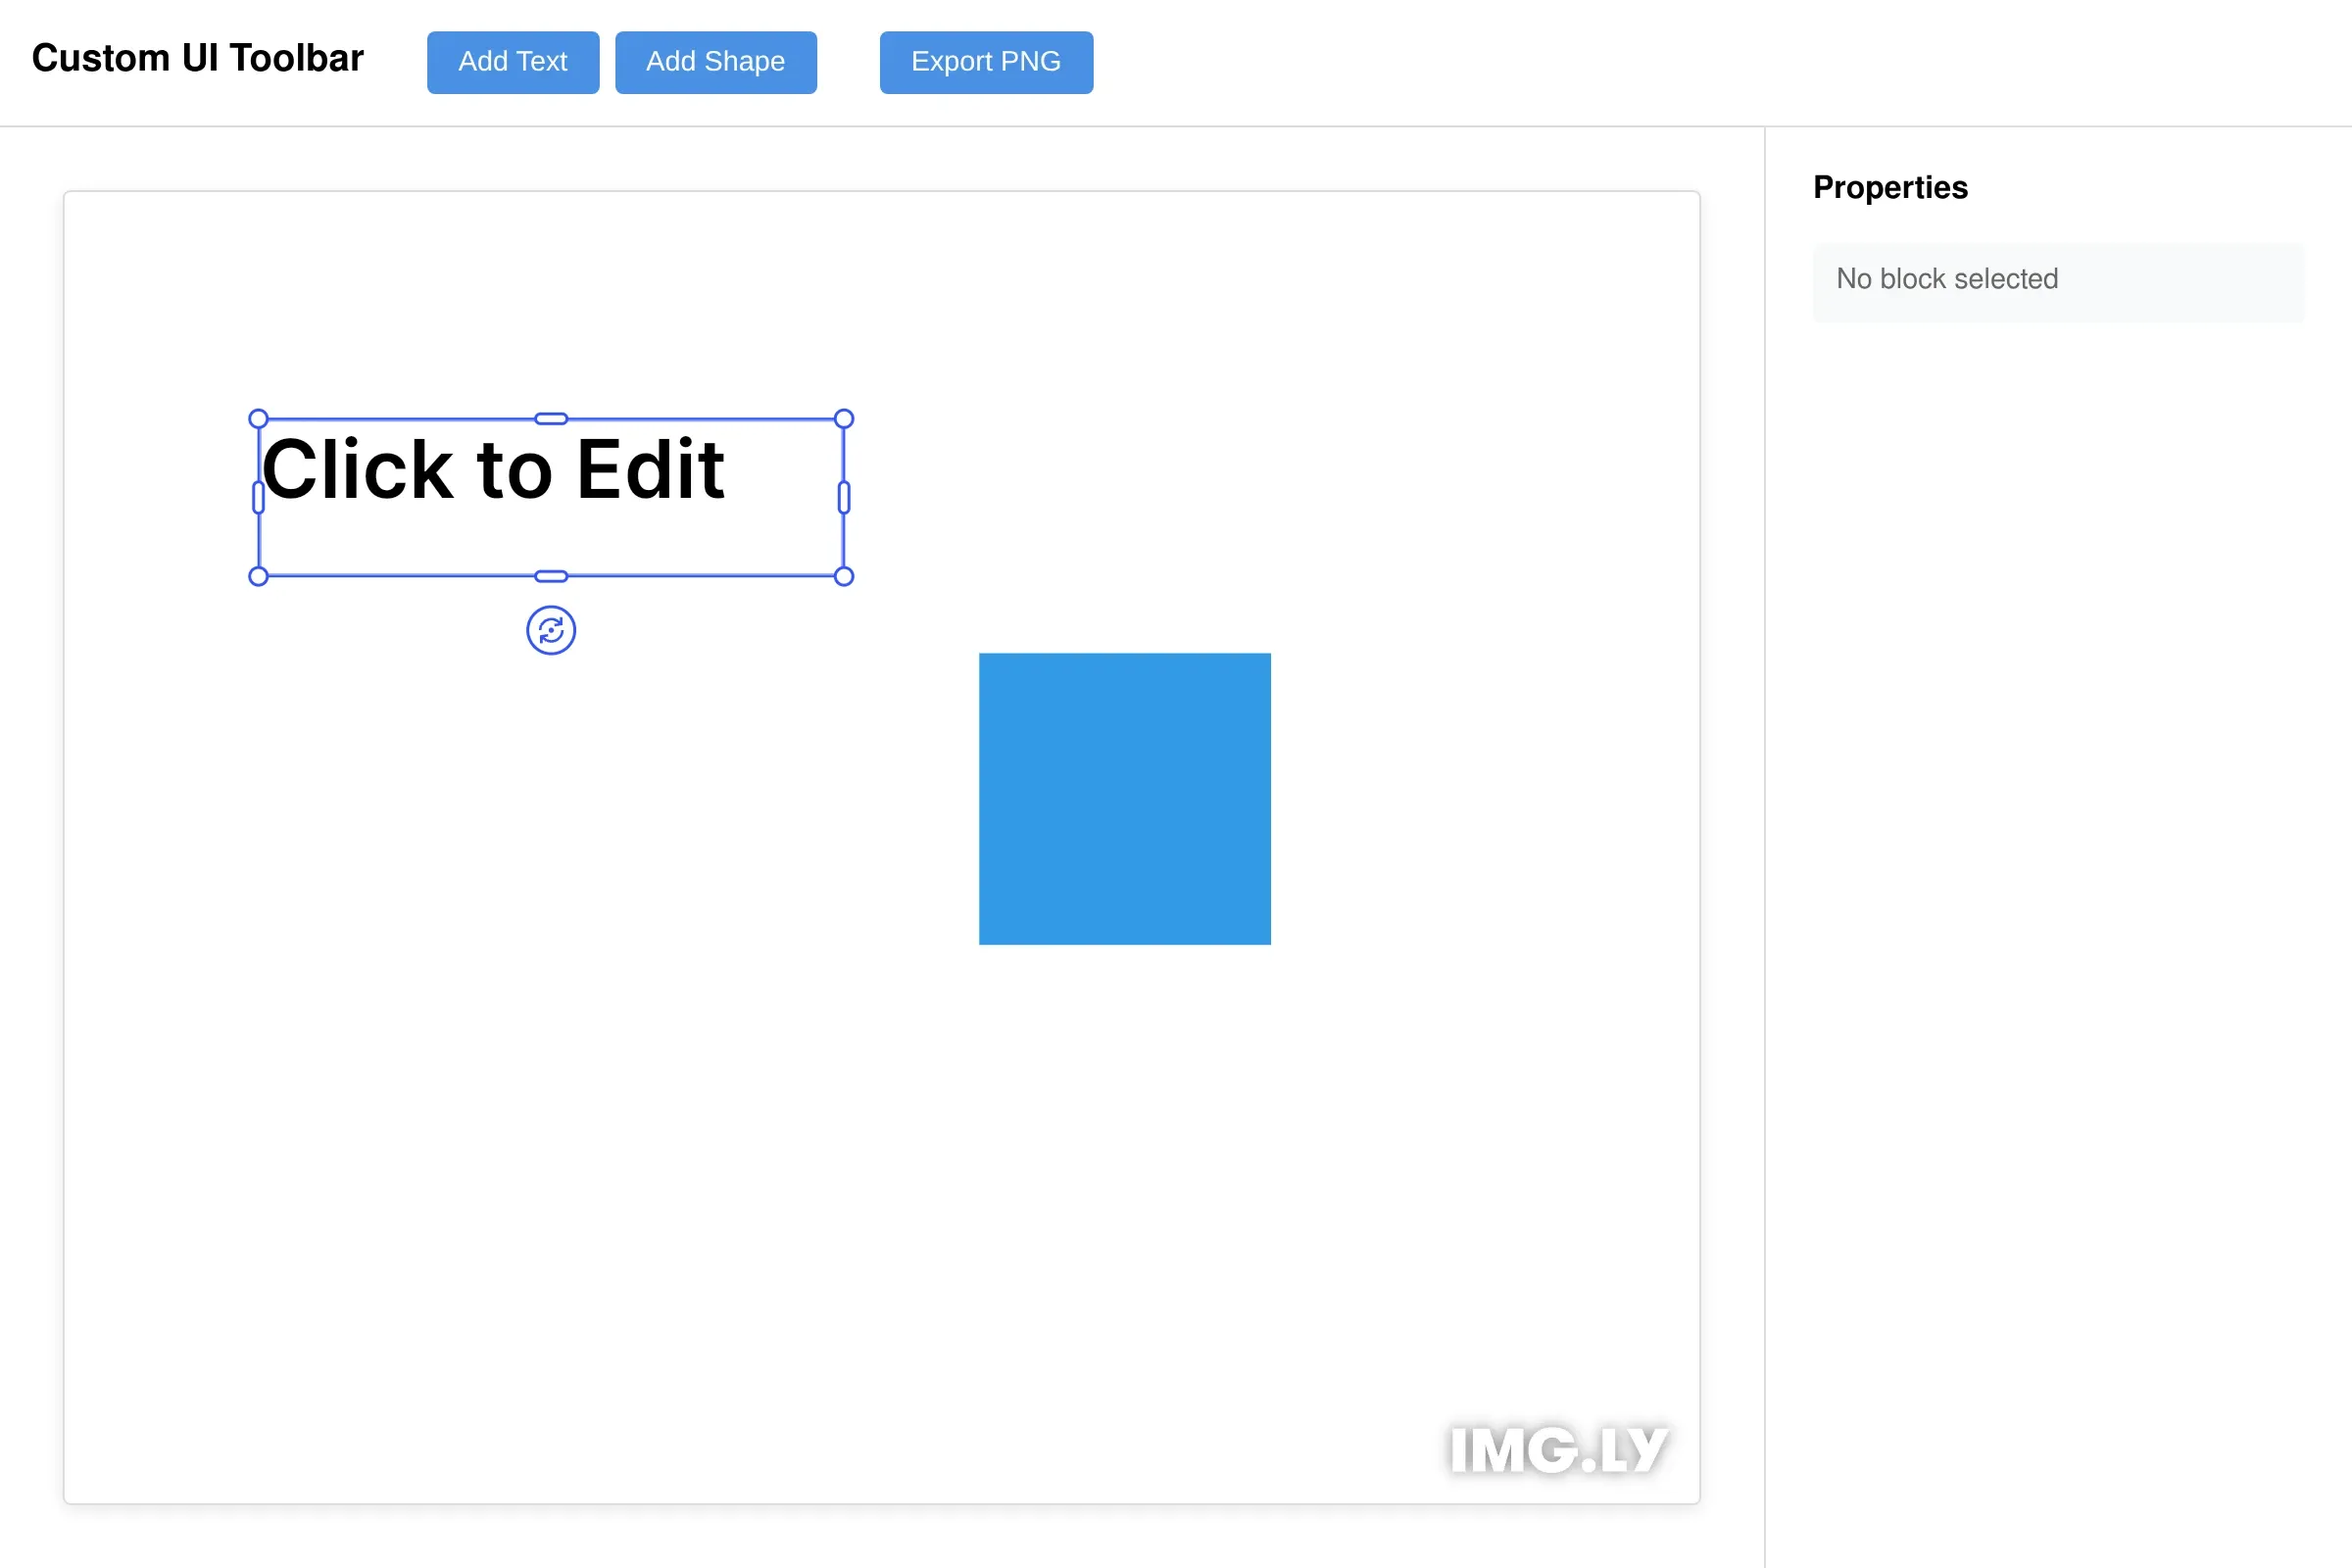
private async createInitialContent() {  const textBlock = this.engine.block.create('text');  this.engine.block.setString(textBlock, 'text/text', 'Click to Edit');  this.engine.block.setPositionX(textBlock, 80);  this.engine.block.setPositionY(textBlock, 80);  this.engine.block.setWidth(textBlock, 300);  this.engine.block.setHeight(textBlock, 80);  this.engine.block.appendChild(this.page, textBlock);
  const shapeBlock = this.engine.block.create('graphic');  const shape = this.engine.block.createShape('rect');  this.engine.block.setShape(shapeBlock, shape);  const fill = this.engine.block.createFill('color');  this.engine.block.setColor(fill, 'fill/color/value', {    r: 0.2, g: 0.6, b: 0.9, a: 1.0  });  this.engine.block.setFill(shapeBlock, fill);  this.engine.block.setPositionX(shapeBlock, 450);  this.engine.block.setPositionY(shapeBlock, 200);  this.engine.block.setWidth(shapeBlock, 150);  this.engine.block.setHeight(shapeBlock, 150);  this.engine.block.appendChild(this.page, shapeBlock);
  this.engine.block.select(textBlock);}
The initial content includes a text block and a shape positioned on the canvas, giving users something to interact with immediately.
Handle Engine Events#
We subscribe to block lifecycle events to keep our UI synchronized with the engine state. The event system delivers batched events (‘Created’, ‘Updated’, ‘Destroyed’) at the end of each engine update cycle.
private handleEngineEvents(events: BlockEvent[]) {  const selectedBlocks = this.engine.block.findAllSelected();  const newSelectedBlock = selectedBlocks[0] || null;
  if (newSelectedBlock !== this.selectedBlock) {    this.selectedBlock = newSelectedBlock;    this.updatePropertiesPanel();  }
  events.forEach((event) => {    if (event.type === 'Updated' && event.block === this.selectedBlock) {      this.updatePropertiesPanel();    }  });}
By monitoring selection changes and block updates, we keep the properties panel in sync with the selected block.
Build Custom UI Controls#
We create toolbar buttons that trigger actions on the engine. Each button calls engine methods to add new content or perform operations.
private setupToolbarControls() { document.getElementById('btn-add-text')?.addEventListener('click', () => { this.addTextBlock(); }); document.getElementById('btn-add-shape')?.addEventListener('click', () => { this.addShapeBlock(); }); document.getElementById('btn-export')?.addEventListener('click', () => { this.exportDesign(); });}The toolbar demonstrates how any UI framework or vanilla JavaScript can control the engine through its API.
Add Blocks Programmatically#
We create new blocks using engine.block.create() with different block types ('text', 'shape'), configure their properties, and add them to the scene hierarchy.
private addTextBlock() {  const textBlock = this.engine.block.create('text');  this.engine.block.setString(textBlock, 'text/text', 'Lorem ipsum dolor sit amet');  this.engine.block.setPositionX(textBlock, 80);  this.engine.block.setPositionY(textBlock, 80);  this.engine.block.setWidth(textBlock, 300);  this.engine.block.setHeight(textBlock, 100);  this.engine.block.appendChild(this.page, textBlock);  this.engine.block.select(textBlock);}
private addShapeBlock() {  const shapeBlock = this.engine.block.create('graphic');  const shape = this.engine.block.createShape('rect');  this.engine.block.setShape(shapeBlock, shape);  const fill = this.engine.block.createFill('color');  this.engine.block.setColor(fill, 'fill/color/value', {    r: 0.2, g: 0.6, b: 0.9, a: 1.0  });  this.engine.block.setFill(shapeBlock, fill);  this.engine.block.setPositionX(shapeBlock, 80);  this.engine.block.setPositionY(shapeBlock, 80);  this.engine.block.setWidth(shapeBlock, 150);  this.engine.block.setHeight(shapeBlock, 150);  this.engine.block.appendChild(this.page, shapeBlock);  this.engine.block.select(shapeBlock);}
Each block creation method demonstrates the pattern: create the block, configure its properties using engine APIs, add it to the page, and select it for immediate editing.
Create Property Panels#
We build property controls that read and update block properties. Input changes call setter methods on the engine, while the event system keeps the inputs synchronized with the engine state.
private setupPropertyPanel() {  this.bindInput('input-x', (v) => this.engine.block.setPositionX(this.selectedBlock!, v));  this.bindInput('input-y', (v) => this.engine.block.setPositionY(this.selectedBlock!, v));  this.bindInput('input-width', (v) => this.engine.block.setWidth(this.selectedBlock!, v));  this.bindInput('input-height', (v) => this.engine.block.setHeight(this.selectedBlock!, v));  this.bindInput('input-rotation', (v) => {    this.engine.block.setRotation(this.selectedBlock!, (v * Math.PI) / 180);  });}
private bindInput(id: string, setter: (_: number) => void) {  const input = document.getElementById(id) as HTMLInputElement;  input?.addEventListener('change', () => {    if (this.selectedBlock) setter(parseFloat(input.value));  });}
private updatePropertiesPanel() {  const selectionInfo = document.getElementById('selection-info');  const propertyControls = document.getElementById('property-controls');
  if (!this.selectedBlock || !this.engine.block.isValid(this.selectedBlock)) {    if (selectionInfo) selectionInfo.textContent = 'No block selected';    if (propertyControls) propertyControls.style.display = 'none';    return;  }
  const blockType = this.engine.block.getType(this.selectedBlock);  if (selectionInfo) selectionInfo.textContent = `Selected: ${blockType}`;  if (propertyControls) propertyControls.style.display = 'block';
  const setInput = (id: string, value: number) => {    const input = document.getElementById(id) as HTMLInputElement;    if (input) input.value = Math.round(value).toString();  };
  setInput('input-x', this.engine.block.getPositionX(this.selectedBlock));  setInput('input-y', this.engine.block.getPositionY(this.selectedBlock));  setInput('input-width', this.engine.block.getWidth(this.selectedBlock));  setInput('input-height', this.engine.block.getHeight(this.selectedBlock));  setInput('input-rotation', (this.engine.block.getRotation(this.selectedBlock) * 180) / Math.PI);}
The property panel demonstrates bidirectional binding—we update the engine when inputs change, and the engine events update the inputs when blocks change.
Export Designs#
We implement export functionality using engine.block.export() to render the design as an image. The method returns a Blob that we can download or upload.
private async exportDesign() { const blob = await this.engine.block.export(this.page, { mimeType: 'image/png' }); const url = URL.createObjectURL(blob); const link = document.createElement('a'); link.href = url; link.download = 'custom-ui-export.png'; document.body.appendChild(link); link.click(); document.body.removeChild(link); URL.revokeObjectURL(url);}The export shows how to trigger downloads directly from the browser, but you could also upload the Blob to a server or process it further.
Framework Integration Patterns#
The headless engine integrates cleanly with any JavaScript framework. The core pattern remains the same across frameworks:
- Initialize engine on component mount
- Subscribe to events and update UI state
- Call engine methods in response to user actions
- Dispose engine on component unmount
React Pattern#
function CustomEditor() {  const [engine, setEngine] = useState<CreativeEngine | null>(null);  const [selectedBlock, setSelectedBlock] = useState<DesignBlockId | null>(null);
  useEffect(() => {    CreativeEngine.init().then((instance) => {      setEngine(instance);
      const unsubscribe = instance.event.subscribe([], (events) => {        const selected = instance.block.findAllSelected()[0] || null;        setSelectedBlock(selected);      });
      return () => {        unsubscribe();        instance.dispose();      };    });  }, []);
  return engine ? (    <div>      <div ref={(el) => el && engine.element && el.appendChild(engine.element)} />      {/* Custom UI controls */}    </div>  ) : null;}
Vue Pattern#
export default {  data() {    return {      engine: null as CreativeEngine | null,      selectedBlock: null as DesignBlockId | null    };  },  async mounted() {    this.engine = await CreativeEngine.init();
    this.unsubscribe = this.engine.event.subscribe([], (events) => {      this.selectedBlock = this.engine!.block.findAllSelected()[0] || null;    });
this.$el.querySelector('#canvas-wrapper')?.appendChild(this.engine.element); }, beforeUnmount() { this.unsubscribe?.(); this.engine?.dispose(); }};Troubleshooting#
Canvas Not Rendering#
Problem: The canvas element appears but shows no content.
Solution: Verify the canvas element is properly attached to the DOM and a scene was created. Check that engine.scene.create() was called and blocks were added to the scene.
Events Not Firing#
Problem: The properties panel doesn’t update when blocks change.
Solution: Ensure event subscription happens after engine initialization. The subscription must occur before any block modifications. Remember to store the unsubscribe function for cleanup.
Performance Issues#
Problem: The UI feels sluggish when manipulating blocks.
Solution: Throttle property updates from UI inputs to avoid excessive engine calls. The engine batches events automatically, but rapid API calls can still impact performance. Consider debouncing text input handlers.
Blocks Not Responding#
Problem: Newly created blocks don’t appear or behave incorrectly.
Solution: Verify blocks are added to the scene hierarchy with engine.block.appendChild(). Check that the parent block (page) exists and is part of the scene. All blocks must be in the hierarchy to render.
Selection State Sync#
Problem: Multiple blocks appear selected or selection state is inconsistent.
Solution: Use engine.block.setSelected(block, true) which automatically deselects other blocks. If you need multi-selection, explicitly manage the selection state for each block.
API Reference#
| Method | Category | Purpose |
|---|---|---|
CreativeEngine.init() | Engine | Initialize engine in headless mode |
engine.element | Engine | Access managed canvas element |
engine.scene.create() | Scene | Create new blank scene |
engine.scene.loadFromString() | Scene | Load scene from serialized format |
engine.block.create() | Block | Create new block of specified type |
engine.block.appendChild() | Block | Add block to scene hierarchy |
engine.block.findAllSelected() | Block | Get currently selected blocks |
engine.block.setSelected() | Block | Update block selection state |
engine.block.setPositionX() | Block | Set block x position |
engine.block.setPositionY() | Block | Set block y position |
engine.block.setWidth() | Block | Set block width |
engine.block.setHeight() | Block | Set block height |
engine.block.setRotation() | Block | Set block rotation angle in radians |
engine.block.getString() | Block | Read string property value |
engine.block.setString() | Block | Update string property value |
engine.block.getFloat() | Block | Read numeric property value |
engine.block.setFloat() | Block | Update numeric property value |
engine.block.export() | Block | Export block or scene to image |
engine.event.subscribe() | Event | Subscribe to block lifecycle events |