Selectively replace specific colors in images using CE.SDK’s Recolor and Green Screen effects.
CE.SDK provides two specialized effects for color replacement: the Recolor effect swaps pixels matching a source color with a target color, while the Green Screen effect removes pixels matching a specified color to create transparency. Both effects use configurable tolerance parameters to control which pixels are affected, enabling use cases from product color variations to background removal.
This guide covers how to enable the built-in effects panel for interactive editing and how to apply and manage color replacement effects programmatically using the Block API.
Using the Built-in Effects UI#
The CE.SDK editor provides a visual effects panel where users can add and configure Recolor and Green Screen effects interactively. Enable the effects feature using the Feature API, then users can access effects through the inspector panel.
To enable effects in your editor configuration:
// Enable effects in the inspector panel using the Feature APIcesdk.feature.enable('ly.img.effect');With effects enabled, users can:
- Select an image block and open the effects panel
- Add Recolor or Green Screen effects from the available options
- Use visual color pickers to select source and target colors
- Adjust tolerance sliders for color match, brightness match, and smoothness
- See changes applied in real-time on the canvas
Programmatic Color Replacement#
For automation workflows or custom implementations, you can create and apply color replacement effects programmatically using the Block API. Effects are created as blocks, configured with properties, and appended to target blocks.
Creating a Recolor Effect#
The Recolor effect replaces pixels matching a source color with a target color. Use engine.block.createEffect('recolor') to create the effect, then set the fromColor and toColor properties using engine.block.setColor().
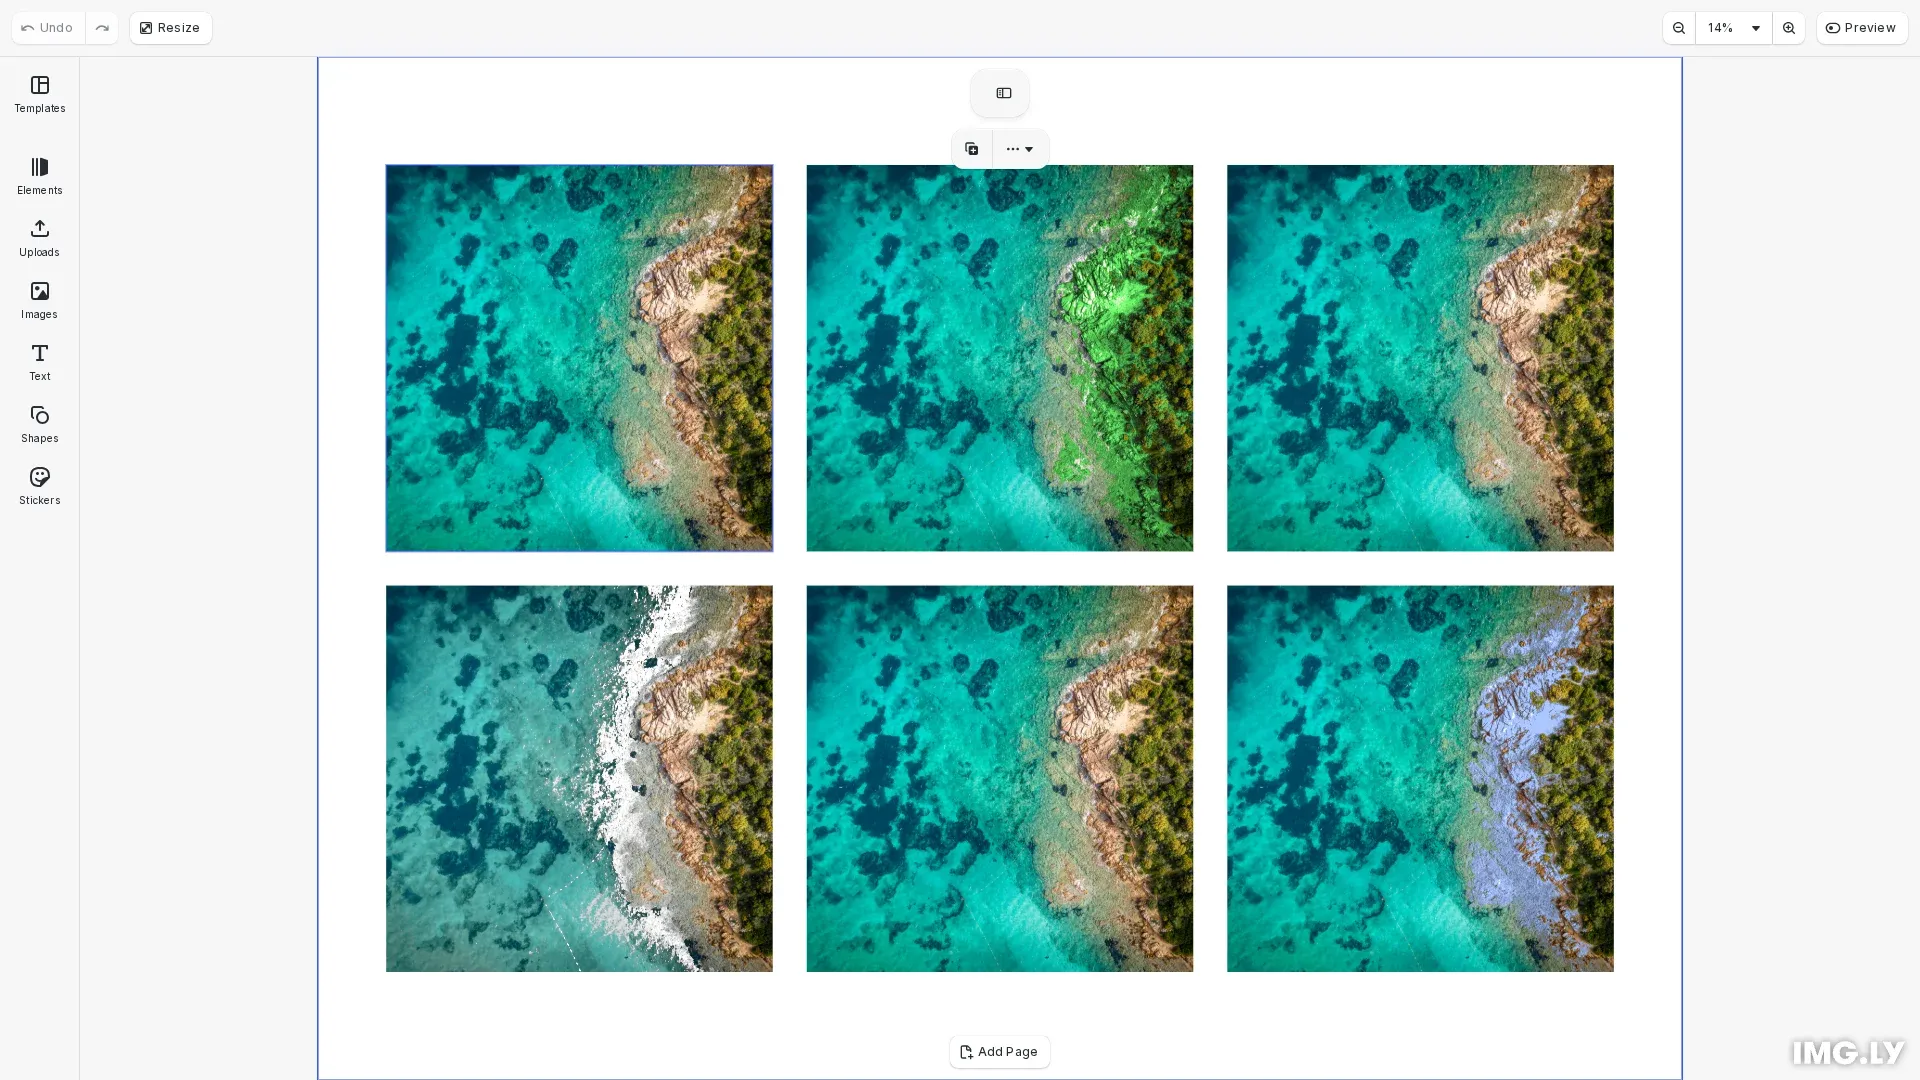
// Create a Recolor effect to swap red colors to blueconst block1 = await engine.block.addImage(imageUri, { size: blockSize });engine.block.appendChild(page, block1);
const recolorEffect = engine.block.createEffect('recolor');engine.block.setColor(recolorEffect, 'effect/recolor/fromColor', {  r: 1.0,  g: 0.0,  b: 0.0,  a: 1.0}); // Red source colorengine.block.setColor(recolorEffect, 'effect/recolor/toColor', {  r: 0.0,  g: 0.5,  b: 1.0,  a: 1.0}); // Blue target colorengine.block.appendEffect(block1, recolorEffect);
// Select this block to show the effects panelengine.block.setSelected(block1, true);
The fromColor specifies which color to match in the image, and toColor defines the replacement color. Colors use RGBA format with values from 0 to 1.
Configuring Color Matching Precision#
Fine-tune which pixels are affected by adjusting the tolerance parameters with engine.block.setFloat():
// Configure color matching precision for Recolor effectconst block2 = await engine.block.addImage(imageUri, { size: blockSize });engine.block.appendChild(page, block2);
const recolorEffect2 = engine.block.createEffect('recolor');engine.block.setColor(recolorEffect2, 'effect/recolor/fromColor', {  r: 0.8,  g: 0.6,  b: 0.4,  a: 1.0}); // Skin tone sourceengine.block.setColor(recolorEffect2, 'effect/recolor/toColor', {  r: 0.3,  g: 0.7,  b: 0.3,  a: 1.0}); // Green tint// Adjust color match tolerance (0-1, higher = more inclusive)engine.block.setFloat(recolorEffect2, 'effect/recolor/colorMatch', 0.3);// Adjust brightness match toleranceengine.block.setFloat(  recolorEffect2,  'effect/recolor/brightnessMatch',  0.2);// Adjust edge smoothnessengine.block.setFloat(recolorEffect2, 'effect/recolor/smoothness', 0.1);engine.block.appendEffect(block2, recolorEffect2);
The Recolor effect has three precision parameters:
- colorMatch (0-1): Controls hue tolerance. Higher values include more color variations around the source color.
- brightnessMatch (0-1): Controls luminance tolerance. Higher values include pixels with different brightness levels.
- smoothness (0-1): Controls edge blending. Higher values create softer transitions at the boundaries of affected areas.
Creating a Green Screen Effect#
The Green Screen effect removes pixels matching a specified color, making them transparent. This is commonly used for background removal.
// Create a Green Screen effect to remove green backgroundsconst block3 = await engine.block.addImage(imageUri, { size: blockSize });engine.block.appendChild(page, block3);
const greenScreenEffect = engine.block.createEffect('green_screen');// Specify the color to remove (green)engine.block.setColor(greenScreenEffect, 'effect/green_screen/fromColor', {  r: 0.0,  g: 1.0,  b: 0.0,  a: 1.0});engine.block.appendEffect(block3, greenScreenEffect);
Set the fromColor property to specify which color to remove. The effect will make matching pixels transparent.
Configuring Green Screen Parameters#
Control the precision of color removal using these parameters:
// Fine-tune Green Screen removal parametersconst block4 = await engine.block.addImage(imageUri, { size: blockSize });engine.block.appendChild(page, block4);
const greenScreenEffect2 = engine.block.createEffect('green_screen');engine.block.setColor(greenScreenEffect2, 'effect/green_screen/fromColor', {  r: 0.2,  g: 0.8,  b: 0.3,  a: 1.0}); // Specific green shade// Adjust color match toleranceengine.block.setFloat(  greenScreenEffect2,  'effect/green_screen/colorMatch',  0.4);// Adjust edge smoothness for cleaner removalengine.block.setFloat(  greenScreenEffect2,  'effect/green_screen/smoothness',  0.2);// Reduce color spill from green backgroundengine.block.setFloat(greenScreenEffect2, 'effect/green_screen/spill', 0.5);engine.block.appendEffect(block4, greenScreenEffect2);
The Green Screen effect parameters:
- colorMatch: Tolerance for matching the background color
- smoothness: Edge softness for cleaner cutouts around subjects
- spill: Reduces color bleed from the removed background onto the subject, useful when the background color reflects onto edges
Managing Multiple Effects#
A single block can have multiple effects applied. Use the effect management APIs to list, toggle, and remove effects.
// Demonstrate managing multiple effects on a blockconst block5 = await engine.block.addImage(imageUri, { size: blockSize });engine.block.appendChild(page, block5);
// Add multiple effects to the same blockconst recolor1 = engine.block.createEffect('recolor');engine.block.setColor(recolor1, 'effect/recolor/fromColor', {  r: 1.0,  g: 0.0,  b: 0.0,  a: 1.0});engine.block.setColor(recolor1, 'effect/recolor/toColor', {  r: 0.0,  g: 0.0,  b: 1.0,  a: 1.0});engine.block.appendEffect(block5, recolor1);
const recolor2 = engine.block.createEffect('recolor');engine.block.setColor(recolor2, 'effect/recolor/fromColor', {  r: 0.0,  g: 1.0,  b: 0.0,  a: 1.0});engine.block.setColor(recolor2, 'effect/recolor/toColor', {  r: 1.0,  g: 0.5,  b: 0.0,  a: 1.0});engine.block.appendEffect(block5, recolor2);
// Get all effects on the blockconst effects = engine.block.getEffects(block5);console.log('Number of effects:', effects.length); // 2
// Disable the first effect without removing itengine.block.setEffectEnabled(effects[0], false);
// Check if effect is enabledconst isEnabled = engine.block.isEffectEnabled(effects[0]);console.log('First effect enabled:', isEnabled); // false
Key effect management methods:
engine.block.getEffects(blockId): Returns an array of all effect IDs attached to a blockengine.block.setEffectEnabled(effectId, enabled): Toggle an effect on/off without removing itengine.block.isEffectEnabled(effectId): Check whether an effect is currently activeengine.block.removeEffect(blockId, index): Remove an effect by its index in the effects array
Stacking multiple Recolor effects enables complex color transformations, such as replacing multiple colors in a single image or creating variations.
Troubleshooting#
Colors not matching as expected: Increase the colorMatch tolerance for broader selection, or decrease it for more precise matching. Check that your source color closely matches the actual color in the image.
Harsh edges around replaced areas: Increase the smoothness value to create softer transitions at the boundaries of affected pixels.
Color spill on Green Screen subjects: Increase the spill value to reduce the green tint that often appears on edges when removing green backgrounds.
Effect not visible: Verify that the effect is enabled using isEffectEnabled() and that it has been appended to the block using appendEffect().