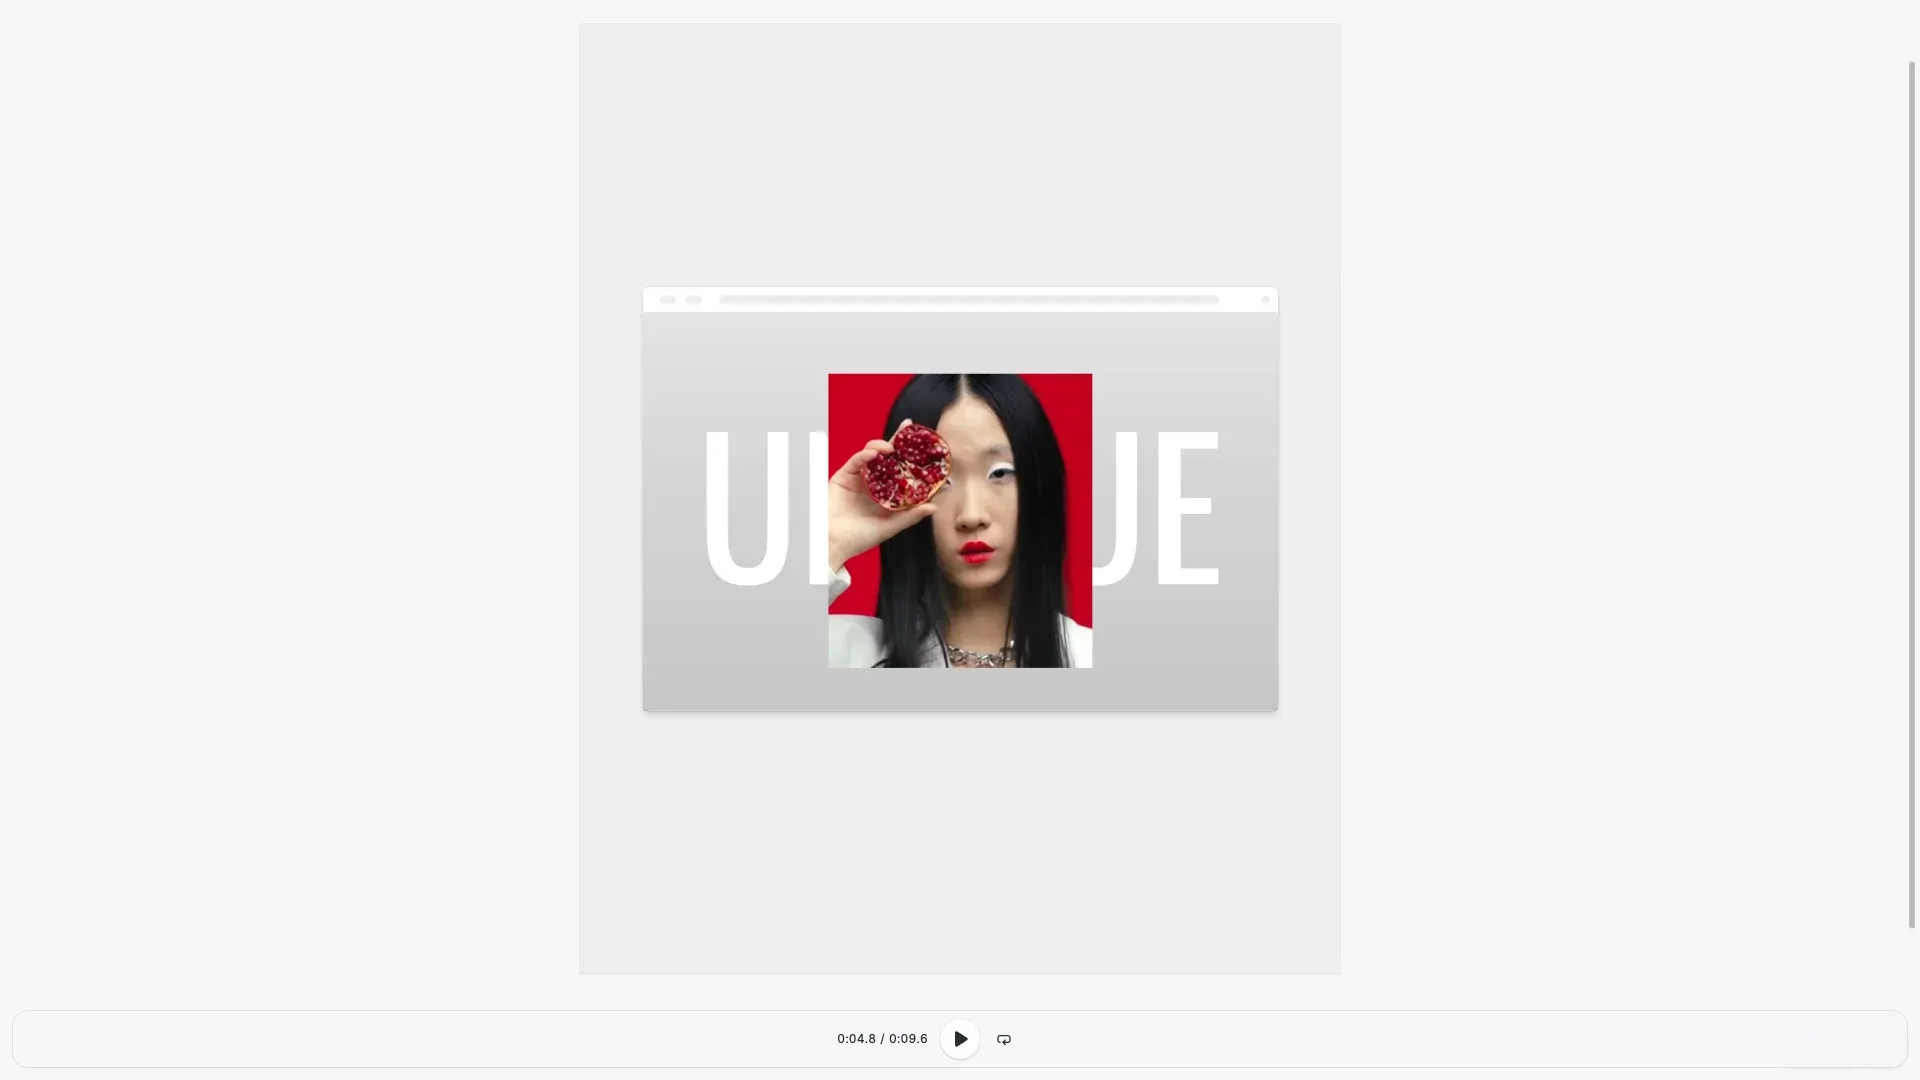
Lightweight video playback for your Next.js app—play, pause, and navigate video content. Runs entirely in the browser with no server dependencies.
Prerequisites#
Before you begin, make sure you have the following:
- Node.js v20+ and npm installed locally – Download Node.js
- A supported browser – Chrome 114+, Edge 114+, Firefox 115+, Safari 15.6+
See Browser Support for the full list.
Get Started#
Integrate the Video Player into your Next.js application using the official React wrapper.
Step 1: Create a New Project#
npx create-next-app@latest your-project-name
cd your-project-name
npx create-next-app@latest your-project-name
cd your-project-namepnpm create next-app your-project-name
cd your-project-namepnpm create next-app your-project-name
cd your-project-nameyarn create next-app your-project-name
cd your-project-nameyarn create next-app your-project-name
cd your-project-nameStep 2: Clone the Starter Kit#
Clone the starter kit and copy the player configuration to your project:
git clone https://github.com/imgly/starterkit-video-player-ts-web.git
cp -r starterkit-video-player-ts-web/app/imgly ./app/imgly
rm -rf starterkit-video-player-ts-web
git clone https://github.com/imgly/starterkit-video-player-ts-web.git
cp -r starterkit-video-player-ts-web/app/imgly ./app/imgly
rm -rf starterkit-video-player-ts-webnpx degit imgly/starterkit-video-player-ts-web/app/imgly ./app/imglynpx degit imgly/starterkit-video-player-ts-web/app/imgly ./app/imglyThe imgly/ folder contains the player configuration:
app/imgly/├── index.ts # Player initialization function└── config/ ├── plugin.ts # Main configuration plugin ├── features.ts # Feature toggles ├── i18n.ts # Translations └── settings.ts # Engine settingsStep 3: Install Dependencies#
The Creative Editor SDK package provides all playback functionality.
npm install @cesdk/cesdk-jsnpm install @cesdk/cesdk-jspnpm add @cesdk/cesdk-jspnpm add @cesdk/cesdk-jsyarn add @cesdk/cesdk-jsyarn add @cesdk/cesdk-jsStep 4: Download Assets#
CE.SDK requires engine assets (fonts, icons, UI elements) to function. These must be served as static files from your project’s public/ directory.
curl -O https://cdn.img.ly/packages/imgly/cesdk-js/1.72.1/imgly-assets.zip
unzip imgly-assets.zip -d public/
rm imgly-assets.zipcurl -O https://cdn.img.ly/packages/imgly/cesdk-js/1.72.1/imgly-assets.zip
unzip imgly-assets.zip -d public/
rm imgly-assets.zipStep 5: Create the Player Component#
Create a client-side React component using the official CE.SDK React wrapper:
'use client';
import { initVideoPlayer } from '../imgly';import CreativeEditor from '@cesdk/cesdk-js/react';
export default function VideoPlayer() { return ( <CreativeEditor config={{ baseURL: '/assets' }} init={initVideoPlayer} width="100vw" height="100vh" /> );}Step 6: Use the Component#
Import and use the Video Player component in your application:
import VideoPlayer from './components/VideoPlayer';
export default function Page() { return <VideoPlayer />;}SSR Error#
If you encounter the error ReferenceError: window is not defined, it means the component is being rendered on the server. CE.SDK requires browser APIs and must run client-side only.
Use Next.js dynamic imports to disable SSR for the player component:
'use client';
import dynamic from 'next/dynamic';
const VideoPlayer = dynamic( () => import('./components/VideoPlayer'), { ssr: false });
export default function VideoPlayerComponent() { return <VideoPlayer />;}Get Started#
Integrate the Video Player into an existing Next.js application. This adds the player configuration to your current project structure.
Step 1: Navigate to Your Project#
cd your-projectcd your-projectStep 2: Clone the Starter Kit#
Clone the starter kit and copy the player configuration to your project:
git clone https://github.com/imgly/starterkit-video-player-ts-web.git
cp -r starterkit-video-player-ts-web/app/imgly ./app/imgly
rm -rf starterkit-video-player-ts-webgit clone https://github.com/imgly/starterkit-video-player-ts-web.git
cp -r starterkit-video-player-ts-web/app/imgly ./app/imgly
rm -rf starterkit-video-player-ts-webnpx degit imgly/starterkit-video-player-ts-web/app/imgly ./app/imglynpx degit imgly/starterkit-video-player-ts-web/app/imgly ./app/imglyStep 3: Install Dependencies#
The Creative Editor SDK package provides all playback functionality.
npm install @cesdk/cesdk-jsnpm install @cesdk/cesdk-jspnpm add @cesdk/cesdk-jspnpm add @cesdk/cesdk-jsyarn add @cesdk/cesdk-jsyarn add @cesdk/cesdk-jsStep 4: Download Assets#
CE.SDK requires engine assets (fonts, icons, UI elements) to function. These must be served as static files from your project’s public/ directory.
curl -O https://cdn.img.ly/packages/imgly/cesdk-js/1.72.1/imgly-assets.zip
unzip imgly-assets.zip -d public/
rm imgly-assets.zip
curl -O https://cdn.img.ly/packages/imgly/cesdk-js/1.72.1/imgly-assets.zip
unzip imgly-assets.zip -d public/
rm imgly-assets.zipStep 5: Create the Player Component#
Create a client-side React component using the official CE.SDK React wrapper:
'use client';
import { initVideoPlayer } from '../imgly';import CreativeEditor from '@cesdk/cesdk-js/react';
export default function VideoPlayer() {  return (    <CreativeEditor      config={{ baseURL: '/assets' }}      init={initVideoPlayer}      width="100vw"      height="100vh"    />  );}
Step 6: Use the Component#
Import and use the Video Player component in your application:
import VideoPlayer from './components/VideoPlayer';
export default function Page() {  return <VideoPlayer />;}
SSR Error#
If you encounter the error ReferenceError: window is not defined, it means the component is being rendered on the server. CE.SDK requires browser APIs and must run client-side only.
Use Next.js dynamic imports to disable SSR for the player component:
'use client';
import dynamic from 'next/dynamic';
const VideoPlayer = dynamic(  () => import('./components/VideoPlayer'),  { ssr: false });
export default function VideoPlayerComponent() { return <VideoPlayer />;}Set Up a Scene#
CE.SDK offers multiple ways to load content into the player. Choose the method that matches your use case:
// Load from a template archive - loads a previously saved projectawait cesdk.loadFromArchiveURL('https://example.com/video.zip');
// Load from a scene file - restores a scene from JSONawait cesdk.loadFromURL('https://example.com/scene.json');
// Zoom to fit the contentawait cesdk.actions.run('zoom.toPage', { page: 'first', autoFit: true, padding: 24,});Customize (Optional)#
Theming#
CE.SDK supports light and dark themes out of the box, plus automatic system preference detection. Switch between themes programmatically:
// 'light' | 'dark' | 'system' | (() => 'light' | 'dark')cesdk.ui.setTheme('dark');See Theming for custom color schemes, CSS variables, and advanced styling options.
Localization#
Customize UI labels and add support for multiple languages. The i18n system supports translation keys for all UI elements:
// Override specific labelscesdk.i18n.setTranslations({  en: {    'common.play': 'Play Video',    'common.pause': 'Pause',  },});
// Add a new languagecesdk.i18n.setTranslations({  de: {    'common.play': 'Video abspielen',  },});
// Set the active localecesdk.i18n.setLocale('de');
See Localization for supported languages, translation key reference, and right-to-left language support.
Key Capabilities#
The Video Player includes everything needed for video playback.
Playback Controls
Play, pause, and seek through video content with intuitive controls.
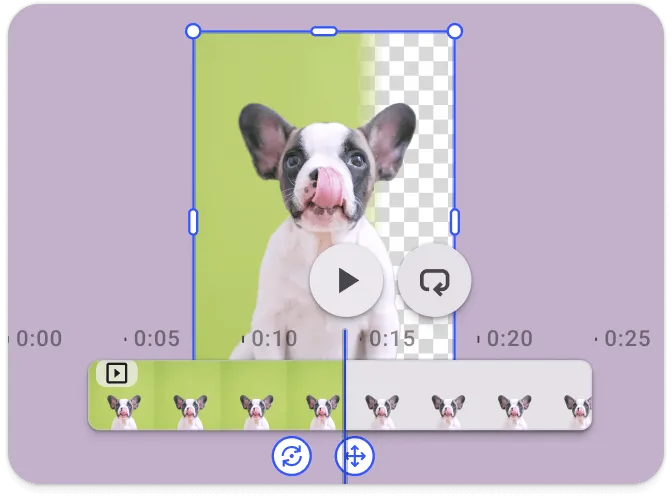
Timeline Navigation
Scrub through the timeline to preview any point in the video.
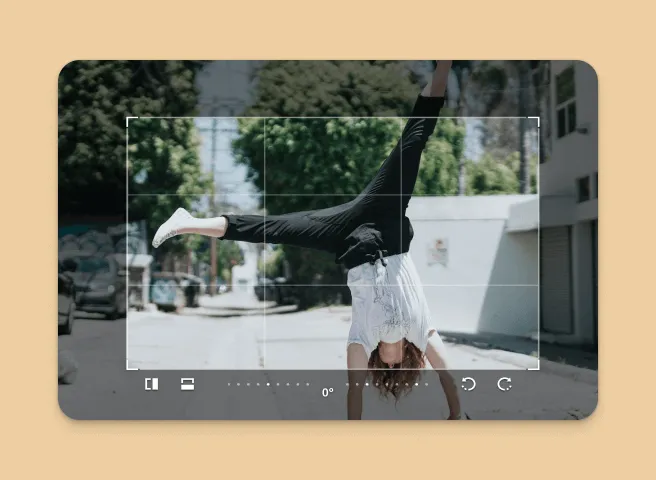
Zoom Controls
Zoom in and out of the video canvas with fit-to-screen options.
Page Navigation
Navigate between pages in multi-page video projects.
Read-Only Mode
Display video content without editing capabilities for preview and review workflows.
Lightweight Interface
Minimal UI focused on playback experience without editing distractions.
Troubleshooting#
Player doesn’t load#
- Check the container element exists: Ensure your container element is in the DOM before calling
create() - Verify the baseURL: Assets must be accessible from the CDN or your self-hosted location
- Check console errors: Look for CORS or network errors in browser developer tools
Content doesn’t appear#
- Check network requests: Open DevTools Network tab and look for failed requests to
cdn.img.ly - Self-host assets for production: See Serve Assets to host assets on your infrastructure
Video doesn’t play#
- Check browser autoplay policies: Browsers require user interaction before playing video
- Verify video format: Ensure video files are in a supported format (MP4, WebM)
Watermark appears in production#
- Add your license key: Set the
licenseproperty in your configuration - Sign up for a trial: Get a free trial license at img.ly/forms/free-trial
Next Steps#
- Configuration – Complete list of initialization options
- Serve Assets – Self-host engine assets for production
- Theming – Customize colors and appearance
- Localization – Add translations and language support