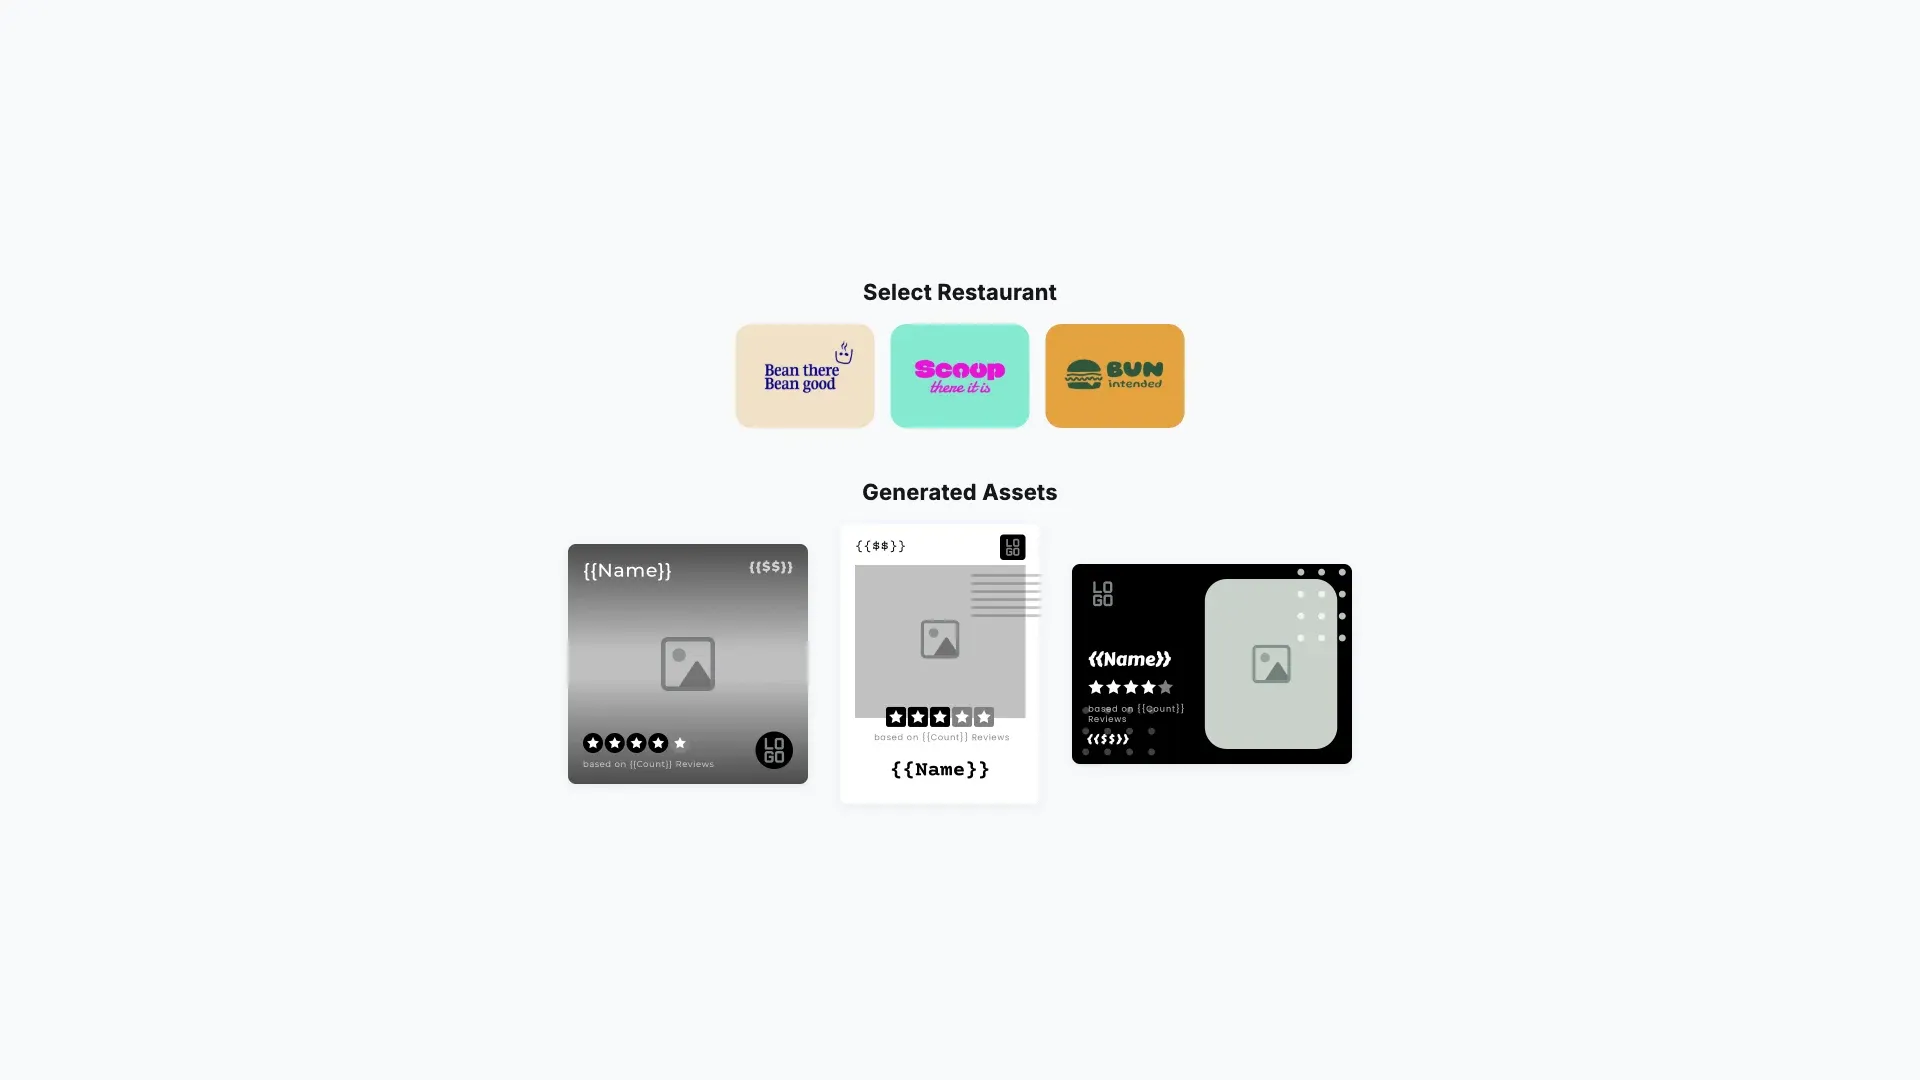
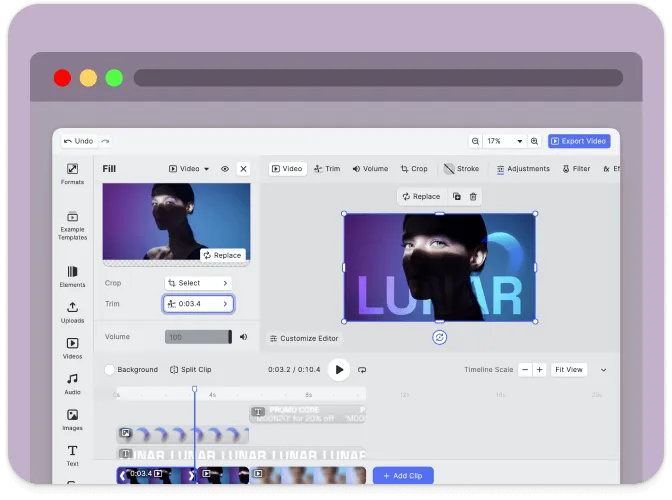
Generate multiple image variants for a single data point.
Prerequisites#
Before you begin, make sure you have the following:
- Node.js v22+ and npm installed locally – Download Node.js
- A supported browser – Chrome 114+, Edge 114+, Firefox 115+, Safari 15.6+
See Browser Support for the full list.
Get Started#
Start fresh with a standalone Multi Image Generation project. This creates a complete, ready-to-run application.
Step 1: Clone the Repository#
git clone https://github.com/imgly/starterkit-multi-image-generation-react-web.gitgit clone https://github.com/imgly/starterkit-multi-image-generation-react-web.gitnpx degit imgly/starterkit-multi-image-generation-react-web starterkit-multi-image-generation-react-webnpx degit imgly/starterkit-multi-image-generation-react-web starterkit-multi-image-generation-react-webThe src/ folder contains the application:
src/├── app/ # Demo application├── imgly/│ ├── config/│ │ ├── advanced-design-editor/│ │ │ ├── actions.ts # Export/import actions│ │ │ ├── features.ts # Feature toggles│ │ │ ├── i18n.ts # Translations│ │ │ ├── plugin.ts # Main configuration plugin│ │ │ ├── settings.ts # Engine settings│ │ │ └── ui/│ │ │ ├── canvas.ts # Canvas configuration│ │ │ ├── components.ts # Custom component registration│ │ │ ├── dock.ts # Dock layout configuration│ │ │ ├── index.ts # Combines UI customization exports│ │ │ ├── inspectorBar.ts # Inspector bar layout│ │ │ ├── navigationBar.ts # Navigation bar layout│ │ │ └── panel.ts # Panel configuration│ │ └── design-editor/ # Same structure as advanced-design-editor/│ ├── generation.ts # Design generation logic│ ├── index.ts # Editor initialization function│ ├── types.ts # TypeScript type definitions│ └── utils.ts # Utility functions└── index.tsx # Application entry pointStep 2: Install Dependencies#
Install the required packages:
cd starterkit-multi-image-generation-react-web
npm install
cd starterkit-multi-image-generation-react-web
npm installcd starterkit-multi-image-generation-react-web
pnpm installcd starterkit-multi-image-generation-react-web
pnpm installcd starterkit-multi-image-generation-react-web
yarncd starterkit-multi-image-generation-react-web
yarnStep 3: Download Assets#
CE.SDK requires engine assets (fonts, icons, UI elements) to function. These must be served as static files from your project’s public/ directory.
curl -O https://cdn.img.ly/packages/imgly/cesdk-js/1.77.1/imgly-assets.zip
unzip imgly-assets.zip -d public/
rm imgly-assets.zip
curl -O https://cdn.img.ly/packages/imgly/cesdk-js/1.77.1/imgly-assets.zip
unzip imgly-assets.zip -d public/
rm imgly-assets.zipconst config = { // ... baseURL: '/assets' // ...};Step 4: Run the Development Server#
npm run devnpm run devpnpm run devpnpm run devyarn devyarn devOpen http://localhost:5173 in your browser.
Get Started#
Integrate the Multi Image Generation into an existing Next.js application. This adds the editor configuration to your current project structure.
Step 1: Clone#
cd your-projectcd your-projectClone the starter kit and copy the editor configuration to your project:
git clone https://github.com/imgly/starterkit-multi-image-generation-react-web.git
cp -r starterkit-multi-image-generation-react-web/app/imgly ./app/imgly
rm -rf starterkit-multi-image-generation-react-webgit clone https://github.com/imgly/starterkit-multi-image-generation-react-web.git
cp -r starterkit-multi-image-generation-react-web/app/imgly ./app/imgly
rm -rf starterkit-multi-image-generation-react-webnpx degit imgly/starterkit-multi-image-generation-react-web/app/imgly ./app/imglynpx degit imgly/starterkit-multi-image-generation-react-web/app/imgly ./app/imglyThe imgly/ folder contains the editor configuration:
imgly/├── config/│ ├── advanced-design-editor/│ │ ├── actions.ts # Export/import actions│ │ ├── features.ts # Feature toggles│ │ ├── i18n.ts # Translations│ │ ├── plugin.ts # Main configuration plugin│ │ ├── settings.ts # Engine settings│ │ └── ui/│ │ ├── canvas.ts # Canvas configuration│ │ ├── components.ts # Custom component registration│ │ ├── dock.ts # Dock layout configuration│ │ ├── index.ts # Combines UI customization exports│ │ ├── inspectorBar.ts # Inspector bar layout│ │ ├── navigationBar.ts # Navigation bar layout│ │ └── panel.ts # Panel configuration│ └── design-editor/ # Same structure as advanced-design-editor/├── generation.ts # Design generation logic├── index.ts # Editor initialization function├── types.ts # TypeScript type definitions└── utils.ts # Utility functionsStep 2: Install Dependencies#
Install the required packages for the editor:
Core Editor#
Install the Creative Editor SDK:
npm install @cesdk/cesdk-js@1.77.1npm install @cesdk/cesdk-js@1.77.1pnpm add @cesdk/cesdk-js@1.77.1pnpm add @cesdk/cesdk-js@1.77.1yarn add @cesdk/cesdk-js@1.77.1yarn add @cesdk/cesdk-js@1.77.1Headless Engine#
Install the headless engine for server-side and batch processing:
npm install @cesdk/engine@1.77.1npm install @cesdk/engine@1.77.1pnpm add @cesdk/engine@1.77.1pnpm add @cesdk/engine@1.77.1yarn add @cesdk/engine@1.77.1yarn add @cesdk/engine@1.77.1Step 3: Download Assets#
CE.SDK requires engine assets (fonts, icons, UI elements) to function. For Next.js projects, place these in your public/ directory which is served automatically.
curl -O https://cdn.img.ly/packages/imgly/cesdk-js/1.77.1/imgly-assets.zip
unzip imgly-assets.zip -d public/
rm imgly-assets.zipcurl -O https://cdn.img.ly/packages/imgly/cesdk-js/1.77.1/imgly-assets.zip
unzip imgly-assets.zip -d public/
rm imgly-assets.zipStep 4: Create the Editor Component#
Choose your editing mode and initialize the editor accordingly:
'use client';
import { initMultiImageGenerationDesignEditor } from '../imgly';import CreativeEditor from '@cesdk/cesdk-js/react';
export default function DesignEditor() {  return (    <CreativeEditor      config={{ baseURL: '/assets' }}      init={initMultiImageGenerationDesignEditor}      width="100vw"      height="100vh"    />  );}
'use client';
import { initMultiImageGenerationAdvancedDesignEditor } from '../imgly';import CreativeEditor from '@cesdk/cesdk-js/react';
export default function DesignEditor() { return ( <CreativeEditor config={{ baseURL: '/assets' }} init={initMultiImageGenerationAdvancedDesignEditor} width="100vw" height="100vh" /> );}Using the Starterkit#
The imgly/ module provides a unified API for editor initialization, headless rendering, and batch generation. Import what you need from the single entry point:
import {  // Editor Initialization  initMultiImageGenerationDesignEditor,          // Adopter mode (light theme, standard editing)  initMultiImageGenerationAdvancedDesignEditor,  // Creator mode (dark theme, full template design)
  // Configuration Plugins (for direct use)  DesignEditorConfig,  AdvancedDesignEditorConfig,
  // Headless Engine  initMultiImageGenerationHeadlessEngine,        // Initialize engine without UI  renderSceneToImage,        // Load scene and export as image
  // Generation Utilities  fillTemplate,              // Fill template with data  generateAssets,            // Batch generate multiple assets  applyRestaurantColors,     // Apply brand colors to loaded scene
  // Helper Utilities  hexToRgba,                 // Convert hex color to RGBA  replaceImageByName,        // Replace image block by name  exportSceneAsImage         // Export current scene as image} from './imgly';
Editor Initialization#
Use initMultiImageGenerationDesignEditor or initMultiImageGenerationAdvancedDesignEditor to configure the editor with all necessary plugins and asset sources:
import CreativeEditor from '@cesdk/cesdk-js/react';import { initMultiImageGenerationDesignEditor, initMultiImageGenerationAdvancedDesignEditor } from './imgly';
const config = {  baseURL: '/assets/',  license: 'YOUR_CESDK_LICENSE_KEY'};
// Adopter mode: Light theme, standard editing features<CreativeEditor  config={config}  init={async (cesdk) => {    await initMultiImageGenerationDesignEditor(cesdk);    await cesdk.engine.scene.loadFromString(sceneString);  }}/>
// Creator mode: Dark theme, full template design<CreativeEditor  config={config}  init={async (cesdk) => {    await initMultiImageGenerationAdvancedDesignEditor(cesdk);    await cesdk.actions.run('scene.create');  }}/>
Generation Functions#
For batch image generation, use the headless engine with generation utilities:
import {  initMultiImageGenerationHeadlessEngine,  fillTemplate,  generateAssets} from './imgly';import type { Restaurant, Template, GeneratedAsset } from './app/types';
// Initialize headless engine (no UI)const engine = await initMultiImageGenerationHeadlessEngine();
// Fill a single template with restaurant dataawait fillTemplate(engine, 'instagram-square', restaurant);const imageUrl = await exportSceneAsImage(engine);
// Or generate multiple assets at onceconst templates: Template[] = [  { sceneKey: 'instagram-square', label: 'Instagram Square' },  { sceneKey: 'facebook-cover', label: 'Facebook Cover' },  { sceneKey: 'twitter-header', label: 'Twitter Header' }];
await generateAssets(engine, templates, restaurant, (index, asset) => {  // Called for each generated asset  console.log(`Generated ${asset.label}:`, asset.src);});
// Clean up when doneengine.dispose();
Set Up a Scene#
CE.SDK offers multiple ways to load content into the editor. Choose the method that matches your use case:
// Create a blank design canvas - starts with an empty design sceneawait cesdk.actions.run('scene.create');
// Load from a template archive - restores a previously saved projectawait cesdk.loadFromArchiveURL('https://example.com/template.zip');
// Load from an image URL - creates a new scene with the imageawait cesdk.createFromImage('https://example.com/image.jpg');
// Load from a scene file - restores a scene from JSONawait cesdk.loadFromURL('https://example.com/scene.json');Key Capabilities#
The Multi Image Generation starter kit enables batch creation of on-brand design variations.
Batch Generation
Generate multiple image variations from a single template with different data inputs.
Data-Driven Design
Connect external data sources to dynamically populate design elements.
Template System
Create reusable templates with placeholders for text, images, and other content.

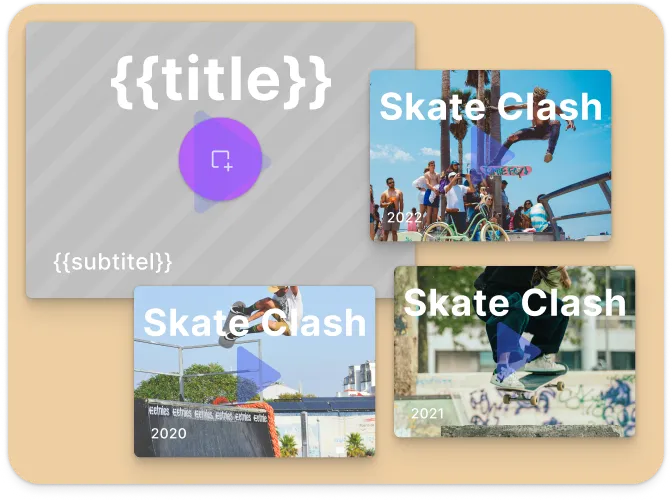
Multi-Format Export
Export designs in multiple formats and sizes for different platforms.
Real-Time Preview
Preview generated designs instantly before exporting.
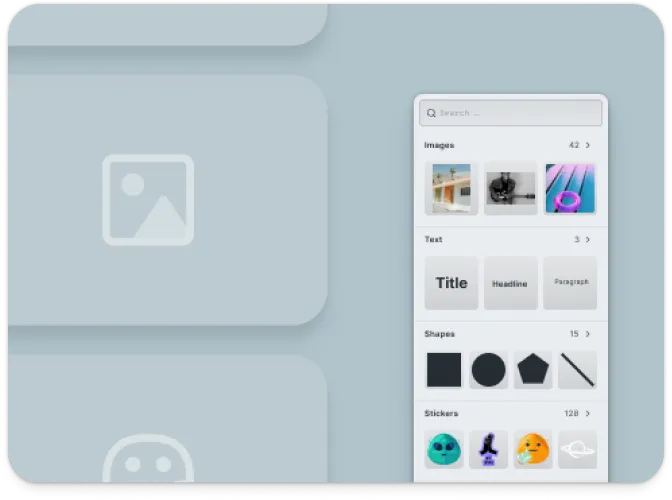
Asset Libraries
Access built-in collections of templates, graphics, and fonts.
Troubleshooting#
Editor doesn’t load#
- Check the container element exists: Ensure your container element is in the DOM before calling
create() - Verify the baseURL: Assets must be accessible from the CDN or your self-hosted location
- Check console errors: Look for CORS or network errors in browser developer tools
Assets don’t appear#
- Check network requests: Open DevTools Network tab and look for failed requests to
cdn.img.ly - Self-host assets for production: See Serve Assets to host assets on your infrastructure
Watermark appears in production#
- Add your license key: Set the
licenseproperty in your configuration - Sign up for a trial: Get a free trial license at img.ly/forms/free-trial
Next Steps#
- Configuration – Complete list of initialization options
- Serve Assets – Self-host engine assets for production
- Actions – Build custom export and save workflows
- Theming – Customize colors and appearance
- Localization – Add translations and language support