The CreativeEditor SDK provides a robust and user-friendly solution for photo editing on Flutter applications.
With the help of the photo UI, a specific configuration of the CE.SDK UI, developers can easily incorporate necessary photo editing functionalities into their Flutter apps, providing users with a robust yet user-friendly editing experience.
The CE.SDK Flutter Photo Editor may be used to create apps for social media, content creation, or any other platform that needs photo editing features.
Explore Demo
View on GitHub
Key Capabilities of the React Native Mobile Image Editor SDK#
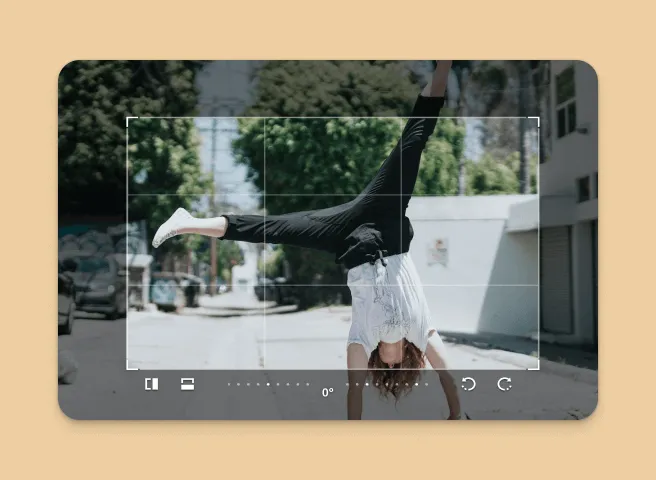
Transforms
Includes straightening, scaling, rotation, and flip functions.
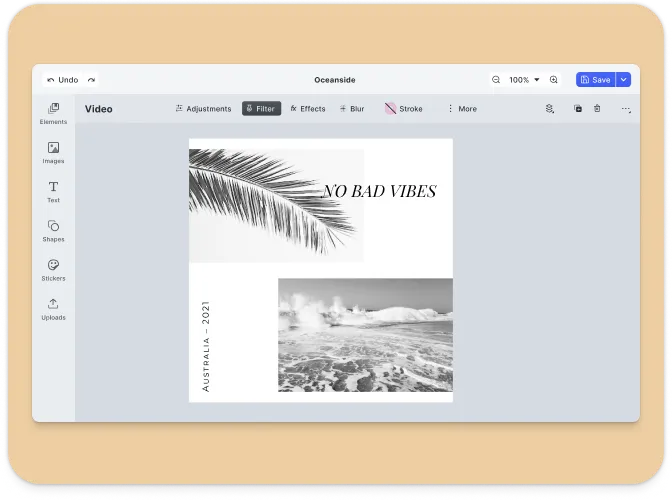
Advanced Adjustment Tools
Includes brightness, saturation, contrast, gamma, clarity, exposure, shadows, highlights, and more.
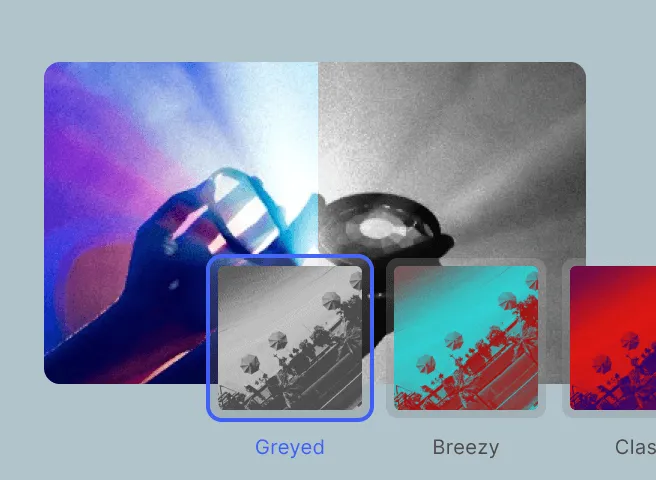
Filters
Provide a wide range of built-in filters and effects or upload your own custom filters.
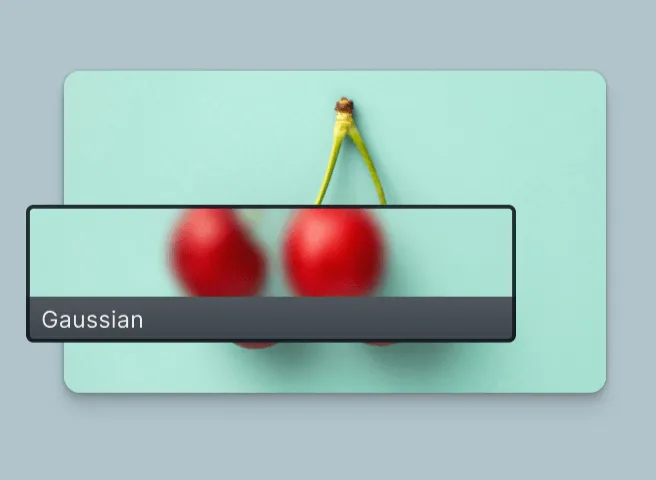
Effects & Blur
Unique effects such as pixelize, glitch, or mirror.
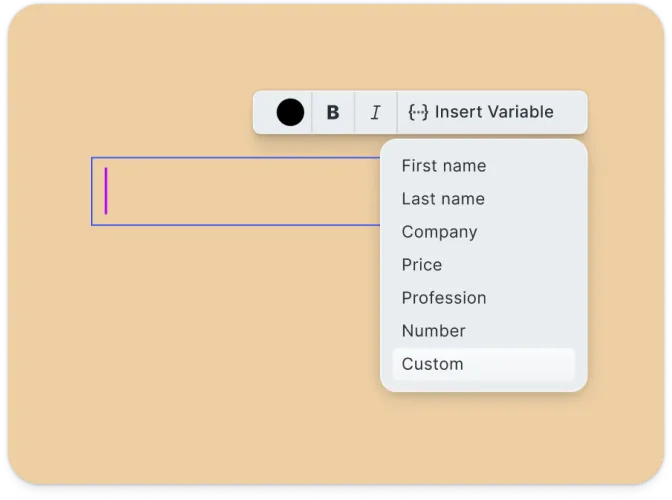
Text Editing
Add and style text blocks with various fonts, colors, and effects.
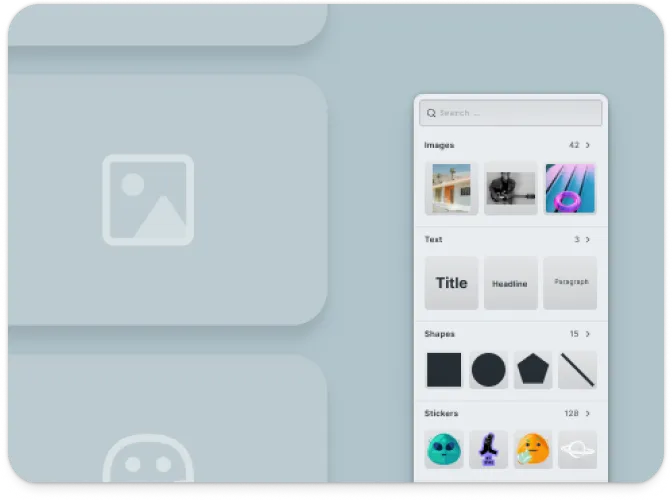
Asset Libraries
Add custom assets for stickers, filters, and shapes.
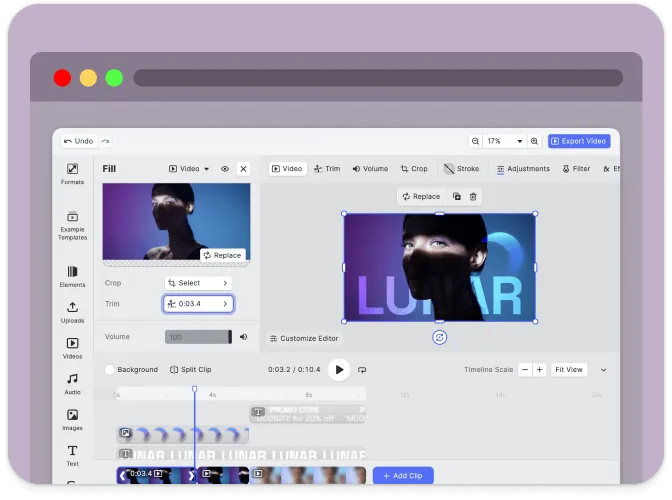
Client-Side Processing
All design editing operations are executed directly on the device, with no need for server dependencies.
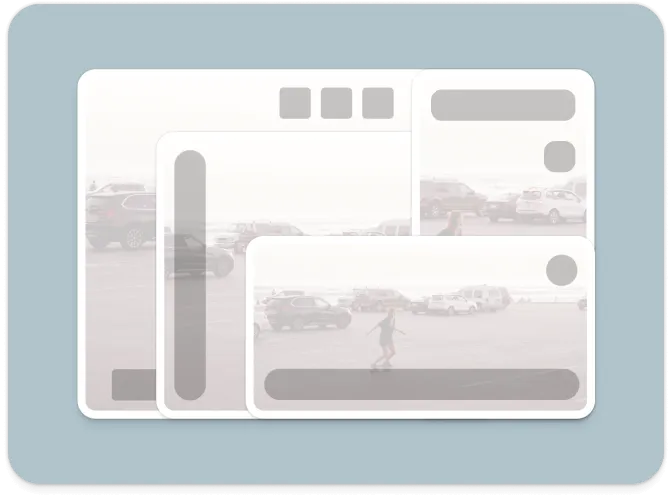
Customizable UI
Tailor the photo editing interface to align with your application’s branding and UX requirements.
What is the Photo Editor Solution?#
The Photo Editor is a fully customizable CE.SDK configuration focused on photo-centric use cases. It strips down the editor interface to include only the most relevant features for image adjustments — giving users a focused and responsive experience. Whether your users need to fine-tune selfies, prepare product photos, or create profile images, this solution makes it easy.
Get a powerful photo editor into your app with minimal setup. The Photo Editor runs entirely client-side — which helps reduce cloud computing costs and improve privacy.
Supported Platforms#
The Flutter SDK leverages a single creative engine to ensure seamless support across iOS and Android.
This guarantees consistent features, interoperable designs, and uniform rendering across all platforms.
Prerequisites#
This version requires Flutter 3.16.0, Dart 2.12.0, iOS 16, Swift 6.1 (Xcode 16.4), and Android 7 as the minimum specifications.
Ensure your pubspec.yml file contains the required dependencies:
dependencies: flutter: sdk: flutter imgly_editor: 1.66.1Supported File Types#
The SDK supports various image formats for loading, editing, and exporting within your Flutter application.
Importing Media#
| Category | Supported Formats |
|---|---|
| Images | .png, .jpeg, .jpg, .gif, .webp, .svg, .bmp |
| Video | .mp4 (H.264/AVC, H.265/HEVC), .mov (H.264/AVC, H.265/HEVC) |
| Audio | .mp3, .m4a, .mp4 (AAC or MP3), .mov (AAC or MP3) |
| Animation | .json (Lottie) |
Exporting Media#
| Category | Supported Formats |
|---|---|
| Images | .png (with transparency), .jpeg, .webp, .tga |
| Video | .mp4 (H.264 or H.265 on supported platforms with limited transparency support) |
.pdf (supports underlayer printing and spot colors) | |
| Scene | .scene (description of the scene without any assets) |
| Archive | .zip (fully self-contained archive that bundles the .scene file with all assets) |
Importing Templates#
| Format | Description |
|---|---|
.idml | InDesign |
.psd | Photoshop |
.scene | CE.SDK Native |
For detailed information, see the full file format support list .
Understanding the CE.SDK Architecture & API#
The following sections provide an overview of the key components of the Flutter Mobile Image Editor UI and its API architecture.
If you’re ready to start integrating the SDK into your Flutter application, check out our Getting Started guide or dive into the guides section.
CreativeEditor SDK Mobile Photo UI#
The CE.SDK photo editor UI is a streamlined configuration of the CreativeEditor SDK, focusing on essential photo editing features.
This configuration is fully customizable, allowing developers to adjust the UI and functionality to suit different use cases.
Key components include:
- Canvas: The primary workspace where users interact with their photo content.
- Inspector Bar: Offers tools for adjusting properties like size, position, and effects for selected elements.
- Asset Library: A collection of media resources available for use within the photo editor, including images and stickers.
Learn more about interacting with and customizing the photo editor UI in our design editor UI guide.
CreativeEngine#
At the heart of CE.SDK is the CreativeEngine, which powers all rendering and photo manipulation tasks.
It can be used in headless mode or in combination with the CreativeEditor UI.
Key features and APIs provided by CreativeEngine include:
- Scene Management: Create, load, save, and manipulate photo scenes programmatically.
- Block Management: Manage images, text, and other elements within the photo editor.
- Asset Management: Integrate and manage photo and image assets from various sources.
- Variable Management: Define and manipulate variables for dynamic content within photo scenes.
- Event Handling: Subscribe to events like image selection changes or editing actions for dynamic interaction.
Customizing the Flutter Image Editor#
CE.SDK provides extensive customization options , allowing you to tailor the UI and functionality to meet your specific needs.
This can range from basic configuration settings to more advanced customizations involving callbacks and custom elements.
Basic Customizations#
Configure the editor by passing a configuration object during initialization:
final settings = EditorSettings( license: "YOUR_LICENSE", userId: "YOUR_USER_ID", );Explore further customization options by visiting the configuration guide.
Ready to get started?
With a free trial and pricing that fits your needs, it's easy to find the best solution for your product.
500M+


