Cropping images is a fundamental editing operation that helps you frame your subject, remove unwanted elements, or prepare visuals for specific formats. With the CreativeEditor SDK (CE.SDK) for iOS, you can crop images either using the built-in user interface or programmatically via the engine API. This guide covers both methods and explains how to apply constraints such as fixed aspect ratios or exact dimensions when using templates.
What You’ll Learn#
- How to enable and use the pre-built crop UI.
- How to query whether a block supports cropping.
- How to adjust crop via helper methods or properties for scale, translation, rotation, and flip.
- How to reset a crop and how to fill the frame programmatically.
- How to chain crop transformations
When To Use It#
Use the built-in UI when end-users should adjust the crop visually. Use the programmatic API when you need:
- Automation.
- To enforce brand layouts.
- To drive cropping from templates or data.
Using the Built-In Crop UI#
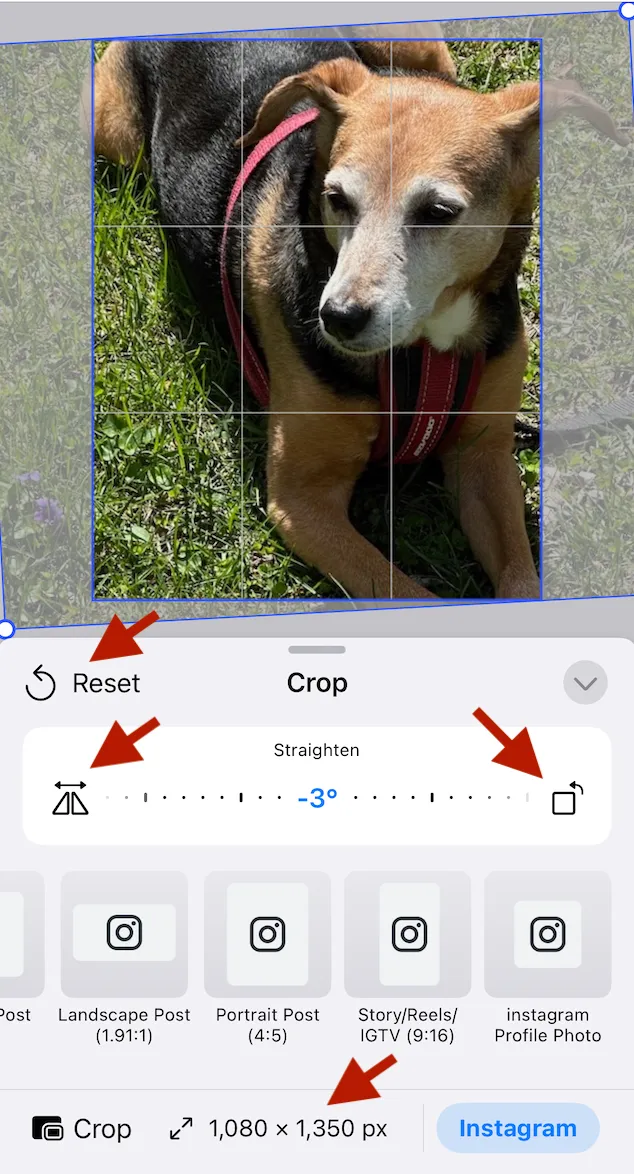
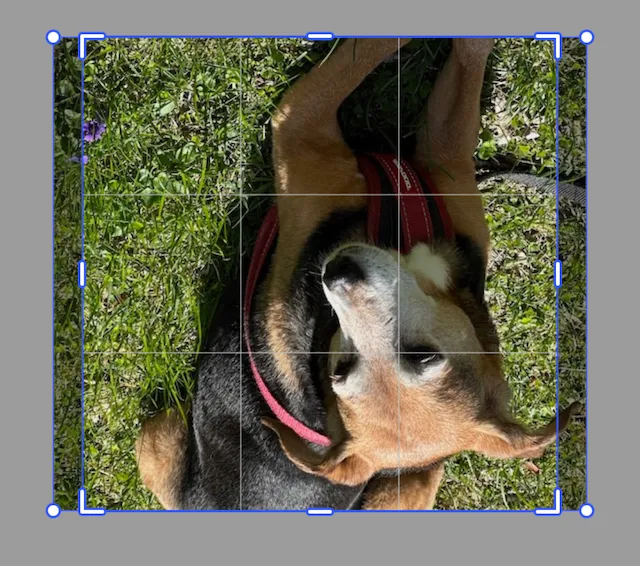
CE.SDK provides a user-friendly cropping tool in its default UI. Users can interactively:
- Adjust crop areas.
- Select preset aspect ratios.
- Apply changes with real-time feedback.
This makes it easy to support social media presets or maintain brand consistency.
User Interaction Workflow#
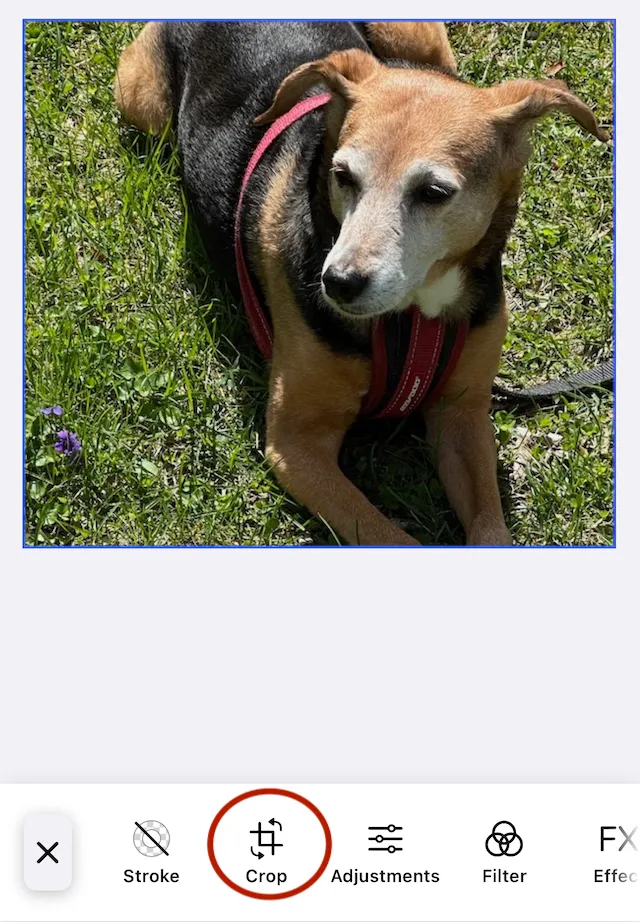
- Select the image you want to crop.
- Tap the crop icon in the editor toolbar.
- Drag the corners or edges, adjusting the crop area.
- Use the tools to crop flip, rotate, resize or, to reset the image.
- Close the Sheet to finalize the crop.
The cropped image appears in your project, but the underlying original image and crop values are preserved even when you rotate or resize the cropped image.
Enable and Configure Crop Tool#
The default editor UI allows cropping. When you are creating your own UI or custom toolbars, you can configure editing behavior. To ensure the crop tool is available in the UI, make sure you include it in your app in either:
- The dock configuration
- The quick actions
try engine.editor.setSettingBool("doubleClickToCropEnabled", value: true)try engine.editor.setSettingBool("controlGizmo/showCropHandles", value: true)try engine.editor.setSettingBool("controlGizmo/showCropScaleHandles", value: true)The cropping handles are only available when a selected block has a fill of type .image. Otherwise setting the edit mode of the engine.editor to .crop has no effect.
Canvas vs. Prebuilt Editors#
The CE.SDK offers two UI paths:
-
Canvas (all platforms) view shows built-in crop controls for selected image blocks when the crop gizmos are enabled. No extra wiring is required.
-
Prebuilt Editors (iOS only) such as the Design Editor include an Inspector Bar with a Crop button. You can ensure the button is present or customize it using:
-
The
.imgly.inspectorBarItemsmodifiers -
The predefined
InspectorBar.Buttons.crop()item
Crop Presets#
CE.SDK has built-in crop presets as part of the default asset sources. You can also provide your own preset set by adding to the default source or serving your own source.
let engine = Engine()try await engine.addDefaultAssetSources() // includes ly.img.crop.presetsTo create your own preset definitions, you can serve a custom sets. Define presets using JSON in the ly.img.crop.presets asset source. Common types you can publish include:
- FixedSize (absolute width/height in a unit)
- FixedAspectRatio (ratio only)
- FreeAspectRatio (unconstrained)
Below is an example (FixedSize):
{ "id": "page-sizes-instagram-square", "label": { "en": "Square (1080×1080)" }, "type": "FixedSize", "width": 1080, "height": 1080, "designUnit": "Pixel", "groups": ["instagram"]}Publish your JSON with other served assets from your server and register that source.
Programmatic Cropping#
Programmatic cropping gives you complete control over:
- Image boundaries
- Dimensions
- Integration with other transformations like rotation or flipping.
This is useful for:
- Automation
- Predefined layouts
- Server-synced workflows.
When you initially create a fill to insert an image into a block, the engine:
- Centers the image in the block.
- Crops any dimension that doesn’t match.
For example: when a block with dimensions of 400.0 × 400.0 is filled with an image that is 600.0 × 500.0, there will be horizontal cropping.
When working with cropping using code, it’s important to remember that you are modifying the scale, translation, rotation, etc. of the underlying image. The examples below always adjust the x and y values equally. This isn’t required, but adjusting them unequally can distort the image, which might be just what you want.
Verify Crop Permission#
Before your code can apply any cropping, it should first verify that a block currently supports cropping.
let canCrop = try engine.block.supportsCrop(imageBlock)Reset Crop#
When an image is initially placed into a block it will get crop scale and crop translation values. Resetting the crop will return the image to the original values.
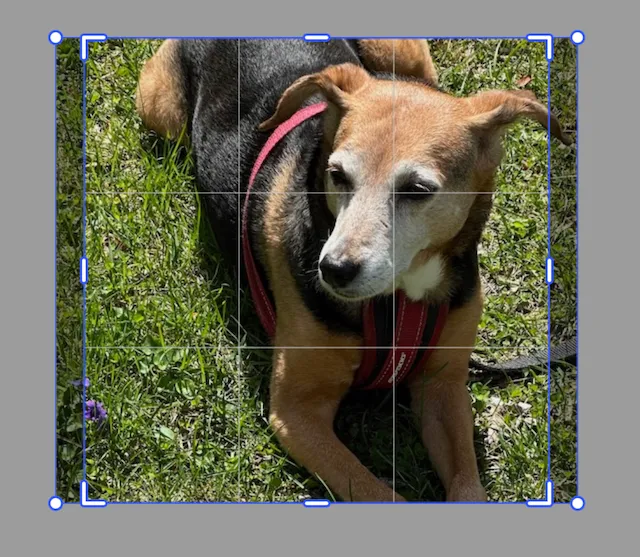
This is a block (called imageBlock in the example code) with dimensions of 400 × 400 filled with an image that has dimensions of 600 × 530. The image has slight scaling and translation applied so that it fills the block evenly. At any time, the code can execute the reset crop command to return it to this stage.
try engine.block.resetCrop(imageBlock)Crop Translation#
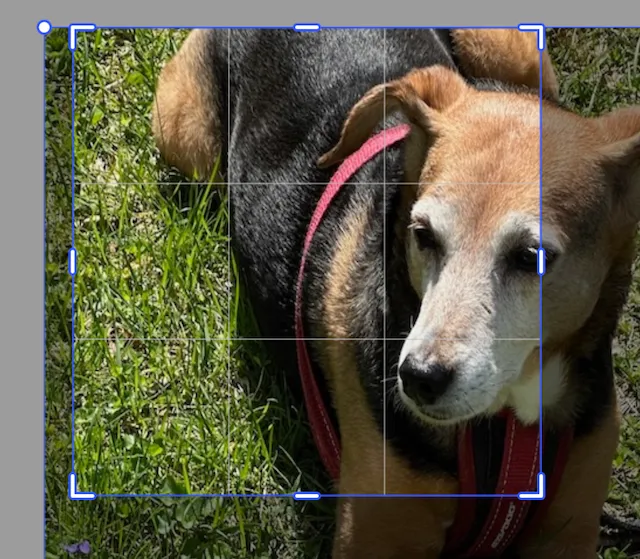
The translation values adjust the placement of the origin point of an image. You can read and change the values. They’re not pixel units or centimeters, they’re scaled percentages. An image that has its origin point at the origin point of the crop block has a translation value of 0.0 for x and y.
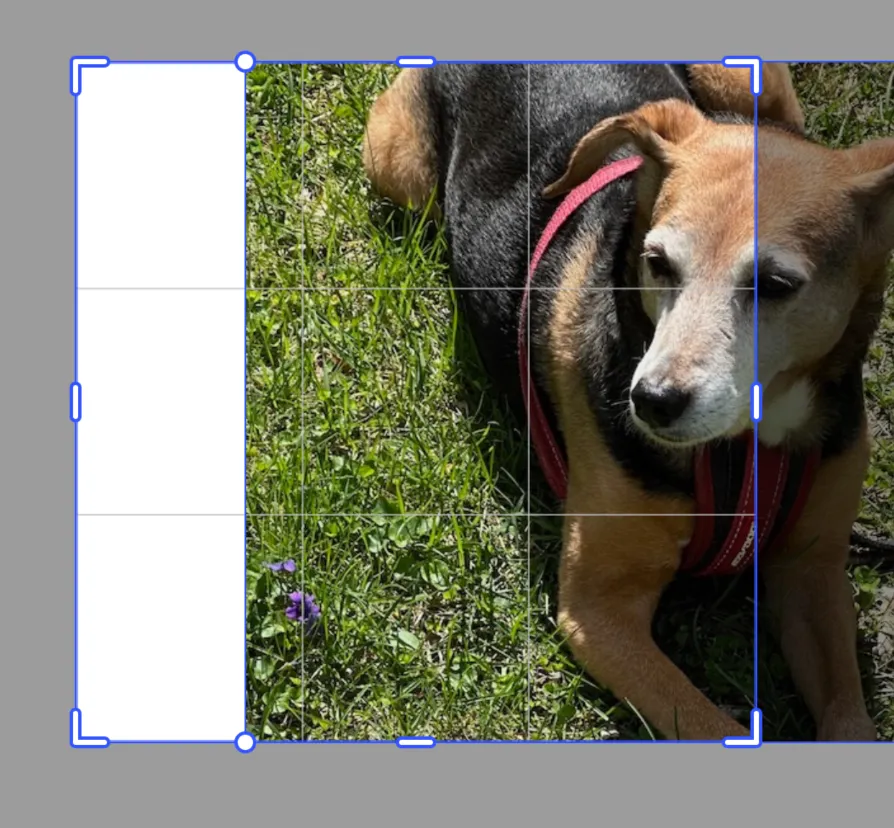
try engine.block.setCropTranslationX(imageBlock, translationX: 0.250)This image has had its translation in the x direction set to 0.25. That moved the image one quarter of its width to the right. Setting the value to -0.25 would change the offset of the origin to the left.
These are absolute values. Setting the x value to 0.25 and then setting it to -0.25 does not move the image to an offset of 0.0.
There is a setCropTranslationY(_ id: DesignBlockID, translationY: Float) function to adjust the translation of the image in the vertical direction. Negative values move the image up and positive values move the image down.
To read the current crop translation values you can use the convenience getters for the x and y values.
let currentX = try engine.block.getCropTranslationX(imageBlock)let currentY = try engine.block.getCropTranslationY(imageBlock)Crop Scale#
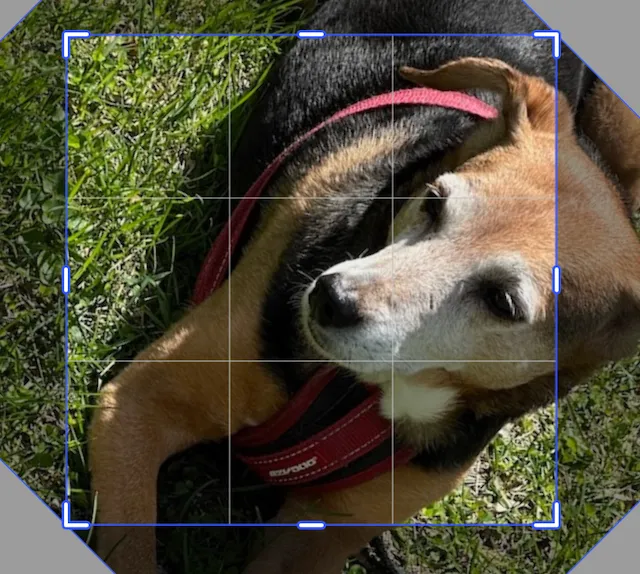
The scale values adjust the height and width of the underlying image. Values larger than 1.0 will make the image larger while values less than 1.0 make the image smaller. Unless the image also has offsetting translation applied, the center of the image will move.
This image has been scaled by 1.5 in the x and y directions, but the origin point has not been translated. So, the center of the image has moved.
try engine.block.setCropScaleX(imageBlock, scaleX: 1.50)try engine.block.setCropScaleY(imageBlock, scaleY: 1.50)To read the current crop scale values you can use the convenience getters for the x and y values.
let currentX = try engine.block.getCropScaleX(imageBlock)let currentY = try engine.block.getCropScaleY(imageBlock)Crop Rotate#
The same as when rotating blocks, the crop rotation function uses radians:
- Positive values rotate clockwise.
- Negative values rotate counter clockwise.
The image rotates around its center.
try engine.block.setCropRotation(block, rotation: .pi / 4.0)For working with radians, Swift has a constant defined for pi. It can be used as either Float.pi or Double.pi. Because the setCropRotation function takes a Float for the rotation value, you can use .pi and Swift will infer the correct type.
Crop to Scale Ratio#
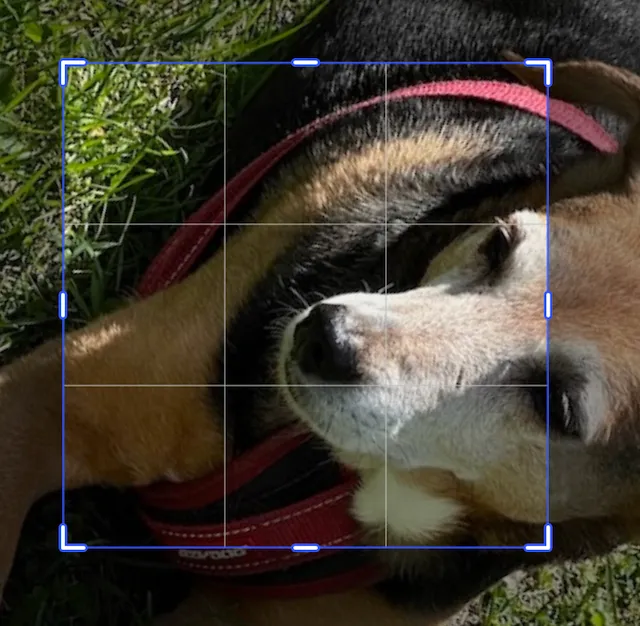
To center crop an image, you can use the scale ratio. This will adjust the x and y scales of the image evenly, and adjust the translation to keep it centered.
This image has been scaled by 2.0 in the x and y directions. It’s translation has been adjusted by -0.5 in the x and y directions to keep the image centered.
try engine.block.setCropScaleRatio(imageBlock, scaleRatio: 2.0)Using the crop scale ratio function is the same as calling the translation and scale functions, but in one line.
try engine.block.setCropScaleX(block, scaleX: 2.0)try engine.block.setCropScaleY(block, scaleY: 2.0)try engine.block.setCropTranslationX(block, translationX: -0.5)try engine.block.setCropTranslationY(block, translationY: -0.5)Crop to Fixed Dimensions (Absolute Coordinates)#
Use fixed dimensions when you want to define the crop region explicitly in absolute coordinates, such as when either:
- Matching a specified bounding box.
- Recreating a design template.
let cropRect = CGRect(x: 100, y: 50, width: 300, height: 300)
try engine.block.setFloat(imageBlock, property: "crop/x", value: Float(cropRect.origin.x))try engine.block.setFloat(imageBlock, property: "crop/y", value: Float(cropRect.origin.y))try engine.block.setFloat(imageBlock, property: "crop/width", value: Float(cropRect.width))try engine.block.setFloat(imageBlock, property: "crop/height", value: Float(cropRect.height))
The result of the preceding code is an image cropped to a 300 x 300 point square starting a (100,50). This approach provides useful results during automation.
Crop to Aspect Ratio#
When you want to target a specific aspect ratio, such as 4:5 or 16:9, you can calculate the crop rectangle based on the image dimensions.
let imageWidth: Float = 800let targetRatio: Float = 4.0 / 5.0let newHeight = imageWidth / targetRatio
try engine.block.setFloat(imageBlock, property: "crop/x", value: 0)try engine.block.setFloat(imageBlock, property: "crop/y", value: 0)try engine.block.setFloat(imageBlock, property: "crop/width", value: imageWidth)try engine.block.setFloat(imageBlock, property: "crop/height", value: newHeight)
The preceding code crops an image to a portrait 4:5 ratio.
Chained Crops#
Crop operations can be chained together. The order of the chaining impacts the final image.
try engine.block.setCropScaleRatio(block, scaleRatio: 2.0)try engine.block.setCropRotation(block, rotation: .pi / 3.0)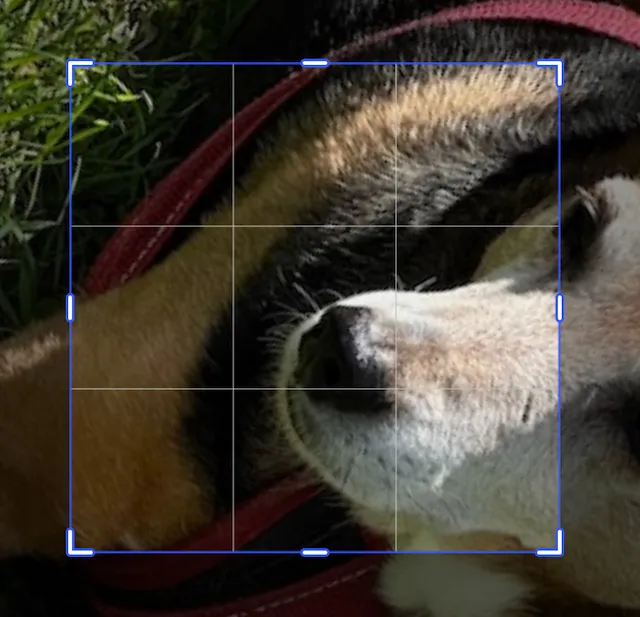
try engine.block.setCropRotation(block, rotation: .pi / 3.0)try engine.block.setCropScaleRatio(block, scaleRatio: 2.0)Flipping the Crop#
There are two functions for crop flipping the image. One for horizontal and one for vertical. They each flip the image along its center.
try engine.block.flipCropVertical(imageBlock)try engine.block.flipCropHorizontal(imageBlock)The image will be crop flipped every time the function gets called. So calling the function an even number of times will return the image to its original orientation.
Filling the Frame#
When the various crop operations cause the background of the crop block to be displayed, such as in the Crop Translation example above, the function
try engine.block.adjustCropToFillFrame(imageBlock, minScaleRatio: 1.0)adjusts these values:
- Translation values
- Scale values
This way, the entire crop block is filled. This is not the same as resetting the crop.
Legacy vs. Modern Presets#
Earlier versions of the SDK used editor keys such as ui/crop/aspectRatios to define ratio lists. These were deprecated and replaced by an asset source for presets, ly.img.crop.presets. When you encounter legacy configuration examples, migrate them by creating or editing the corresponding preset JSON objects instead.
Relationship to Video Crop#
Cropping tools behave the same for still images as for video frames. Video crops also interact with clip trimming and frame bounds within the timeline.
Troubleshooting#
❌ Crop handles don’t appear:
- Ensure the selected block’s fill is an image.
controlGizmo/showCropHandleseditor setting should betrue.
❌ Crop ignored:
- Confirm
supportsCrop(_:)returnstruefor the block.
❌ Background visible after edits:
- Call
adjustCropToFillFrame(_:minScaleRatio:)to restore coverage.
❌ Cropped image appears distorted:
- Check
setCropScaleX,setCropScaleYvalues are as expected. - Use
setCropScaleRatiofor a uniform scale.
Next Steps#
Now that you’ve seen how to work with cropping your images, some other topics to explore are:
- Other image transformations such as rotate, resize, scale, and flip.
- Customize the Dock or Inspector Bar to add or replace the crop button or provide a custom preset toolbar.
- Constrain who can crop using scopes and template rules to lock a template.