CE.SDK’s cutout plugin enables effortless creation and customization of cutout shapes for web-to-print users.

Prerequisites#
Before you begin, make sure you have the following:
- Node.js v22+ and npm installed locally – Download Node.js
- A supported browser – Chrome 114+, Edge 114+, Firefox 115+, Safari 15.6+
See Browser Support for the full list.
Get Started#
Run the Cutout Lines Editor starter kit directly with Vite.
Step 1: Clone the Starter Kit#
git clone https://github.com/imgly/starterkit-cutout-lines-editor-ts-web.git
cd starterkit-cutout-lines-editor-ts-web
git clone https://github.com/imgly/starterkit-cutout-lines-editor-ts-web.git
cd starterkit-cutout-lines-editor-ts-webnpx degit imgly/starterkit-cutout-lines-editor-ts-web my-project
cd my-projectnpx degit imgly/starterkit-cutout-lines-editor-ts-web my-project
cd my-projectStep 2: Install Dependencies#
npm installnpm installpnpm installpnpm installyarn installyarn installStep 3: Download Assets#
CE.SDK requires engine assets (fonts, icons, UI elements) to function. These must be served as static files from your project’s public/ directory.
curl -O https://cdn.img.ly/packages/imgly/cesdk-js/1.77.1/imgly-assets.zip
unzip imgly-assets.zip -d public/
rm imgly-assets.zip
curl -O https://cdn.img.ly/packages/imgly/cesdk-js/1.77.1/imgly-assets.zip
unzip imgly-assets.zip -d public/
rm imgly-assets.zipStep 4: Run the Development Server#
npm run devnpm run devpnpm devpnpm devyarn devyarn devOpen http://localhost:5173 in your browser. Select a shape and right-click to create cutout lines.
Get Started#
Integrate the Cutout Lines Editor into an existing vanilla JavaScript/TypeScript project. This adds the editor configuration to your current project structure.
Step 1: Clone#
cd your-projectcd your-projectClone the starter kit and copy the editor configuration to your project:
git clone https://github.com/imgly/starterkit-cutout-lines-editor-ts-web.git
cp -r starterkit-cutout-lines-editor-ts-web/src/imgly ./src/imgly
rm -rf starterkit-cutout-lines-editor-ts-webgit clone https://github.com/imgly/starterkit-cutout-lines-editor-ts-web.git
cp -r starterkit-cutout-lines-editor-ts-web/src/imgly ./src/imgly
rm -rf starterkit-cutout-lines-editor-ts-webnpx degit imgly/starterkit-cutout-lines-editor-ts-web/src/imgly ./src/imglynpx degit imgly/starterkit-cutout-lines-editor-ts-web/src/imgly ./src/imglyThe imgly/ folder contains the editor configuration:
imgly/├── config/│ ├── actions.ts # Export/import actions│ ├── features.ts # Feature toggles│ ├── i18n.ts # Translations│ ├── plugin.ts # Main configuration plugin│ ├── settings.ts # Engine settings│ └── ui/│ ├── canvas.ts # Canvas configuration│ ├── components.ts # Custom component registration│ ├── dock.ts # Dock layout configuration│ ├── index.ts # Combines UI customization exports│ ├── inspectorBar.ts # Inspector bar layout│ ├── navigationBar.ts # Navigation bar layout│ └── panel.ts # Panel configuration├── index.ts # Editor initialization function└── plugins/ └── cutout-library.tsStep 2: Install Dependencies#
Install the required packages for the editor:
Core Editor#
Install the Creative Editor SDK:
npm install @cesdk/cesdk-js@1.77.1npm install @cesdk/cesdk-js@1.77.1pnpm add @cesdk/cesdk-js@1.77.1pnpm add @cesdk/cesdk-js@1.77.1yarn add @cesdk/cesdk-js@1.77.1yarn add @cesdk/cesdk-js@1.77.1Cutout Library Plugin#
Add cutout line creation:
npm install @imgly/plugin-cutout-library-web@1.77.1npm install @imgly/plugin-cutout-library-web@1.77.1pnpm add @imgly/plugin-cutout-library-web@1.77.1pnpm add @imgly/plugin-cutout-library-web@1.77.1yarn add @imgly/plugin-cutout-library-web@1.77.1yarn add @imgly/plugin-cutout-library-web@1.77.1@imgly/plugin-cutout-library-web– CE.SDK plugin that integrates cutout line creation into the editor UI (canvas menu and dock panel)
Step 3: Download Assets#
CE.SDK requires engine assets (fonts, icons, UI elements) to function. These must be served as static files from your project’s public/ directory.
curl -O https://cdn.img.ly/packages/imgly/cesdk-js/1.77.1/imgly-assets.zip
unzip imgly-assets.zip -d public/
rm imgly-assets.zipcurl -O https://cdn.img.ly/packages/imgly/cesdk-js/1.77.1/imgly-assets.zip
unzip imgly-assets.zip -d public/
rm imgly-assets.zipStep 4: Add a Container Element#
Add a container element to your HTML where the editor will be mounted:
<div id="cesdk_container" style="width: 100%; height: 100vh;"></div>Step 5: Initialize the Editor#
Import and call the initialization function from your entry point:
import CreativeEditorSDK from '@cesdk/cesdk-js';import { initCutoutLinesEditor } from './imgly';
const config = {  baseURL: '/assets'};
CreativeEditorSDK.create('#cesdk_container', config)  .then(async (cesdk) => {    await initCutoutLinesEditor(cesdk);  })  .catch((error) => {    console.error('Failed to initialize CE.SDK:', error);  });
Using Cutout Line Creation#
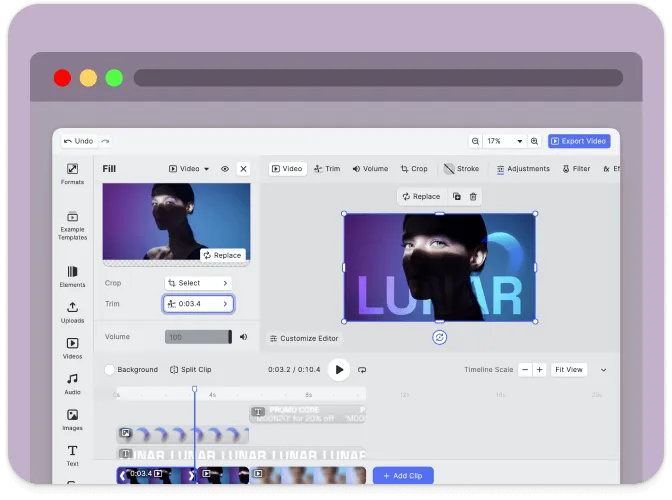
The editor provides two ways to create cutout lines:
Via Canvas Menu#
- Select a shape in the editor
- Right-click to open the canvas menu
- Click “Create Cutout” to generate die-cut lines
Via Cutout Panel#
- Click the “Cutout” button in the dock (left sidebar)
- The Cutout panel opens showing saved cutouts
- Click on a cutout to apply it to your design
Set Up a Scene#
CE.SDK offers multiple ways to load content into the editor. Choose the method that matches your use case:
// Create a blank design canvas - starts with an empty design sceneawait cesdk.actions.run('scene.create');
// Load from a template archive - restores a previously saved projectawait cesdk.loadFromArchiveURL('https://example.com/template.zip');
// Load from an image URL - creates a new scene with the imageawait cesdk.createFromImage('https://example.com/image.jpg');
// Load from a scene file - restores a scene from JSONawait cesdk.loadFromURL('https://example.com/scene.json');
The createDesignScene() method is ideal for design workflows, as it creates a blank canvas ready for content.
Customize Assets#
The Cutout Lines Editor uses asset source plugins to provide built-in libraries for templates, stickers, shapes, and fonts. The starter kit includes a curated selection—customize what’s included based on your needs.
Asset sources are added via plugins in src/imgly/index.ts. Enable or disable individual sources:
import {  FiltersAssetSource,  StickerAssetSource,  TextAssetSource,  VectorShapeAssetSource,  EffectsAssetSource,  // ...} from '@cesdk/cesdk-js/plugins';
// Add only the sources you needawait cesdk.addPlugin(new FiltersAssetSource());await cesdk.addPlugin(new StickerAssetSource());await cesdk.addPlugin(new TextAssetSource());await cesdk.addPlugin(new VectorShapeAssetSource());await cesdk.addPlugin(new EffectsAssetSource());// ...For production deployments, self-hosting assets is required—the IMG.LY CDN is intended for development only. See Serve Assets for downloading assets, configuring baseURL, and excluding unused sources to optimize load times.
Configure Actions#
Actions are functions that handle user interactions like exporting designs, saving scenes, and importing files. CE.SDK provides built-in actions that you can run directly or override with custom implementations.
Key built-in actions:
exportDesign– Export the current design to PNG, JPEG, PDF, or other formatssaveScene– Save the scene as a JSON string for later editingimportScene– Import a previously saved scene (supports.sceneand.cesdkformats)exportScene– Export the scene as a JSON file or.cesdkarchive with all assetsuploadFile– Handle file uploads with progress tracking
Use cesdk.actions.run() to execute any action:
// Run a built-in actionawait cesdk.actions.run('exportDesign', { mimeType: 'application/pdf' });Export and Save#
// Register export action that downloads the edited designcesdk.actions.register('exportDesign', async (exportOptions) => { const { blobs, options } = await cesdk.utils.export(exportOptions); await cesdk.utils.downloadFile(blobs[0], options.mimeType);});Customize (Optional)#
Theming#
CE.SDK supports light and dark themes out of the box, plus automatic system preference detection. Switch between themes programmatically:
// 'light' | 'dark' | 'system' | (() => 'light' | 'dark')cesdk.ui.setTheme('dark');See Theming for custom color schemes, CSS variables, and advanced styling options.
Localization#
Customize UI labels and add support for multiple languages. The i18n system supports translation keys for all UI elements:
// Override specific labelscesdk.i18n.setTranslations({  en: {    'actions.export.image': 'Download Design',    'common.cancel': 'Cancel',    'common.apply': 'Apply'  }});
// Add a new languagecesdk.i18n.setTranslations({  de: {    'actions.export.image': 'Design herunterladen'  }});
// Set the active localecesdk.i18n.setLocale('de');
See Localization for supported languages, translation key reference, and right-to-left language support.
UI Layout#

Customize the editor interface by modifying the dock, inspector bar, navigation bar, and canvas menu. CE.SDK provides Order APIs to control which components appear and in what sequence.
// Get current navigation bar componentsconst navOrder = cesdk.ui.getNavigationBarOrder();
// Add a custom button to the navigation barcesdk.ui.insertNavigationBarOrderComponent(  'ly.img.spacer',  { id: 'my-custom-action' },  'after');
// Rearrange dock itemscesdk.ui.setDockOrder([  'ly.img.assetLibrary.dock',  'ly.img.separator',  'my-custom-dock-item']);
See Dock, Inspector Bar, Navigation Bar, Canvas Menu, and Canvas for detailed layout customization options.
Key Capabilities#
The Cutout Lines Editor includes cutout line creation plus full design editing capabilities.
Cutout Line Creation
Create die-cut lines from any shape with a single click. Export to PDF for professional printing.
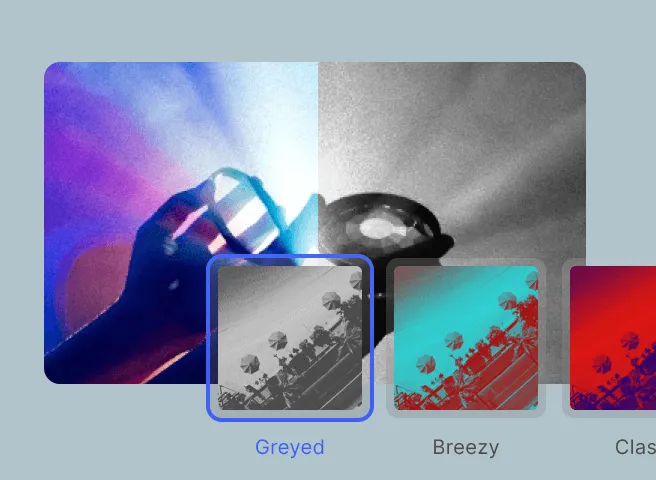
Professional Filters
Apply color grading with LUT filters, duotone effects, and customizable image adjustments.
Text & Typography
Add styled text with comprehensive typography controls, fonts, and visual effects.
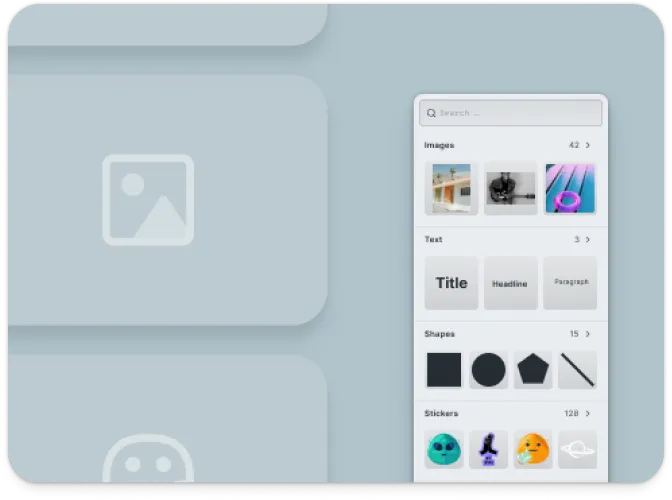
Asset Libraries
Access built-in collections of templates, stickers, shapes, and graphics, plus import custom assets.
Privacy-First
All processing happens locally in the browser. No data is sent to external servers.
PDF Export
Export to print-ready PDF with spot colors for professional die-cutting and packaging.
Troubleshooting#
Editor doesn’t load#
- Check the container element exists: Ensure your container element is in the DOM before calling
create() - Verify the baseURL: Assets must be accessible from the CDN or your self-hosted location
- Check console errors: Look for CORS or network errors in browser developer tools
Assets don’t appear#
- Check network requests: Open DevTools Network tab and look for failed requests to
cdn.img.ly - Self-host assets for production: See Serve Assets to host assets on your infrastructure
Cutout option not appearing#
- Select a shape: Cutout lines work with shapes, not images. Select a vector shape to see the option.
- Check plugin installation: Ensure
@imgly/plugin-cutout-library-webis installed
Watermark appears in production#
- Add your license key: Set the
licenseproperty in your configuration - Sign up for a trial: Get a free trial license at img.ly/forms/free-trial
Next Steps#
- Configuration – Complete list of initialization options
- Serve Assets – Self-host engine assets for production
- Actions – Build custom export and save workflows
- Theming – Customize colors and appearance
- Localization – Add translations and language support