This guide walks you through integrating the CreativeEditor SDK (CE.SDK) into a Vanilla JS project using NPM and ES Modules. By the end of this guide, you’ll have a functional CE.SDK instance running locally, imported as a JavaScript module.
Who is This Guide For?#
This guide is for developers who:
- Are using Vanilla JavaScript (without frameworks like React, Vue or Angular).
- Want to integrate CE.SDK as an imported ES module instead of a global variable.
- Prefer a module-based approach for better maintainability.
What You’ll Achieve#
- Install and configure CE.SDK via NPM.
- Import CE.SDK as a JavaScript module.
- Create a basic editor using default configurations.
- Serve and test your project locally using Vite.
Prerequisites#
Before getting started, ensure you have the following:
- Node.js (v20 or higher) and NPM installed. Download Node.js.
- A valid CE.SDK license key (Get a free trial).
Step 1: Install CE.SDK#
First, create a new project folder (e.g. “my-cesdk-project”):
mkdir my-cesdk-projectNavigate into it:
cd my-cesdk-projectInitialize the project with a default package.json file:
npm init -yInstall the SDK via NPM:
npm install @cesdk/cesdk-jsStep 2: Set Up Your Project Structure#
Create your index.html and index.js files:
/my-cesdk-project ├── index.html ├── index.js ├── package.jsonindex.html#
Reference index.js inside index.html as a module:
<!DOCTYPE html><html lang="en"> <head> <meta charset="UTF-8" /> <meta name="viewport" content="width=device-width, initial-scale=1.0" /> <title>CE.SDK Integration</title> <style> body { margin: 0; overflow: hidden; } </style> </head> <body> <div id="cesdk_container" style="width: 100%; height: 100vh;"></div> <script type="module" src="./index.js"></script> </body></html>index.js#
Import CE.SDK as an ES module and initialize it:
import CreativeEditorSDK from '@cesdk/cesdk-js';
const config = {  // license: 'YOUR_CESDK_LICENSE_KEY', // Replace with a valid license key  // baseURL: 'https://cdn.img.ly/packages/imgly/cesdk-js/1.69.0/assets',};
// Initialize CE.SDKCreativeEditorSDK.create('#cesdk_container', config).then(async editor => {  await editor.addDefaultAssetSources();  await editor.addDemoAssetSources({    sceneMode: 'Design',    withUploadAssetSources: true,  });  await editor.actions.run('scene.create');
  // Access the engine if needed  const engine = editor.engine;
  // Dispose of the editor when done  // editor.dispose();});
Step 3: Serve the Project Locally#
Now you can serve and build your project locally using your preferred bundler such as Webpack, Rollup, Parcel or Vite. In this example we’ll use Vite.
Serve with Vite#
Install Vite as a development dependency:
npm install -D viteAdd the following to your package.json:
"scripts": { "dev": "vite" }Now start the Vite server with:
npm run devBy default, the app will be available on localhost.
Step 4: Test the Integration#
- Open
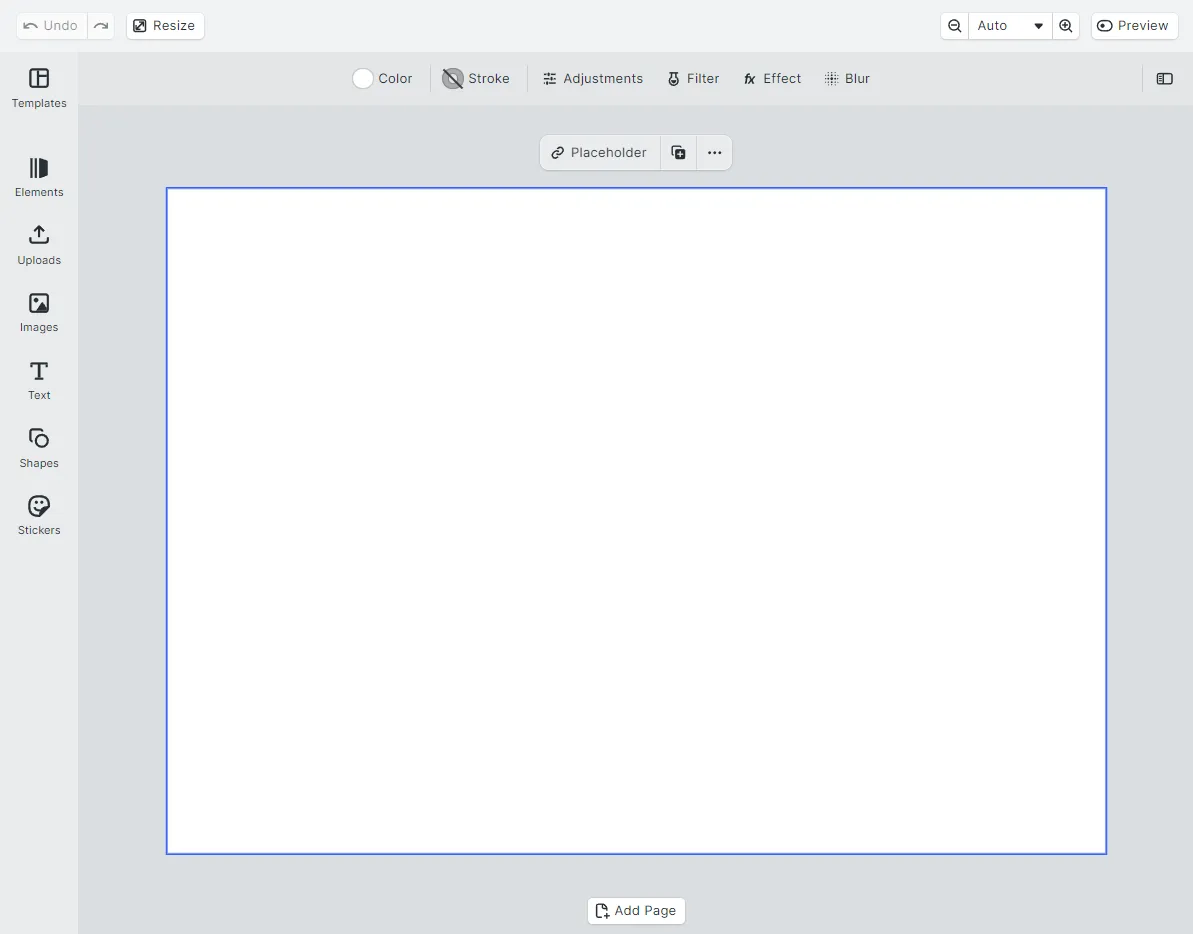
http://localhost:5173/in your browser. - A fully functional CE.SDK editor should load.
- Check for errors in the browser console.
Troubleshooting & Common Errors#
❌ Error: Module not found
- Ensure you’ve installed CE.SDK correctly via
npm install @cesdk/cesdk-js.
❌ Error: Cannot use import statement outside a module
- Make sure you’re using
type="module"in your index.html script tag. - Use Vite instead of
npx serve.
❌ Error: Invalid license key
- Verify that your license key is valid and not expired.
Next Steps#
Congratulations you’ve got CE.SDK up and running. Get to know the SDK and dive into the next steps, when you’re ready: