Professional video editing for your iOS app—edit clips, add effects, trim footage, and export to MP4. Runs entirely on the mobile device with no server dependencies.
Pre-Requisites#
This guide assumes basic familiarity with iOS and Swift. You will need:
- Xcode 26.0.1 or later
- Swift 6.2 or later
- iOS 16.0+
Get Started#
Start with a complete, runnable iOS starter kit project.
Step 1: Clone the Repository#
git clone -b v1.77.1 https://github.com/imgly/starterkit-video-editor-ios.gitcd starterkit-video-editor-iosStep 2: Open and Run#
Open the project in Xcode and run on a simulator or connected device:
- Open
starterkit-video-editor-ios.xcodeprojin Xcode - Select your target device or simulator
- Press ⌘R to build and run
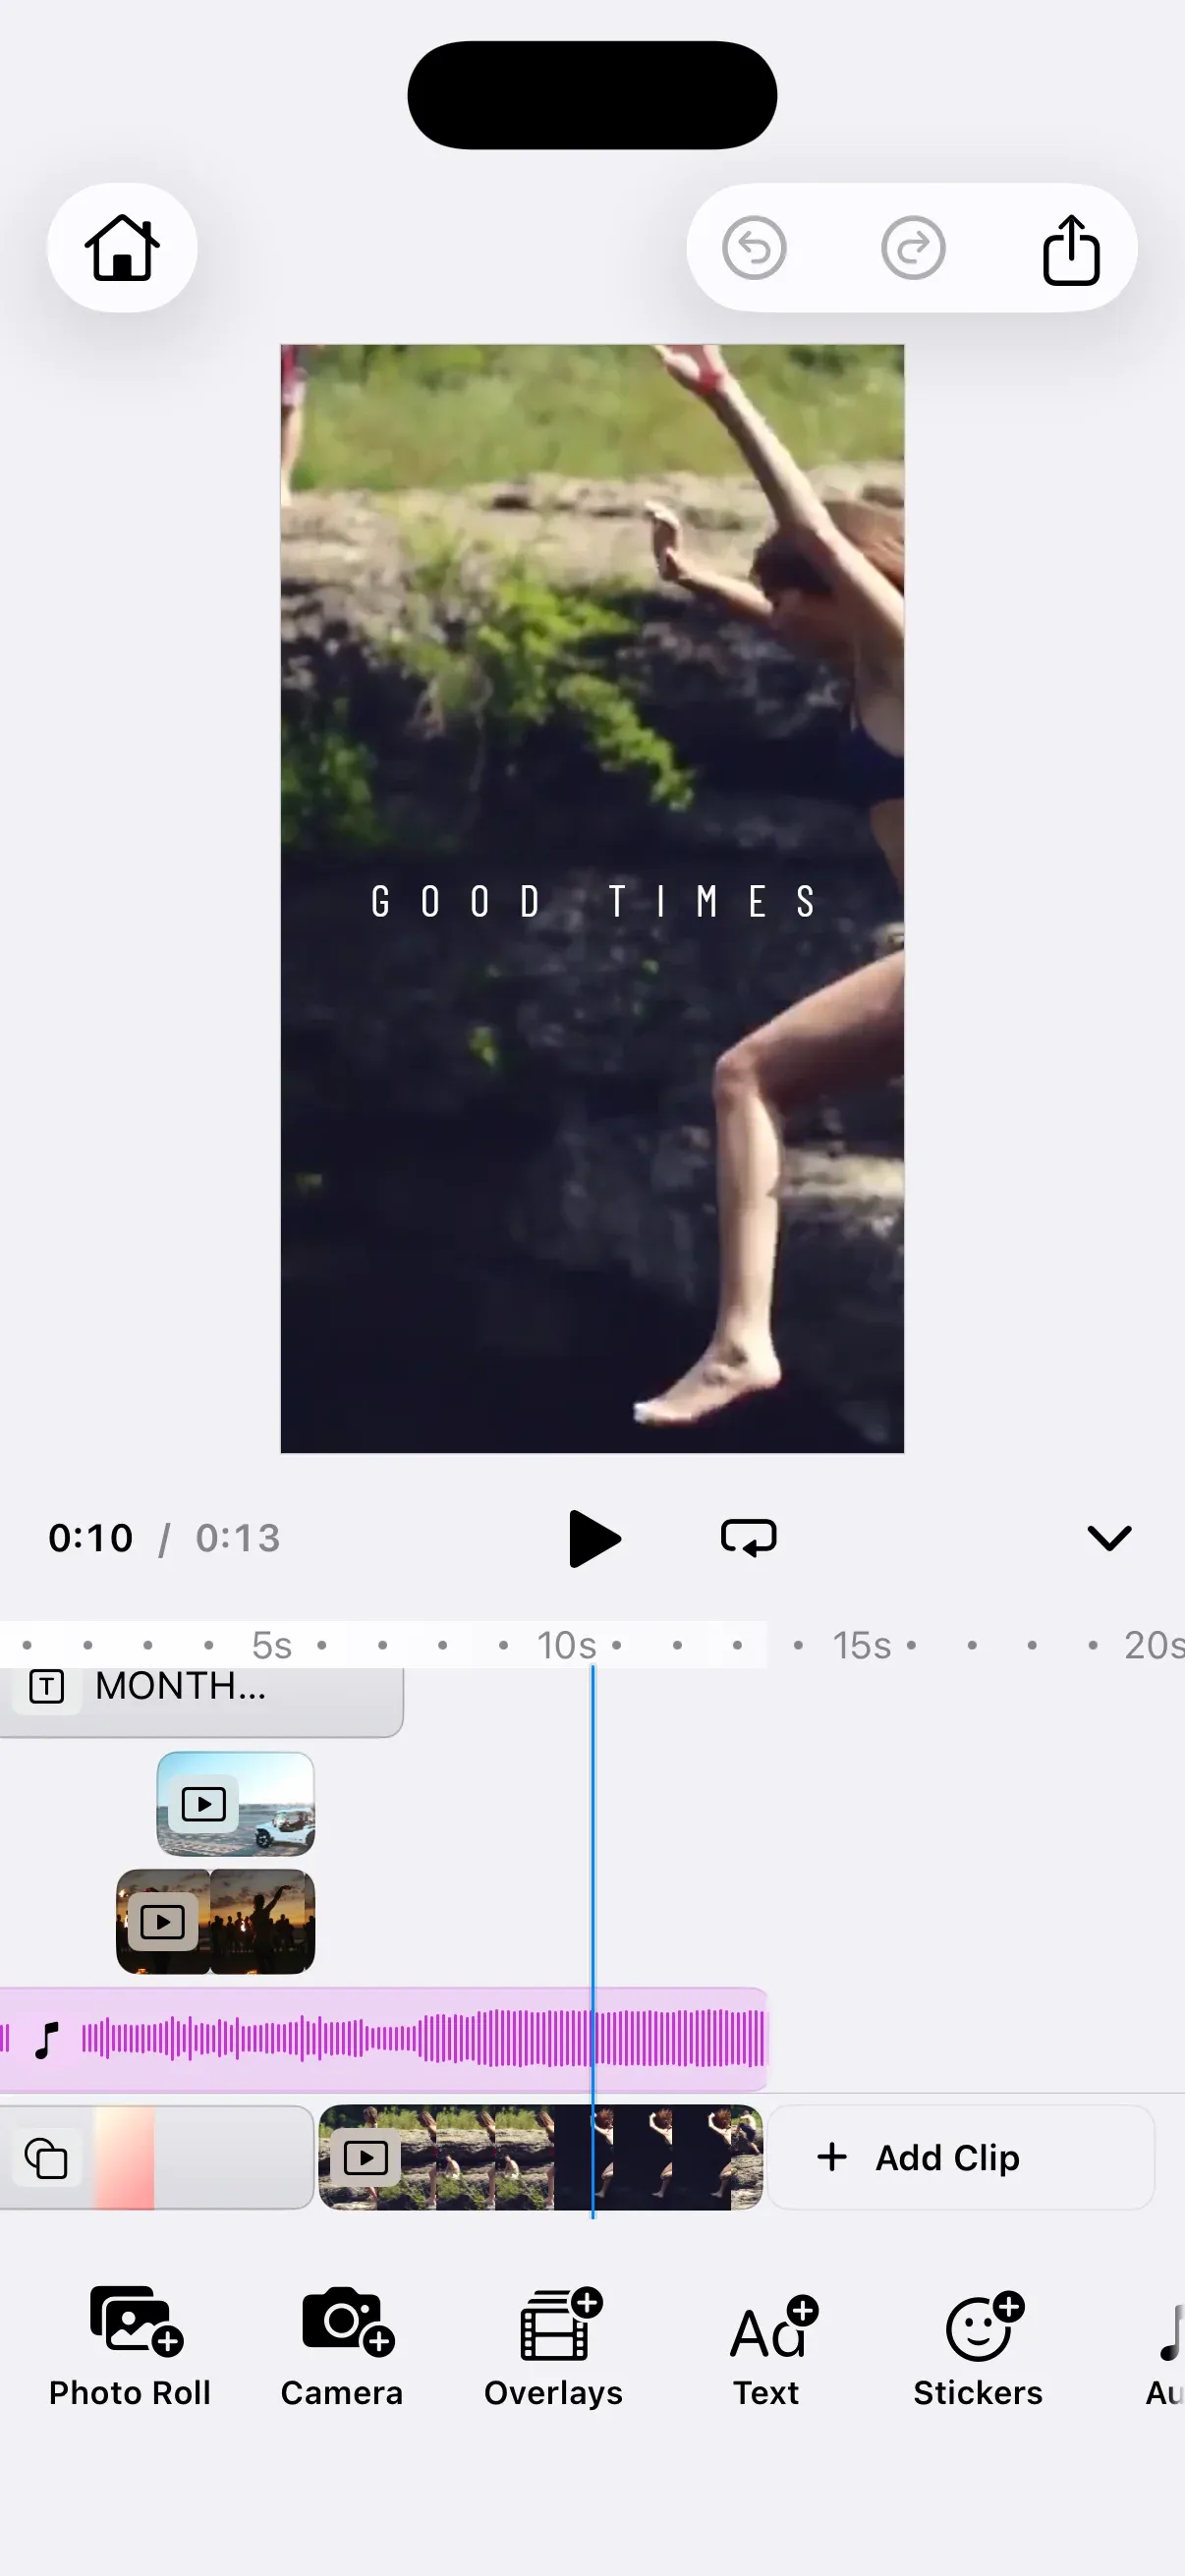
The sample app shows a “Launch Editor” button. Tapping it presents the video editor:
var body: some View { Editor(settings) .imgly.configuration { VideoEditorConfiguration() }}Get Started#
Integrate the starter kit files into your existing iOS app.
Step 1: Add the IMG.LY Swift Package#
Add the CE.SDK dependency via Swift Package Manager:
- In Xcode, go to File → Add Package Dependencies…
- Enter the repository URL:
https://github.com/imgly/IMGLYUI-swift
- Select version
1.77.1and add theIMGLYEditorproduct to your target
Step 2: Copy the Starter Kit Files#
Download and extract the starter kit files into your project:
repo="starterkit-video-editor-ios"version="1.77.1"curl -L "https://codeload.github.com/imgly/${repo}/tar.gz/refs/heads/v${version}" | tar -xz --strip-components=1 "${repo}-v${version}/starter-kit"Step 3: Add Files to Your Xcode Project#
Drag the starter-kit/ folder into your Xcode project. Make sure “Copy items if needed” is checked and the files are added to your app target.
Step 4: Launch the Editor From Your UI#
Present the editor from any SwiftUI view:
Editor(settings) .imgly.configuration { VideoEditorConfiguration() }The full implementation of the starter kit lives in the starter-kit/ folder:
starter-kit/├── VideoEditorStarterKit.swift # SwiftUI view that launches the editor├── VideoEditorConfiguration.swift # Editor configuration (callbacks + UI components)├── callbacks/│ ├── OnCreate+Video.swift # Editor initialization logic│ └── OnExport+Video.swift # Export flow and handling (MP4)└── components/ ├── BottomPanel+Video.swift # Timeline component configuration ├── CanvasMenu+Video.swift # Canvas menu configuration ├── Dock+Video.swift # Dock configuration ├── InspectorBar+Video.swift # Inspector bar configuration └── NavigationBar+Video.swift # Navigation bar configurationConfiguring the Starter Kit#
The starter kit provides a generic structure and behavior that you can customize to match your needs. Since the implementation is part of your codebase, you can add, remove, or modify functionality as you wish.
The entry point is VideoEditorStarterKit.swift, which creates the Editor view and applies the configuration:
Editor(settings) .imgly.configuration { VideoEditorConfiguration() }You can configure the editor based on your business logic — for example, loading a scene from a previous editing session or displaying different UI for different users. Add properties to VideoEditorStarterKit and use them in the EditorConfiguration.onCreate callback to customize scene loading or other behavior.
Set Up a Scene#
The scene setup logic is located in OnCreate+Video.swift as part of the defaultCreateScene callback:
let sceneURL = Bundle(for: VideoEditorConfiguration.self).url(forResource: "video-empty", withExtension: "scene")!try await engine.scene.load(from: sceneURL)CE.SDK offers multiple ways to load a scene into the editor — from a video URL, a template archive, a blank video canvas, or a .scene file.
Video Duration Constraints#
Enforce minimum and maximum clip durations in the video editor. Send the setVideoDurationConstraints event in an onLoaded callback:
/// Example: Apply video duration constraints in the `onLoaded` callback./// Add this logic before or after the existing `onLoaded` handler in `VideoEditorConfiguration`.extension VideoEditorConfiguration { static var durationConstraintsOnLoadedHandler: OnLoaded.Handler { { context, existing in // Enforce all videos to be between 10 and 20 seconds context.eventHandler.send( .setVideoDurationConstraints( minimumVideoDuration: 10, maximumVideoDuration: 20, ), ) // Continue with the existing onLoaded logic try await existing() } }}Enable IMG.LY Camera#
Instead of the system camera, you can use the camera feature provided by IMG.LY. Replace Dock.Buttons.systemCamera() with Dock.Buttons.imglyCamera() in Dock+Video.swift:
Dock.Buttons.imglyCamera(icon: { _ in Image.imgly.addCameraBackground }) // Camera captureIn addition, add the IMG.LY camera dependency to your project via SPM by adding the IMGLYCamera product from the same package URL.
Customize Assets#
The asset source setup is located in OnCreate+Video.swift as part of the defaultLoadAssetSources callback. Enable or disable individual sources:
let basePath = try engine.editor.getSettingString("basePath")guard let baseURL = URL(string: basePath) else { return }let sourceIDs = [  "ly.img.sticker", "ly.img.vector.shape", "ly.img.filter", "ly.img.color.palette",  "ly.img.effect", "ly.img.blur", "ly.img.typeface", "ly.img.crop.presets",  "ly.img.page.presets", "ly.img.text", "ly.img.text.styles", "ly.img.text.curves", "ly.img.text.components",  "ly.img.image", "ly.img.video", "ly.img.audio",]try await withThrowingTaskGroup(of: String.self) { group in  for id in sourceIDs {    group.addTask {      try await engine.asset.addLocalAssetSourceFromJSON(        baseURL.appendingPathComponent(id).appendingPathComponent("content.json"),      )    }  }  for try await _ in group {}}
let uploadSources: [(id: String, mimeTypes: [String])] = [  ("ly.img.image.upload", ["image/jpeg", "image/png", "image/svg+xml", "image/gif", "image/apng", "image/bmp"]),  ("ly.img.audio.upload", ["audio/mpeg", "audio/mp4", "audio/wav", "audio/x-wav", "audio/ogg", "audio/aac"]),  ("ly.img.video.upload", ["video/mp4", "video/quicktime"]),]for source in uploadSources {  try engine.asset.addLocalSource(sourceID: source.id, supportedMimeTypes: source.mimeTypes)}
try engine.asset.addSource(PhotoRollAssetSource(engine: engine))For production deployments, self-hosting assets is required—the IMG.LY CDN is intended for development only. See Serve Assets for downloading assets, configuring baseURL and excluding unused sources to optimize load times.
Self-Host Assets for Production#
The starter kit loads assets from the baseURL you set on EngineSettings, which defaults to the IMG.LY CDN (https://cdn.img.ly/packages/imgly/cesdk-swift/1.77.1/assets). To self-host assets, download the asset zip file and pass a custom baseURL to your EngineSettings.
Customize Export Functionality#
Export handling logic is located in OnExport+Video.swift as part of the onExport callback.
The default implementation exports the scene as MP4 and opens the system share sheet:
guard let page = try engine.scene.getCurrentPage() else {  throw EditorError("No page was found.")}eventHandler.send(.exportProgress(.relative(0)))let mimeType: MIMEType = .mp4let stream = try await engine.block.exportVideo(page, mimeType: mimeType) { _ in }
var lastReportedProgress = 0for try await export in stream { try Task.checkCancellation() switch export { case let .progress(_, encodedFrames, totalFrames): let progress = Int((Float(encodedFrames) / Float(totalFrames)) * 100) if progress > lastReportedProgress { lastReportedProgress = progress eventHandler.send(.exportProgress(.relative(Float(progress) / 100))) } case let .finished(video: videoData): let url = FileManager.default.temporaryDirectory.appendingPathComponent( "Export", conformingTo: mimeType.uniformType, ) try videoData.write(to: url, options: [.atomic]) eventHandler.send(.exportCompleted { eventHandler.send(.shareFile(url)) }) return }}try Task.checkCancellation()throw EditorError("Failed to export the content.")Customize (Optional)#
Color Scheme#
CE.SDK supports light and dark modes out of the box, plus automatic system preference detection. Apply SwiftUI’s .preferredColorScheme modifier to the Editor view to switch themes.
See Theming for more details.
Localization#
See Localization for supported languages, adding support for new languages, and replacing existing keys.
UI Layout#
All configurable components are located in the components/ folder:
BottomPanel+Video.swift— Timeline component configurationCanvasMenu+Video.swift— see Canvas Menu for full configuration optionsDock+Video.swift— see Dock for full configuration optionsInspectorBar+Video.swift— see Inspector Bar for full configuration optionsNavigationBar+Video.swift— see Navigation Bar for full configuration options
Troubleshooting#
Editor doesn’t load#
- Check onCreate: Ensure the
onCreatecallback loads a scene successfully - Verify the baseURL: Assets must be accessible from the CDN or your self-hosted location
- Check Xcode console: Look for errors in the Xcode debug console
Assets don’t appear#
- Check network requests: Make sure the device or simulator is connected to the internet
- Self-host assets for production: See Serve Assets to host assets on your infrastructure
- Check Xcode console: Look for errors in the Xcode debug console
Export fails or produces blank video#
- Wait for content to load: Ensure video clips are fully loaded before exporting
- Check Xcode console: Look for errors in the Xcode debug console
Watermark appears in production#
- Add your license key: Set the
licenseproperty in yourEngineSettings - Sign up for a trial: Get a free trial license at img.ly/forms/free-trial
Next Steps#
- Configuration – Complete list of initialization options
- Serve Assets – Self-host engine assets for production
- Theming – Customize colors and appearance
- Localization – Add translations and language support