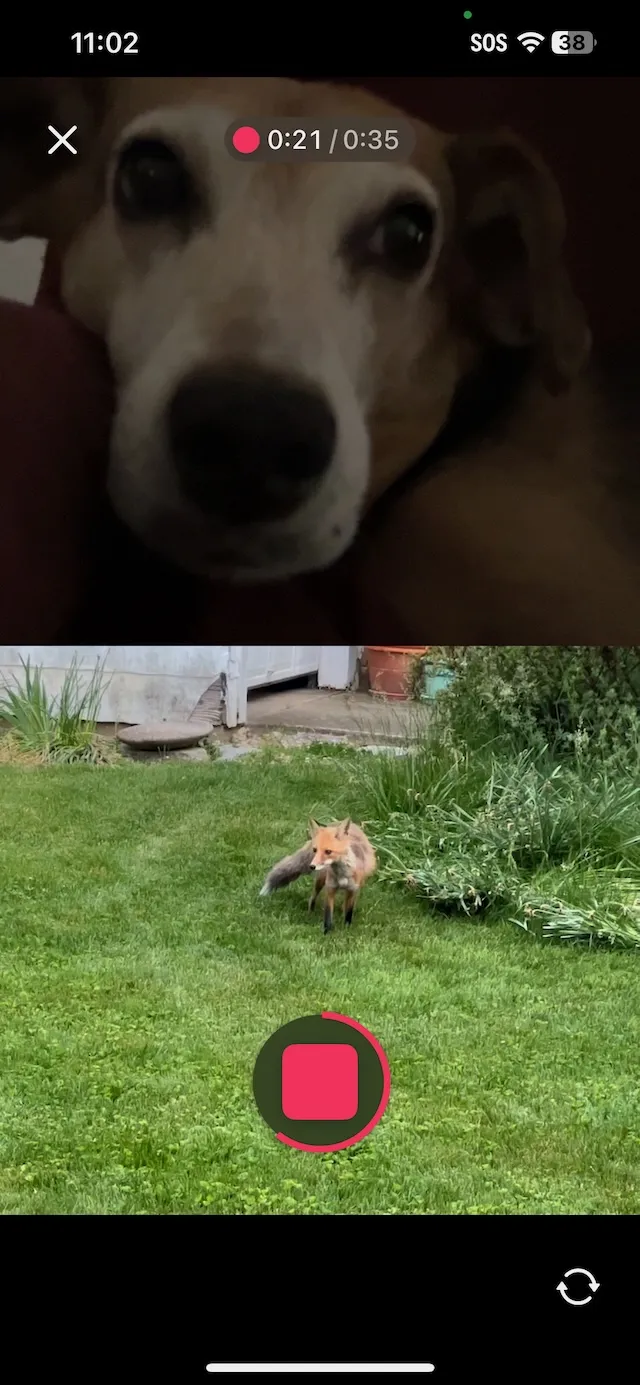
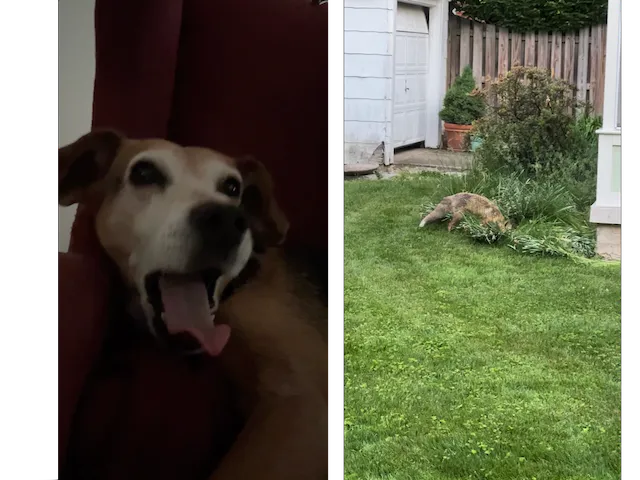
Reaction Mode lets your users record themselves while watching a video. The base video plays back in the preview, while the front camera and microphone capture the user’s reaction. When recording stops, you get two assets: the original base video and one or more reaction clips. You can then bring both into the editor and place the reaction video as a picture-in-picture overlay for export.
What You’ll Learn#
- How Reaction Mode differs from Standard and Dual Camera modes.
- How to launch the CE.SDK camera in Reaction Mode with a base video URL.
- How to record the user’s reaction (front camera + mic) while the base video plays.
- How to retrieve the reaction recording as a separate file.
When to Use It#
Choose Reaction Mode when you want users to capture their response to a video:
- Watch-along commentary, tutorials, or educational content
- Social media formats like reaction videos or duets
- Sports replays or event commentary where facial expressions matter
- Any scenario where the user’s reaction is the content
🚫 Not appropriate when:
- You only need a selfie-style recording → use Standard mode.
- You want to capture both front and back cameras simultaneously → use Dual Camera mode.
- You expect an auto-composited reaction + base video → Reaction Mode only records the reaction; you compose both in the editor.
Launching the Camera#
Initialize the IMGLYCamera in Reaction Mode with:
Camera(engineSettings, mode: .reaction(.vertical, video: baseURL, positionsSwapped: false)) { result in // Handle results here}video: baseURL— the video to play back during recordingpositionsSwapped— swaps layout between playback and selfie preview (UI only).vertical(or.horizontal) — how to lay out preview windows while recording
It’s also a good idea to lock the mode so that the user cannot switch out of reaction mode. Learn how to lock the mode in the Camera Configuration guide.
Retrieving the Recording#
When the recording finishes, you receive a .reaction(video: Recording, reaction: [Recording]) result with both the base and the reaction clips.
Here is a minimal code example that extracts the URL for each of the recordings:
Camera(engineSettings, mode: .reaction(.vertical, video: baseURL)) { result in  switch result {    case let .success(.reaction(video: base, reaction: reactions)):      let baseVideoURL = base.videos.first?.url      let reactionURL = reactions.first?.videos.first?.url      print("Base video:", baseVideoURL as Any)      print("Reaction video:", reactionURL as Any)
    case let .failure(error):      print("Error:", error.localizedDescription)
    case let .success(.recording(recordings)):      // This case is returned in Standard/Dual modes, not Reaction      break  }}
You can learn more about the Recording struct in the Access Recordings guide. The reaction URL points to the Caches directory on the device. Be sure to copy it somewhere if you want to save it long-term.
Here is a simple helper function to copy a file to the Documents directory and return the URL of the new file location.
func persistFile(from sourceURL: URL, fileName: String) throws -> URL { let docs = try FileManager.default.url(for: .documentDirectory, in: .userDomainMask, appropriateFor: nil, create: true) let dest = docs.appendingPathComponent(fileName) if FileManager.default.fileExists(atPath: dest.path) { try FileManager.default.removeItem(at: dest) } try FileManager.default.copyItem(at: sourceURL, to: dest) return dest}The video previews are cropped to fit the screen, but the Recording struct contains full-screen data. The reaction video starts at time 0 of the base video. If the user pauses, both the base and the reaction videos will pause to preserve the time sync.
Troubleshooting#
❌ Reaction Video is Incomplete
When the user pauses and restarts the recording, the camera will create a new file for each segment. Process the array of recordings.
❌ Audio Echo
The base video’s audio may be picked up by the mic. Lower preview volume or suggest headphones.
Next Steps#
Reaction Mode is a powerful way to create engaging, social-friendly content. By combining playback and live recording, your users can produce watch-along or commentary videos with minimal setup. Continue exploring with these guides:
- Learn how to integrate the IMGLY Camera into your project.
- Configure the UI and other properties of the camera.
- Learn how to retrieve and manage recordings.