This guide walks you through integrating the CE.SDK into an existing SwiftUI app. Whether your app already uses a NavigationView or not, this tutorial shows how to add a new screen that launches the editor.
Requirements#
To work with the SDK, you’ll need:
- A Mac running a recent version of Xcode
- A valid CE.SDK license key (Get a free trial)
- Your application project
Add the CE.SDK Swift package#
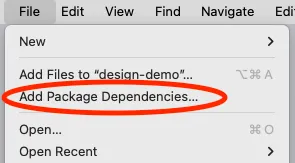
1. With your Xcode project open, use the File menu to select Add Package Dependencies...
2. Copy the following package URL and paste it into the Search field, at the top right of the modal:
https://github.com/imgly/IMGLYUI-swift
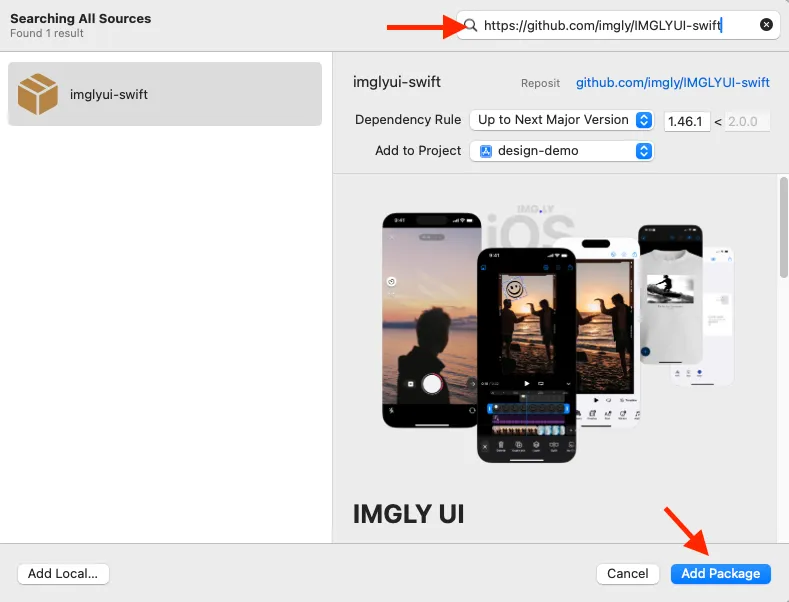
3. Once you see the IMGLY UI package information in the window, click Add Package
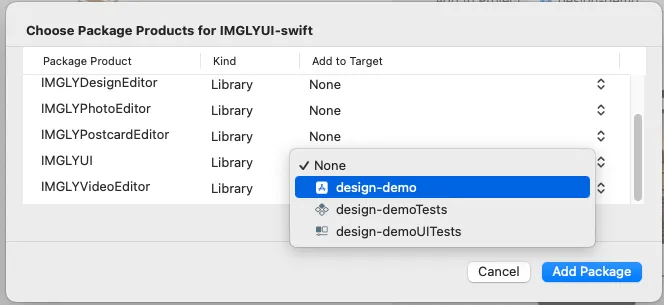
4. After downloading the package and its dependencies, you’ll be presented with a list of libraries. For this demo choose the IMGLYUI library to add to your project target. This adds all of the capabilities of the SDK to your project so you can explore after you’ve added the SDK. For a production app, you can include only those libraries that contain the functions you need to help conserve app space.
Create a Screen to Show the CE.SDK#
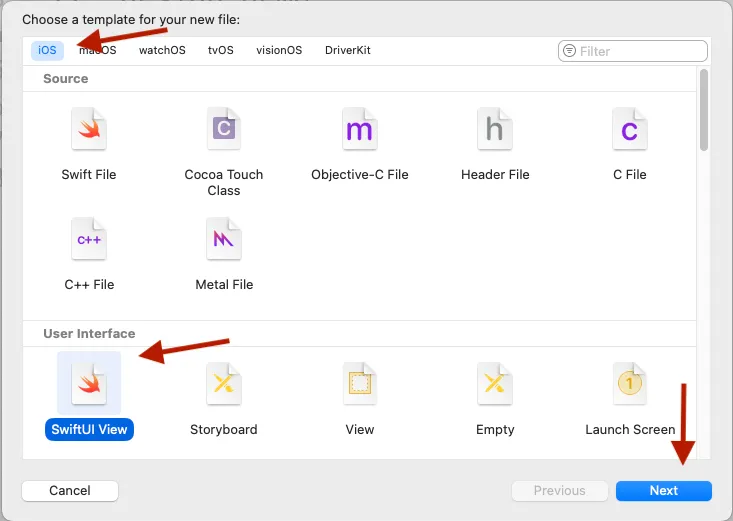
1. Use the File menu to select New and then File from Template.... Choose the SwiftUI View template and click Next
2. Give the file a name, something like EditorView.swift.
3. Open the EditorView.swift file in your project. Import the SDK by adding the following import just below the import for SwiftUI:
import IMGLYEditor4. Create a variable to hold the engine for the editor. Just below the line to create the EditorView struct and before the declaration of the body, add this code, and update it with your actual license key and user ID.
let engineSettings = EngineSettings(license: "<your license>", // pass nil for evaluation mode with watermark, userID: "<your unique user id>")5. In the body variable of EditorView, replace the existing code with an Editor that uses the engineSettings. Configure it as a design editor using the .imgly.configuration modifier. It needs to be wrapped in a navigation-capable container, which is necessary for toolbars and controls to display properly.
NavigationView { Editor(engineSettings) .imgly.configuration { DesignEditorConfiguration() }}.navigationViewStyle(.stack)If your app already uses
NavigationViewhigher up in the view hierarchy, you can omit theNavigationViewwrapper inEditorView. Avoid using layout containers likeVStack,ZStack, orScrollViewas the direct parent ofEditor. These do not provide navigation context and will result in missing toolbars or UI elements.
When you’re done, your EditorView.swift should look similar to this:
import SwiftUIimport IMGLYEditor
struct EditorView: View {  let engineSettings = EngineSettings(license: "<your license key>", // pass nil for evaluation mode with watermark,                                       userID: "<your unique user id>")
  var body: some View {    NavigationView {      Editor(engineSettings)        .imgly.configuration { DesignEditorConfiguration() }    }    .navigationViewStyle(.stack)  }}
Add a Navigation Link or Button to Launch the Editor#
If your app already uses NavigationView, you can simply add a NavigationLink.
Here is an example adding the link to a list of options.
struct OptionsView: View {    var body: some View {        NavigationView {            List {                NavigationLink("Image Gallery") {                    Text("Coming Soon")                }                //Adding new link to editor                NavigationLink("Open Editor") {                    EditorView()                }
                NavigationLink("Settings") {                    Text("Settings Page")                }            }            .navigationTitle("My Options")        }        .navigationViewStyle(.stack)    }}
If your app doesn’t use NavigationView, you can present the editor view modally instead:
struct HomeView: View {    @State private var showEditor = false //var to determine whether to show or hide the editor
    var body: some View {        VStack(spacing: 20) {            Button("Image Gallery") {}            Button("Open Editor") {                showEditor = true //toggle visibility state            }            Button("Settings") {}        }        .sheet(isPresented: $showEditor) { //present modal sheet with editor            NavigationView {                EditorView()            }            .navigationViewStyle(.stack)        }    }}
Choose the approach that best fits your app’s architecture. The editor must be shown inside a
NavigationViewto function correctly.
Now select an iOS device or a Simulator, and Build and Run.
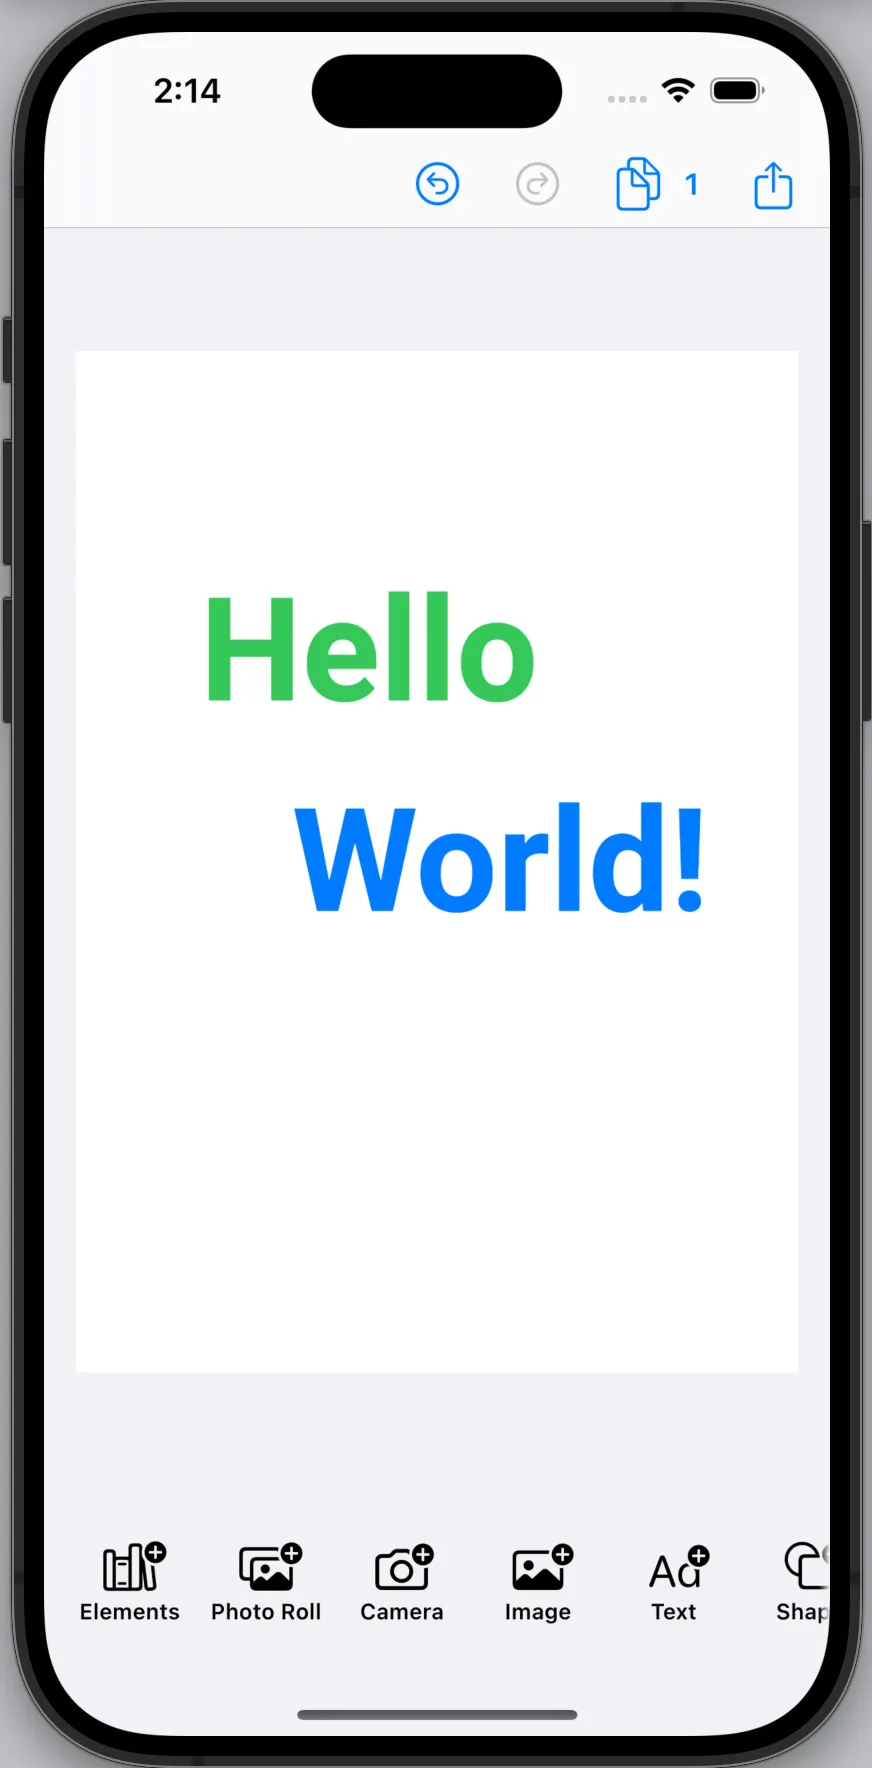
Using the Editor#
When the editor view launches you’ll see a blank page with a toolbar at the bottom. Use the different buttons to add assets to your creation. You can add pages to your creation using the button in the top toolbar. Use the share button to export your creation as a pdf.
Troubleshooting#
If you run into issues, here are some common problems and solutions. For additional help, visit our support page.
Import Errors: ‘EngineSettings’ or ‘Editor’ Not Found#

Make sure that every Swift file that uses the editor has an import statement before the first line of code. Like this one, for example import IMGLYEditor
Build Errors: Missing Modules#
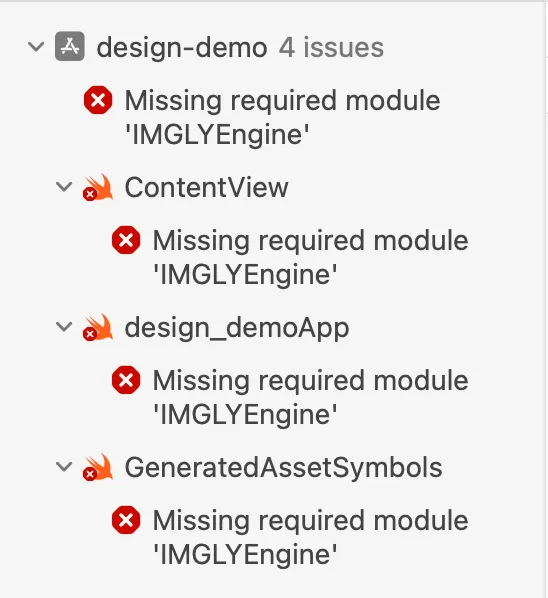
Make sure that you didn’t accidentially choose the wrong target when you added the SDK to your project. You can check a target’s imports on the General tab of the target settings.

If the SDK is missing, you can add it using the + button at the bottom of the list.
License Key Error at Runtime#
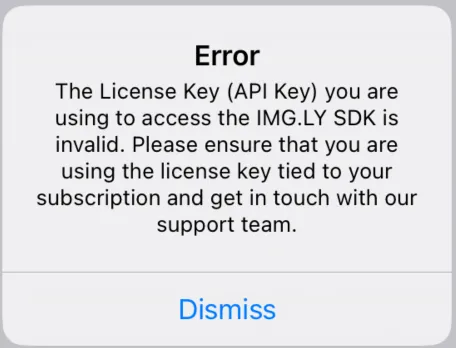
Double-check that your EngineSettings has the exact license key with proper capitalization. If you don’t have a license, register for a free trial to get a demonstration license.
Missing Toolbars or Controls#
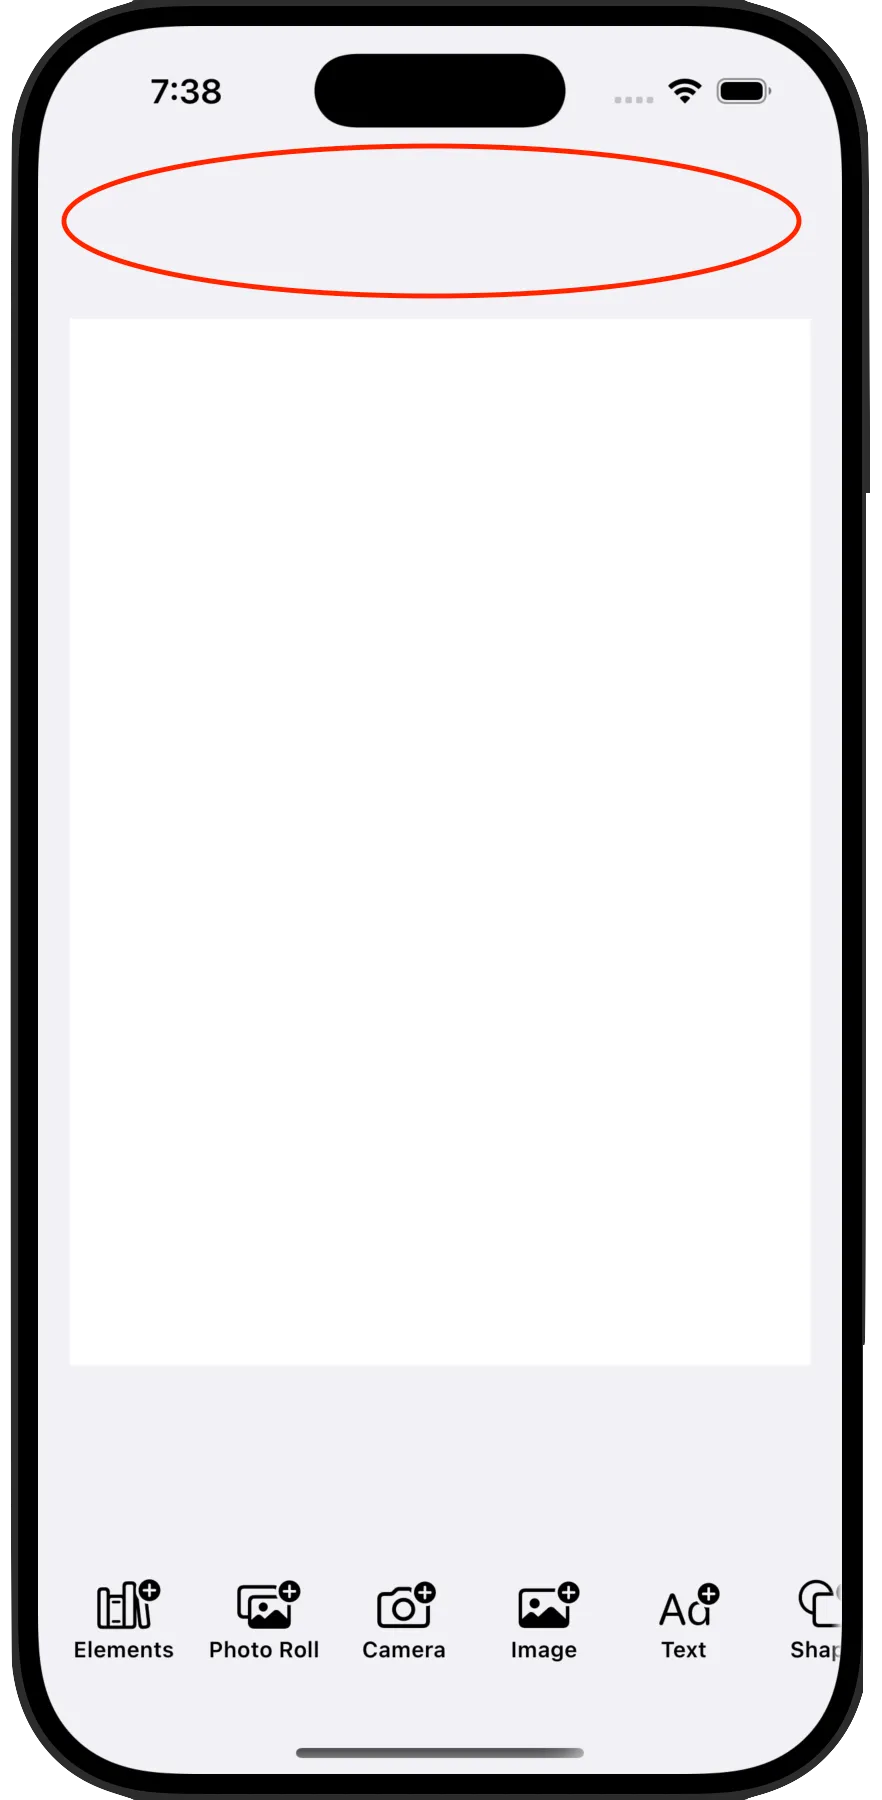
Ensure the Editor is wrapped in a NavigationView either in the View that creates it or in one of the previous views in the navigation chain. Do not place it directly in a VStack or as the root of the view hierarchy.
Don’t do this:
var body: some View { Editor(engineSettings) .imgly.configuration { DesignEditorConfiguration() }}Or this:
var body: some View { VStack { Editor(engineSettings) .imgly.configuration { DesignEditorConfiguration() } }}Instead, wrap it in a NavigationView as shown above with the .stack style.
What’s Next?#
Now that your integration is working, you can explore more advanced features like custom templates, user uploads, and localized UI. Check out our documentation site for more tutorials and guides.