Blur is a core visual effect in CE.SDK, useful for softening backgrounds, creating depth, or drawing attention toward specific elements. The SDK offers four blur types, each with its own behavior and adjustable properties. In this guide, you’ll learn where to find blur controls in the prebuilt UI and how to create and configure blur effects programmatically using Swift.
What You’ll Learn#
- How to locate the Blur tool in the prebuilt UI.
- How to create and attach blur effects to blocks in Swift.
- How each blur type works and what its properties change.
- How to update blur parameters programmatically.
- How to remove or replace blur effects.
When You’ll Use It#
Use blur when you want to:
- soften an image
- simulate depth of field
- reduce distraction behind text
- create stylistic transitions in image and video templates.
Using Blur in the Prebuilt Editor#
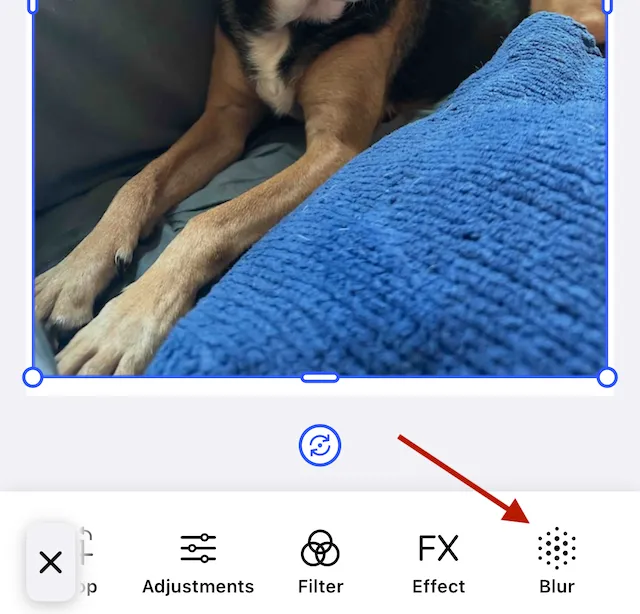
Locate the Blur Tool#
The blur button appears in the Inspector when the user selects a block that supports blur.
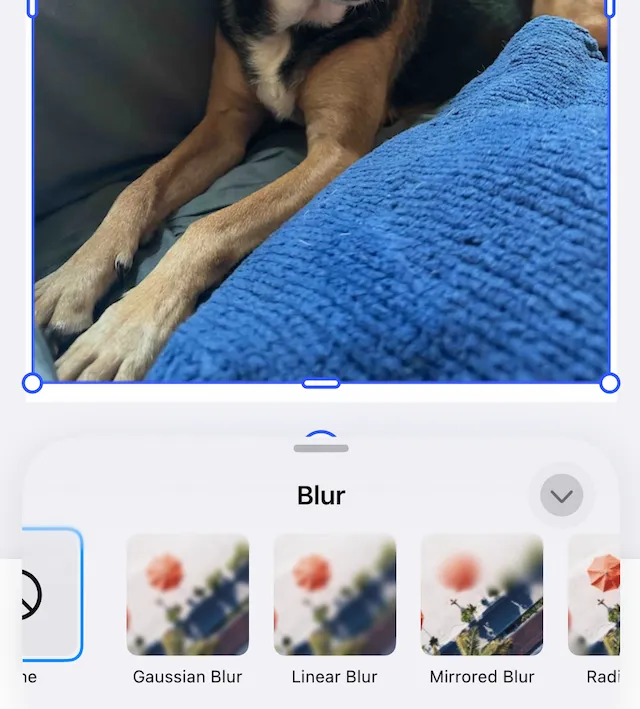
Upon selection, controls appear to choose one of the blurs or to turn off the blur effect.
Access Property Controls#
After applying any of the blur effects, the editor reveals controls specific to the selected blur type. Tapping the control opens the options pane.
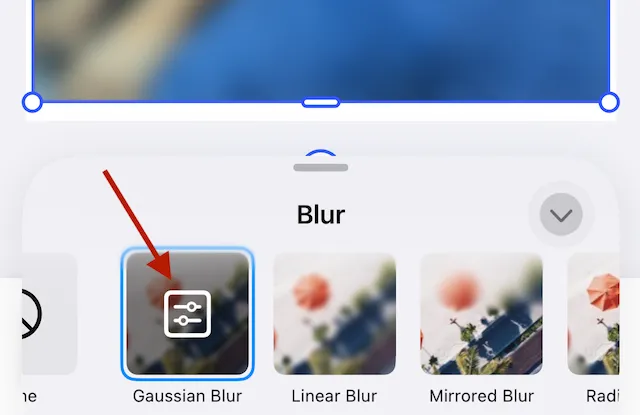
The option pane is specific to the active blur. Sliders update blur radius, intensity, position and, other parameters.

Find descriptions of the differences between blurs and the impact of specific parameters below.
Programmatic Blur#
Blur effects apply to blocks. Create them similarly to fills or shapes:
- Call the
blockAPI. - Create the blur with
createBlur. - Attach it to an existing block with
setBlur.
let uniformBlur = try engine.block.createBlur(.uniform)The UI refers to the uniform type as a Gaussian blur. The other types have the same names as the UI controls:
radiallinearmirrored
Unlike other effects, a block can only have one blur, so instead of appendEffect, use setBlur.
try engine.block.setBlur(imageBlockId, blurID: uniformBlur)Determine if a block accepts the blur effect using the supportsBlur function.
let doesSupportBlur = try engine.block.supportsBlur(imageBlockId)Once applied, you can use setBlurEnabled to toggle the blur effect on and off for a specific block.
try engine.block.setBlurEnabled(imageBlockId, enabled: false) //turn off blurThis function has a companion function to get the blur effect’s state.
let blurIsEnabled = try engine.block.isBlurEnabled(imageBlockId)To remove a blur entirely, call destroy. This:
- Permanently removes the blur block from the engine.
- Detaches it from every block that was using it.
Use this only when the blur should no longer exist anywhere. Otherwise, prefer setBlurEnabled.
let blurToDestroy = try engine.block.getBlur(imageBlockId)try engine.block.destroy(blurToDestroy)Blur Types and Their Properties#
Each blur type has a distinct gradient shape. Properties specific to each blur type control aspects such as intensity and focus area of the image. All blurs have a string type property, to identify the blur type. The canvas updates immediately when blur properties change.
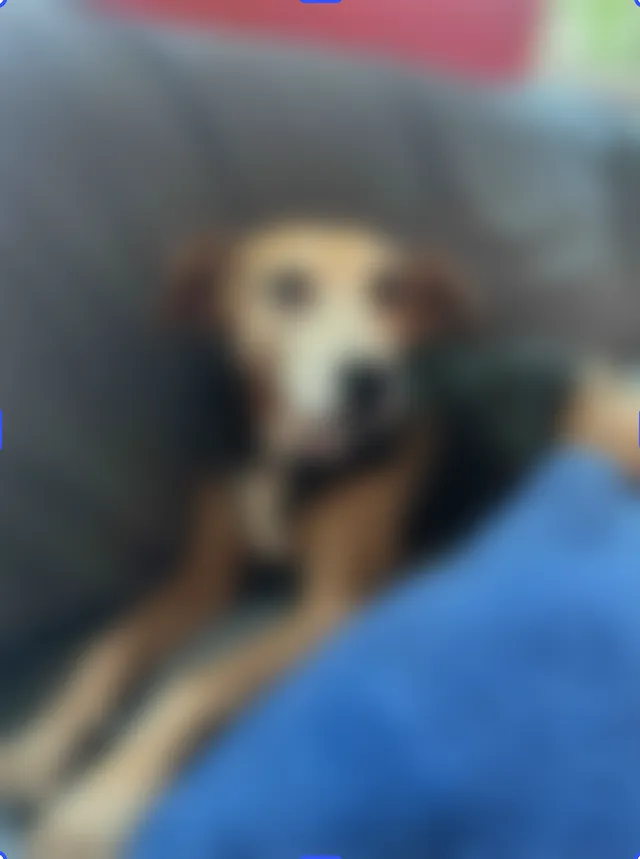
Uniform/Gaussian Blur#
Applies even blurring across the entire block. Increasing intensity makes the whole image softer.
Properties:
blur/uniform/intensityblur strength. Higher values increase softness.typereturns a value of//ly.img.ubq/blur/uniform
Example:
try engine.block.setFloat(blurId, property: "blur/uniform/intensity", value: 0.6)Linear Blur#
Creates a directional blur using two control points. Moving the control points rotates the blur direction and shifts where the transition occurs.

Properties:
blur/linear/blurRadiusblur strength.blur/linear/x1,y1starting point of gradient.blur/linear/x2,y2ending point of gradient.typereturns a value of//ly.img.ubq/blur/linear
Example:
try engine.block.setFloat(blurID, property: "blur/linear/blurRadius", value: 20)try engine.block.setFloat(blurID, property: "blur/linear/x1", value: 0.1)try engine.block.setFloat(blurID, property: "blur/linear/x2", value: 0.9)Radial Blur#
The blur radiates outward from a center point or circle of sharpness.

Properties:
blur/radial/blurRadiusblur strength.blur/radial/gradientRadiushow quickly blur fades from center outward.blur/radial/radiussize of the sharp inner focus region.blur/radial/x,ythe blur’s center point.typereturns a value of//ly.img.ubq/blur/radial
Example:
try engine.block.setFloat(blurID, property: "blur/radial/blurRadius", value: 25)try engine.block.setFloat(blurID, property: "blur/radial/x", value: 0.5)try engine.block.setFloat(blurID, property: "blur/radial/y", value: 0.4)Mirrored Blur#
A dual, symmetric gradient. Use this for tilt‑shift effects.

Properties:
blur/mirrored/blurRadiusblur strength.blur/mirrored/gradientSizewidth of the transition zones.blur/mirrored/sizewidth of the clear, unblurred band.blur/mirrored/x1,y1,x2,y2define the two gradient axes. Change these to rotate or shift the plane.typereturns a value of//ly.img.ubq/blur/mirrored
Example:
try engine.block.setFloat(blurID, property: "blur/mirrored/size", value: 0.3)Troubleshooting#
Here are some common issues when working with the blur effect.
| Symptom | Cause | Solution |
|---|---|---|
| No blur appears | Block doesn’t support blur or blur isn’t enabled. | Check values of isBlurEnabled() and supportsBlur() |
| Property changes do nothing | Wrong key path | Verify exact property names. |
| Blur appears clipped | Block is clipped | Disable clipping or resize block |
| Linear/radial blur looks off-center | Incorrect coordinate values | Verify x/y ranges |
Next Steps#
Now that you have an idea about working with blur effects, here are some other guides you may find useful.