Annotations are on-screen callouts:
- text notes
- shapes
- highlights
- icons
that appear at precise moments in your video. With CE.SDK you can let users add and edit annotations using the prebuilt VideoEditor UI, or you can create, update, and remove overlays programmatically when building your own SwiftUI interface. This guide shows both.
What You’ll Learn#
- Launch the prebuilt
VideoEditorand use its toolbar, inspector, and timeline duration handles. - Add text and shape annotations to a video scene.
- Control when annotations appear with
timeOffsetandduration. - Read and set the current playback time to sync your UI.
- Detect whether an annotation is visible at the current time and jump the playhead.
When to Use It#
Use annotations for tutorials, sports analysis, education, product demos, and any workflow where viewers should notice specific moments without scrubbing manually.
Annotations in the VideoEditor#
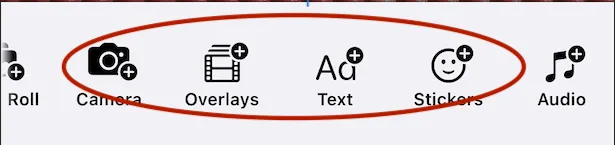
Insert annotations from the toolbar. Any static asset can become an annotation:
- images
- text
- stickers
Once you’ve added an annotation, drag it around and use the standard block tools to position it in frame at the size you want. Use the timeline editor handles to change the duration and timing.
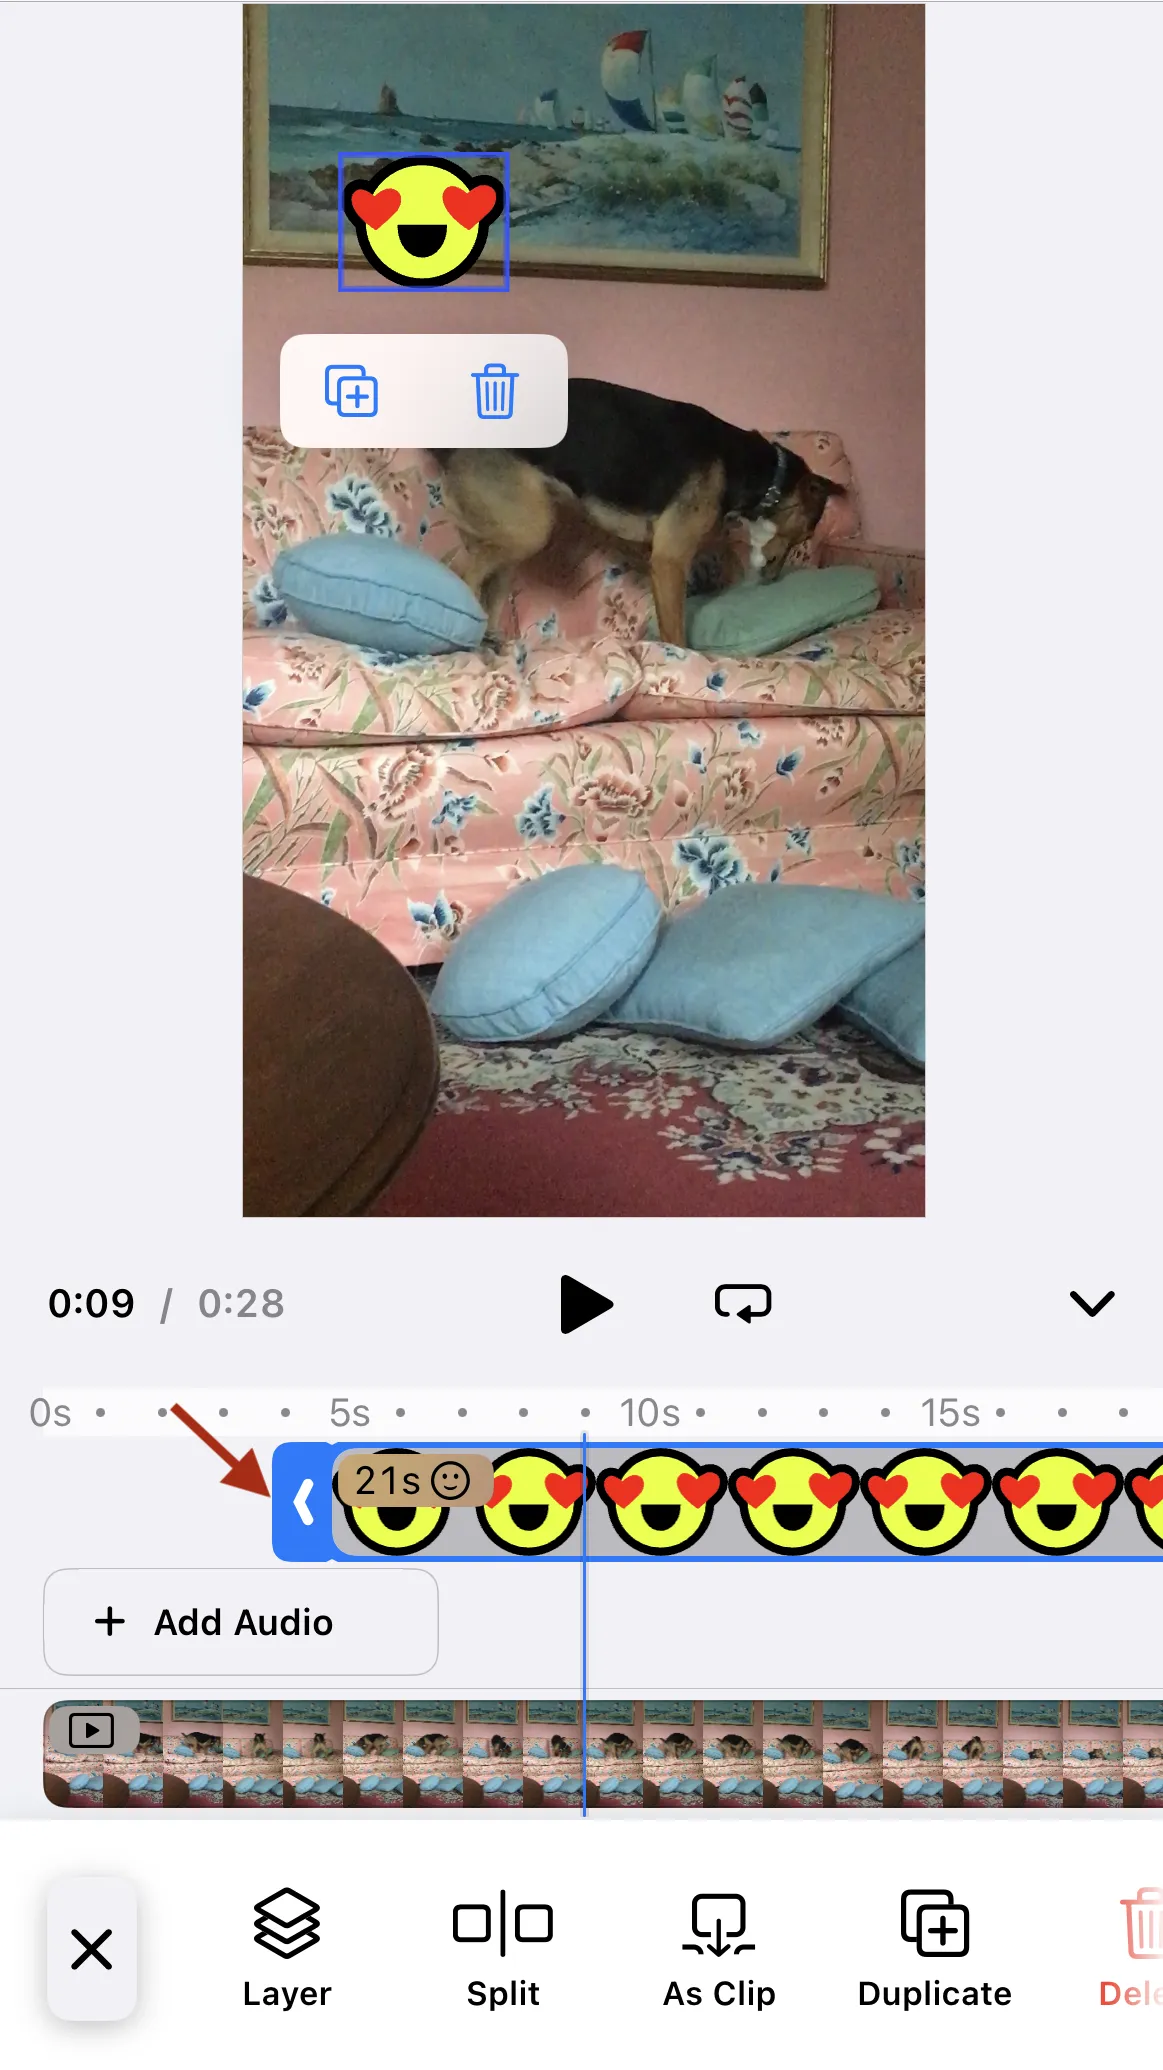
You can continue to add annotations. Each one appears with its own track and handles. More than one annotation can be on the screen at the same time.
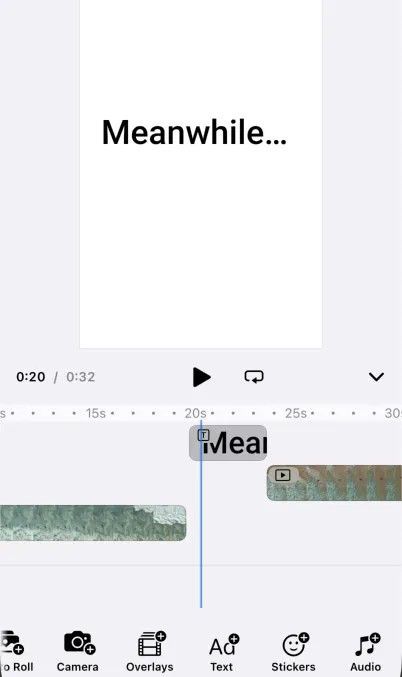
Annotations don’t have to be on a clip, you could use them to make simple title interstitial clips. Each text block is its own annotation, you’d need another strategy for more complicated titles.
Annotations in Code#
Add a Text Annotation#
The following code:
- Creates a text block.
- Positions it.
- Make it visible from 5–10 seconds on the timeline.
The code is the same as for any other block except for the addition of timeOffest and duration properties.
@MainActorfunc addTextAnnotation(engine: Engine, page: DesignBlockID) throws -> DesignBlockID {  let text = try engine.block.create(.text)  try engine.block.replaceText(text, text: "Watch this part!")  try engine.block.setTextFontSize(text, fontSize: 32)
  // Auto-size + place it visibly  try engine.block.setWidthMode(text, mode: .auto)  try engine.block.setHeightMode(text, mode: .auto)  try engine.block.setPositionX(text, value: 160)  try engine.block.setPositionY(text, value: 560)
  // Timeline: show between 5s and 10s  try engine.block.setTimeOffset(text, offset: 5.0)  try engine.block.setDuration(text, duration: 5.0)
  try engine.block.appendChild(to: page, child: text)  return text}
Any visual block (text, shapes, stickers) can serve as an annotation. Time properties control when it’s active on the page timeline.
Add a Shape Annotation#
Use a graphic block with a vector shape for pointers or highlights.
@MainActorfunc addStarAnnotation(engine: Engine, page: DesignBlockID) throws -> DesignBlockID {  let star = try engine.block.create(.graphic)  try engine.block.setShape(star, shape: engine.block.createShape(.star))  try engine.block.setFill(star, fill: engine.block.createFill(.color))  try engine.block.setColor(star, property: "fill/color/value", color: .init(r: 1, g: 0, b: 0, a: 1))
  try engine.block.setPositionX(star, value: 320)  try engine.block.setPositionY(star, value: 420)  try engine.block.setTimeOffset(star, offset: 12.0)  try engine.block.setDuration(star, duration: 4.0)
  try engine.block.appendChild(to: page, child: star)  return star}
Timeline Sync: React to Playback & Highlight Active Annotations#
Below is a partial SwiftUI pattern to keep your UI in sync with the editor’s timeline. It:
- Retrieves the current page’s playback time on an interval.
- Marks an annotation as active when it’s visible at that time.
- Lets you seek the playhead to an annotation’s start time.
final class TimelineSync: ObservableObject {  @Published var currentTime: Double = 0  @Published var activeAnnotation: DesignBlockID?
  private var task: Task<Void, Never>?
  func start(engine: Engine, page: DesignBlockID, annotations: [DesignBlockID]) {    task?.cancel()    task = Task { @MainActor [weak self] in      guard let self else { return }      while !Task.isCancelled {        // 1) Read the page’s current playback time        let t = (try? engine.block.getPlaybackTime(page)) ?? 0        self.currentTime = t
        // 2) Determine which annotation is currently visible        for id in annotations {          if (try? engine.block.isVisibleAtCurrentPlaybackTime(id)) == true {            self.activeAnnotation = id            break          }        }
        try? await Task.sleep(nanoseconds: 200_000_000) // ~5 fps polling      }    }  }
  func stop() { task?.cancel() }
@MainActor func seek(to seconds: Double, engine: Engine, page: DesignBlockID) { try? engine.block.setPlaybackTime(page, time: seconds) }}Wire it into SwiftUI:
struct AnnotationListView: View {  @ObservedObject var sync: TimelineSync  let engine: Engine  let page: DesignBlockID  let annotations: [DesignBlockID]
  var body: some View {    List(annotations, id: \.[self]) { id in      let isActive = (sync.activeAnnotation == id)      HStack {        Circle().frame(width: 8, height: 8)        Text("Annotation \(id)")      }      .font(.body)      .opacity(isActive ? 1 : 0.5)      .contentShape(Rectangle())      .onTapGesture {        // Seek to this annotation’s start        let start = (try? engine.block.getTimeOffset(id)) ?? 0        sync.seek(to: start, engine: engine, page: page)      }    }  }}
The list:
- Dims non‑active annotations
- Jumps the playhead when you tap an annotation.
This example doesn’t include:
- The main UI
- The video clips
- Any controls.
Controlling Playback (Play/Pause, Loop)#
You can perform actions such as:
- Play/pause the page timeline
- Set looping
- Play a solo playback for a single block when previewing.
@MainActorfunc play(engine: Engine, page: DesignBlockID) throws { try engine.block.setPlaying(page, enabled: true) }
@MainActorfunc pause(engine: Engine, page: DesignBlockID) throws { try engine.block.setPlaying(page, enabled: false) }
@MainActorfunc setLooping(engine: Engine, id: DesignBlockID, enabled: Bool) throws { try engine.block.setLooping(id, looping: enabled) }
Edit & Remove Annotations#
Following code shows the functions for:
- Updating text
- Moving an annotation
- Deleting an annotation entirely.
@MainActorfunc updateAnnotationText(engine: Engine, id: DesignBlockID, newText: String) throws {  try engine.block.replaceText(id, text: newText)}
@MainActorfunc moveAnnotation(engine: Engine, id: DesignBlockID, x: Double, y: Double) throws {  try engine.block.setPositionX(id, value: x)  try engine.block.setPositionX(id, value: x)}
@MainActorfunc removeAnnotation(engine: Engine, id: DesignBlockID) throws {  try engine.block.destroy(id)}
Design Tips (Quick Wins)#
- Readable contrast: Light text over dark video (or add a translucent background for the text block).
- Consistent rhythm: Align callout durations to beats/phrases; use 2–5&nbap;s for most labels.
- Safe zones: Keep annotations away from edges (device notches, social crop areas). Pair with your existing Rules/Scopes.
- Hierarchy: Title (bolder), detail (smaller). Reserve color for emphasis.
- Motion restraint: Prefer fades and basic transforms over heavy effects for legibility.
Testing & QA Checklist#
- Device playback: Verify on physical devices; long H.265 exports may differ from simulator previews.
- Performance: Poll timeline at ~5–10 Hz for UI sync; avoid tight loops.
- Edge timing: Test annotations starting at
0sand ending at page duration; confirm no off‑by‑one visibility. - Layer order: Ensure annotations render above background clips; append after media or bring to front when needed.
- Export parity: Compare in‑editor preview vs
.mp4export for small text and any blurs.
Add a “Like” Button (Insert Annotation at Playhead)#
The snippet below adds a like button to the dock. When tapped, it:
- Reads the page’s current playback time.
- Inserts a heart emoji annotation that starts exactly there.
import SwiftUIimport IMGLYVideoEditorimport IMGLYEngine
struct EditorWithMarkerButton: View {  private let settings = EngineSettings(license: "<your license id>")
  @State private var isPresented = false
  var body: some View {     Button("Open Editor") { isPresented = true }      .fullScreenCover(isPresented: $isPresented) {         videoEditor      }  }
  @MainActor var editor: some View {
    VideoEditor(settings).imgly.modifyDockItems { context, items in      items.addFirst { Dock.Button(        id: "ly.img.add.annotation",        action: { context in          Task { try await addMarkerAnnotation(engine: context.engine, message: "❤️❤️❤️") }        },        label: { _ in          Label("Add Annotation", systemImage: "heart.fill")        }      ) }    }  }
  @MainActor  private func addMarkerAnnotation(engine: Engine, message: String = "") async throws -> DesignBlockID {    let page = try engine.scene.getCurrentPage()!
    let text = try engine.block.create(.text)    try engine.block.replaceText(text, text: title)    try engine.block.setTextFontSize(text, fontSize: 22)
    // Auto-size + place it visibly    try engine.block.setWidthMode(text, mode: .auto)    try engine.block.setHeightMode(text, mode: .auto)    try engine.block.setPositionX(text, value: 10)    try engine.block.setPositionY(text, value: 10)
    try engine.block.setTimeOffset(text, offset: start)    try engine.block.setDuration(text, duration: 1.5) // default length
    try engine.block.appendChild(to: page, child: text)    return text  }}
In the preceding screenshot, the annotation button added three different annotations to the timeline.
Troubleshooting#
❌ Annotation doesn’t show up:
- Confirm you appended it to the page (or a track on the page).
- Ensure its
timeOffset/durationplace it within the page’s total duration. - If hidden behind media, append it after the background or bring to front.
❌ Jumps don’t seem to work:
- Seek on the page block with
setPlaybackTime(page, time:), not on the annotation itself.
❌ Performance stutters:
- Poll the timeline at 5–10 Hz. Avoid tight loops.
- Batch UI updates on the main actor.
❌ Exported video looks different:
- Make sure the scene mode is Video and the page duration property has the correct value. Long blurs/glows may differ depending on codec.
Next Steps#
Now that you’ve explored annotation basics, these topics can deepen your understanding:
- Add Captions & Subtitles to your clips.
- Variables for Dynamic Labels for displaying information like usernames or scores.