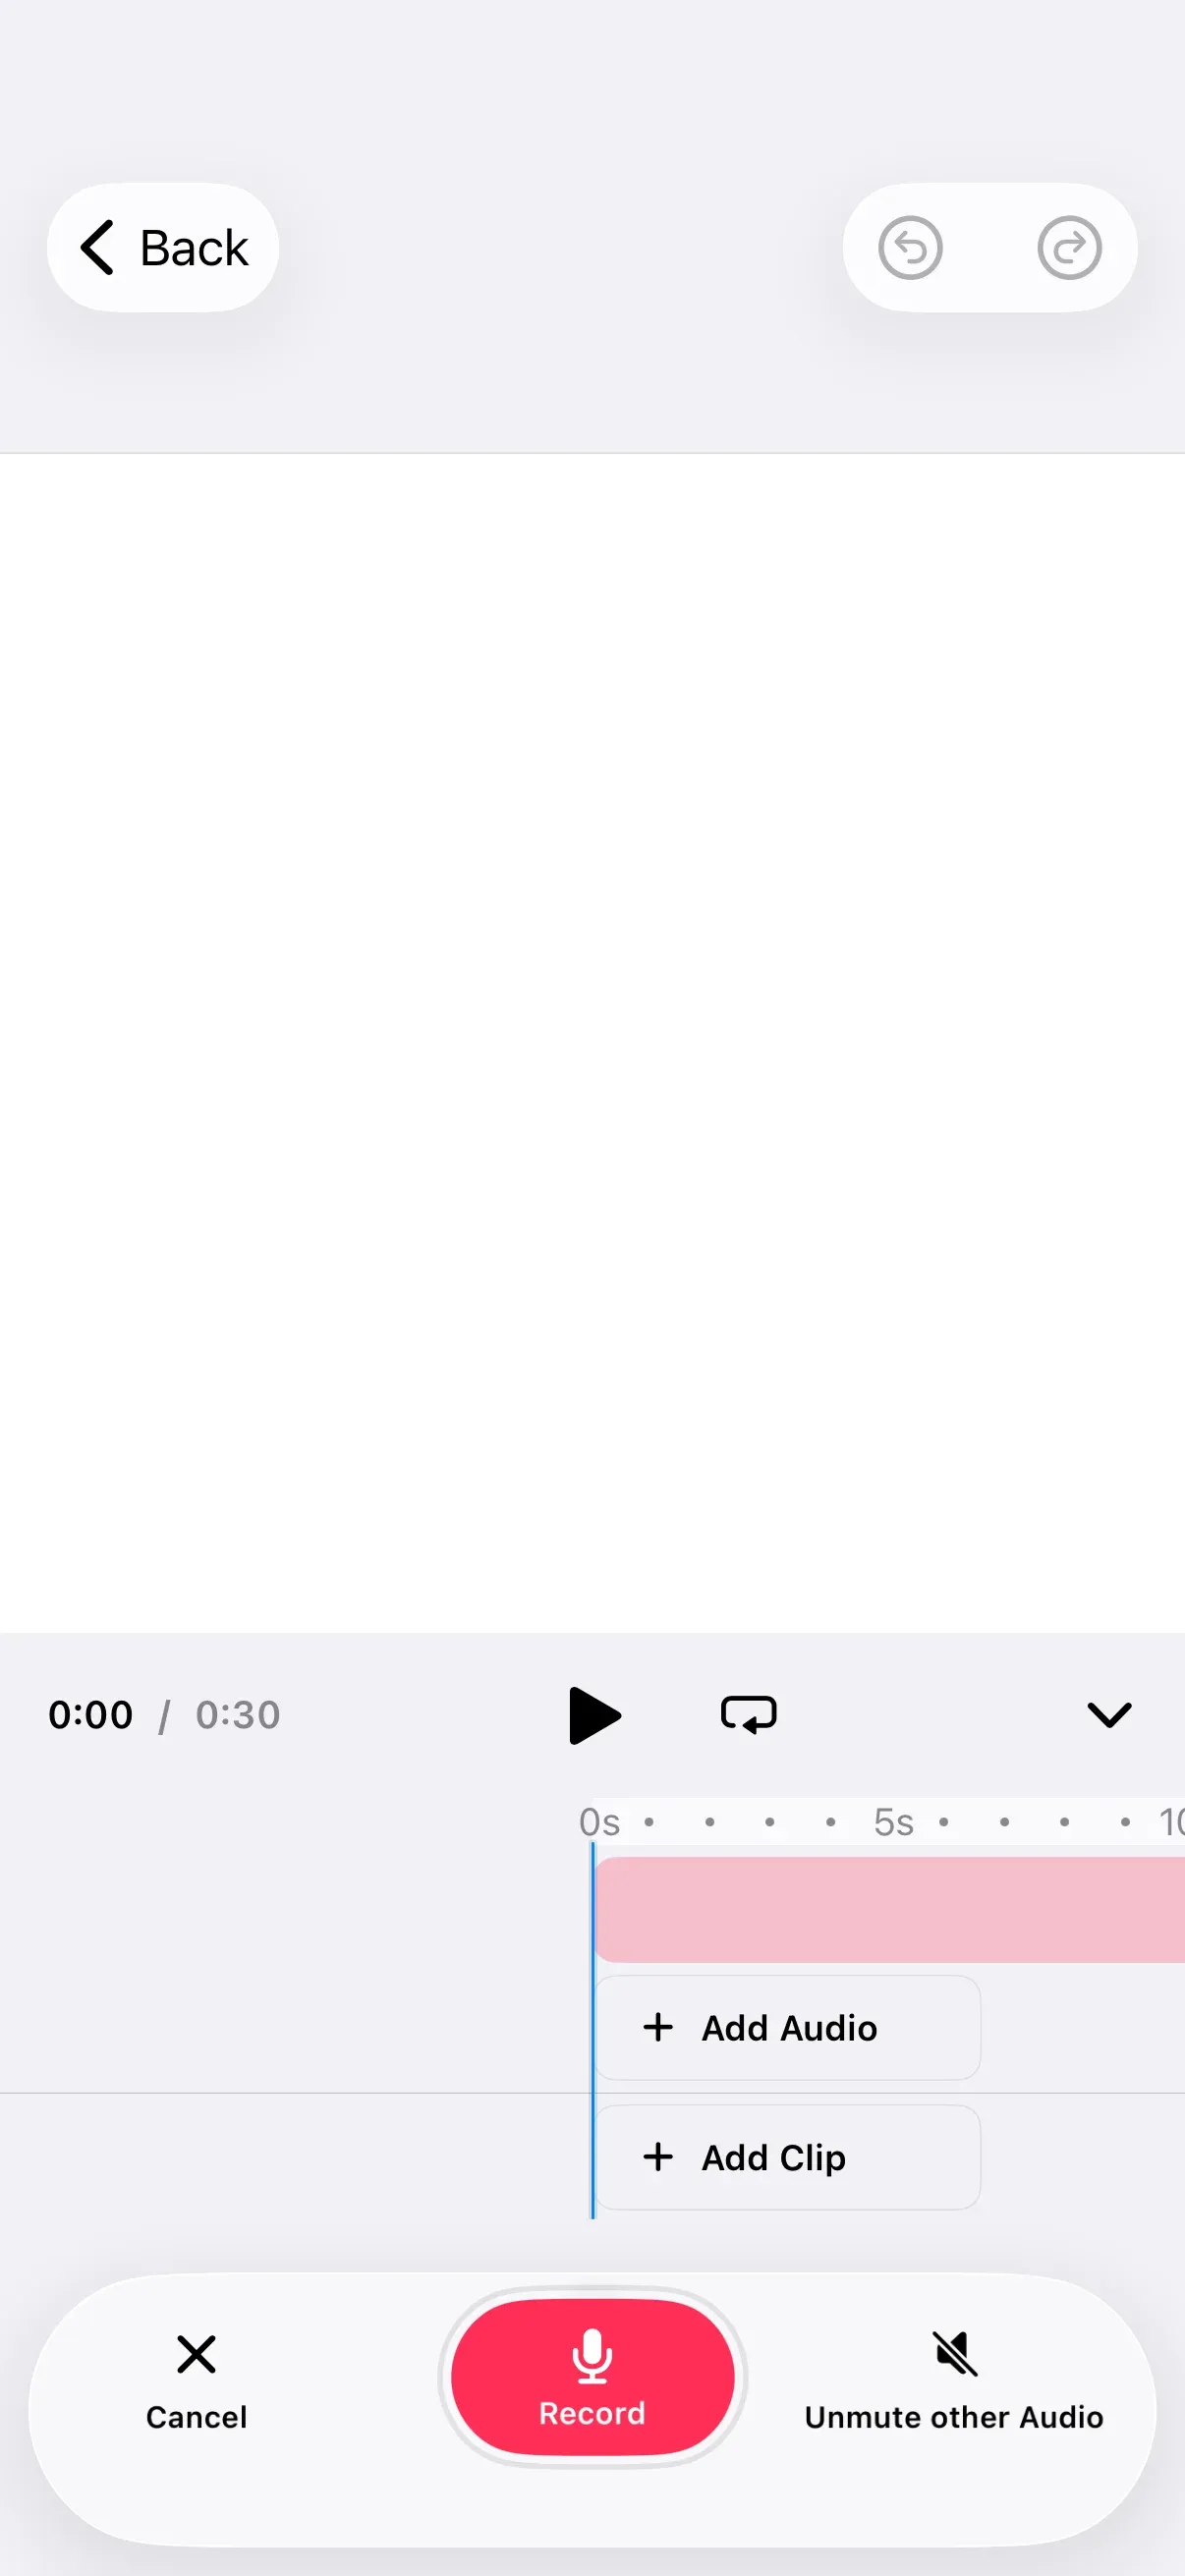
Let users capture voiceover takes directly inside the CE.SDK editor. A dock button opens a microphone recording sheet, the inspector bar lets them record another take from a selected voiceover clip, and the timeline below the canvas shows each take alongside playback controls.
Voiceover recording is an editor UI feature provided by IMGLYEditor. Recordings are stored as audio blocks with the kind "voiceover" so they can be styled and managed separately from regular audio tracks.
The example builds on GuideEditorConfiguration — a small helper class the iOS guides repository ships at editor-guides-quickstart/GuideEditorConfiguration.swift. Substitute your own editor configuration class — the builders shown below are exposed on every configuration.
Microphone Permission#
Voiceover recording uses the device microphone. Add NSMicrophoneUsageDescription to your app’s Info.plist with a user-facing description. iOS terminates the app the first time CE.SDK requests microphone access if this key is missing.
<key>NSMicrophoneUsageDescription</key><string>We use the microphone to record voiceovers for your video projects.</string>The recording sheet handles the permission prompt itself and surfaces a Settings shortcut if the user denies access.
Adding the Timeline#
To make voiceover takes visible alongside play/pause controls, create a scene with a page that has a playback duration. Override onCreate to set up the scene before the editor renders.
builder.onCreate { engine, _ in let scene = try engine.scene.create() let page = try engine.block.create(.page) try engine.block.appendChild(to: scene, child: page) try engine.block.setWidth(page, value: 1080) try engine.block.setHeight(page, value: 1080) try engine.block.setDuration(page, duration: 30)}The page’s duration (in seconds) sets the playback range the timeline ruler scrubs through. Width and height are in design units — 1080×1080 produces a square canvas.
Then mount DefaultTimelineComponent from IMGLYEditor as the editor’s bottom-panel content. It renders the play/pause button, the time ruler, and a row per recorded voiceover or audio clip.
builder.bottomPanel { bottomPanel in bottomPanel.content { context in DefaultTimelineComponent(context: context) }}The component reads from the engine’s timeline state, so new voiceover recordings appear automatically once the user finishes a take.
Adding the Voiceover Dock Button#
Set the dock items to include Dock.Buttons.voiceover(). The default action opens the recording sheet via EditorEvent.openSheet(type: .voiceover()).
builder.dock { dock in dock.items { _ in Dock.Buttons.voiceover() }}The button renders a microphone icon with a localized “Voiceover” label. dock.items replaces the dock’s items — list any other dock buttons your app needs (asset library, audio library, etc.) alongside the voiceover entry.
Allowing Additional Takes#
After the user records a clip, the inspector bar can offer an “Add recording” button that opens the recording sheet again. Each take is stored as a separate voiceover block on the timeline — previous recordings stay intact. Set the inspector bar items to include InspectorBar.Buttons.addVoiceoverRecording().
builder.inspectorBar { inspectorBar in inspectorBar.items { _ in InspectorBar.Buttons.addVoiceoverRecording() }}inspectorBar.items replaces the inspector bar’s items — list every action your app needs (replace, edit, duplicate, delete, etc.) alongside the “Add recording” entry. The button is visible only when the selected block is an audio block whose kind equals "voiceover". For any other selection it stays hidden — no additional isVisible predicate is required.
Identifying Voiceover Blocks#
Voiceover recordings are stored as audio blocks with kind "voiceover". To match how InspectorBar.Buttons.addVoiceoverRecording() decides its own visibility, check both the block’s type (DesignBlockType.audio) and its kind ("voiceover").
@MainActorstatic func isVoiceoverBlock(_ blockID: DesignBlockID, engine: Engine) throws -> Bool { let type = try engine.block.getType(blockID) let kind = try engine.block.getKind(blockID) return type == DesignBlockType.audio.rawValue && kind == "voiceover"}The helper is marked @MainActor because all engine calls must run on the main thread. The signature takes a DesignBlockID directly so it can be called from any selection-change handler or scene traversal.
API Reference#
| API | Purpose |
|---|---|
engine.scene.create() |
Create a new scene |
engine.block.setDuration(_:duration:) |
Set the page’s playback duration in seconds |
DefaultTimelineComponent(context:) |
Bottom-panel view that renders the timeline and playback controls |
Dock.Buttons.voiceover(action:title:icon:isEnabled:isVisible:) |
Dock button that opens the voiceover recording sheet |
InspectorBar.Buttons.addVoiceoverRecording(action:title:icon:isEnabled:isVisible:) |
Inspector bar button that records another take as a new voiceover block |
engine.block.getType(_:) |
Returns a block’s type — audio blocks return DesignBlockType.audio.rawValue |
engine.block.getKind(_:) |
Returns a block’s kind — voiceover clips return "voiceover" |
Next Steps#
- Adjust Audio Volume — Balance voiceover against background music
- Adjust Audio Playback Speed — Control audio playback speed
- Loop Audio — Loop audio tracks for continuous playback