Extend CE.SDK’s video caption feature with custom caption presets by updating the content.json file. Caption presets let your users apply predefined styles to video captions with a single click.
Video captions have become an essential part of digital content, improving accessibility and engagement. With CE.SDK’s caption presets feature, you can offer your users a selection of predefined caption styles that they can apply with a single click. This guide shows you how to create styled text blocks, serialize them as preset files, and structure the content.json to make them available in the caption presets panel.
This guide covers how to understand the caption presets folder structure, create custom caption styles from text blocks, serialize presets for hosting, define customizable properties, and configure CE.SDK to load your custom presets.
Understanding the Caption Presets Structure#
Folder Organization#
CE.SDK’s caption presets use a specific directory structure that the engine expects when loading presets. The base path is assets/v5/ly.img.caption.presets/ and contains:
assets/v5/ly.img.caption.presets/├── content.json # Master index of all presets├── presets/ # Folder containing preset files│ ├── my-custom-preset.preset # Serialized caption block with styling│ └── ...└── thumbnails/ # Folder containing preview images ├── my-custom-preset.png # Preview image for preset └── ...The main content.json file acts as an index that lists all available presets with their metadata. When CE.SDK loads caption presets, it reads this file to discover available presets and their locations.
content.json Format#
The content.json file follows a specific format with version, asset source ID, and an assets array:
{ "version": "3.0.0", "id": "ly.img.caption.presets", "assets": [ { "id": "ly.img.caption.presets.my-preset", "label": { "en": "My Preset" }, "meta": { "uri": "{{base_url}}/ly.img.caption.presets/presets/my-preset.preset", "thumbUri": "{{base_url}}/ly.img.caption.presets/thumbnails/my-preset.png", "mimeType": "application/ubq-blocks-string" }, "payload": { "properties": [] } } ]}Each asset entry requires a unique ID with namespace, localized label, meta with URIs and mime type, and optional payload properties for customization.
Creating Custom Caption Presets#
Designing a Caption Style#
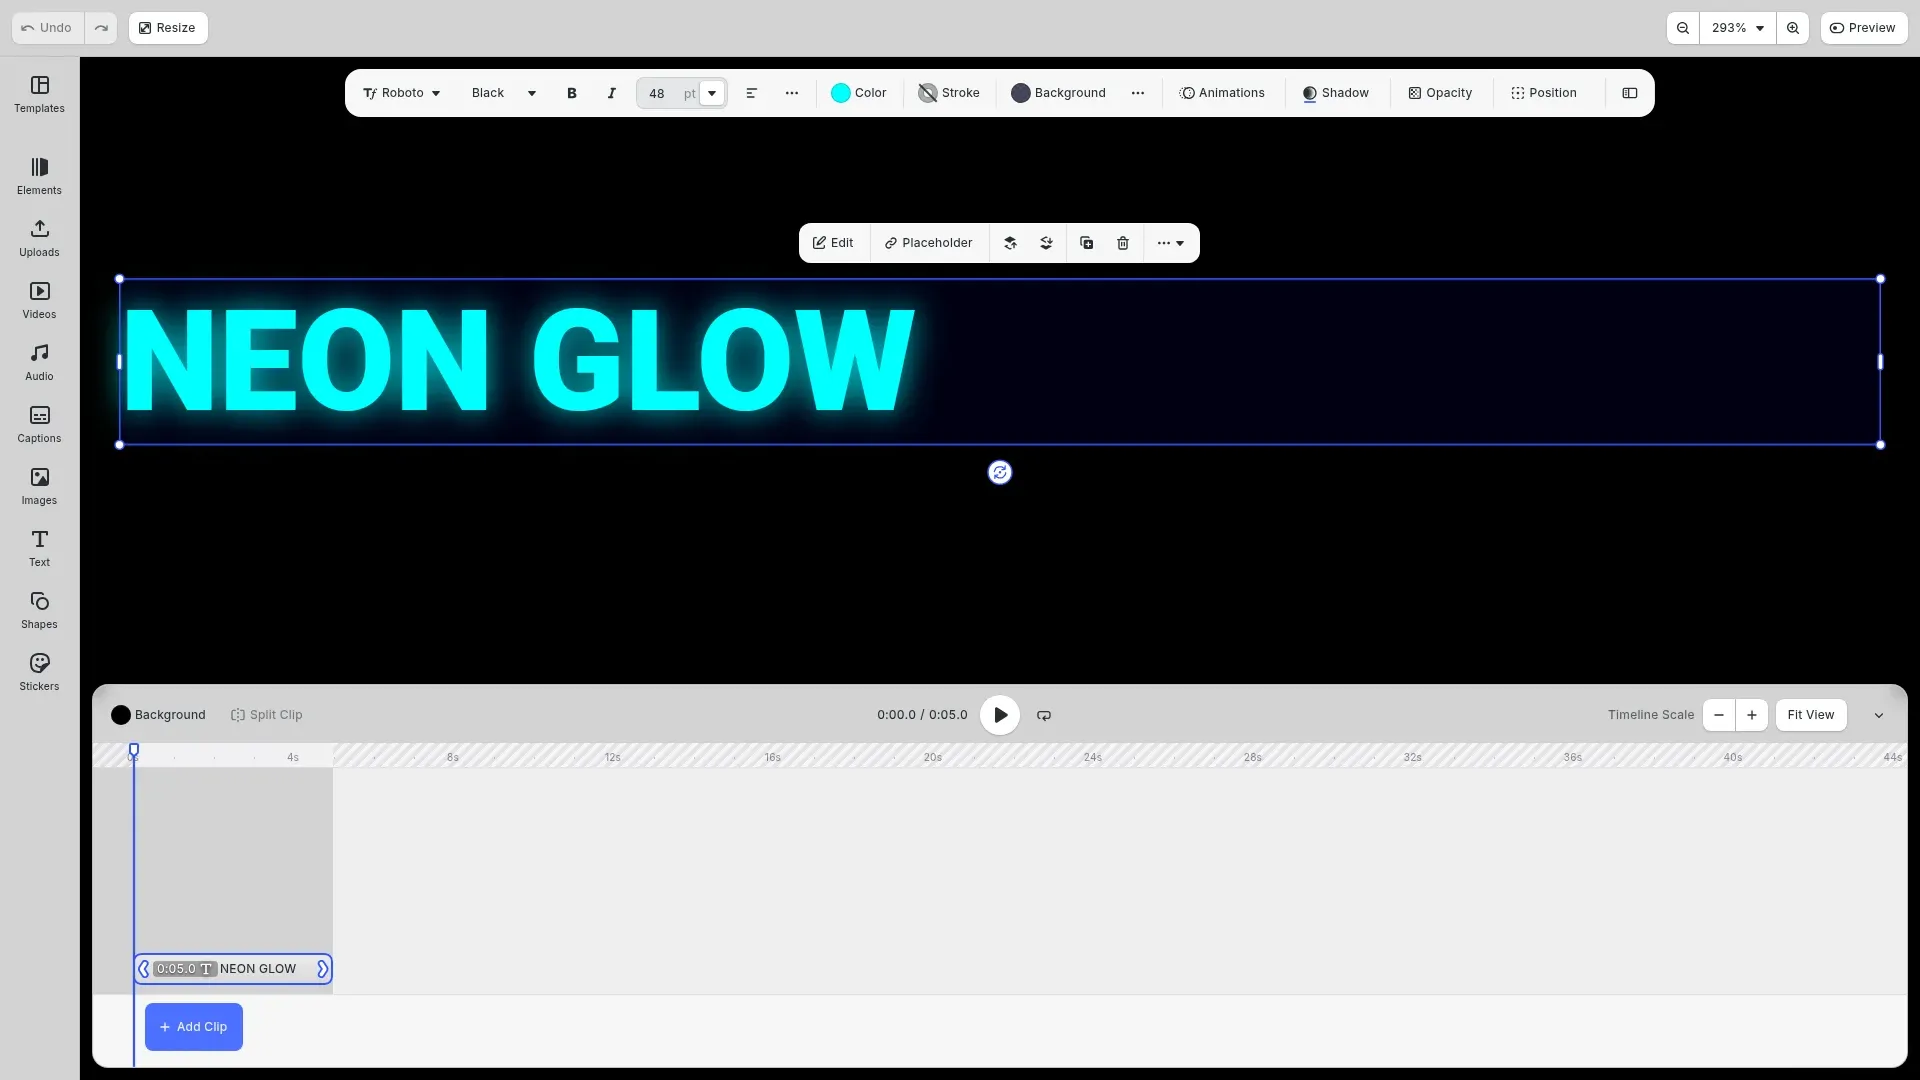
We create a styled text block as the basis for our preset. Text blocks support all the styling properties needed for captions including colors, fonts, backgrounds, shadows, and effects.
// Create a text block to use as the preset base// Text blocks support all the styling properties needed for captionsconst textBlock = engine.block.create('text');
// Set sample caption textengine.block.setString(textBlock, 'text/text', 'NEON GLOW');
// Position and size the text blockengine.block.setPositionX(textBlock, 50);engine.block.setPositionY(textBlock, 200);engine.block.setWidth(textBlock, 600);engine.block.setHeightMode(textBlock, 'Auto');
We position and size the text block, then set sample caption text. The text block serves as our canvas for applying the styling that will define the preset’s appearance.
Styling with Colors and Fonts#
We style the text with colors and configure font properties. The fill color becomes the fill/solid/color property in the preset:
// Style the text with a bright neon cyan color// This will be the fill/solid/color property in the presetengine.block.setColor(textBlock, 'fill/solid/color', { r: 0.0, g: 1.0, b: 1.0, a: 1.0});We also configure font size and load a typeface. When users apply this preset, their captions will inherit these font settings:
// Set font properties for the caption styleengine.block.setFloat(textBlock, 'text/fontSize', 48);
// Use a bold font for better visibility// Load and set a typefaceconst typefaceResult = await engine.asset.findAssets('ly.img.typeface', {  query: 'Roboto',  page: 0,  perPage: 10});
if (typefaceResult.assets.length > 0) {  const typefaceAsset = typefaceResult.assets[0];  const typeface = typefaceAsset.payload?.typeface;  if (typeface && typeface.fonts?.[0]?.uri) {    engine.block.setFont(textBlock, typeface.fonts[0].uri, typeface);  }}
Adding Visual Effects#
We add a glowing drop shadow effect for the neon look. Drop shadow creates the characteristic glow effect that makes caption presets visually distinctive:
// Add a glowing drop shadow effect for the neon look// This creates the characteristic neon glow effectengine.block.setDropShadowEnabled(textBlock, true);
// Set glow color (bright cyan to match text)engine.block.setColor(textBlock, 'dropShadow/color', {  r: 0.0,  g: 1.0,  b: 1.0,  a: 0.8});
// Configure shadow properties for a soft glowengine.block.setFloat(textBlock, 'dropShadow/blurRadius/x', 20);engine.block.setFloat(textBlock, 'dropShadow/blurRadius/y', 20);engine.block.setFloat(textBlock, 'dropShadow/offset/x', 0);engine.block.setFloat(textBlock, 'dropShadow/offset/y', 0);
Optionally, we add a semi-transparent background to help the caption stand out against video content:
// Optionally add a semi-transparent dark background// This helps the caption stand out against video contentengine.block.setBackgroundColorEnabled(textBlock, true);engine.block.setColor(textBlock, 'backgroundColor/color', { r: 0.0, g: 0.0, b: 0.1, a: 0.7});Serializing the Preset#
We serialize the styled text block using block.saveToString(). This creates a serialized string that can be saved as a .preset or .blocks file:
// Serialize the styled text block to create a preset file// This serialized string can be saved as a .blocks or .preset file// Include 'bundle' scheme to allow serialization of blocks with bundled fontsconst serializedPreset = await engine.block.saveToString(  [textBlock],  ['buffer', 'http', 'https', 'bundle']);
console.log('=== Serialized Preset ===');console.log('Save this as a .preset file (e.g., neon-glow.preset):');console.log(serializedPreset);
The serialized string contains all block properties and styling. Save this output as a file (e.g., neon-glow.preset) and create a thumbnail image showing the preset appearance.
Defining Customizable Properties#
Color Properties#
We define which properties users can customize without changing the entire preset. Color properties allow users to modify specific color aspects of a preset:
// Example content.json entry for the custom preset// This shows the structure needed to add the preset to content.jsonconst contentJsonEntry = {  id: '//ly.img.caption.presets/neon-glow',  label: {    en: 'Neon Glow'  },  meta: {    uri: '{{base_url}}/ly.img.caption.presets/presets/neon-glow.preset',    thumbUri: '{{base_url}}/ly.img.caption.presets/thumbnails/neon-glow.png',    mimeType: 'application/ubq-blocks-string'  },  payload: {    properties: [      {        type: 'Color',        property: 'fill/solid/color',        value: { r: 0.0, g: 1.0, b: 1.0, a: 1.0 },        defaultValue: { r: 0.0, g: 1.0, b: 1.0, a: 1.0 }      },      {        type: 'Color',        property: 'dropShadow/color',        value: { r: 0.0, g: 1.0, b: 1.0, a: 0.8 },        defaultValue: { r: 0.0, g: 1.0, b: 1.0, a: 0.8 }      },      {        type: 'Color',        property: 'backgroundColor/color',        value: { r: 0.0, g: 0.0, b: 0.1, a: 0.7 },        defaultValue: { r: 0.0, g: 0.0, b: 0.1, a: 0.7 }      }    ]  }};
console.log('\n=== content.json Entry ===');console.log('Add this entry to your content.json assets array:');console.log(JSON.stringify(contentJsonEntry, null, 2));
Each property in the payload.properties array needs:
type: Must be"Color"for color propertiesproperty: Property path (e.g.,"fill/solid/color","backgroundColor/color","dropShadow/color")value: Current RGBA color object withr,g,b,avalues (0-1 range)defaultValue: Initial RGBA color object
Supported Property Paths#
Available property paths for caption customization:
fill/solid/color: Text fill colorbackgroundColor/color: Background color behind textdropShadow/color: Drop shadow colorstroke/color: Stroke/outline color
Updating the content.json File#
Adding a New Preset Entry#
Add a new object to the assets array with all required fields. The complete structure for a preset entry:
{ "id": "ly.img.caption.presets.neon-glow", "label": { "en": "Neon Glow" }, "meta": { "uri": "{{base_url}}/ly.img.caption.presets/presets/neon-glow.preset", "thumbUri": "{{base_url}}/ly.img.caption.presets/thumbnails/neon-glow.png", "mimeType": "application/ubq-blocks-string" }, "payload": { "properties": [ { "type": "Color", "property": "fill/solid/color", "value": { "r": 0.0, "g": 1.0, "b": 1.0, "a": 1.0 }, "defaultValue": { "r": 0.0, "g": 1.0, "b": 1.0, "a": 1.0 } }, { "type": "Color", "property": "dropShadow/color", "value": { "r": 0.0, "g": 1.0, "b": 1.0, "a": 0.8 }, "defaultValue": { "r": 0.0, "g": 1.0, "b": 1.0, "a": 0.8 } } ] }}Ensure the mimeType is set to "application/ubq-blocks-string" and use the {{base_url}} placeholder for dynamic path resolution.
Complete content.json Example#
The complete content.json file structure wraps preset entries in the assets array:
// Example of a complete content.json file structureconst completeContentJson = {  version: '3.0.0',  id: 'ly.img.caption.presets',  assets: [contentJsonEntry]};
console.log('\n=== Complete content.json Example ===');console.log(JSON.stringify(completeContentJson, null, 2));
Hosting and Serving Custom Presets#
Server Setup#
Prepare the folder structure and upload files to your server:
- Create folder structure matching
assets/v5/ly.img.caption.presets/ - Upload
content.jsonto the root folder - Upload
.presetfiles topresets/subfolder - Upload thumbnail images to
thumbnails/subfolder - Ensure files are accessible via HTTP/HTTPS
- Configure CORS headers if serving cross-origin
Verifying File Access#
Test that all files are accessible before configuring CE.SDK:
- Access
content.jsondirectly in browser - Access preset files and thumbnails via their URLs
- Check browser console for CORS errors
Loading Custom Presets into CE.SDK#
Base URL Configuration#
To load your custom caption presets into CE.SDK, you need to tell the engine where to find your updated content.json file. Since CE.SDK already includes a caption presets asset source with the ID “ly.img.caption.presets”, we’ll update this existing source rather than creating a new one.
Set the base URL to point to your asset hosting location. CE.SDK automatically looks for ly.img.caption.presets/content.json relative to the base URL:
const config = {  baseURL: 'https://your-server.com/assets/'};
CreativeEditorSDK.create('#cesdk_container', config).then(async (cesdk) => {  // Caption presets load automatically from baseURL + 'ly.img.caption.presets/content.json'});
Your custom presets will seamlessly integrate with any built-in presets and automatically appear in the caption presets panel in the UI. No additional source registration is needed when replacing the default presets.
Troubleshooting#
Preset Not Loading#
- Verify
content.jsonis accessible at expected URL - Check browser console for 404 errors on preset files
- Ensure
mimeTypeis set to"application/ubq-blocks-string" - Verify
{{base_url}}placeholder is used correctly
Preset Styles Not Applying#
- Ensure preset was serialized from a text block (not other block types)
- Verify the serialized block contains styling properties
- Check that property paths in
payload.propertiesare correct
Thumbnail Not Displaying#
- Verify thumbnail file exists at the
thumbUripath - Check image format is PNG
- Ensure CORS headers allow image loading
Custom Colors Not Working#
- Verify
propertiesarray structure in content.json - Check property
typeis"Color" - Ensure
valueanddefaultValuehave correct RGBA format (0-1 range)
API Reference#
| Method | Category | Purpose |
|---|---|---|
engine.block.create('text') | Block | Create text block for preset styling |
engine.block.saveToString(blocks) | Block | Serialize styled block to preset format |
engine.block.setColor(id, property, color) | Block | Set color property (fill, background, etc.) |
engine.block.setBackgroundColorEnabled() | Block | Enable background color |
engine.block.setDropShadowEnabled() | Block | Enable drop shadow |
engine.block.setFloat(id, property, value) | Block | Set numeric properties (font size, etc.) |
engine.block.setString(id, property, val) | Block | Set string properties (text, font URI) |
engine.asset.findAssets(sourceId, query) | Asset | Find assets like typefaces |
CreativeEngine.init(config) | Engine | Initialize engine with base URL config |