Scenes are the root container for all designs in CE.SDK. They hold pages, blocks, and the camera that controls what you see in the canvas—and the engine manages only one active scene at a time.
Every design you create starts with a scene. Scenes contain pages, and pages contain the visible design elements—text, images, shapes, and other blocks. Understanding how scenes work is essential for building, saving, and restoring user designs.
This guide covers how to create scenes from scratch, manage pages within scenes, configure scene properties, save and load designs, and control the camera’s zoom and position.
Scene Hierarchy#
Scenes form the root of CE.SDK’s design structure. The hierarchy works as follows:
- Scene — The root container holding all design content
- Pages — Direct children of scenes, arranged according to the scene’s layout
- Blocks — Design elements (text, images, shapes) that belong to pages
Only blocks attached to pages within the active scene are rendered in the canvas. Use engine.scene.get() to retrieve the current scene and engine.scene.getPages() to access its pages.
Creating Scenes#
Creating an Empty Scene#
Use engine.scene.create() to create a new design scene with a configurable page layout. The layout parameter controls how pages are arranged in the canvas.
// Create a new design scene with VerticalStack layout// The layout controls how pages are arranged in the canvasengine.scene.create('VerticalStack');
// Get the stack container and add spacing between pagesconst stack = engine.block.findByType('stack')[0];engine.block.setFloat(stack, 'stack/spacing', 20);engine.block.setBool(stack, 'stack/spacingInScreenspace', true);
Available layouts include:
VerticalStack— Pages stacked verticallyHorizontalStack— Pages arranged horizontallyDepthStack— Pages layered on top of each otherFree— Manual positioning
Adding Pages#
After creating a scene, add pages using engine.block.create('page'). Configure the page dimensions and append it to the scene’s stack container.
// Create the first pageconst page1 = engine.block.create('page');engine.block.setWidth(page1, 800);engine.block.setHeight(page1, 600);engine.block.appendChild(stack, page1);
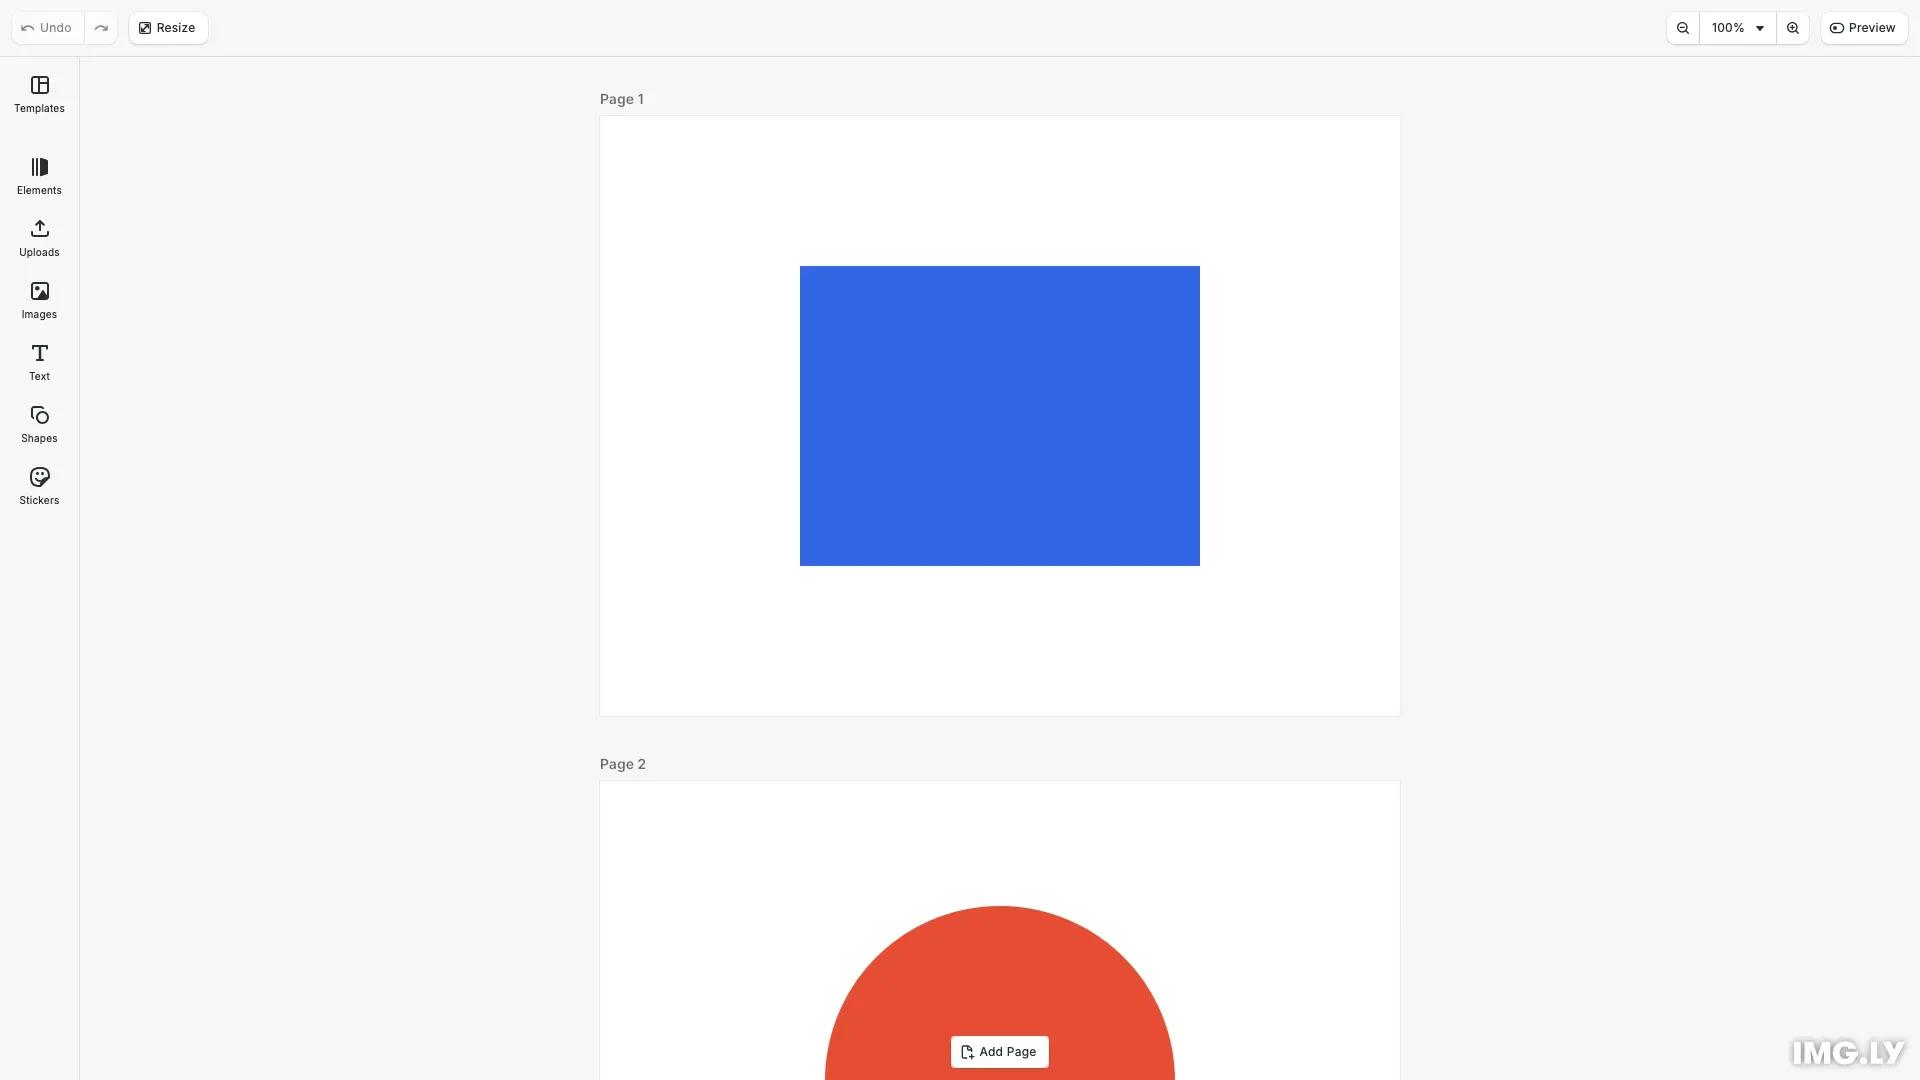
// Create a second pageconst page2 = engine.block.create('page');engine.block.setWidth(page2, 800);engine.block.setHeight(page2, 600);engine.block.appendChild(stack, page2);Adding Blocks#
With pages in place, add design elements like shapes, text, or images. Create a graphic block, configure its shape and fill, then append it to a page.
// Add a shape to the first pageconst graphic1 = engine.block.create('graphic');engine.block.setShape(graphic1, engine.block.createShape('rect'));const fill1 = engine.block.createFill('color');engine.block.setColor(fill1, 'fill/color/value', {  r: 0.2,  g: 0.4,  b: 0.9,  a: 1});engine.block.setFill(graphic1, fill1);engine.block.setWidth(graphic1, 400);engine.block.setHeight(graphic1, 300);engine.block.setPositionX(graphic1, 200);engine.block.setPositionY(graphic1, 150);engine.block.appendChild(page1, graphic1);
// Add a different shape to the second pageconst graphic2 = engine.block.create('graphic');engine.block.setShape(graphic2, engine.block.createShape('ellipse'));const fill2 = engine.block.createFill('color');engine.block.setColor(fill2, 'fill/color/value', {  r: 0.9,  g: 0.3,  b: 0.2,  a: 1});engine.block.setFill(graphic2, fill2);engine.block.setWidth(graphic2, 350);engine.block.setHeight(graphic2, 350);engine.block.setPositionX(graphic2, 225);engine.block.setPositionY(graphic2, 125);engine.block.appendChild(page2, graphic2);
Scene Properties#
Design Units#
Query or configure how measurements are interpreted using engine.scene.getDesignUnit() and engine.scene.setDesignUnit(). This is useful for print workflows where precise physical dimensions matter.
// Query scene propertiesconst currentUnit = engine.scene.getDesignUnit();console.log('Scene design unit:', currentUnit);
// Get the scene layoutconst layout = engine.scene.getLayout();console.log('Scene layout:', layout);
Supported units are 'Pixel', 'Millimeter', and 'Inch'. For more details, see the Design Units guide.
Scene Layout#
Control how pages are arranged using engine.scene.getLayout() and engine.scene.setLayout(). The layout affects how users navigate between pages in multi-page designs.
Page Navigation#
Access pages within your scene using these methods:
// Access pages within the sceneconst pages = engine.scene.getPages();console.log('Number of pages:', pages.length);
// Get the current page (nearest to viewport center)const currentPage = engine.scene.getCurrentPage();console.log('Current page ID:', currentPage);
The getCurrentPage() method returns the page nearest to the viewport center—useful for determining which page the user is currently viewing.
Camera and Zoom#
Zoom to Block#
Use engine.scene.zoomToBlock() to frame a specific block in the viewport with padding. Pass the scene block to show all pages:
// Zoom to show all pages in the sceneconst scene = engine.scene.get();if (scene) {  await engine.scene.zoomToBlock(scene, { padding: 50 });}
// Get the current zoom levelconst zoomLevel = engine.scene.getZoomLevel();console.log('Current zoom level:', zoomLevel);
Zoom Level#
Get and set the zoom level directly with engine.scene.getZoomLevel() and engine.scene.setZoomLevel(). A zoom level of 1.0 means one design unit equals one screen pixel.
Auto-Fit Zoom#
For continuous auto-framing, use engine.scene.enableZoomAutoFit() to automatically keep a block centered as the viewport resizes.
Saving Scenes#
Saving to String#
Use engine.scene.saveToString() to serialize the current scene. This captures the complete scene structure—pages, blocks, and their properties—as a string you can store.
// Save the scene to a string for persistenceconst sceneString = await engine.scene.saveToString();console.log('Scene saved successfully. String length:', sceneString.length);The serialized string references external assets by URL rather than embedding them. For complete portability including assets, use engine.scene.saveToArchive().
Loading Scenes#
Loading from String#
Use engine.scene.loadFromString() to restore a scene from a saved string:
// Demonstrate loading the scene from the saved string// This replaces the current scene with the saved versionawait engine.scene.loadFromString(sceneString);console.log('Scene loaded from saved string');
// Zoom to show all loaded pagesconst loadedScene = engine.scene.get();if (loadedScene) {  await engine.scene.zoomToBlock(loadedScene, { padding: 50 });}
Loading a new scene replaces any existing scene. The engine only holds one active scene at a time.
Loading from URL#
Use engine.scene.loadFromURL() to load a scene directly from a remote location:
await engine.scene.loadFromURL('https://example.com/design.scene');Troubleshooting#
Blocks Not Visible#
Ensure blocks are attached to pages, and pages are attached to the scene. Orphaned blocks that aren’t part of the scene hierarchy won’t render.
Scene Not Loading#
Check that the scene URL or string is valid. If assets fail to load, consider using the waitForResources option to ensure everything loads before rendering.
Zoom Not Working#
Verify the scene has a valid camera. Some UI configurations may override programmatic zoom controls.
Scene Type#
Represents the scene and its global properties.
This section describes the properties available for the Scene Type (//ly.img.ubq/scene) block type.
| Property | Type | Default | Description |
|---|---|---|---|
alwaysOnBottom | Bool | false | If true, this element’s global sorting order is automatically adjusted to be lower than all other siblings. |
alwaysOnTop | Bool | false | If true, this element’s global sorting order is automatically adjusted to be higher than all other siblings. |
blend/mode | Enum | "Normal" | The blend mode to use when compositing the block., Possible values: "PassThrough", "Normal", "Darken", "Multiply", "ColorBurn", "LinearBurn", "DarkenColor", "Lighten", "Screen", "ColorDodge", "LinearDodge", "LightenColor", "Overlay", "SoftLight", "HardLight", "VividLight", "LinearLight", "PinLight", "HardMix", "Difference", "Exclusion", "Subtract", "Divide", "Hue", "Saturation", "Color", "Luminosity" |
clipped | Bool | false | This component is used to identify elements whose contents and children should be clipped to their bounds. |
contentFill/mode | Enum | "Cover" | Defines how content should be resized to fit its container (e.g., Crop, Cover, Contain)., Possible values: "Crop", "Cover", "Contain" |
flip/horizontal | Bool | "-" | Whether the block is flipped horizontally. |
flip/vertical | Bool | "-" | Whether the block is flipped vertically. |
globalBoundingBox/height | Float | "-" | The height of the block’s axis-aligned bounding box in world coordinates., (read-only) |
globalBoundingBox/width | Float | "-" | The width of the block’s axis-aligned bounding box in world coordinates., (read-only) |
globalBoundingBox/x | Float | "-" | The x-coordinate of the block’s axis-aligned bounding box in world coordinates., (read-only) |
globalBoundingBox/y | Float | "-" | The y-coordinate of the block’s axis-aligned bounding box in world coordinates., (read-only) |
height | Float | 0 | The height of the block’s frame. |
height/mode | Enum | "Auto" | A mode describing how the height dimension may be interpreted (Absolute, Percent, Auto)., Possible values: "Absolute", "Percent", "Auto" |
highlightEnabled | Bool | true | Show highlighting when selected or hovered |
lastFrame/height | Float | "-" | The height of the block’s frame from the previous layout pass., (read-only) |
lastFrame/width | Float | "-" | The width of the block’s frame from the previous layout pass., (read-only) |
lastFrame/x | Float | "-" | The x-coordinate of the block’s frame from the previous layout pass., (read-only) |
lastFrame/y | Float | "-" | The y-coordinate of the block’s frame from the previous layout pass., (read-only) |
placeholder/enabled | Bool | false | Whether the placeholder behavior is enabled or not. |
playback/playing | Bool | false | A tag that can be set on elements for their playback time to be progressed. |
playback/soloPlaybackEnabled | Bool | false | A tag for blocks where playback should progress while the scene is paused. |
playback/time | Double | 0 | The current playback time of the block contents in seconds. |
position/x | Float | 0 | The x-coordinate of the block’s origin. |
position/x/mode | Enum | "Absolute" | A mode describing how the x-position may be interpreted., Possible values: "Absolute", "Percent", "Auto" |
position/y | Float | 0 | The y-coordinate of the block’s origin. |
position/y/mode | Enum | "Absolute" | A mode describing how the y-position may be interpreted., Possible values: "Absolute", "Percent", "Auto" |
rotation | Float | 0 | The rotation of the block in radians. |
scene/aspectRatioLock | Bool | true | Whether the ratio of the pageDimensions’ width and height should remain constant when changing either dimension. |
scene/designUnit | Enum | "Pixel" | The unit type in which the page values (size, distances, etc.) are defined., Possible values: "Pixel", "Millimeter", "Inch" |
scene/dpi | Float | 300 | The DPI value to use when exporting and when converting between pixels and inches or millimeter units. |
scene/layout | Enum | "Free" | A value describing how the scene’s children are laid out., Possible values: "Free", "VerticalStack", "HorizontalStack", "DepthStack" |
scene/mode | Enum | "Video" | The mode of this scene and all elements inside of it., (read-only), Possible values: "Design", "Video" |
scene/pageDimensions/height | Float | 1 | The height of all pages in this scene. |
scene/pageDimensions/width | Float | 1 | The width of all pages in this scene. |
scene/pageFormatId | String | "" | The identifier of the page format configuration that was most recently selected for the pages in this scene. |
scene/pixelScaleFactor | Float | 1 | A scale factor that is applied to the final export resolution if the design unit is Pixel. |
selected | Bool | false | Indicates if the block is currently selected. |
transformLocked | Bool | false | DesignBlocks with this tag can’t be transformed (moved, rotated, scaled, cropped, or flipped). |
visible | Bool | true | If the block is visible in the editor. |
width | Float | 0 | The width of the block’s frame. |
width/mode | Enum | "Auto" | A mode describing how the width dimension may be interpreted (Absolute, Percent, Auto)., Possible values: "Absolute", "Percent", "Auto" |