Pages define the format of your designs—every graphic block, text element, and media file lives inside a page. This guide covers how pages fit into the scene hierarchy, their properties like margins and title templates, and how to configure page dimensions for different layout modes.
Pages provide the canvas and frame for your designs. Whether you’re building a multi-page document, a social media carousel, or a video composition, understanding how pages work will help you with structuring your content correctly.
This guide covers:
- Understanding the scene hierarchy: Scene → Pages → Blocks
- Creating and managing multiple pages
- Setting page dimensions at the scene level
- Configuring page properties like margins and title templates
- Navigating between pages programmatically
Pages in the Scene Hierarchy#
In CE.SDK, content follows a strict hierarchy: a scene contains pages, and pages contain content blocks. Only blocks attached to a page are rendered on the canvas.
// Create a scene with VerticalStack layout for multi-page designsengine.scene.create('VerticalStack');
// Get the stack container to configure spacingconst [stack] = engine.block.findByType('stack');engine.block.setFloat(stack, 'stack/spacing', 20);engine.block.setBool(stack, 'stack/spacingInScreenspace', true);
When you create a scene with a layout mode like VerticalStack, pages are automatically arranged according to that mode. Create pages using engine.block.create('page'), set their dimensions with setWidth() and setHeight(), then attach them to the scene (or its stack container) with engine.block.appendChild().
// Create the first page and set its dimensionsconst firstPage = engine.block.create('page');engine.block.setWidth(firstPage, 800);engine.block.setHeight(firstPage, 600);engine.block.appendChild(stack, firstPage);
// Create the second page with the same dimensionsconst secondPage = engine.block.create('page');engine.block.setWidth(secondPage, 800);engine.block.setHeight(secondPage, 600);engine.block.appendChild(stack, secondPage);
Content blocks must be added as children of a page to render. For graphic blocks, set both a shape and a fill for content to display. Append blocks to the page before configuring their properties.
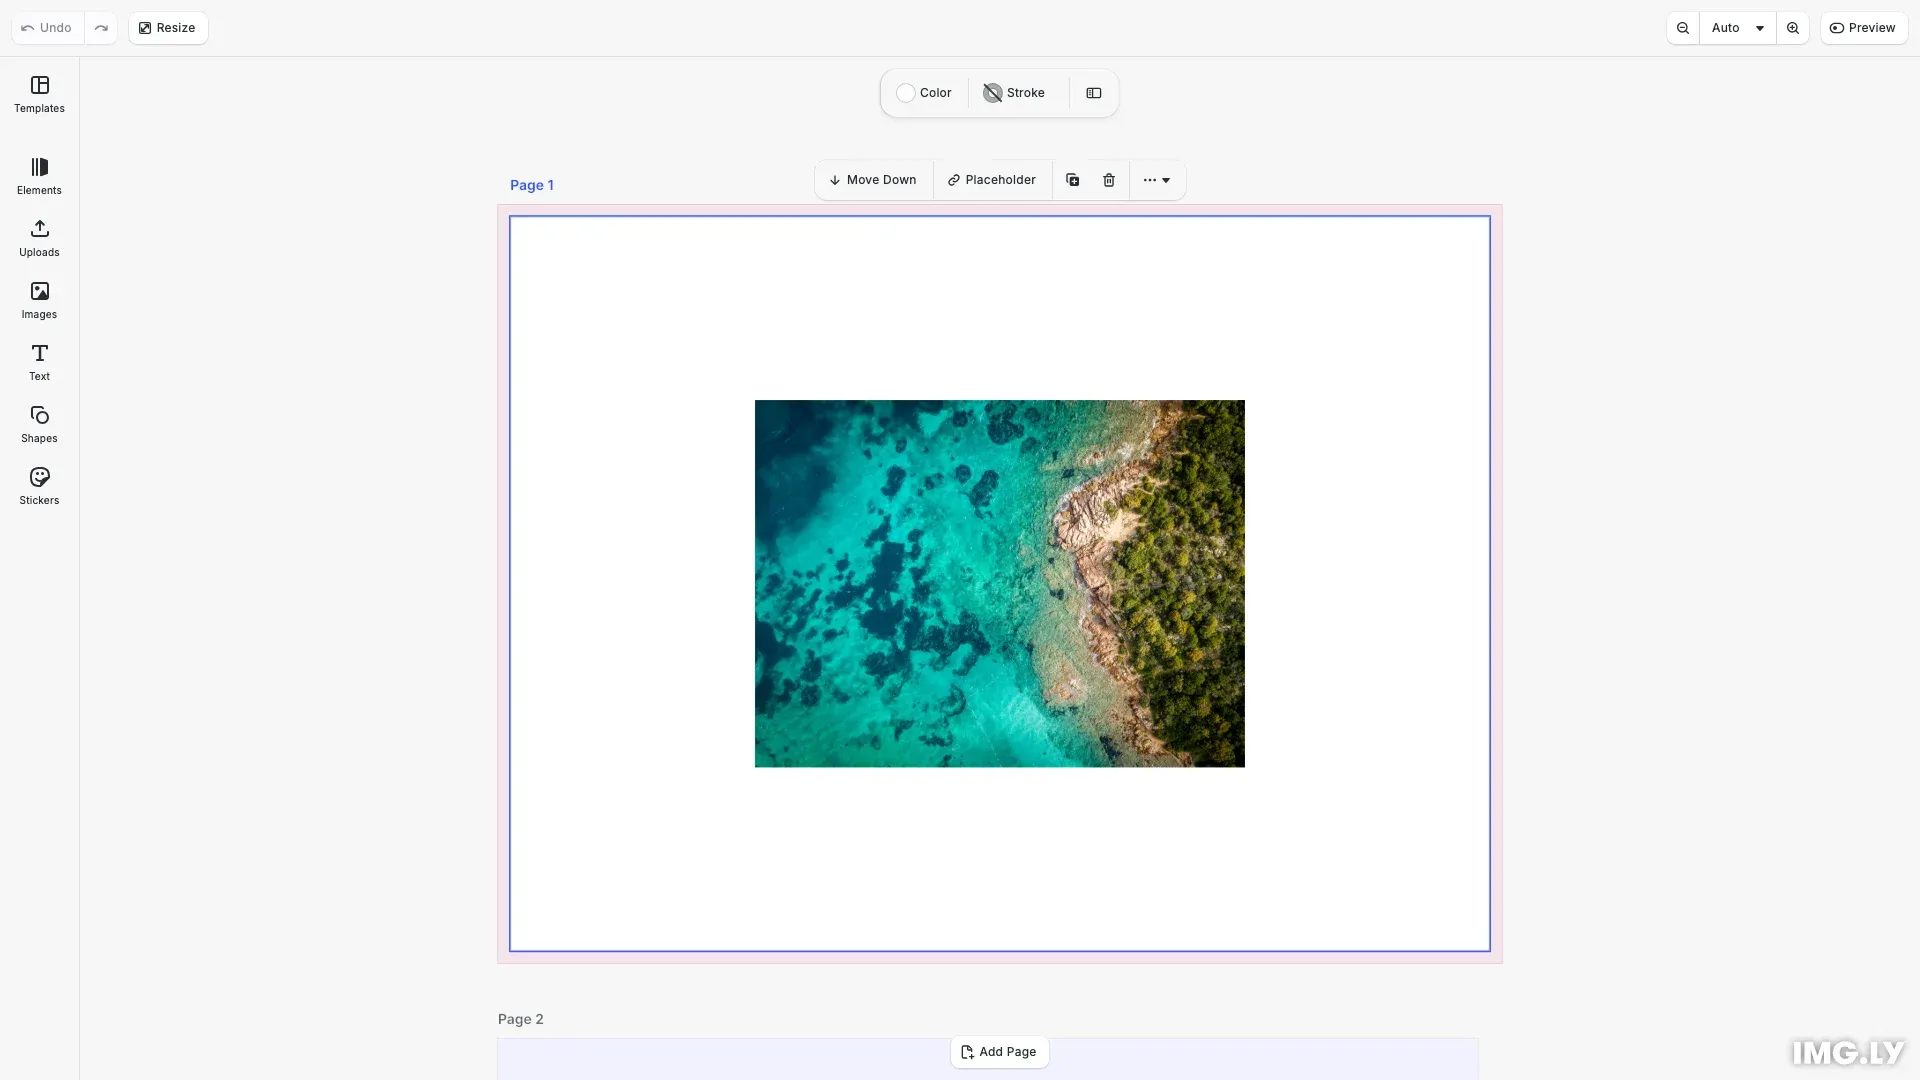
// Add an image block to the first pageconst imageBlock = engine.block.create('graphic');engine.block.appendChild(firstPage, imageBlock);
// Create a rect shape for the graphic blockconst rectShape = engine.block.createShape('rect');engine.block.setShape(imageBlock, rectShape);
// Configure size and position after appending to the pageengine.block.setWidth(imageBlock, 400);engine.block.setHeight(imageBlock, 300);engine.block.setPositionX(imageBlock, 200);engine.block.setPositionY(imageBlock, 150);
// Create and configure the image fillconst imageFill = engine.block.createFill('image');engine.block.setString(  imageFill,  'fill/image/imageFileURI',  'https://img.ly/static/ubq_samples/sample_1.jpg');engine.block.setFill(imageBlock, imageFill);
// Add a text block to the second pageconst textBlock = engine.block.create('text');engine.block.appendChild(secondPage, textBlock);
// Configure text properties after appending to the pageengine.block.replaceText(textBlock, 'Page 2');engine.block.setTextFontSize(textBlock, 48);engine.block.setTextColor(textBlock, { r: 0.2, g: 0.2, b: 0.2, a: 1.0 });engine.block.setEnum(textBlock, 'text/horizontalAlignment', 'Center');engine.block.setWidthMode(textBlock, 'Auto');engine.block.setHeightMode(textBlock, 'Auto');
// Center the text on the pageconst textWidth = engine.block.getFrameWidth(textBlock);const textHeight = engine.block.getFrameHeight(textBlock);engine.block.setPositionX(textBlock, (800 - textWidth) / 2);engine.block.setPositionY(textBlock, (600 - textHeight) / 2);
Page Dimensions and Consistency#
The CE.SDK engine supports pages with different dimensions. When using stacked layout modes (VerticalStack, HorizontalStack), the Editor UI expects all pages to share the same size. However, with the Free layout mode, you can set different dimensions for each page in the UI.
// Get the scene to set page dimensionsconst scene = engine.scene.get();if (scene === null) {  throw new Error('No scene available');}
// Set page dimensions at the scene level (all pages share these dimensions)engine.block.setFloat(scene, 'scene/pageDimensions/width', 800);engine.block.setFloat(scene, 'scene/pageDimensions/height', 600);
You can set default page dimensions at the scene level using engine.block.setFloat() with scene/pageDimensions/width and scene/pageDimensions/height. The scene/aspectRatioLock property controls whether changing one dimension automatically adjusts the other. Individual pages can also have their dimensions set directly with setWidth() and setHeight().
Finding and Navigating Pages#
CE.SDK provides several methods to locate and navigate between pages in your scene.
// Demonstrate finding pagesconst allPages = engine.scene.getPages();console.log('All pages:', allPages);console.log('Number of pages:', allPages.length);
// Get the current page (nearest to viewport center or containing selection)const currentPage = engine.scene.getCurrentPage();console.log('Current page:', currentPage);
// Alternative: Find pages using block APIconst pagesByType = engine.block.findByType('page');console.log('Pages found by type:', pagesByType);
Use these methods based on your needs:
engine.scene.getPages()returns all pages in sorted orderengine.scene.getCurrentPage()returns the page containing the current selection, or the page nearest to the viewport centerengine.block.findByType('page')finds all page blocks in the sceneengine.scene.findNearestToViewPortCenterByType('page')returns pages sorted by their distance from the viewport center
Page Properties#
Each page has its own properties that control its appearance and behavior. These are set on the page block itself, not on the scene.
Margins#
Page margins define bleed areas useful for print designs. Enable margins and configure each side individually:
// Configure page properties on the first page// Enable and set margins for print bleedengine.block.setBool(firstPage, 'page/marginEnabled', true);engine.block.setFloat(firstPage, 'page/margin/top', 10);engine.block.setFloat(firstPage, 'page/margin/bottom', 10);engine.block.setFloat(firstPage, 'page/margin/left', 10);engine.block.setFloat(firstPage, 'page/margin/right', 10);
// Set a custom title template for the first pageengine.block.setString(firstPage, 'page/titleTemplate', 'Cover');
// Set a custom title template for the second pageengine.block.setString(secondPage, 'page/titleTemplate', 'Content');
Set page/marginEnabled to true to enable margins, then use page/margin/top, page/margin/bottom, page/margin/left, and page/margin/right to configure each side.
Title Template#
The page/titleTemplate property defines the display label shown for each page. It supports template variables like {{ubq.page_index}} for dynamic numbering.
The default value is "Page {{ubq.page_index}}". You can customize this to show labels like “Slide 1”, “Cover”, or any custom text.
Fill and Background#
Pages support fills for background colors or images using the standard fill system.
// Set a background fill on the second pageconst colorFill = engine.block.createFill('color');engine.block.setColor(colorFill, 'fill/color/value', { r: 0.95, g: 0.95, b: 1.0, a: 1.0});engine.block.setFill(secondPage, colorFill);Create a fill using engine.block.createFill('color') or engine.block.createFill('image'), configure its properties, then apply it to the page with engine.block.setFill(page, fill).
Page Layout Modes#
The scene’s layout mode controls how multiple pages are arranged. Set this using engine.block.setEnum() on the scene with the scene/layout property:
- VerticalStack (default): Pages stack vertically, one below the other
- HorizontalStack: Pages arrange horizontally, side by side
- DepthStack: Pages overlay each other, typically used in video mode
- Free: Pages can be positioned freely without automatic arrangement
Pages in Design Mode vs. Video Mode#
Page behavior varies depending on the scene mode. Query the current mode with engine.scene.getMode().
// Check the scene mode (Design vs Video)const sceneMode = engine.scene.getMode();console.log('Scene mode:', sceneMode);Design Mode#
In Design mode, pages act like artboards. Each page is a separate canvas ideal for multi-page documents, social media posts, or print layouts. Pages exist side by side and don’t have time-based properties.
Video Mode#
In Video mode, pages represent timeline compositions that transition sequentially during playback. Each page has playback properties:
playback/durationcontrols how long the page appears (in seconds)playback/timetracks the current playback position
Troubleshooting#
Content Not Visible#
If content blocks aren’t appearing, check these common causes:
- Verify the block is attached to a page with
engine.block.appendChild(page, block) - For graphic blocks, ensure both a shape and fill are set
- Append blocks to the page before setting their size and position
Dimension Inconsistencies#
If pages appear at unexpected sizes when using stacked layouts, ensure all pages have consistent dimensions. With Free layout mode, pages can have different sizes. Set dimensions on individual pages using setWidth() and setHeight().
Page Not Found#
If engine.scene.getPages() returns an empty array, ensure a scene is loaded first. In headless mode, you must create both the scene and pages manually before querying them.