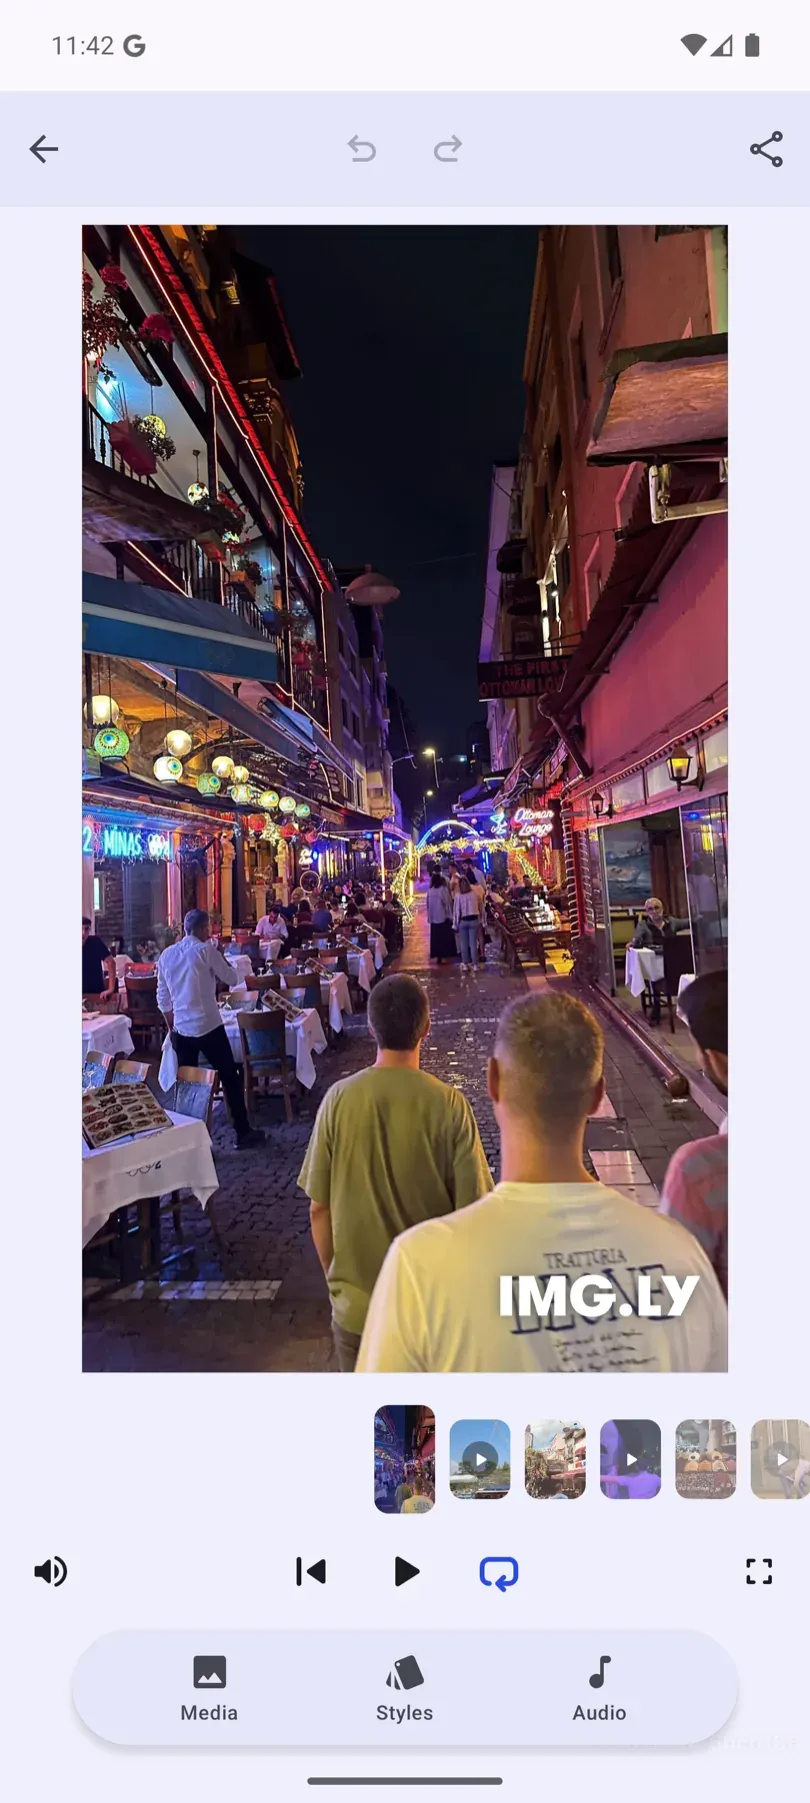
Turn a set of photos and video clips into a shareable memory montage on Android. The kit picks up media from the gallery, arranges it on a timeline with crossfades and title cards, applies styled looks, layers in audio, and exports an MP4—entirely on the device with no server dependencies.
Pre-Requisites#
This guide assumes basic familiarity with Android and Kotlin. You will need:
- Latest Android Studio
- Kotlin: 1.9.10 or later
- Gradle: 8.4 or later
- Android: 7.0+ (API level 24+)
Get Started#
Start with a complete, runnable Android starter kit project.
Step 1: Clone the Repository#
git clone -b v1.83.0 https://github.com/imgly/starterkit-memories-editor-android.gitcd starterkit-memories-editor-androidStep 2: Open and Run#
Create and launch a new android emulator or use an existing one, or connect a physical device with USB Debugging on.
Open the project in Android Studio, sync gradle via File -> Sync Project With Gradle Files and run the app module from the UI, or use:
./gradlew app:installDebugThe sample app launches MainActivity, which displays the full Memories flow: a photo picker that hands the selected media to the slideshow editor.
Get Started#
Integrate only the starter-kit library module into your existing Android app.
Step 1: Run the Extraction Script From Your App Root#
Run this from your application root directory:
repo="starterkit-memories-editor-android"version="1.83.0"curl -0 "https://codeload.github.com/imgly/${repo}/tar.gz/refs/heads/v${version}" | tar -xz --strip-components=1 "${repo}-${version}/starter-kit" "${repo}-${version}/starter-kit-dependencies.gradle"This extracts two things into your project, side by side: the starter-kit/ library module and its starter-kit-dependencies.gradle. The dependencies file lists the extra libraries the kit needs (Coil, ExifInterface, and a few Compose artifacts); starter-kit/build.gradle.kts applies it from right next to the module, so keep the two as siblings.
Step 2: Include the Module#
Declare the newly added Android library module in your project:
include(":starter-kit")Step 3: Add Dependency in Your App Module#
Include the starter kit module dependency in your app module:
dependencies { implementation(project(":starter-kit"))}Step 4: Add the IMG.LY Maven Repository#
Add the IMG.LY maven repository path in your project:
dependencyResolutionManagement { repositoriesMode.set(RepositoriesMode.FAIL_ON_PROJECT_REPOS) repositories { google() mavenCentral() maven { name = "IMG.LY Artifactory" url = uri("https://artifactory.img.ly/artifactory/maven") mavenContent { includeGroup("ly.img") } } }}If the project is open in Android Studio, sync gradle via File -> Sync Project With Gradle Files to make all dependencies available.
The full implementation of the starter kit lives in the starter-kit/ folder:
starter-kit/src/main/├── assets/│ └── ly.img.memories.style/ # The kit's own local asset source (backdrops + picker thumbnails)│ ├── content.json # Describes the style assets; URIs use the {{base_url}} placeholder│ ├── thumbnails/ # noir.png, hologram.png, bubblegum.png│ └── videos/ # hologram.mp4, bubblegum.mp4 (looping style backdrops)└── kotlin/ly/img/editor/configuration/memories/ ├── MemoriesConfiguration.kt # Wires the editor's onCreate / dock / bottomPanel / navigationBar / overlay / onExport slots ├── MemoriesApp.kt # The full flow: photo picker → slideshow editor ├── MemoriesEditor.kt # Hosts the editor with the loading overlay and back handling ├── MemoriesViewModel.kt # Editor + montage state ├── callback/ │ ├── OnCreate.kt # Builds the scene, registers asset sources, wires event subscriptions │ └── OnExport.kt # Export flow and handling (MP4) ├── component/ # Editor UI slots: Dock, BottomPanel, NavigationBar, Overlay, ExportOverlay ├── scene/ # Timeline assembly (the tracks are the source of truth) │ ├── SceneSetup.kt # Builds the video scene and its tracks in code │ ├── Timeline.kt # Lays each photo/clip on its own track for the crossfade montage │ ├── TrackEditor.kt # Reads/writes the tracks and applies in-place edits │ ├── Title.kt # Title card + burst-image intro │ └── Playback.kt # Loop / volume helpers ├── style/ # The styled looks + their custom asset source │ ├── VideoStyle.kt # Style catalog (filter, backdrop, matte, typeface) referencing assets by id │ ├── StyleAssetSource.kt # Registers ly.img.memories.style via addLocalSourceFromJSON │ └── StyleApplier.kt # Applies a style to the slideshow ├── screen/ # ImageSelectionScreen (picker) + LoadingScreen ├── sheet/ # Styles and Volume bottom sheets ├── widget/ # Reusable composables (grid, timeline strip, video thumbnail, …) ├── iconPack/ # Compose vector icons ├── model/ # Small data models (ImageItem, TimelineImage, ExportStatus) └── util/ ├── Animations.kt # The slide animations (edit this to change the motion) └── Constants.kt # Timing, page size, title knobsSet Up a Scene#
The Memories scene is built in code (no serialized scene file). The setup logic lives in
scene/SceneSetup.kt and runs from the editor’s onCreate (callback/OnCreate.kt): it creates a
video scene, lays out the persistent background / matte / text tracks, then scene/Timeline.kt
places one track per photo or clip so consecutive slides overlap for the crossfade while a later
slide always renders above the earlier one.
Styles From a Custom Asset Source#
The styled looks (Noir, Hologram, Bubblegum) get their backdrops and picker thumbnails from the
kit’s own local asset source, ly.img.memories.style, rather than hard-coded paths. The assets
stay bundled under starter-kit/src/main/assets/ly.img.memories.style/ and are described by
content.json, which style/StyleAssetSource.kt registers with
engine.asset.addLocalSourceFromJSON(...)—exactly like the default IMG.LY sources.
style/VideoStyle.kt then references each backdrop and thumbnail by asset id, and
style/StyleApplier.kt resolves the actual URI from the source at apply time. Because the asset
URIs in content.json use the portable {{base_url}} placeholder (which the engine substitutes
with the basePath the source is registered against) instead of an absolute
file:///android_asset/... path, the same source definition also works if you reuse it on iOS or
Web.
{ "uri": "{{base_url}}/ly.img.memories.style/videos/hologram.mp4", "thumbUri": "{{base_url}}/ly.img.memories.style/thumbnails/hologram.png"}To add a look, drop its thumbnail (and backdrop, if any) into the assets folder, add an entry to
content.json, and add the matching VideoStyle in style/VideoStyle.kt.
Where to Change Things#
The starter kit ships a generic structure and behavior, but every part of it is in your codebase and meant to be customized. The most common edit points:
- Slide animations —
util/Animations.kt. Add, remove, or tune the in/out animation pairs a slide can use. - Looks / filters (styles) —
style/VideoStyle.kt. Each style bundles a filter, backdrop, matte, and title typeface, referencing the bundled assets by id (see above). - Timing, page size, title —
util/Constants.kt(clip duration, crossfade overlap, canvas size, title duration). - Timeline assembly —
scene/SceneSetup.kt,scene/Timeline.kt, andscene/Title.kt.
Customize Export Functionality#
Export handling lives in callback/OnExport.kt. The montage is rendered to an MP4 ByteBuffer; from
there you can upload it to your server, save it to the device gallery, or share it. Closing the
editor is driven by the onCloseEditor callback passed into MemoriesEditor (wired to the
navigation-bar close button via rememberCloseEditor in component/NavigationBar.kt).
Troubleshooting#
Editor doesn’t load#
- Check onCreate: Ensure the
onCreatecallback finishes building the scene and no coroutine is stuck. - Verify the baseURL: Assets must be reachable from the CDN or your self-hosted location.
- Check logcat errors: Look for errors in Android logcat.
Export fails or produces blank output#
- Wait for content to load: Ensure media is fully loaded before exporting.
- Check logcat errors: Look for errors in Android logcat.
Next Steps#
- Configuration – Complete list of initialization options
- Serve Assets – Self-host engine assets for production
- Theming – Customize colors and appearance
- Localization – Add translations and language support