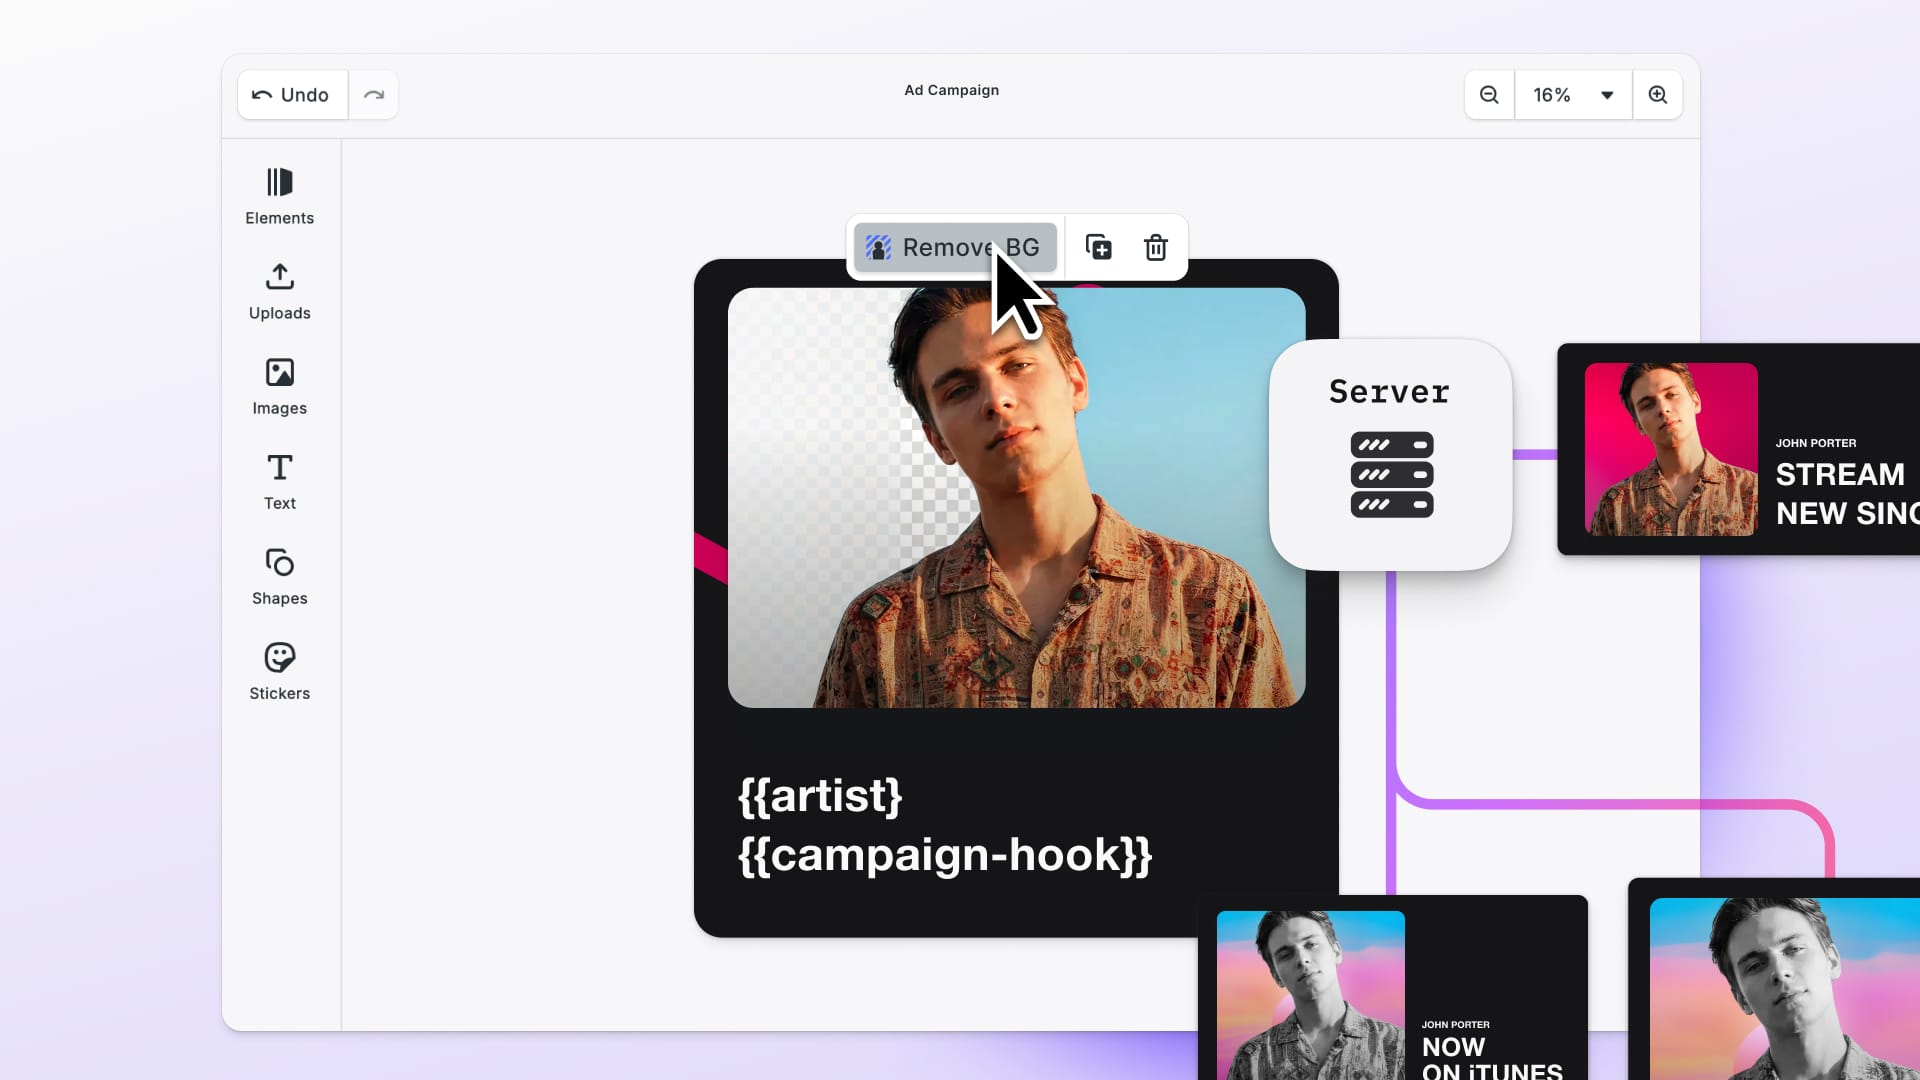
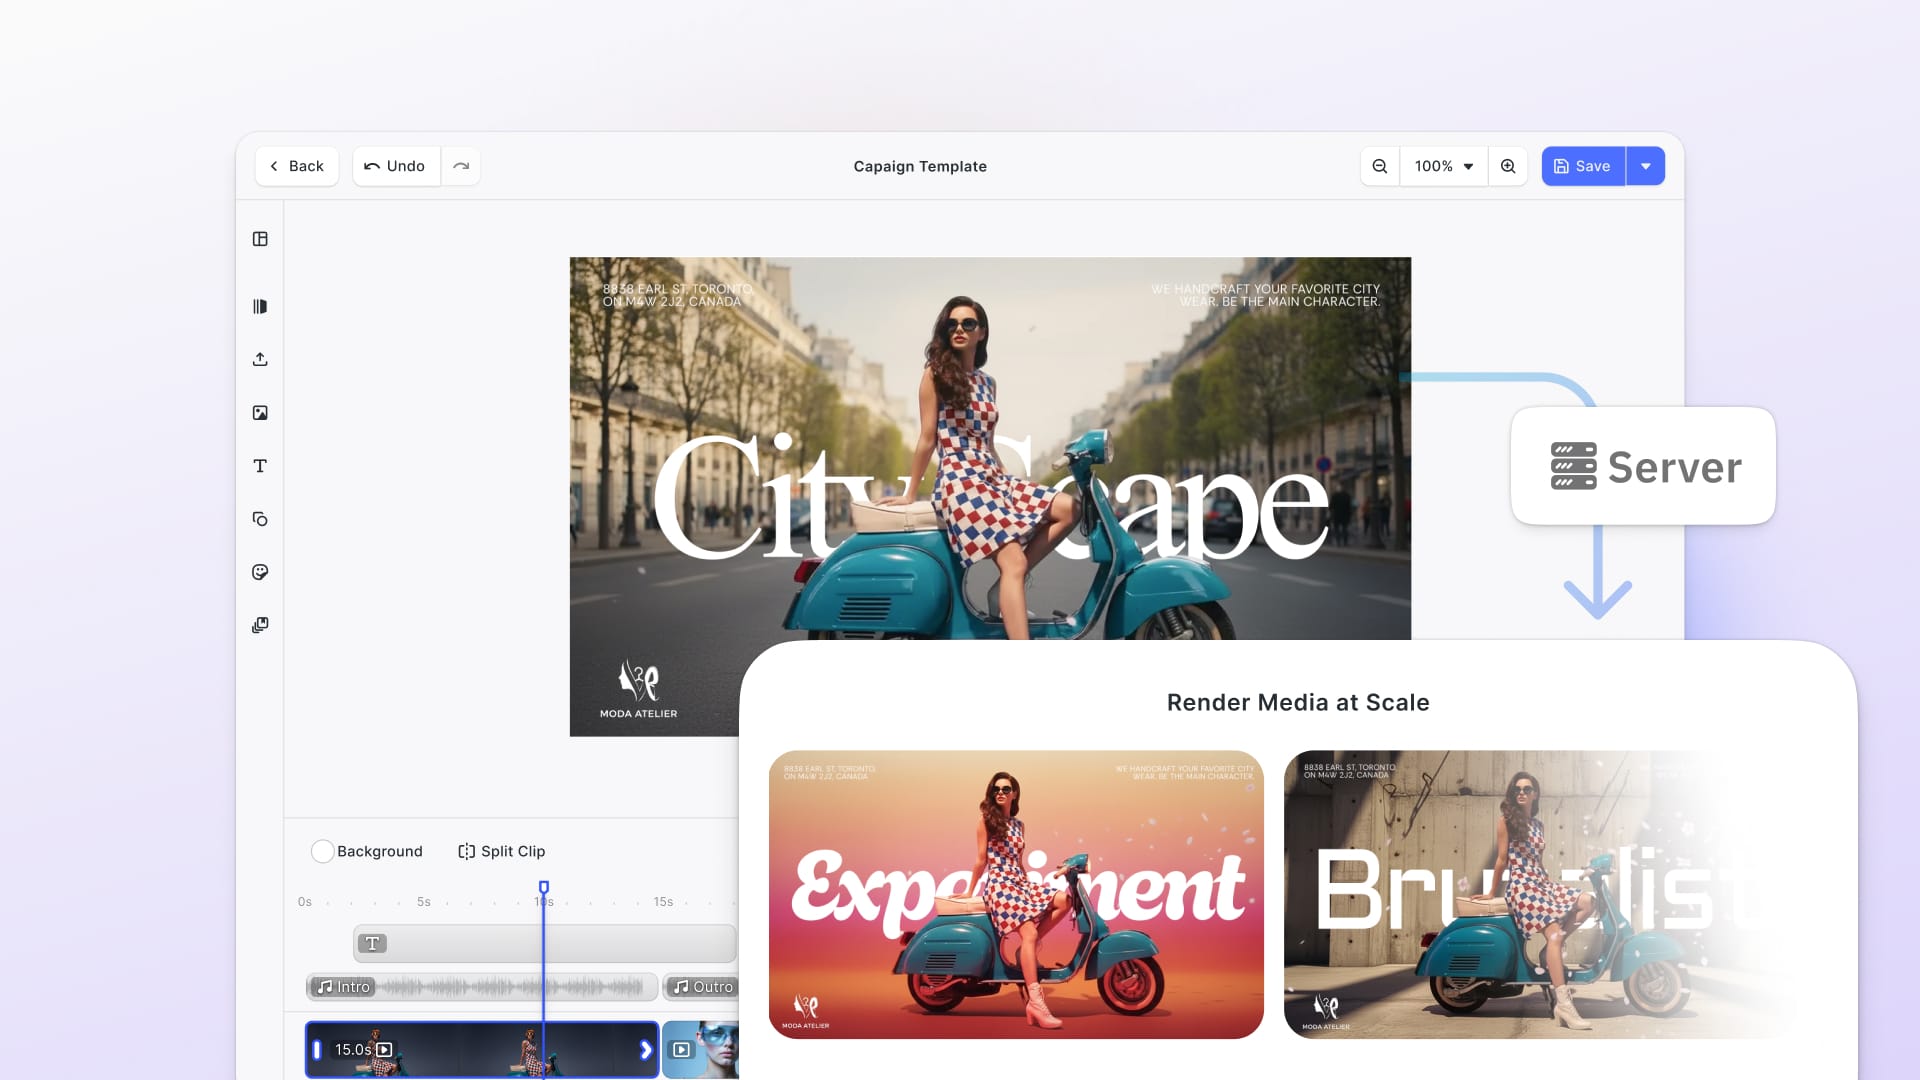
Follow this tutorial to learn how to programmatically create videos in JavaScript directly in the browser.
In 2025 video is firmly established as powerhouse for engagement, gaining even more traction with the rise of short-form videos. After all, as humans, we naturally resonate with video content more than any other type of media.
The problem is that video generation is challenging—and doing it within the browser through JavaScript makes things even more complex. Fortunately, production-grade solutions like CreativeEditor SDK (CE.SDK) make the process not only possible but also easy to implement.
In this guide, you will learn how to programmatically generate videos in the browser via JavaScript using CreativeEditor SDK. We will cover various applications, including merging videos, adding audio tracks, and even integrating AI features.
Let’s dive in!
Why Programmatic Video Generation Matters
Videos are dominating social media, marketing, and online platforms such as e-commerce platforms (e.g., to showcase products). Numerous studies have proven that video is the most effective form of media for marketing, as it resonates deeply with us.
As the demand for personalized and dynamic content increases, traditional video production methods are becoming inefficient. The proliferation of channels with different demands on size and video quality as well as the need to create personalized videos at scale means that automated video creation is becoming indispensable. Most existing solutions run batch processing of videos on the server after gathering input data from various source. However, while server-side processing quickly becomes costly and introduces significant communication overhead client devices have become more powerful than ever.
CreativeEditor SDK bridges that gap by simplifying programmatic video generation in JavaScript within modern browsers. With CE.SDK, you can automate repetitive tasks and define scalable, personalized, and engaging video creation workflows, ensuring each generated video resonates with its target audience.
Get Started with CE.SDK for JavaScript
Now that we established why programmatic video generation is important, you are ready to get started with the tool designed for it: CreativeEditor SDK.
Learn how to integrate CE.SDK for video editing into a vanilla JavaScript application!
You can access the code for this tutorial on Github.
Requirements
The only prerequisites to follow this tutorial are:
- A modern browser: CreativeEditor SDK runs directly in your browser’s JavaScript engine, so no additional setup is required. Any browser supporting WASM is enough.
- A CreativeEditor SDK license: If you do not have one yet, sign up for a free trial.
If your web application uses Node.js, ensure you have the latest stable versions of both Node.js and NPM installed.
Import the library
In a vanilla JavaScript application, create a JavaScript module file (e.g., video-editor.js) and import the CreativeEditor SDK engine library inside it:
import CreativeEngine from "<https://cdn.img.ly/packages/imgly/cesdk-engine/1.42.0/index.js>";
Note: In this example, the SDK is served from our CDN for convenience. In a production environment, it is recommended to host all assets and libraries on your own servers for improved control and performance.
To use the video-editor.js module in an HTML page, import it with this line:
<script type="module" src="video-editor.js"></script>
Note the type="module" attribute tells the browser to treat the script as an ES6 module, so that you can use import and export statements.
Alternatively, if you are using a module bundler like Webpack, Rollup, Parcel, or Vite, add the @cesdk/engine npm package to your project's dependencies:
npm install @cesdk/cesdk-js
In this case, you can then import the headless SDK into your JavaScript code as follows:
import CreativeEngine from "@cesdk/engine";
Well done!
Setting Up Your Environment
In your JavaScript module, right below the library import, initialize the CreativeEditor SDK headless engine using the following code:
// src/video-editor.js

import CreativeEngine from "<https://cdn.img.ly/packages/imgly/cesdk-engine/1.42.0/index.js>";

// your CE.SDK license and user configs
const config = {
  license: "<YOUR_LICENSE>",
};

CreativeEngine.init(config).then(async (engine) => {
  // attach the engine canvas to the DOM
  document.getElementById("cesdk_container").append(engine.element);

  // do something with your instance of CreativeEditor SDK...

  // detach the engine and clean up its resource
  engine.element.remove();
  engine.dispose();
});
Replace <YOUR_LICENSE> with the license key provided in your CreativeEditor SDK subscription.
Ensure that the HTML page importing video-editor.js contains the following <div> element with the cesdk_container ID:
<div id="cesdk_container" style="width: 100%; height: 100vh;"></div>
The CreativeEngine.init() method will mount the editor engine component within this div.
Congratulations! You have successfully integrated the video editing engine.
Load a Video
Use the logic below inside the body of the CreativeEndine.init() callback function to load a video in CE.SDK:
// initialize a new video scene
const scene = engine.scene.createVideo();

// create a page block and attach it to the scene
const page = engine.block.create("page");
engine.block.appendChild(scene, page);

// set the dimensions of the video page
engine.block.setWidth(page, 720);
engine.block.setHeight(page, 1280);

// create a graphic block to hold the video content
// and set its shape to a rectangle
const video = engine.block.create("graphic");
engine.block.setShape(video, engine.block.createShape("rect"));

// create a fill type for the video and set the video file URI
const videoFill = engine.block.createFill("video");
engine.block.setString(
  videoFill,
  "fill/video/fileURI",
  "<https://cdn.img.ly/assets/demo/v2/ly.img.video/videos/pexels-drone-footage-of-a-surfer-barrelling-a-wave-12715991.mp4>"
);

// apply the video fill to the video graphic
engine.block.setFill(video, videoFill);

// create a track block to manage the video timeline
// and attache the track to the page and the video graphic
// to the track
const track = engine.block.create("track");
engine.block.appendChild(page, track);
engine.block.appendChild(track, video);

// make the track cover the parent block
engine.block.fillParent(track);
This initializes a video scene using createVideo() and creates a "graphic" block to display the video in a rectangle, adding it to the page. Next, it loads a video from a remote resource and appends it as a track to the parent block.
For a complete explanation of how the above code works, refer to the documentation.
If you comment out the cleanup part, this is what you should see in your browser application:
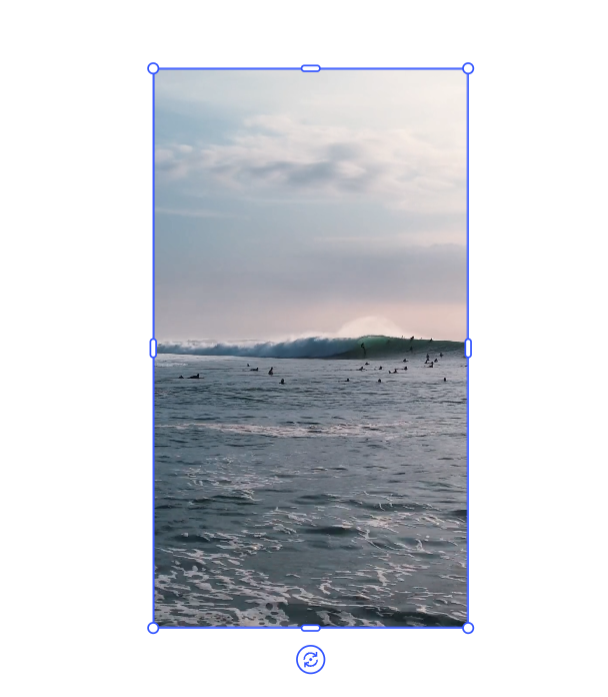
Notice how the video from the remote URI has been loaded into the <div> element where CreativeEditor SDK is attached to the page’s DOM.Time to explore more programmatic video generation features!
Programmatic Video Generation Features
Follow the use cases below to see how CE.SDK makes automated video generation in JavaScript easier.Generate Video in Different Formats CE.SDK supports video export in MP4 format (with MP3 audio) with different resolutions and aspect ratios.To export a video with a specific aspect ratio, first adjust the width and height of the parent block to which the video block is attached:
// specify an aspect ratio of 9:16 (ideal for vertical videos)
engine.block.setWidth(page, 720);
engine.block.setHeight(page, 1280);
In this case, the video will be automatically adjusted to fit the specified dimensions. Horizontal videos will be cropped to match the defined vertical outline of the block, while vertical videos will be rendered as they are within the specified block.
Next, you can export the video with the configured 9:16 aspect ratio and a given resolution with:
// define the MIME type for the video export (MP4 format)
const mimeType = "video/mp4";

// define a callback function to track the progress of video rendering and encoding
const progressCallback = (renderedFrames, encodedFrames, totalFrames) => {
  console.log(
    "Rendered",           // log the number of rendered frames
    renderedFrames,
    "frames and encoded", // log the number of encoded frames
    encodedFrames,
    "frames out of",      // log the total frames to be processed
    totalFrames
  );
};

// define the video export options
const videoOptions = {
  duration: 5,        // video duration in seconds
  framerate: 30,      // video framerate (frames per second)
  targetWidth: 480,   // target video width in pixels (for the resolution)
  targetHeight: 852   // target video height in pixels (for the resolution)
};

// export the page as an MP4 video
const blob = await engine.block.exportVideo(
  page,               // the page containing the design video block
  mimeType,           // the MIME type for the video (MP4)
  progressCallback,   // the callback to track video rendering progress
  videoOptions        // the options for the video export
);

// create an anchor element to trigger the video download
const anchor = document.createElement("a");
anchor.href = URL.createObjectURL(blob);
anchor.download = "video.mp4"; // output video name
anchor.click();
The exportVideo() function produces a blob video file of the specified MIME type. Note that the export occurs over multiple iterations of the update loop, with a frame being encoded in each iteration.
The targetWidth and targetHeight options are optional. If used, the video will be resized to fit the target dimensions while maintaining its aspect ratio. This is useful for setting a specific resolution for the output video while preserving the parent block’s width and height on the output video. If omitted, the produced video will match the resolution of the width and height specified with setWidth() and setHeight(), respectively.
The progressCallback() function will track and display the video generation progress in the browser’s console:

The final lines of the above code snippet trigger the download operation, mimicking the action of clicking a link to download a resource. This is a common JavaScript technique to programmatically trigger a file download.
Once the export process completes, the output video file (video.mp4) will be automatically downloaded to the browser’s download directory. Open its properties and this is what you will see:
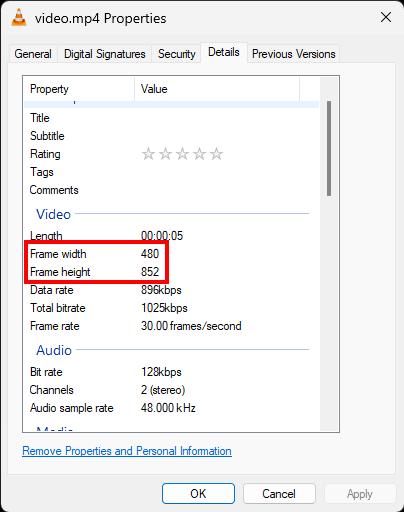
Note the video file's resolution and the fact that its duration is set to 5 seconds, as defined by the duration attribute.
These options enable you to easily create clips with different lengths, aspect ratios, and resolutions, optimized for various audiences and social media platforms like LinkedIn, Instagram, Facebook, X, TikTok, YouTube, and more.
Add Audio Tracks
Adding an audio track for narration or background music to your clip is straightforward. First, create an "audio" block and add your audio resource to it:
const audio = engine.block.create("audio");
engine.block.appendChild(page, audio);
engine.block.setString(
  audio,
  "audio/fileURI",
  "https://cdn.img.ly/assets/demo/v1/ly.img.audio/audios/far_from_home.m4a"
);
Next, you can easily adjust the volume, and apply fade-in and fade-out effects as follows:
// set the volume level to 80%
engine.block.setVolume(audio, 0.8);

// start the audio after 1 second of playback
engine.block.setTimeOffset(audio, 1);

// set the audio block's duration to 5 seconds
engine.block.setDuration(audio, 5);
Here is breakdown of the functions used above:
setVolume(): Adjusts the audio volume of the block, with a range from 0 (0%) to 1 (100%).setTimeOffset(): Sets the time offset of the block relative to its parent. This determines when the block starts playing in the timeline.setDuration(): Sets the playback duration of the audio block in seconds, defining how long the block will play during the scene.
In this example, the audio starts at the 1-second mark and plays for 5 seconds (from 1s to 6s), with the volume set to 80% of the original.
Merge Videos
To stitch multiple video clips together in CE.SDK, you first need to import and create separate video blocks:
// create the first video block
const video1 = engine.block.create("graphic");
engine.block.setShape(video1, engine.block.createShape("rect"));
const videoFill1 = engine.block.createFill("video");
engine.block.setString(
  videoFill1,
  "fill/video/fileURI",
  "https://cdn.img.ly/assets/demo/v2/ly.img.video/videos/pexels-drone-footage-of-a-surfer-barrelling-a-wave-12715991.mp4"
);
engine.block.setFill(video1, videoFill1);

// create the second video block
const video2 = engine.block.create("graphic");
engine.block.setShape(video2, engine.block.createShape("rect"));
const videoFill2 = engine.block.createFill("video");
engine.block.setString(
  videoFill2,
  "fill/video/fileURI",
  "https://cdn.img.ly/assets/demo/v2/ly.img.video/videos/pexels-kampus-production-8154913.mp4"
);
engine.block.setFill(video2, videoFill2);
At this point, you have two different video clips loaded from separate video files.
Now, assume you want to produce a 10-second video that includes both clips. Start by setting the duration of the page block to 10 seconds with the setDuration() method:
engine.block.setDuration(page, 10);Then, suppose you want the first clip (video1) to play for 7 seconds, and the second clip (video2) to fade in after that and play for 3 seconds (from second 1 to second 4 of the original second clip). This is how you can set that up:
// set the duration of the first and second video clips
engine.block.setDuration(video1, 7); // video1 plays for 7 seconds
engine.block.setDuration(video2, 3); // video2 plays for 3 seconds

// wait for the second video to be fully loaded before applying the trim options
await engine.block.forceLoadAVResource(videoFill2);
// trim the second video to start at 1 second and play up to second 4
engine.block.setTrimOffset(videoFill2, 1);
engine.block.setTrimLength(videoFill2, 4);

// add a fade-in animation to the second video
const fadeInAnimation = engine.block.createAnimation("fade");
engine.block.setInAnimation(video2, fadeInAnimation);
These are the methods used above:
setDuration(): Defines the duration (in seconds) that a video block will be active during playback.forceLoadAVResource(): Ensures that the audio or video resource (in this case,video2) is fully loaded before applying trim operations.setTrimOffset(): Sets the start point (in seconds) within the video where playback begins.setTrimLength(): Defines the length of the video to be played from the trim offset.createAnimation(): Creates a fade-in animation for the second video (video2) to smoothly transition into the clip.
Finally, add both video blocks to the track block for playback:
const track = engine.block.create("track");
engine.block.appendChild(page, track);
engine.block.appendChild(track, video1); // add the first video to the track
engine.block.appendChild(track, video2); // add the second video to the track
engine.block.fillParent(track);
The result will be:
Note how the second clip fades in after 7 seconds of the first clip, lasting for 3 seconds as specified.
Incorporate Text Variables
Now, suppose you want to display cool words or messages in your videos. You can easily achieve this by adding a "text" block to your page, as shown below:
const text = engine.block.create("text");
// set the vluae of the text variable
engine.block.replaceText(text, "Surfing\nis\nCOOL!");
// set the text color to white and semi-transparent
engine.block.setTextColor(text, { r: 255.0, g: 255.0, b: 255.0, a: 0.8 });
// set the font size for the text
engine.block.setTextFontSize(text, 30);

// positioning the text on an absolute position on the video
engine.block.setWidthMode(text, "Auto");
engine.block.setHeightMode(text, "Auto");
engine.block.setPositionX(text, 130);
engine.block.setPositionY(text, 800);

// append the text block to the page
engine.block.appendChild(page, text);
The video canvas will now display a white "Surfing is COOL!" message as follows:
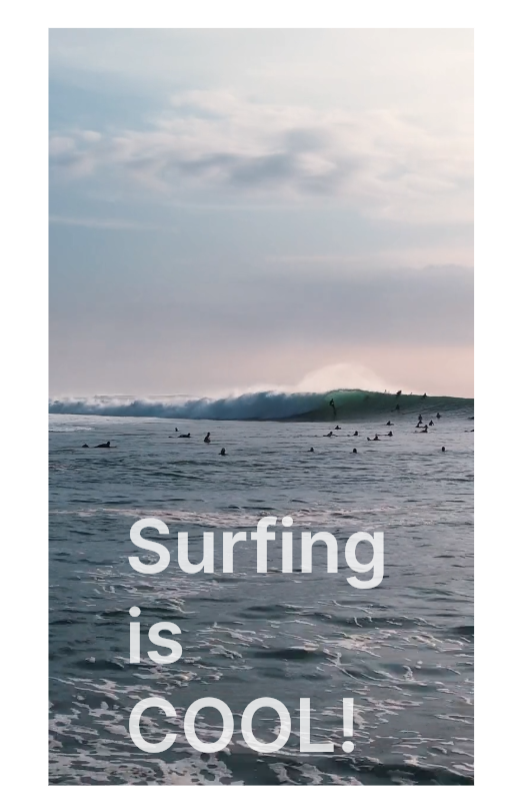
In this example, the content of the text block is static. However, it can easily be retrieved from a database or any other source for programmatic video generation with different messages, including personalized ones for tailored outreach (e.g., for custom greetings or offers).
Advanced Use Case: Prompt-Based Video Generation Using AI
As highlighted in our recent LinkedIn post, IMG.LY has just experimented with an MVP that turns keywords into fully edited short videos, complete with a script, voiceover, and visuals—all automated.
That is made possible by integrating CE.SDK with an LLM for coding and scriptwriting, ElevenLabs for voice synthesis, and Flux (via fal.ai) for visuals. Specifically, the LLM uses CE.SDK for video composition, animation, and rendering.
This is just the beginning, showing how AI can be combined with CE.SDK to programmatically generate video scripts—or even templates. A possible scenario would be to use the Creative Editor SDK plugin API to extend CE.SDK with custom plugins that adds AI directly to the design editor engine.
For example, you could develop a plugin with an LLM integration that allows users to input a prompt like: “Create a 15-second video with the text ‘Welcome to our App!’ and upbeat background music.” The LLM will process the request, using Creative Editor SDK to automate video creation by leveraging its powerful features.
Alternatively, the AI could produce a video that you can then automatically edit and enhance using CE.SDK capabilities. One thing is certain: the possibilities are endless with CE.SDK + AI!
Conclusion: The Future of Programmatic Video Generation
CE.SDK for JavaScript offers exceptional versatility in automating video workflows, allowing you to easily generate, edit, and render videos with just a few lines of code. You can stitch multiple video files, add background audio tracks, and incorporate dynamic text variables to finally produce videos in the browser—all thanks to the CE.SDK headless engine.
Looking ahead, AI integration with CE.SDK is unlocking even more powerful possibilities, such as prompt-based video content creation and automatic editing directly in the browser.
With the headless engine provided by CreativeEditor SDK, programmatic video generation in JavaScript can be implemented in just a few minutes. Explore the video capabilities of CE.SDK and dive into the docs.
Stay tuned for more updates, and please reach out if you have any questions. Thank you for reading.
Over 3,000 creative professionals gain early access to our new features, demos, and updates—don't miss out, and subscribe to our newsletter.


