
In recent months NFTs have become increasingly popular and now represent a worldwide trend. We all have heard about NFTs at least once, but have you ever wondered how to generate an art collection easily and programmatically? That is what you will learn in this article!
Follow this step-by-step tutorial and learn how to build a trading card image generator representing your NFT art collection in React with CreativeEditor SDK. At the end of the article, you will achieve the following result:
What is an NFT Art Collection?
NFT stands for Non-Fungible Token and represents a non-interchangeable unit of data stored on a blockchain that can be traded and sold. We usually associate NFTs with physical or digital assets, such as photos, videos, or audio. You can think of an NFT as a digital work of art.
Consequently, an NFT art collection is nothing more than a set of NFTs associated with a physical or digital art piece.
What is CreativeEditor SDK?
CreativeEditor SDK (CE.SDK) is a fully customizable, easy-to-use, advanced design editor SDK that lets you add template-based workflows and automation to your app with just a few lines of code.
CE.SDK is based on a role-specific editing UI and focuses on keeping content adaptation dead simple – all of this, while empowering your creativity with a powerful authoring environment.
See CE.SDK in action or try it for free.
Build an NFT Art Collection Generator in React With CE.SDK
Now, let’s learn how to implement an NFT art collection generator using CE.SDK and React. In detail, you will learn how to use CE.SDK to define a dynamic template you can then adopt in React to generate your fancy NFT art collection of trading cards.
You can have a look at the final CE.SDK template live here.
Keep in mind that a CE.SDK template is not a static resource. That is because you can change it programmatically through the CE.SDK APIs, as you are about to learn.
1. Get started with CE.SDK
You can learn how to get started with CE.SDK in React by following the getting started guide of the official documentation. Notice that you do not need to set up an instance of CE.SDK to follow this article. You can follow this step-by-step tutorial.
2. Initialize a CE.SDK design
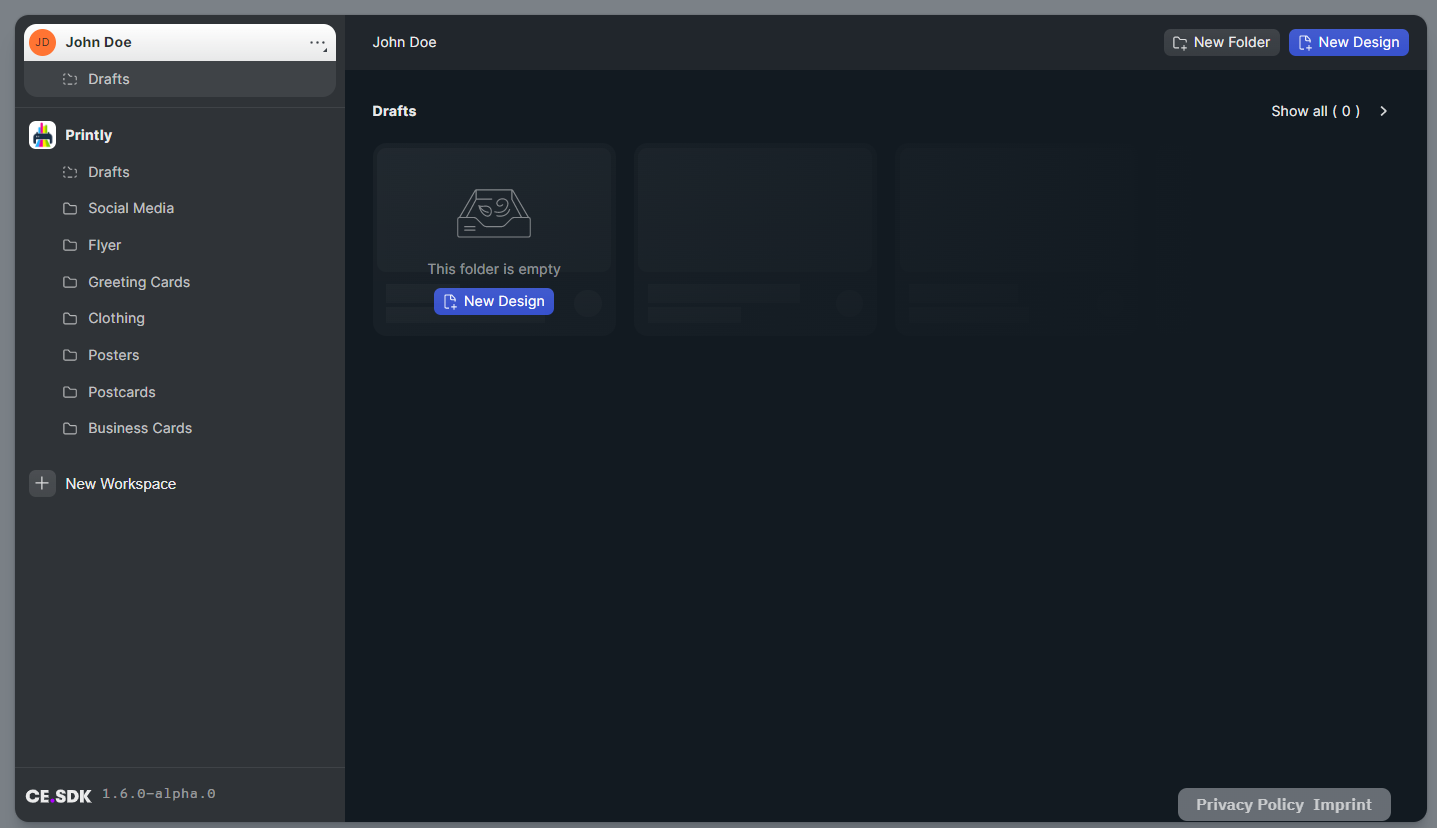
First of all, you need to create a CE.SDK template. As you are about to see, this is not that difficult. All you have to do is click on the “New Design” button.
Give your template a name, such as “NFT Trading Card Collection”.
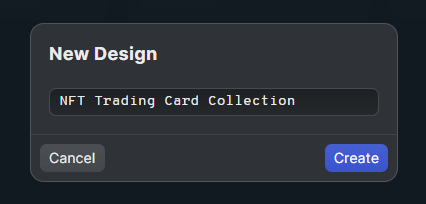
Click on “Create”. This is what your blank template should look like:
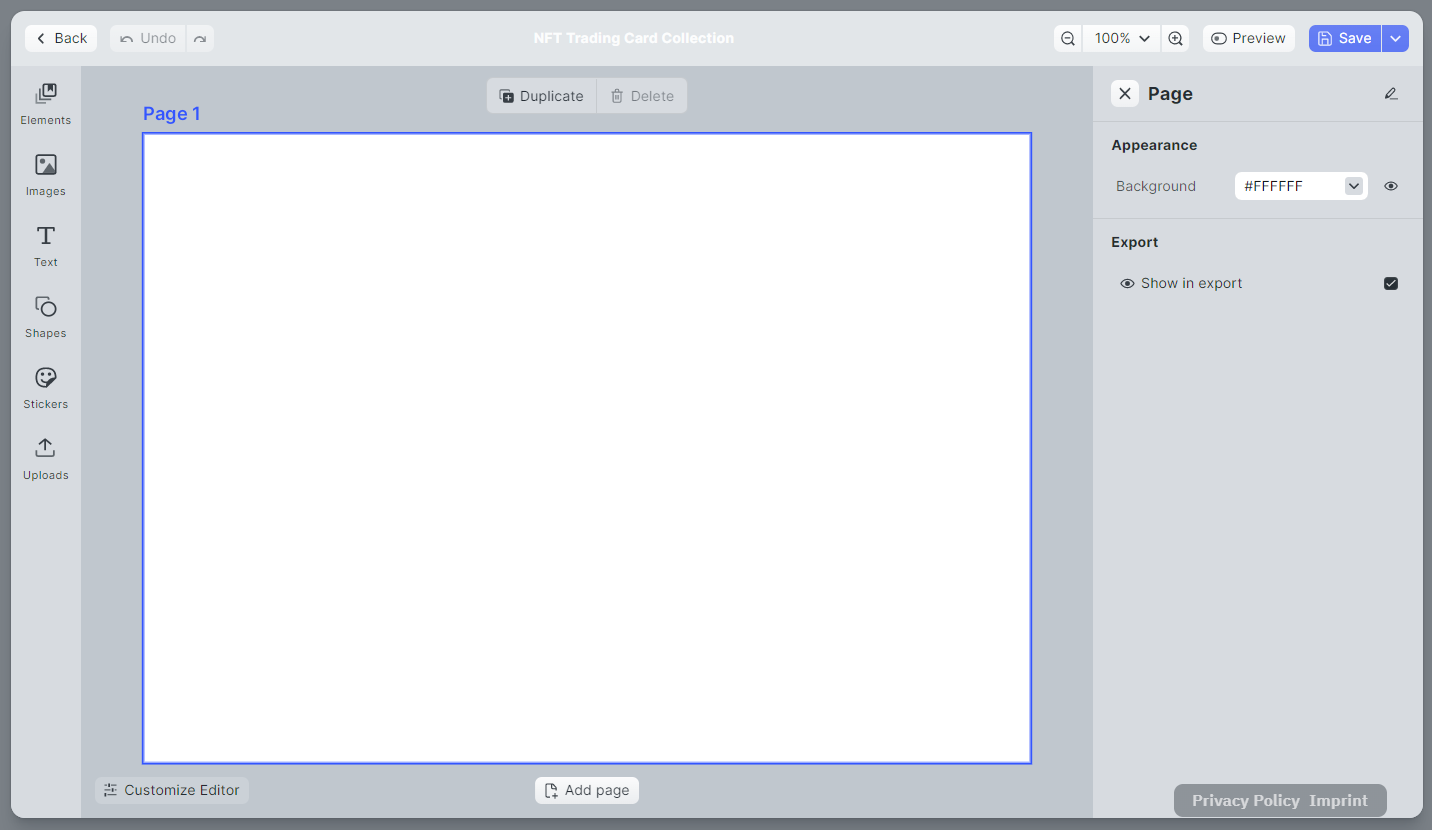
Here you can unleash your creativity and create the NFT trading card template to your desire.
3. Make your CE.SDK design dynamic with variables and by setting placeholders
CE.SDK equips you with the ability to define variables. You can then give these variables a value in your frontend code. The CE.SDK variables can then be defined during text editing.
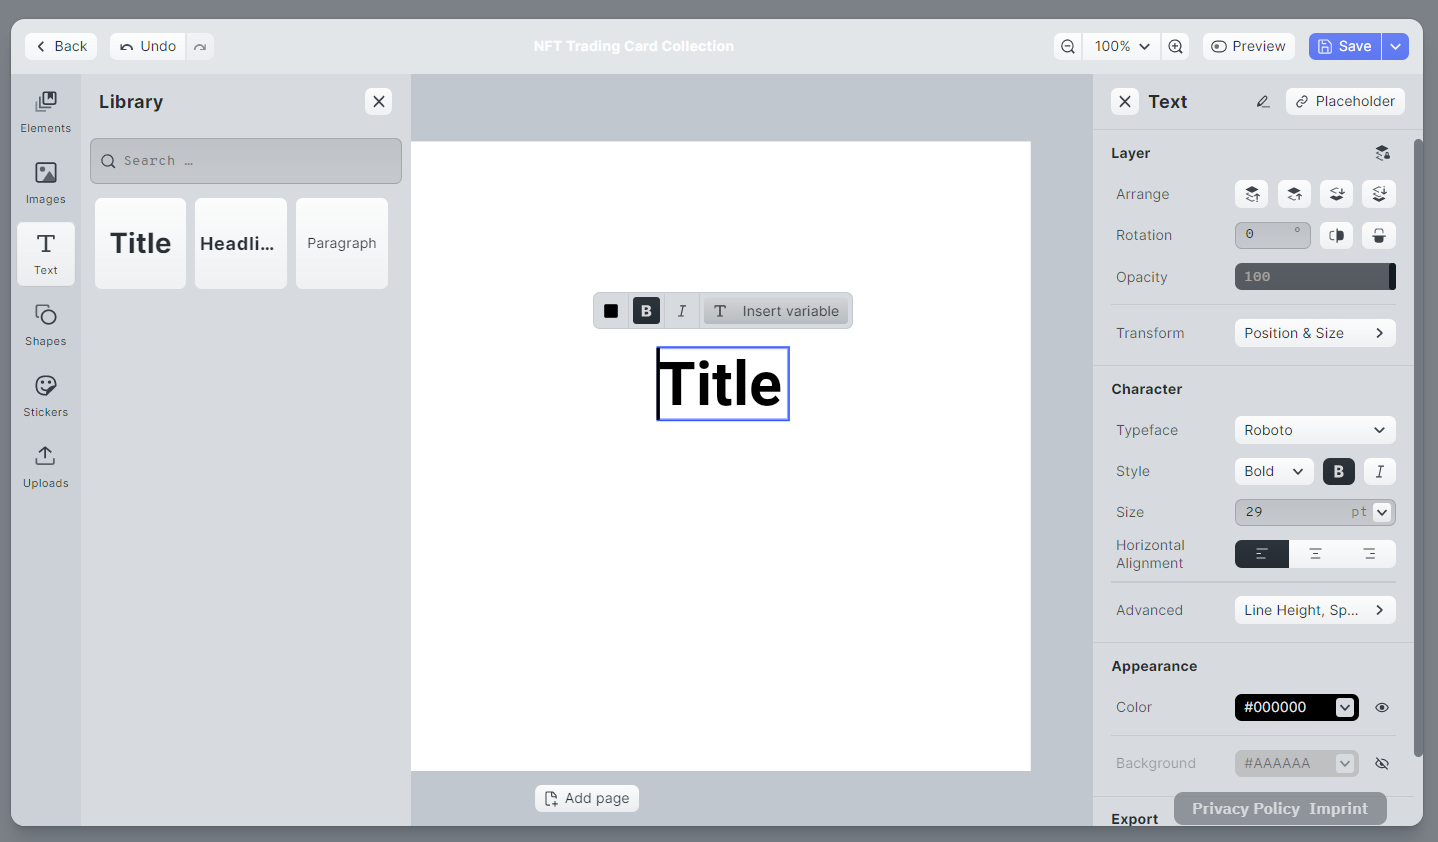
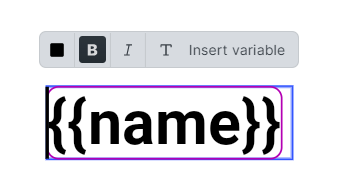
To add a variable to your design, click on “Text”, select a text element, place it on your page, double-click on it, and select “Add a variable”.
A CE.SDK variable has the following format:
{{variable_name}}
A variable value can be defined programmatically via the CE.SDK Variable API. Use them to set the dynamic text fields you want users to customize in the application layer. For example, you can fill them with data retrieved from an API called by the frontend.
Also, CE.SDK gives you the possibility to define placeholders. Placeholders can be created only by a user with Creator role and allow them to specify a set of constraints associated with the element declared as a placeholder. These constraints only apply to users having non-creator roles and define what operations such users can perform on that element.
You can define a placeholder by selecting an element, clicking Placeholder and then choosing the constraints you want the non-creator users to have for this element.
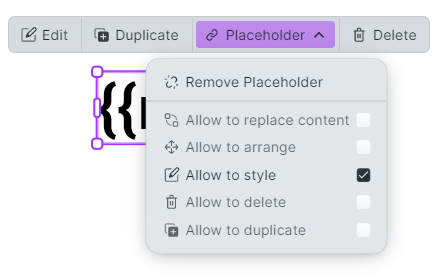
In this case, non-creator users are only allowed to style the name variable defined above.
4. Share your CE.SDK design as a template and export it to a scene
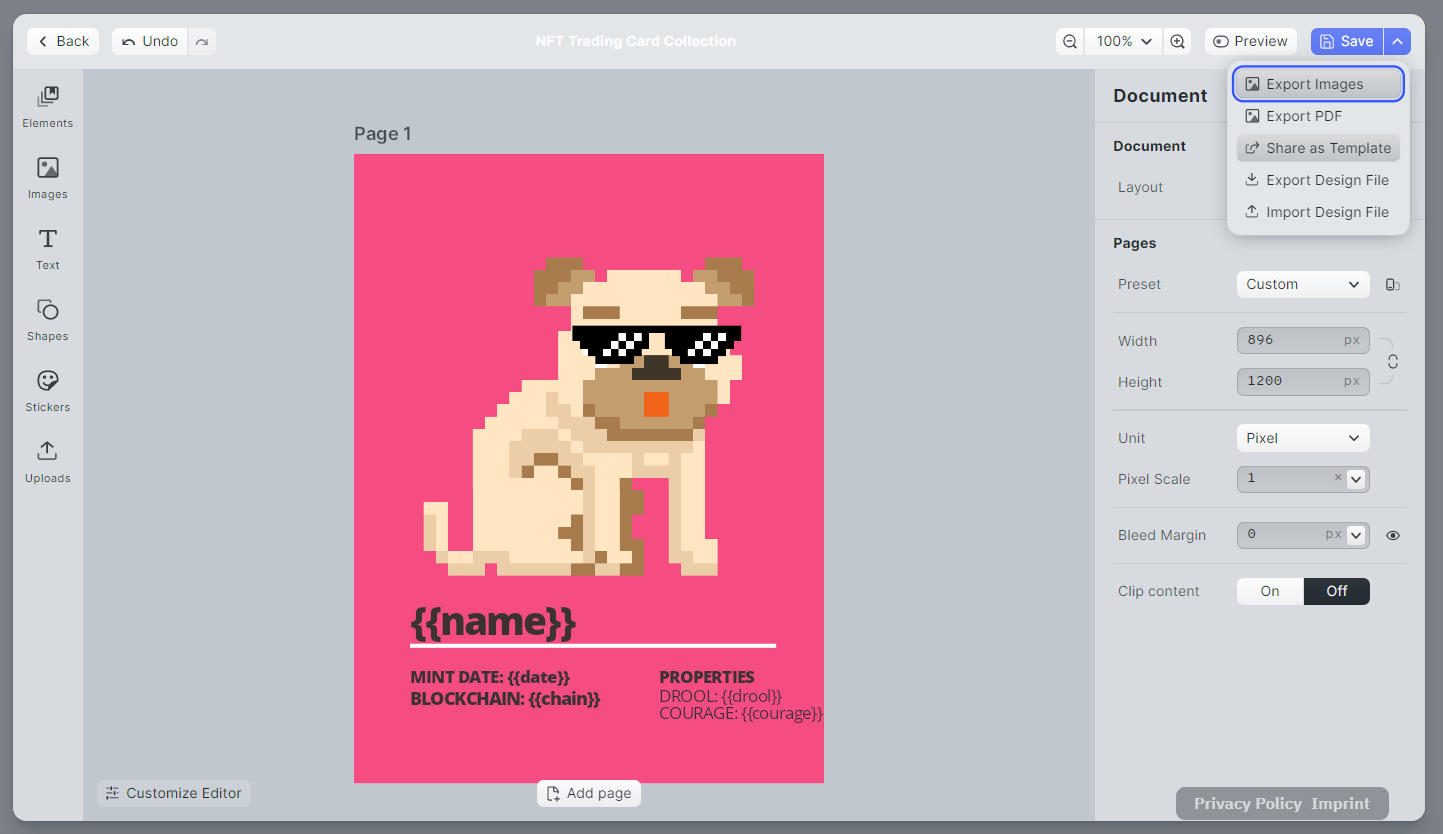
Let’s assume you defined the trading card template of your dreams. You spent a lot of time on it, and you now want other users to use it to generate their own NFT art collection. All you have to do, is save, click on the “v” symbol near the Save button, and select “Share as Template”.
Now follow the instructions, and non-creator users will be able to access your template with the link the application provided you.
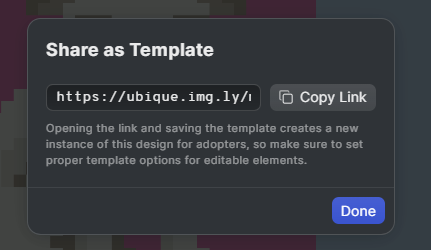
Users will be able to interact with your CE.SDK template based on the variables and placeholders you defined while creating your design.
Bear in mind that sharing your design as a template is a nice feature but not mandatory to achieve the goal. In case you want to use your design on your CE.SDK frontend instances, you only have to export it as a scene, and then load it through the CE.SDK Scene API.
To export a design as a scene, click on the “v” symbol, and in the dropdown, select “Export Design File”. You will automatically download the scene file to the directory according to your browser settings. The export feature allows you to download your scene. You can also import your own or another user’s scene.
You now have everything you need to build an NFT trading card collection generator in React! Let’s delve deeper into how to achieve this.
5. Use your CE.SDK scene in React to programmatically generate an NFT trading card art collection
5.1 Prerequisites
This is the list of all the prerequisites for the demo application you are going to build:
- Node.js and npm 5.2+ and higher
- React >= 17
@cesdk/cesdk-js>= 1.5.0
You can add the @cesdk/cesdk-js library to your project’s dependencies with the following command:
npm install --save @cesdk/cesdk-js
5.2 Getting started
You can try out the NFT art collection generator by cloning the GitHub repository supporting the article and launching the web application with the following commands:
git clone https://github.com/Tonel/how-to-generate-an-nft-art-collection-imgly
cd how-to-generate-an-nft-art-collection-imgly
npm i
npm start
Otherwise, keep following this tutorial and build the NFT trading card art collection generator by yourself.
First, initialize a React project called nft-art-collection-generator with Create React App with the command below:
npx create-react-app nft-art-collection-generator
Now, your nft-art-collection-generator should have the following file structure:
nft-art-collection-generator
├── README.md
├── node_modules
├── package.json
├── .gitignore
├── public
│   ├── favicon.ico
│   ├── index.html
│   ├── logo192.png
│   ├── logo512.png
│   ├── manifest.json
│   └── robots.txt
└── src
    ├── App.css
    ├── App.js
    ├── App.test.js
    ├── index.css
    ├── index.js
    ├── logo.svg
    ├── reportWebVitals.js
    └── setupTests.js
Now move into the nft-art-collection-generator folder and start a local server by launching these two commands:
cd nft-art-collection-generator
npm start
By visiting http://localhost:3000/ in your browser, you should now be able to see the default Create React App screen:
5.3 Building the NFT Art Collection Generator Component
You can use CE.SDK to implement an image generator based on your template as follows:
import CreativeEngine from '@cesdk/cesdk-js/cesdk-engine.umd.js'
import LoadingSpinner from '../LoadingSpinner/LoadingSpinner'
import { DOGS } from "./data"
import styles from './NFTArtCollectionGenerator.module.css'
import React, { useEffect, useRef, useState } from 'react'

export default function NFTArtCollectionGenerator() {
  const engineRef = useRef(null)
  const [tradingCardImages, setTradingCardImages] = useState(new Array(DOGS.length).fill(null))
  const [initialized, setInitialized] = useState(false)

  // initializing CE.SDK on first rendering
  useEffect(() => {
    const config = {
      page: {
        title: {
          show: false
        }
      }
    }

    CreativeEngine
        .init(config)
        .then(async (instance) => {
          // importing the CE.SDK scene
          await instance.scene.loadFromURL(
              `${window.location.protocol + "//" + window.location.host}/assets/cesdk-nft-doggo.scene`
          )
          engineRef.current = instance
          setInitialized(true)
        })

    return function shutdownCreativeEngine() {
      engineRef?.current?.dispose()
    }
  }, [])

  async function generateTradingCards() {
    const cesdk = engineRef?.current

    if (initialized && cesdk) {
      // setting the image loading state to true
      // to each image
      setTradingCardImages((oldImages) => [
        ...oldImages.map((image) => ({ ...image, isLoading: true }))
      ])

      const newTradingCardImages = []

      // iterating over each data entry to generate
      // its trading card with CE.SDK
      for (const dog of DOGS) {
        // giving each variable defined in the CE.SDK scene
        // a value based on the dog data
        cesdk.variable.setString('name', dog.name)
        cesdk.variable.setString('date', dog.date)
        cesdk.variable.setString('chain', dog.chain)
        cesdk.variable.setString('drool', dog.drool)
        cesdk.variable.setString('courage', dog.courage)

        // retrieving the background block
        const backgroundBlock = cesdk.block.findByType('page')[0]
        if (backgroundBlock) {
          // setting the background to a random color
          cesdk.block.setBackgroundColorRGBA(
              backgroundBlock,
              Math.random(), // r (from 0 to 1)
              Math.random(), // g (from 0 to 1)
              Math.random(), // b (from 0 to 1)
              1.0 // alpha (from 0 to 1)
          )
        }

        const blob = await cesdk.block.export(
            cesdk.block.findByType('scene')[0],
            'image/jpeg'
        )

        newTradingCardImages.push({
          isLoading: false,
          src: URL.createObjectURL(blob)
        })
      }

      // setting the new trading card images
      setTradingCardImages(newTradingCardImages)
    }
  }

  // generating the trading card images for the first time
  // when CE.SDK is initialized
  useEffect(() => {
    if (engineRef && initialized) {
      generateTradingCards()
    }
  }, [engineRef, initialized])

  return (
      <div className="flex flex-col items-center">
        <div>
          <h3 className={`h4 ${styles.headline}`}>
            NFT Trading Card Collection Generator
          </h3>
        </div>
        <div>
          <button
              className={styles.button}
              onClick={() => {
                generateTradingCards()
              }}>
            Generate
          </button>
        </div>
        <div className={styles.contentWrapper}>
          <div className={styles.imageWrapper}>
            {tradingCardImages.map((image, i) => {
              return (
                  <div style={{ width: 160, height: 210, position: 'relative', backgroundColor: "white" }} key={i}>
                    {
                        image?.src &&
                        <img
                            alt=""
                            src={image?.src}
                            style={{
                              opacity: image?.isLoading ? 0.5 : 1,
                              transition: 'opacity .5s',
                              transitionTimingFunction: 'ease-in-out',
                              objectFit: 'contain'
                            }}
                        />
                    }
                    {image?.isLoading && <LoadingSpinner />}
                  </div>
              )
            })}
          </div>
        </div>
      </div>
  )
}
This component uses CE.SDK to generate a trading card set you can transform into your NFT art collection. The first useEffect() hook function takes care of initializing a CE.SDK instance and loading the scene file exported above. To make everything work as expected, create an assets folder under public, and put your scene file in it.
Then, the generateTradingCards() function using CE.SDK is used to generate the trading card image set is defined. This is where the magic happens!
The trading card images are generated based on the DOGS variable imported from data by giving each scene's variable a value and providing the background with a random color. This way, every time you press “Generate”, the resulting collection of trading cards will have the same data, but always a different color.
If you are wondering, this is what the data file looks like:
export const DOGS = [
    {
        name: "Pancakes",
        date: "2022",
        chain: "etherum",
        drool: "5/10",
        courage: "10/10"
    },
    {
        name: "Clovis III",
        date: "2020",
        chain: "flyx",
        drool: "9/10",
        courage: "1/10"
    },
    {
        name: "Pickles",
        date: "2019",
        chain: "cardano",
        drool: "1/10",
        courage: "10/10"
    },
    {
        name: "Groucho Barks",
        date: "2018",
        chain: "solana",
        drool: "10/10",
        courage: "5/10"
    },
    {
        name: "Puppins",
        date: "2019",
        chain: "ethereum",
        drool: "8/10",
        courage: "5/10"
    },
    {
        name: "Mr. Chow",
        date: "2019",
        chain: "flow",
        drool: "5/10",
        courage: "9/10"
    },
    {
        name: "Dr. Droolz",
        date: "2020",
        chain: "eos",
        drool: "10/10",
        courage: "10/10"
    },
    {
        name: "Snuffles",
        date: "2018",
        chain: "ethereum",
        drool: "4/10",
        courage: "5/10"
    }
]
As you can see, the DOGS array contains the data generating each card programmatically through CE.SDK's Variable API. For simplicity, the DOGS array was hard-coded into the data file. In a real-world scenario, you can retrieve this data through an API call or however you prefer.
Finally, the trading card collection images are rendered and shown to the user as in the image below:
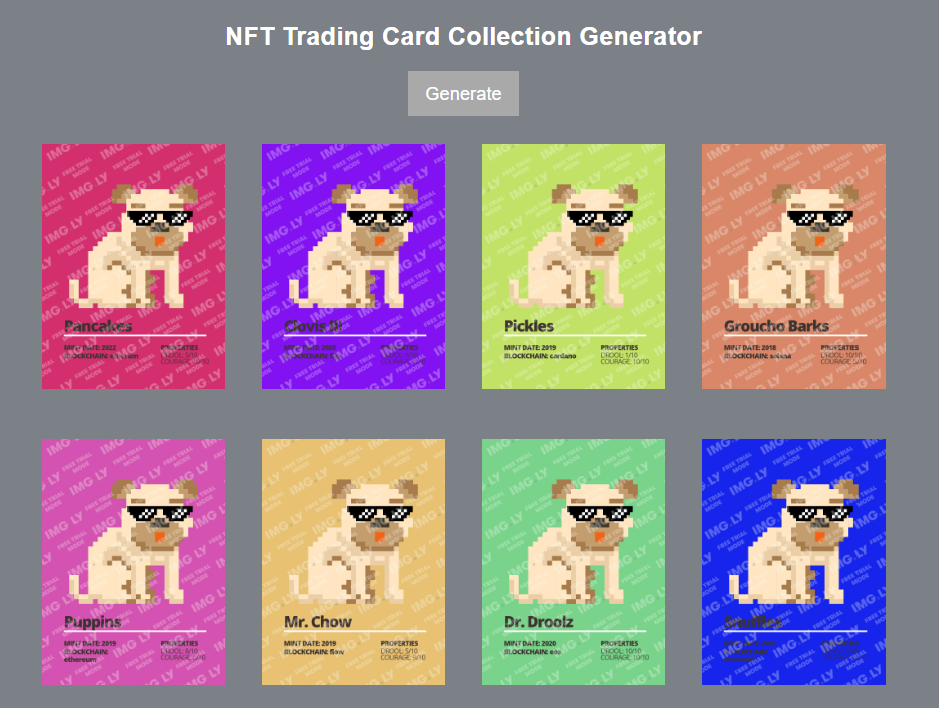
As you just learned, a CE.SDK template allows you to generate an infinite combination of different images. In this example, you learned how to use variables and change the background colors, but several other options are available. Learn more here.
Conclusion
The real challenge to entering the NFT world lies in producing a collection of appealing images. Converting them into NFTs takes only a few clicks. In this article, we used CE.SDK to generate a trading card collection of images that all share the same template. Specifically, CE.SDK gives you everything you need to create applications supporting template-based workflows – your users can adapt your templates or programmatically create variations of visually consistent, high-quality images.
We are only scratching the surface of what is possible with CE.SDK – you can implement any UI on top of its powerful Image Processing API and extend the core functionality with features such as content moderation and define validation rules to guide your users' creation process.
Thanks for reading! We hope you found this article helpful. Feel free to reach out to us on Twitter with any questions, comments, or suggestions. For more, stay in the loop with our Newsletter.