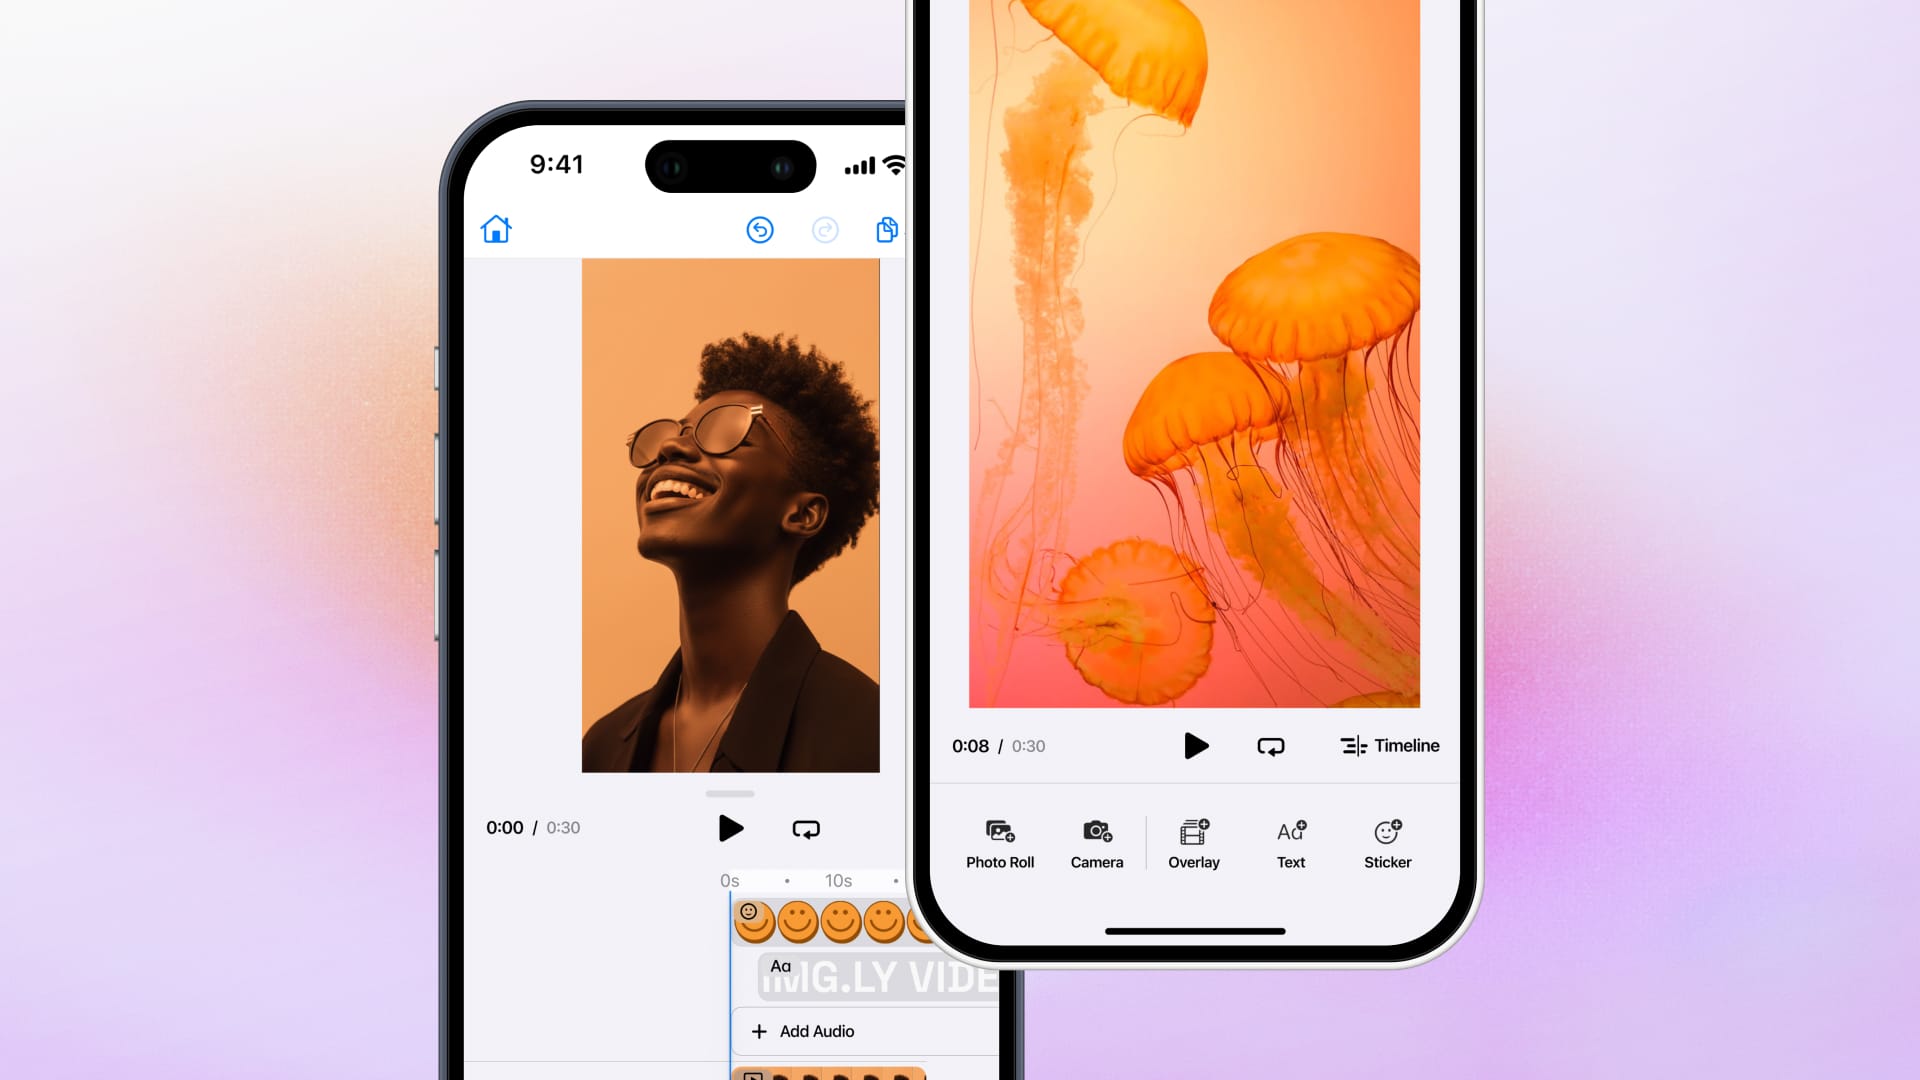

A common question we get asked from our customers, is whether they’ll be able to create an entirely different user interface using our PhotoEditor SDK. The SDK comes with it’s own customizable UI, but customization are of course limited to a certain extent. As our SDK is used in many different use cases and contexts, we like to explore what’s possible with the PhotoEditor SDK and its included components. Here, we decided to build a UI similar to Instagram’s Stories or Snapchat using our SDK. By now, this ‘Story UI’ has become a popular way of quickly designing with different elements (stickers, brush and text) rather than enhancing and styling the image only.
So we grabbed our own docs and headed out to create a demo in which we recreate the Instagram Stories using components from the PhotoEditor SDK. This article presents our approach by starting with a general overview and then diving into the different view controllers to look at specific implementation details. You can follow along by downloading the accompanying code.
Architecture and Overview
Any image editing interface is naturally centered around some sort of canvas or preview. This is where the image with all operations applied is rendered and any changes are shown to the user. All tools add their own interface elements to allow modifications like adding stickers, text or brush strokes to the image. To create such a hierarchy of tools, the PhotoEditor SDK makes heavy use of an iOS pattern called view controller containment. The root view controller, an EditViewController in this case, manages a series of child view controllers:
- A
PhotoEditPreviewControllerthat handles the internal model and all rendering, as well as the rendering canvas itself - A
TextSpriteEditControllerabove thePhotoEditPreviewControllerthat allows selection and manipulation of text sprites - A
StickerSpriteEditControllerabove thePhotoEditPreviewControllermanages selection and manipulation of stickers

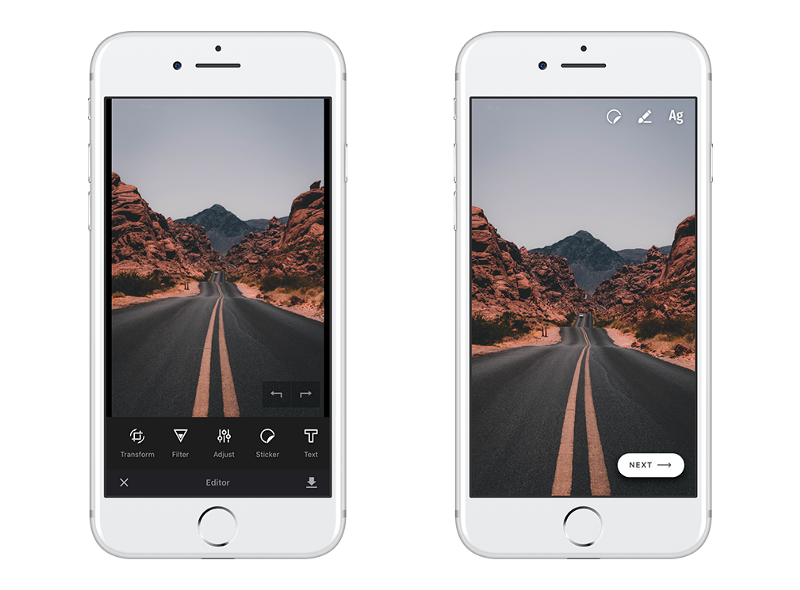
EditViewController. The user facing controls are on the left, the root window is on the right.The child view controllers may manage additional view controllers themselves, but we only need to manage the topmost objects and wire their interfaces together. This is done within the EditViewController who is also responsible for presenting the view controllers that implement the different tools, StickerViewController, BrushViewController and TextViewController.
These are mainly responsible for managing the interface and adjusting the model accordingly, while the ‘real’ work is being done in the background by the PhotoEditPreviewController whenever the model gets updated. Thanks to the SDK, creating our BrushViewController boils down to creating and wiring a BrushEditController and adding its view, color and size controls to the BrushViewControllers view. This creates a fully fledged brush tool with OpenGL rendering, color and brush size adjustments, and great performance in just 89 lines of code.
EditViewController
As described in the previous section, the EditViewController is the root view controller of our demo application and is responsible for showing a preview, presenting tools and rendering the final output. To do so, we add a PreviewEditViewController and SpriteEditControllers to the root view and register the EditViewController as their delegate. Registering as a delegate, allows the EditViewController to wire all child view controllers and pass data between them. In order to do so, we just need to return objects of other view controllers or react to model changes. All controllers then use the EditViewController to ask for objects or data they need, for example the current size of the preview view, in order to rearrange interface elements or calculate model updates. As an example, the spriteEditControllerPreviewView(_ spriteEditController:) method of the SpriteEditControllerDelegate protocol, asks for the current preview view. All we need to do in our EditViewController is to get this view from our PreviewEditViewController and return it:
Sprite Handling
Stickers and text sprites are both sprites, but there are different SpriteEditController subclasses for each sprite type, because of differing gestures and UI elements. The Instagram UI allows the editing of both sticker and text sprites within a single view, so we need to add both specific controllers, StickerSprite- and TextSpriteEditController to our EditViewController and dynamically enable the appropriate one depending on the currently selected sprite.
StickerViewController
For adding stickers, the Instagram Stories UI offers a single button that presents a grid of all available stickers. Replicating this using the PhotoEditor SDK is easy to do, as the SDK uses a collection view for presentation as well. This collection view is embedded in a StickerSelectionController which we add to our StickerViewController. Once again, after registering as the StickerSelectionControllers delegate, we get notified upon selection of any sticker and just need to change the PhotoEditModel accordingly. To do so, we create a link between the root and the currently presented view controller using the StickerViewControllerDelegate protocol. Once a sticker has been selected, we create or update a StickerSpriteModel, pass it to the EditViewController, which updates the PreviewEditViewController model:
This triggers a new rendering pass and the sticker appears on screen. All that’s left to do now is closing the StickerViewController. Again, we use the delegate pattern to ask the EditViewController about the referenceSize that’s needed to calculate the sticker’s normalized size.
BrushViewController
This view controller, just as described above, is just a wrapper around the BrushEditController that adds a color and size selection. Once again, all interaction is handled through delegates and upon closing of the brush tool, the internal model is updated. To support undo, we need to pass the PreviewEditViewController's undoController and begin a new group, whenever we fire up the tool.
TextViewController
The text editor Instagram created within their Stories UI is essentially a fullscreen textfield with additional controls for color and size selection. Ignoring the customized design, this can easily be recreated using stock iOS components and essentially only requires listening for keyboard notifications to handle the layout and adjusting the textfield’s properties according to user interactions. Once finished, we create a corresponding TextSpriteModel that is positioned below the UITextField and notify the EditViewController using the delegate. After dismissing the TextViewController the text rendering is handled by the PhotoEditPreviewController. When reselecting an existing label, we just prefill the UITextField with it’s contents and update the model when the label textfield changes. To ensure the UITextField is the only place the text is currently visible, we hide the spriteView we previously selected and show it again, once editing has finished.
The Result
Recreating the Instagram Stories UI seemed rather challenging at first, but using our PhotoEditor SDK, it quickly turned into a very rewarding project. Being able to create something like a brush tool without the need to actually implement any drawing or gesture handling is amazing and helped to create a working prototype in no time. Tricky details like sprite transformations, remote loading of stickers or undo management were entirely handled by the SDK and we could completely focus on the interface itself.
For more details and some actual code, take a look at the repository. We documented all tricky parts and you should be able to start your own implementation using the code. Please keep in mind, that the code may target a slightly older PhotoEditor SDK version, so check for a new version before you start your journey.
Thanks for reading! To stay in the loop, subscribe to our Newsletter.