CE.SDK treats all insertable content as assets—images, videos, audio, stickers, shapes, templates, and text presets flow through a unified asset system.
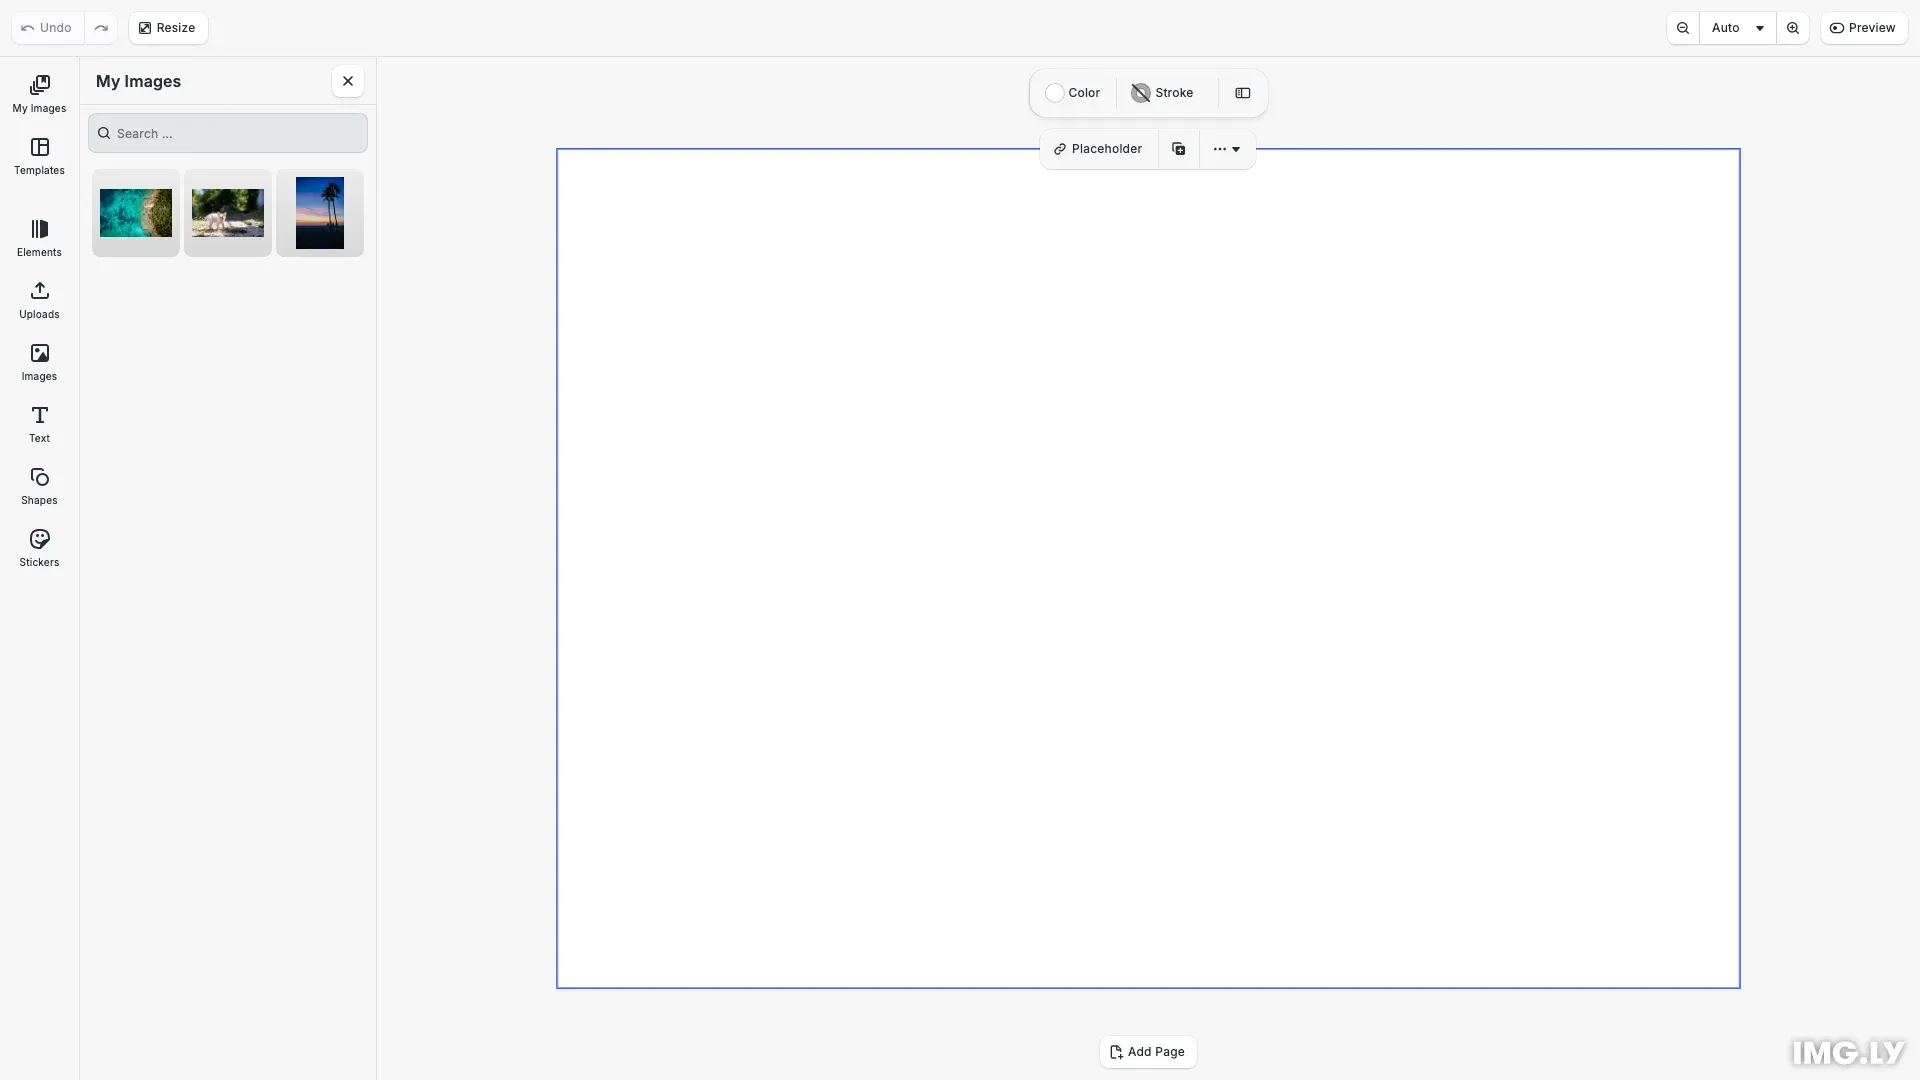
The asset library connects the engine to the user interface through three layers:
┌─────────────────────────────────────────────────────────────┐│ User Interface ││ ┌─────────────┐ references ┌──────────────────────┐ ││ │ Dock Entry │ ───────────────▶ │ Asset Library Entry │ ││ │ (Button) │ │ (Display Config) │ ││ └─────────────┘ └──────────┬───────────┘ ││ │ queries │├──────────────────────────────────────────────│──────────────┤│ Engine ▼ ││ ┌──────────────────────┐ ││ │ Asset Source │ ││ │ (Data Provider) │ ││ └──────────────────────┘ │└─────────────────────────────────────────────────────────────┘The following example demonstrates all three layers working together:
This guide covers:
- Registering asset sources with the engine
- Creating asset library entries to configure display settings
- Adding entries to the dock for user access
Layer 1: Asset Source#
Asset sources provide data through findAssets. Without an applyAsset function of their own, the engine inserts the asset, at the release point when the user drags it onto the canvas. Register them with engine.asset.addSource().
// Layer 1: Asset Source - provides assets to the UIcesdk.engine.asset.addSource({ id: 'my-custom-images', findAssets: async () => ({ assets: [ { id: 'sample-1', meta: { uri: 'https://img.ly/static/ubq_samples/sample_1.jpg', thumbUri: 'https://img.ly/static/ubq_samples/sample_1.jpg', width: 1920, height: 1280 } }, { id: 'sample-2', meta: { uri: 'https://img.ly/static/ubq_samples/sample_2.jpg', thumbUri: 'https://img.ly/static/ubq_samples/sample_2.jpg', width: 1920, height: 1280 } }, { id: 'sample-3', meta: { uri: 'https://img.ly/static/ubq_samples/sample_3.jpg', thumbUri: 'https://img.ly/static/ubq_samples/sample_3.jpg', width: 1920, height: 1280 } } ], total: 3, currentPage: 1, nextPage: undefined })});For details on asset source configuration, see the Asset Sources concept.
Layer 2: Asset Library Entry#
Entries connect asset sources to display settings. Create them with cesdk.ui.addAssetLibraryEntry().
// Layer 2: Asset Library Entry - connects sources to display settingscesdk.ui.addAssetLibraryEntry({ id: 'my-images-entry', sourceIds: ['my-custom-images'], previewLength: 3, gridColumns: 3, gridItemHeight: 'square'});For display properties like gridColumns and previewLength, see the Thumbnails guide.
Layer 3: Dock#
Add entries to the dock with cesdk.ui.setComponentOrder({ in: 'ly.img.dock' }, order) using the ly.img.assetLibrary.dock component type.
// Layer 3: Dock - adds button to access the entrycesdk.ui.setComponentOrder({ in: 'ly.img.dock' }, [ { id: 'ly.img.assetLibrary.dock', key: 'my-images-entry', label: 'libraries.my-images-entry.label', entries: ['my-images-entry'] }, ...cesdk.ui.getComponentOrder({ in: 'ly.img.dock' })]);cesdk.i18n.setTranslations({ en: { 'libraries.my-images-entry.label': 'My Images' }});Managing Entries#
Query and inspect registered entries:
// Query registered entriesconst allEntries = cesdk.ui.findAllAssetLibraryEntries();console.log('Registered entries:', allEntries);
const myEntry = cesdk.ui.getAssetLibraryEntry('my-images-entry');console.log('My entry:', myEntry);
API Reference#
| Method | Description |
|---|---|
findAllAssetLibraryEntries() |
List all registered entry IDs |
getAssetLibraryEntry(id) |
Get entry configuration |
addAssetLibraryEntry(entry) |
Register a new entry |
removeAssetLibraryEntry(id) |
Remove an entry |
Next Steps#
- Customize — Icons, i18n, replace libraries
- Thumbnails — Thumbnail URIs, display settings
- Refresh Assets — Trigger asset reloads
- Asset Sources — Creating asset sources